We settled into our house over the summer of 2016 and started tackling various decorating projects. We were happy and didn't have any Big Plans on the horizon. That was until an opportunity came up to sell my husband's business that we really couldn't pass up on.
Long story short, we sold the business and it opened up the possibility for us to rebuild the playroom add-on and turn the garage into a guest suite. These had been things that were on our very-long-term wish list, but being able to do them sooner would give us much more flexibility and space in the house. It would turn our little 2/2 into a well-designed 4/3.
WHY TEAR DOWN AND REBUILD AN EXISTING ROOM?
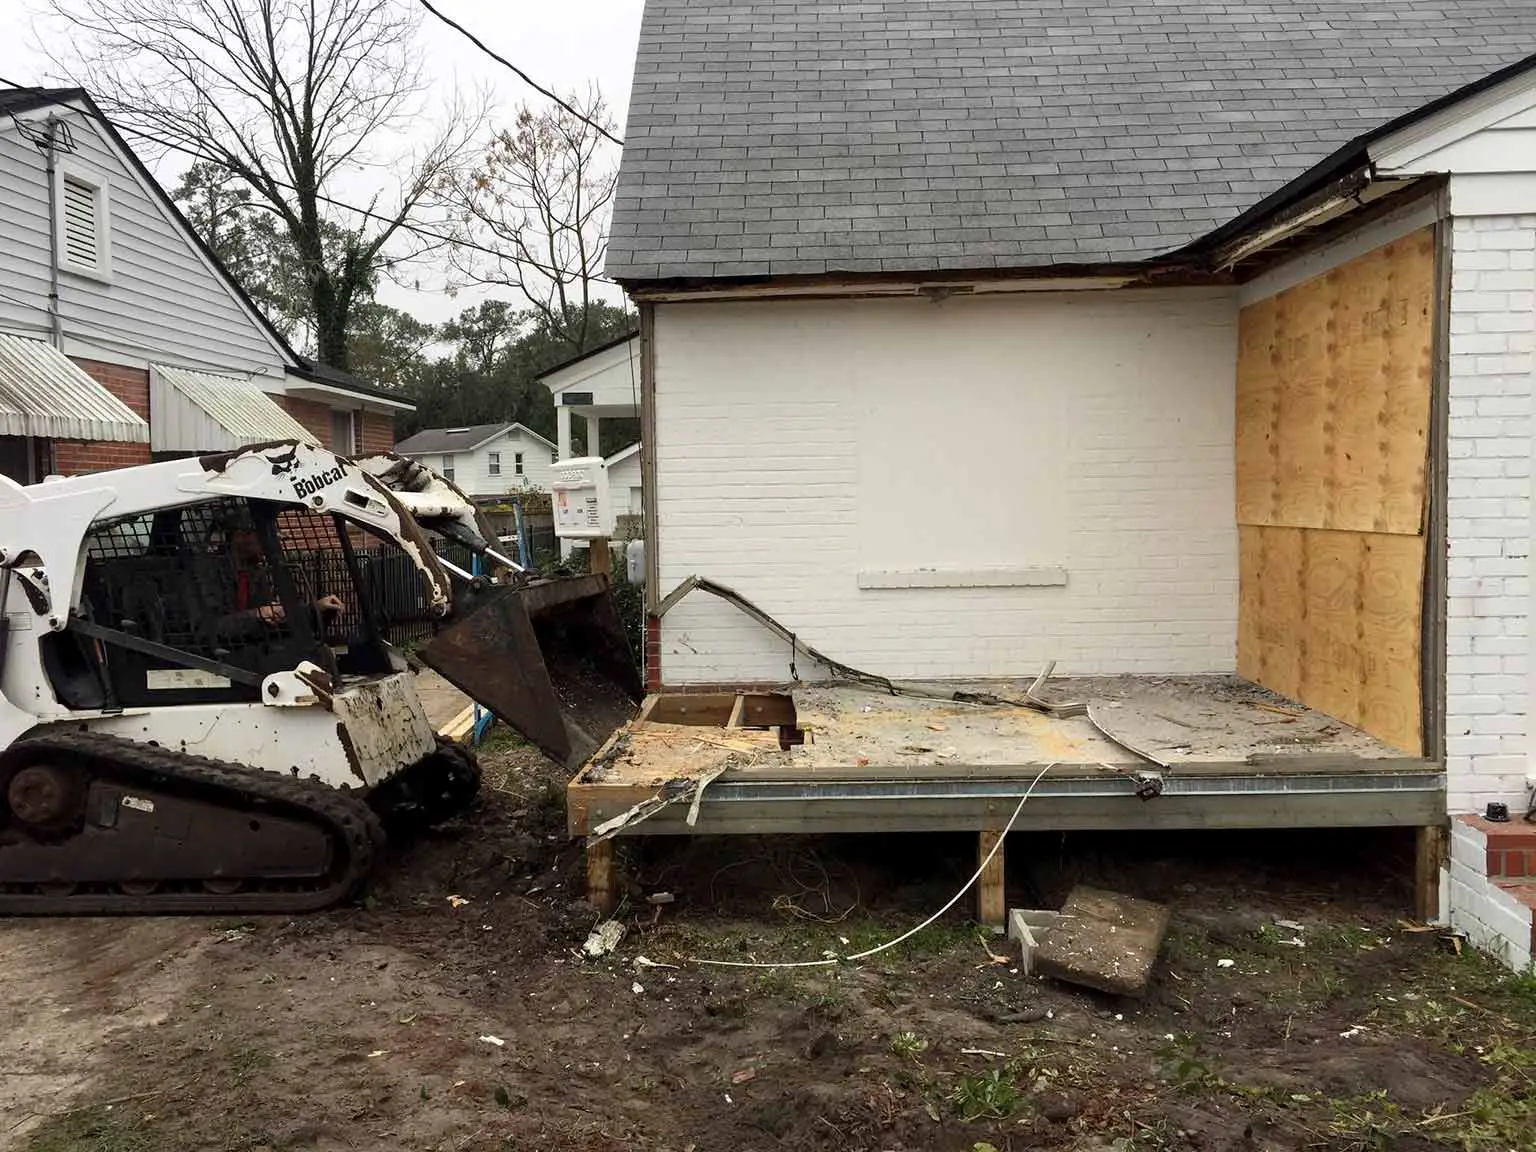
We were not happy about the flat roof addition from the moment we viewed the house—it had never been installed properly and was made out of vinyl panelling. Aesthetically, it was awful. Practically, it didn't have HVAC and whenever there was a heavy downpour (uh, hello Florida summer) there would be puddles on the floor. We were pleasantly surprised that it remained standing during Hurricane Matthew.
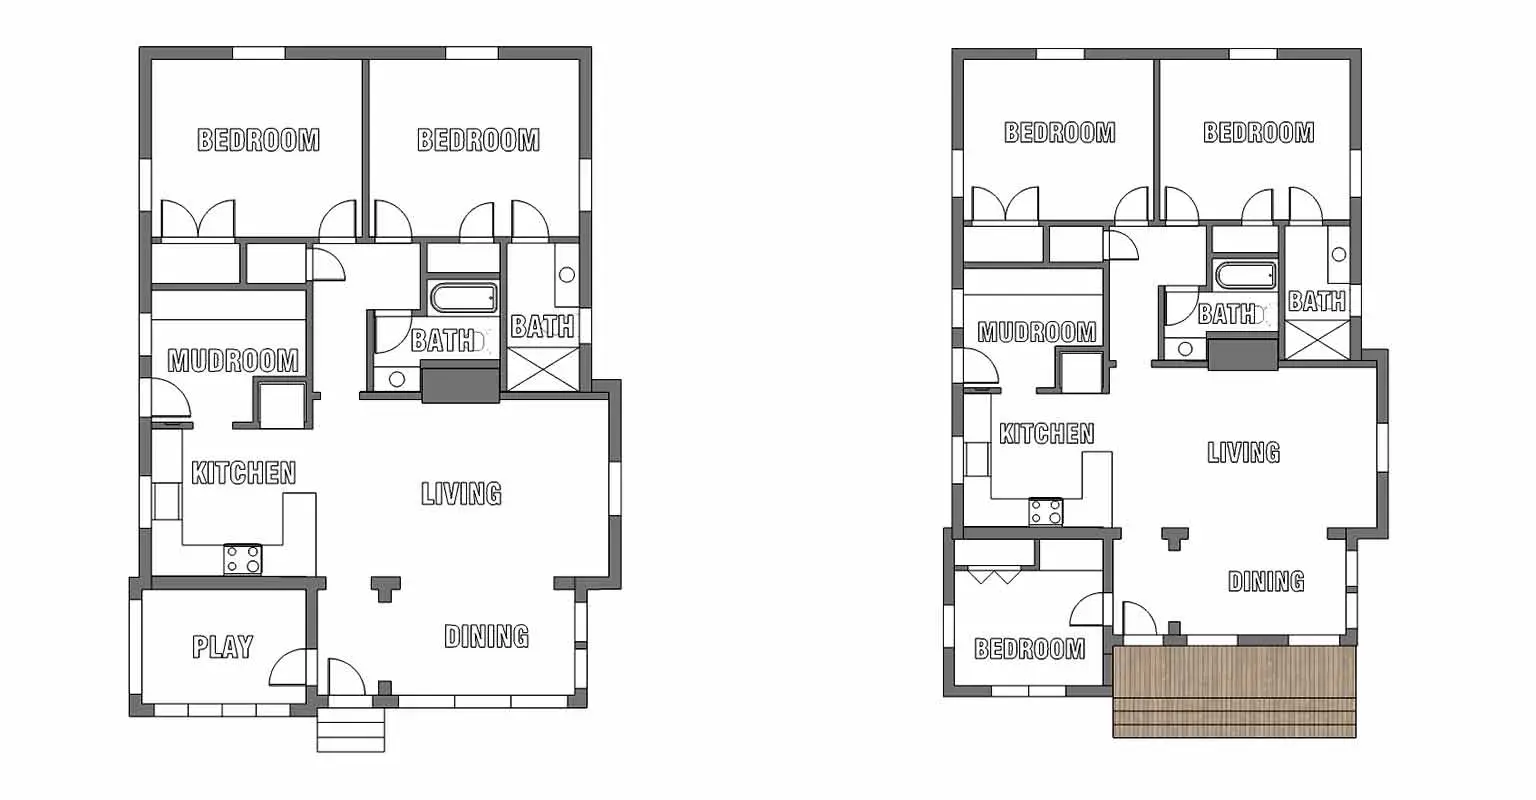
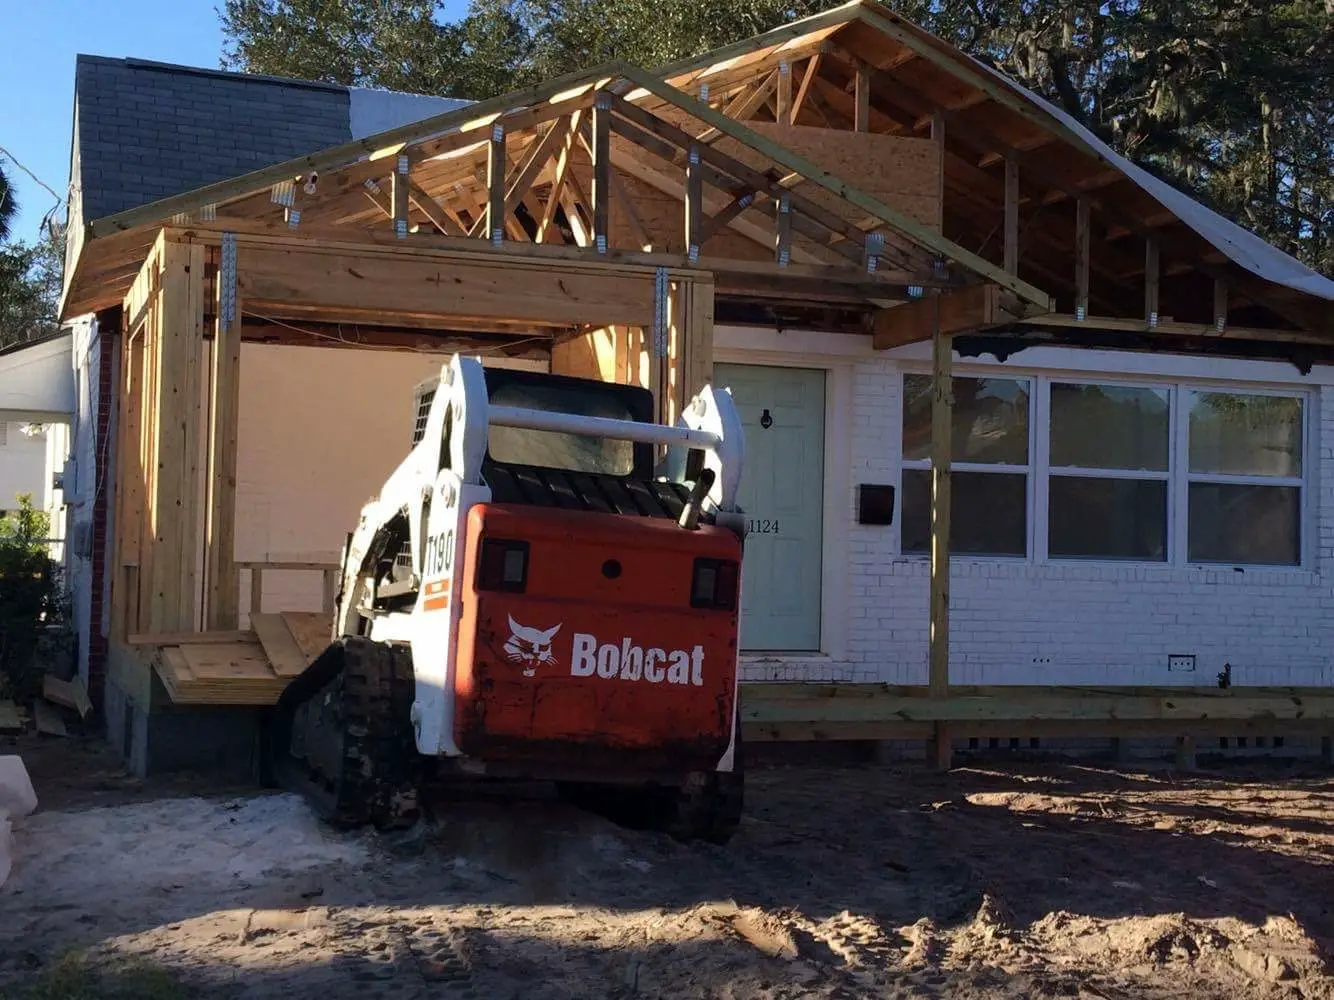
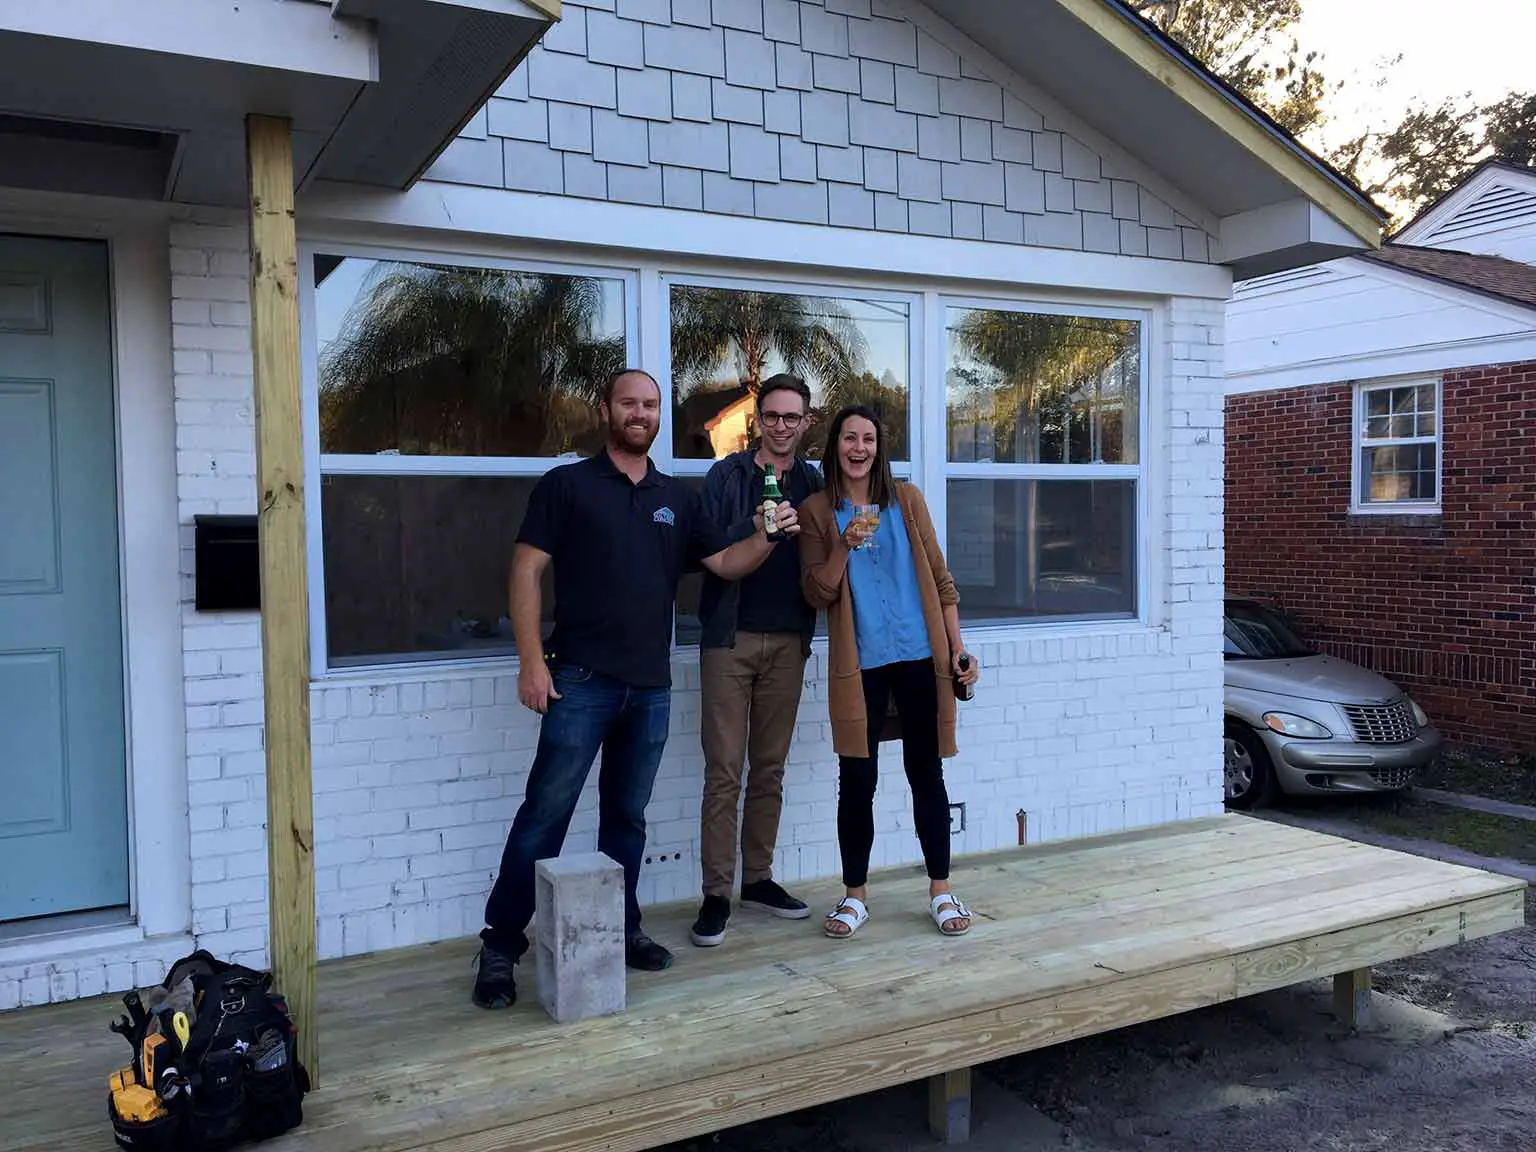
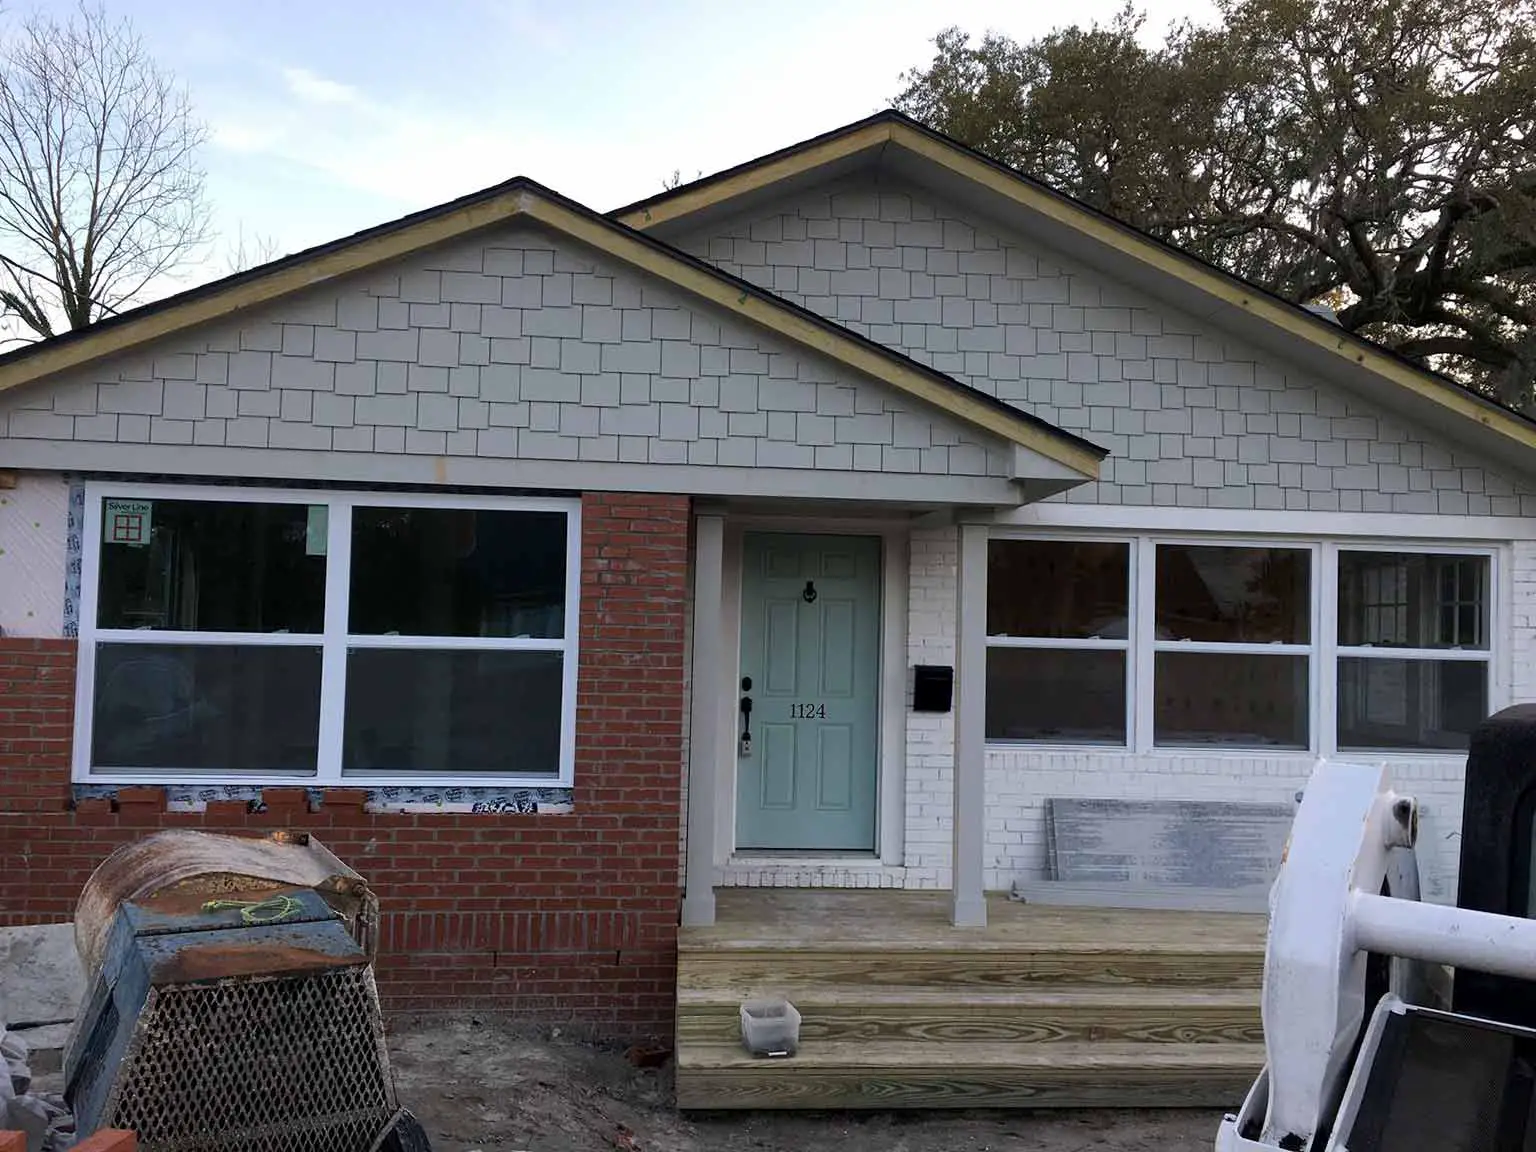
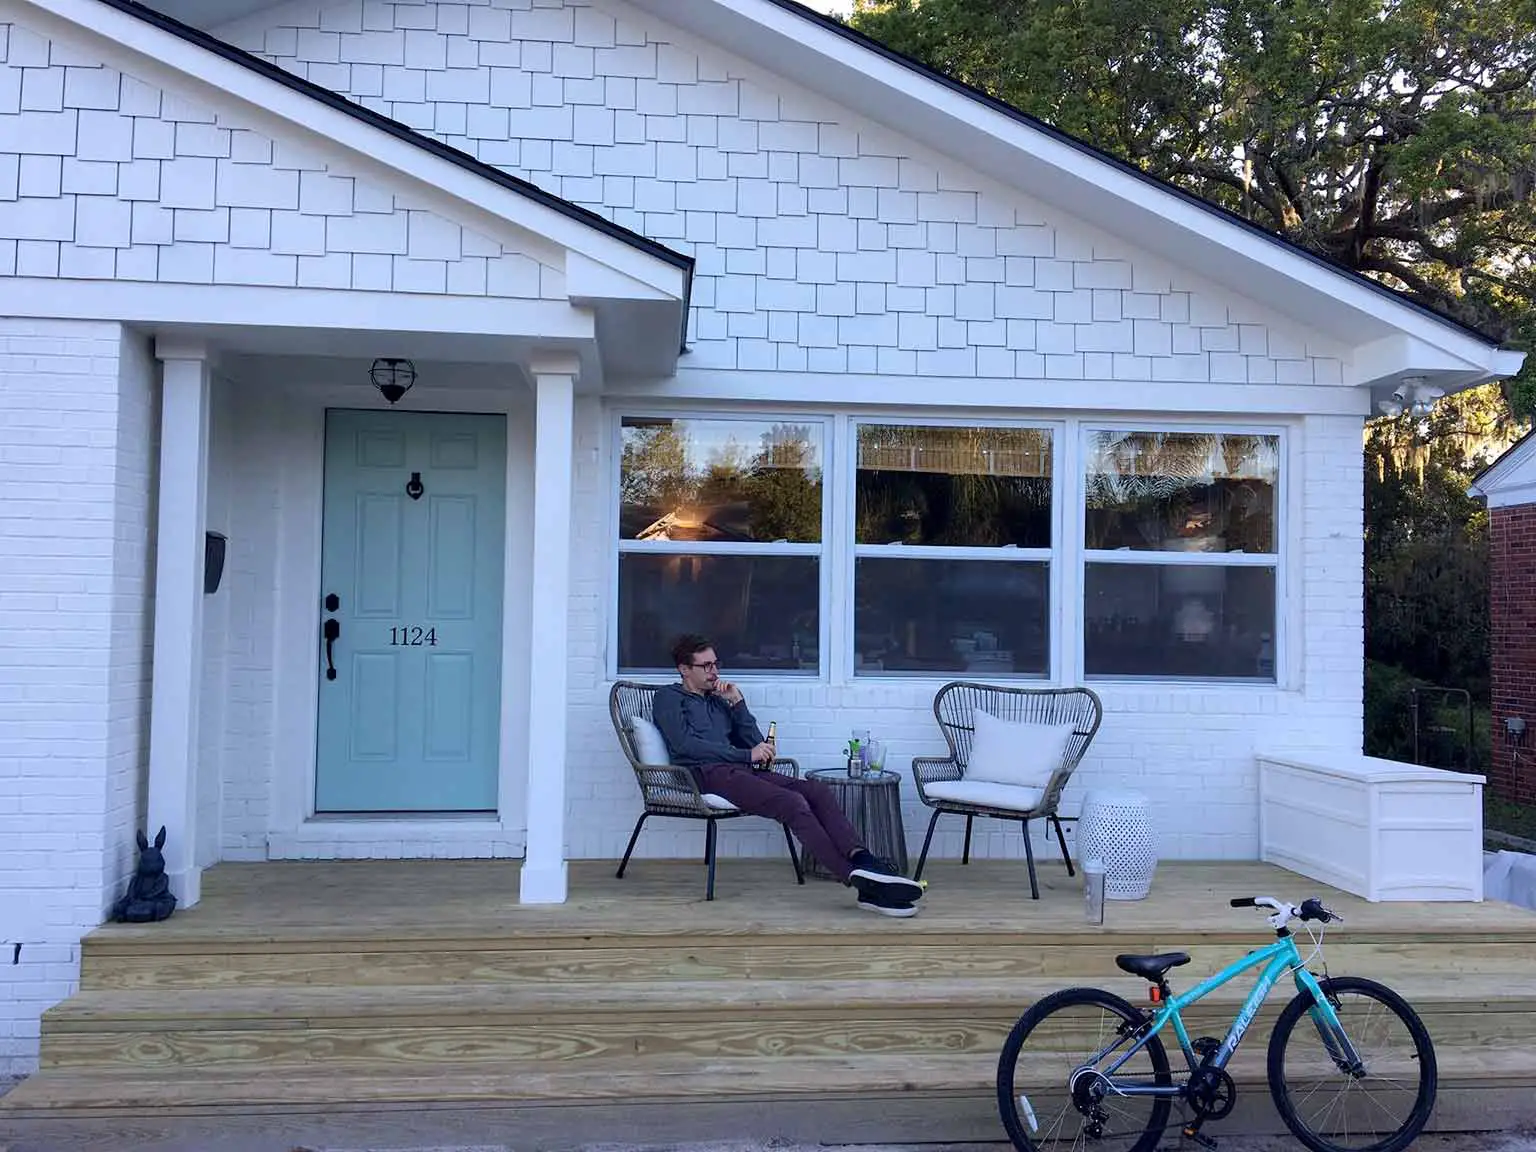
Our architects agreed to start working on the plans with us for a new addition. We were able to increase the square footage by a little, and add a closet (which makes it a bedroom in real estate terms) as well as dramatically improve the curb appeal of our house. To balance out the addition, and add outdoor living space, the plans included a deck with wide steps leading out onto the front yard. Although this project only affected one room of the house, the entire roof line of the front of the house was altered.
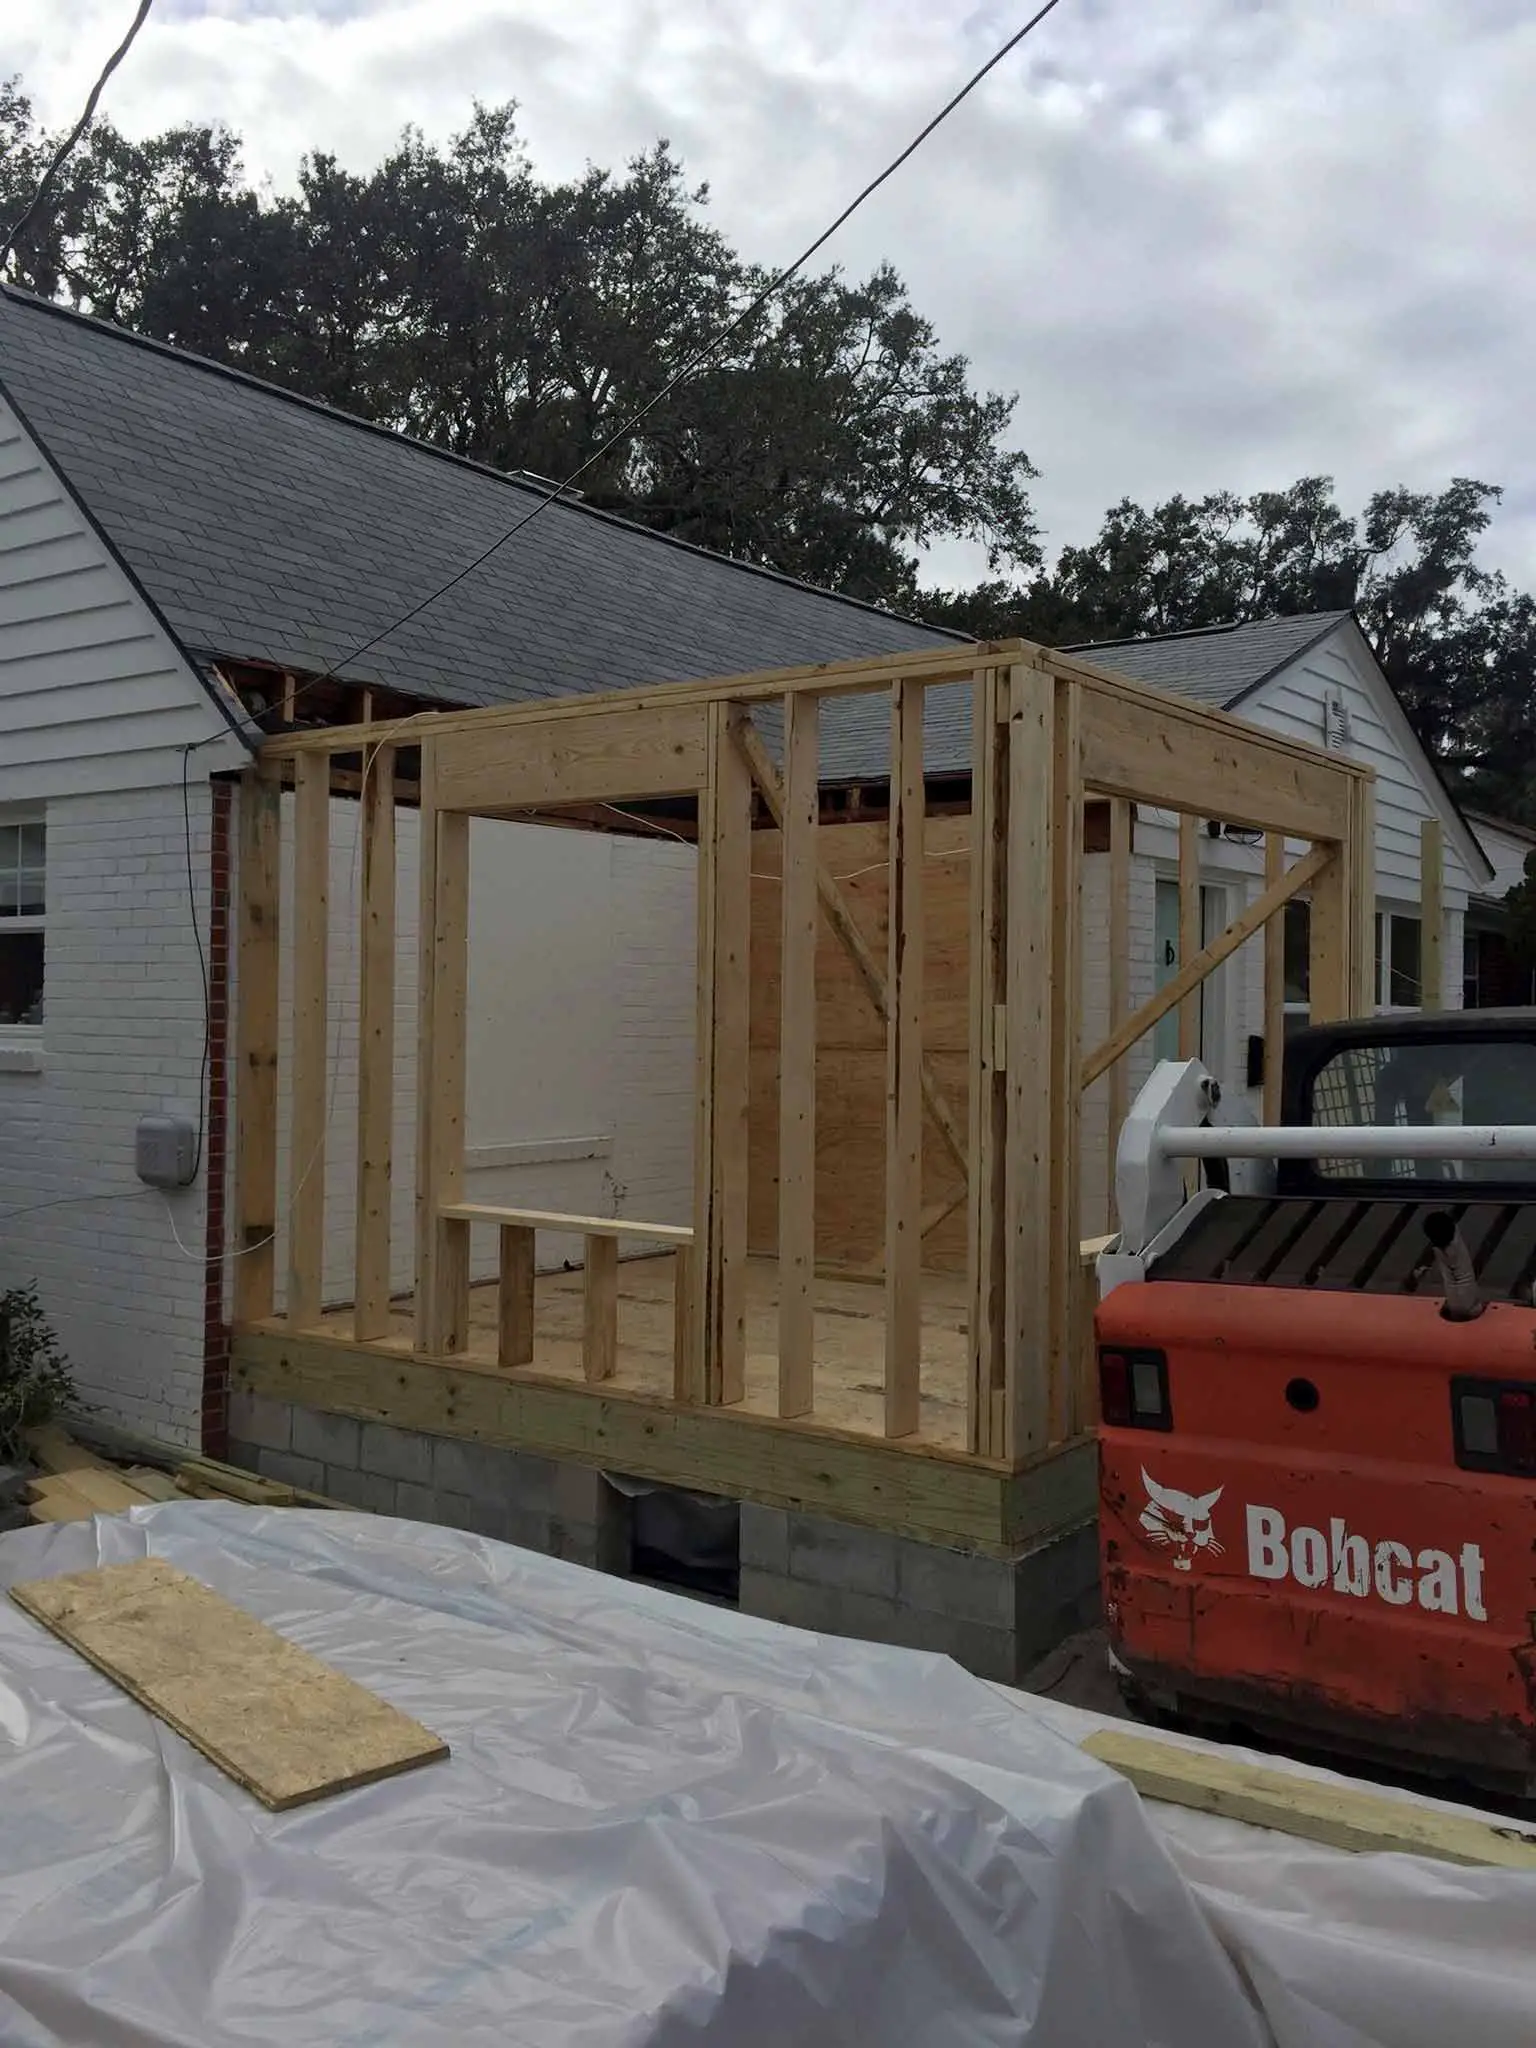
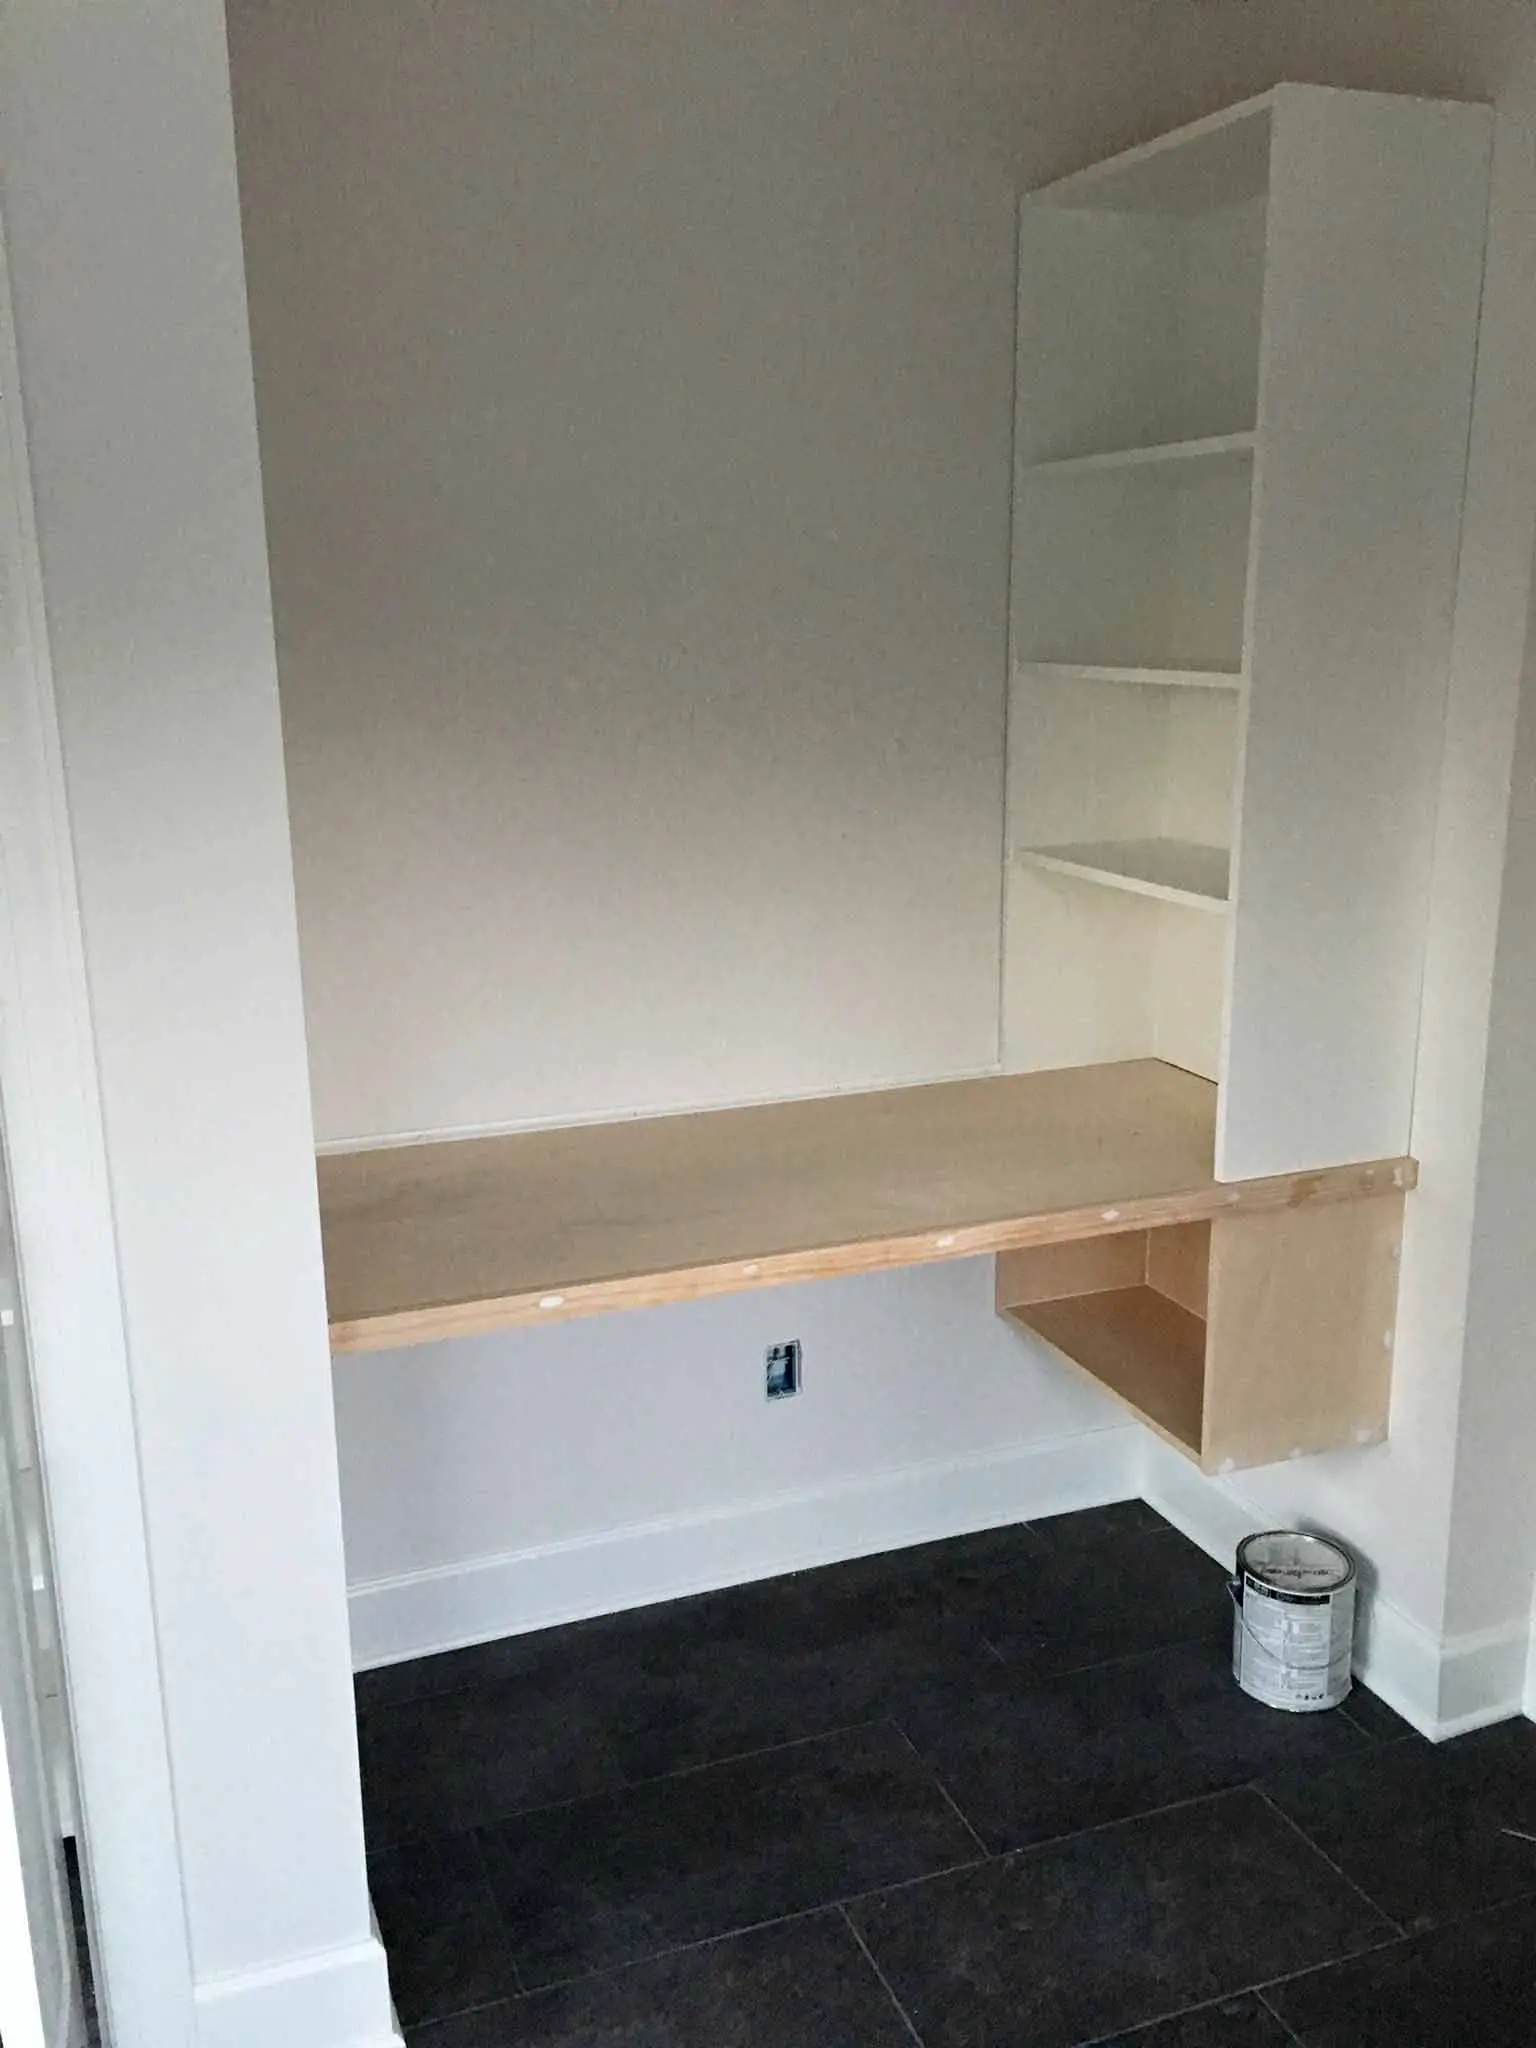
Our original contractor was unable to take on the work due to a new job and a new baby but was able to recommend a friend of his. We were planning a long trip to the UK over Christmas and so scheduled the work to be done while we were away, as half of our living space was going to be roofless. This time around there were far less decisions to make—it was more about blending it with the rest of the house so it was easy to be 4000 miles away while the bulk of the work was happening. When we arrived back in the USA, our contractor was getting close to the finishing stages and so I picked out a light fixture for the new porch and an interior light fixture. I also came up with plans for some custom cabinetry for the closet and desk area. To be honest, all of that felt like a walk in the park in comparison to what I'd had to do during phase one of our renovations. We were super happy with the outcome and the girls were very excited to have a playroom with HVAC!
AND THE GARAGE?
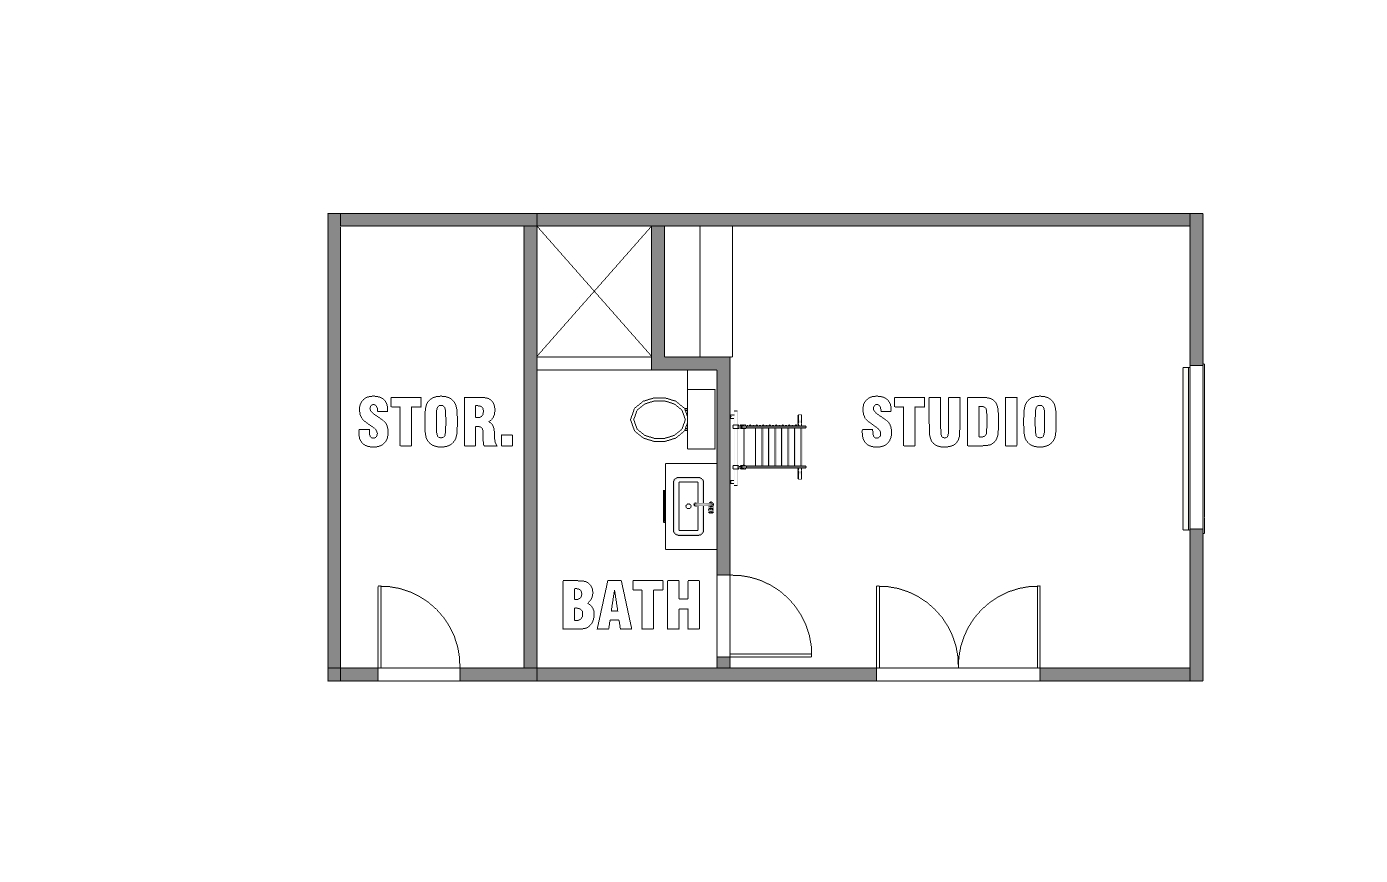
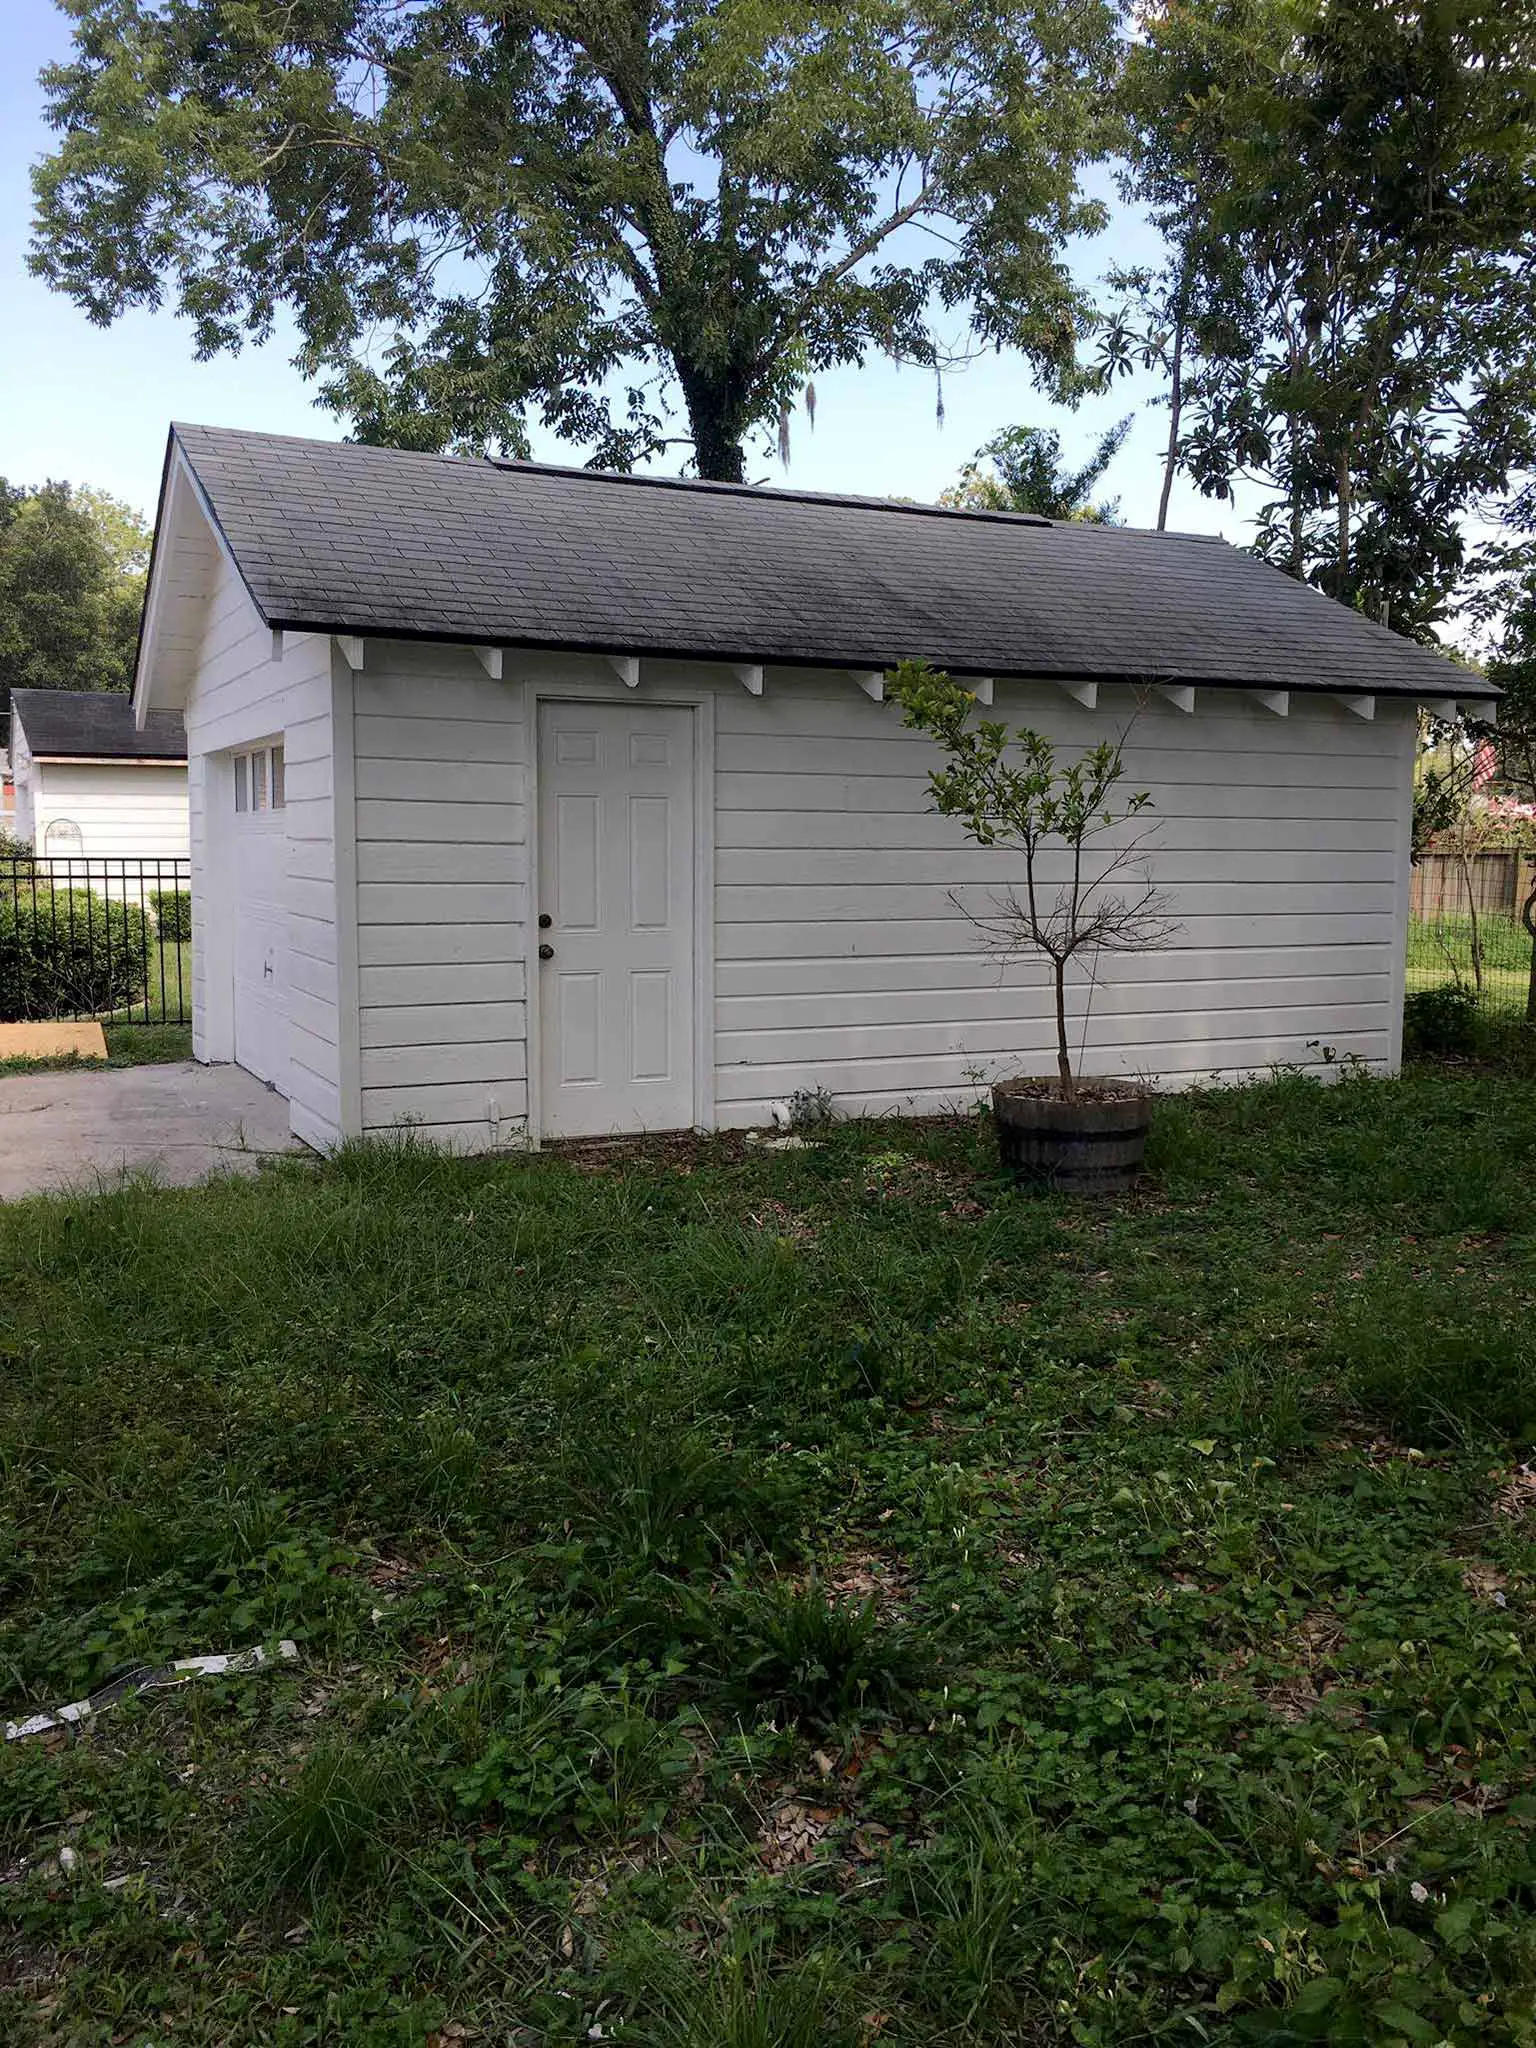
Ah, the garage. A.K.A the big curveball of our renovation project. Everything had been going SO smoothly up until the point that we submitted our plans to the city for converting the existing garage into a guest room and bathroom. It was brought to our attention by the city that our garage was apparently built on city-owned land, and therefore we were unable to make any changes to it. Six months of uncertainty and many low moments finally resulted in us getting a new surveyor to come and take a look. They worked on it for weeks and went through all the old maps right back to the point at which the lots were drawn up, and came to the conclusion that we in fact did own the land. So that was that. Who knew?
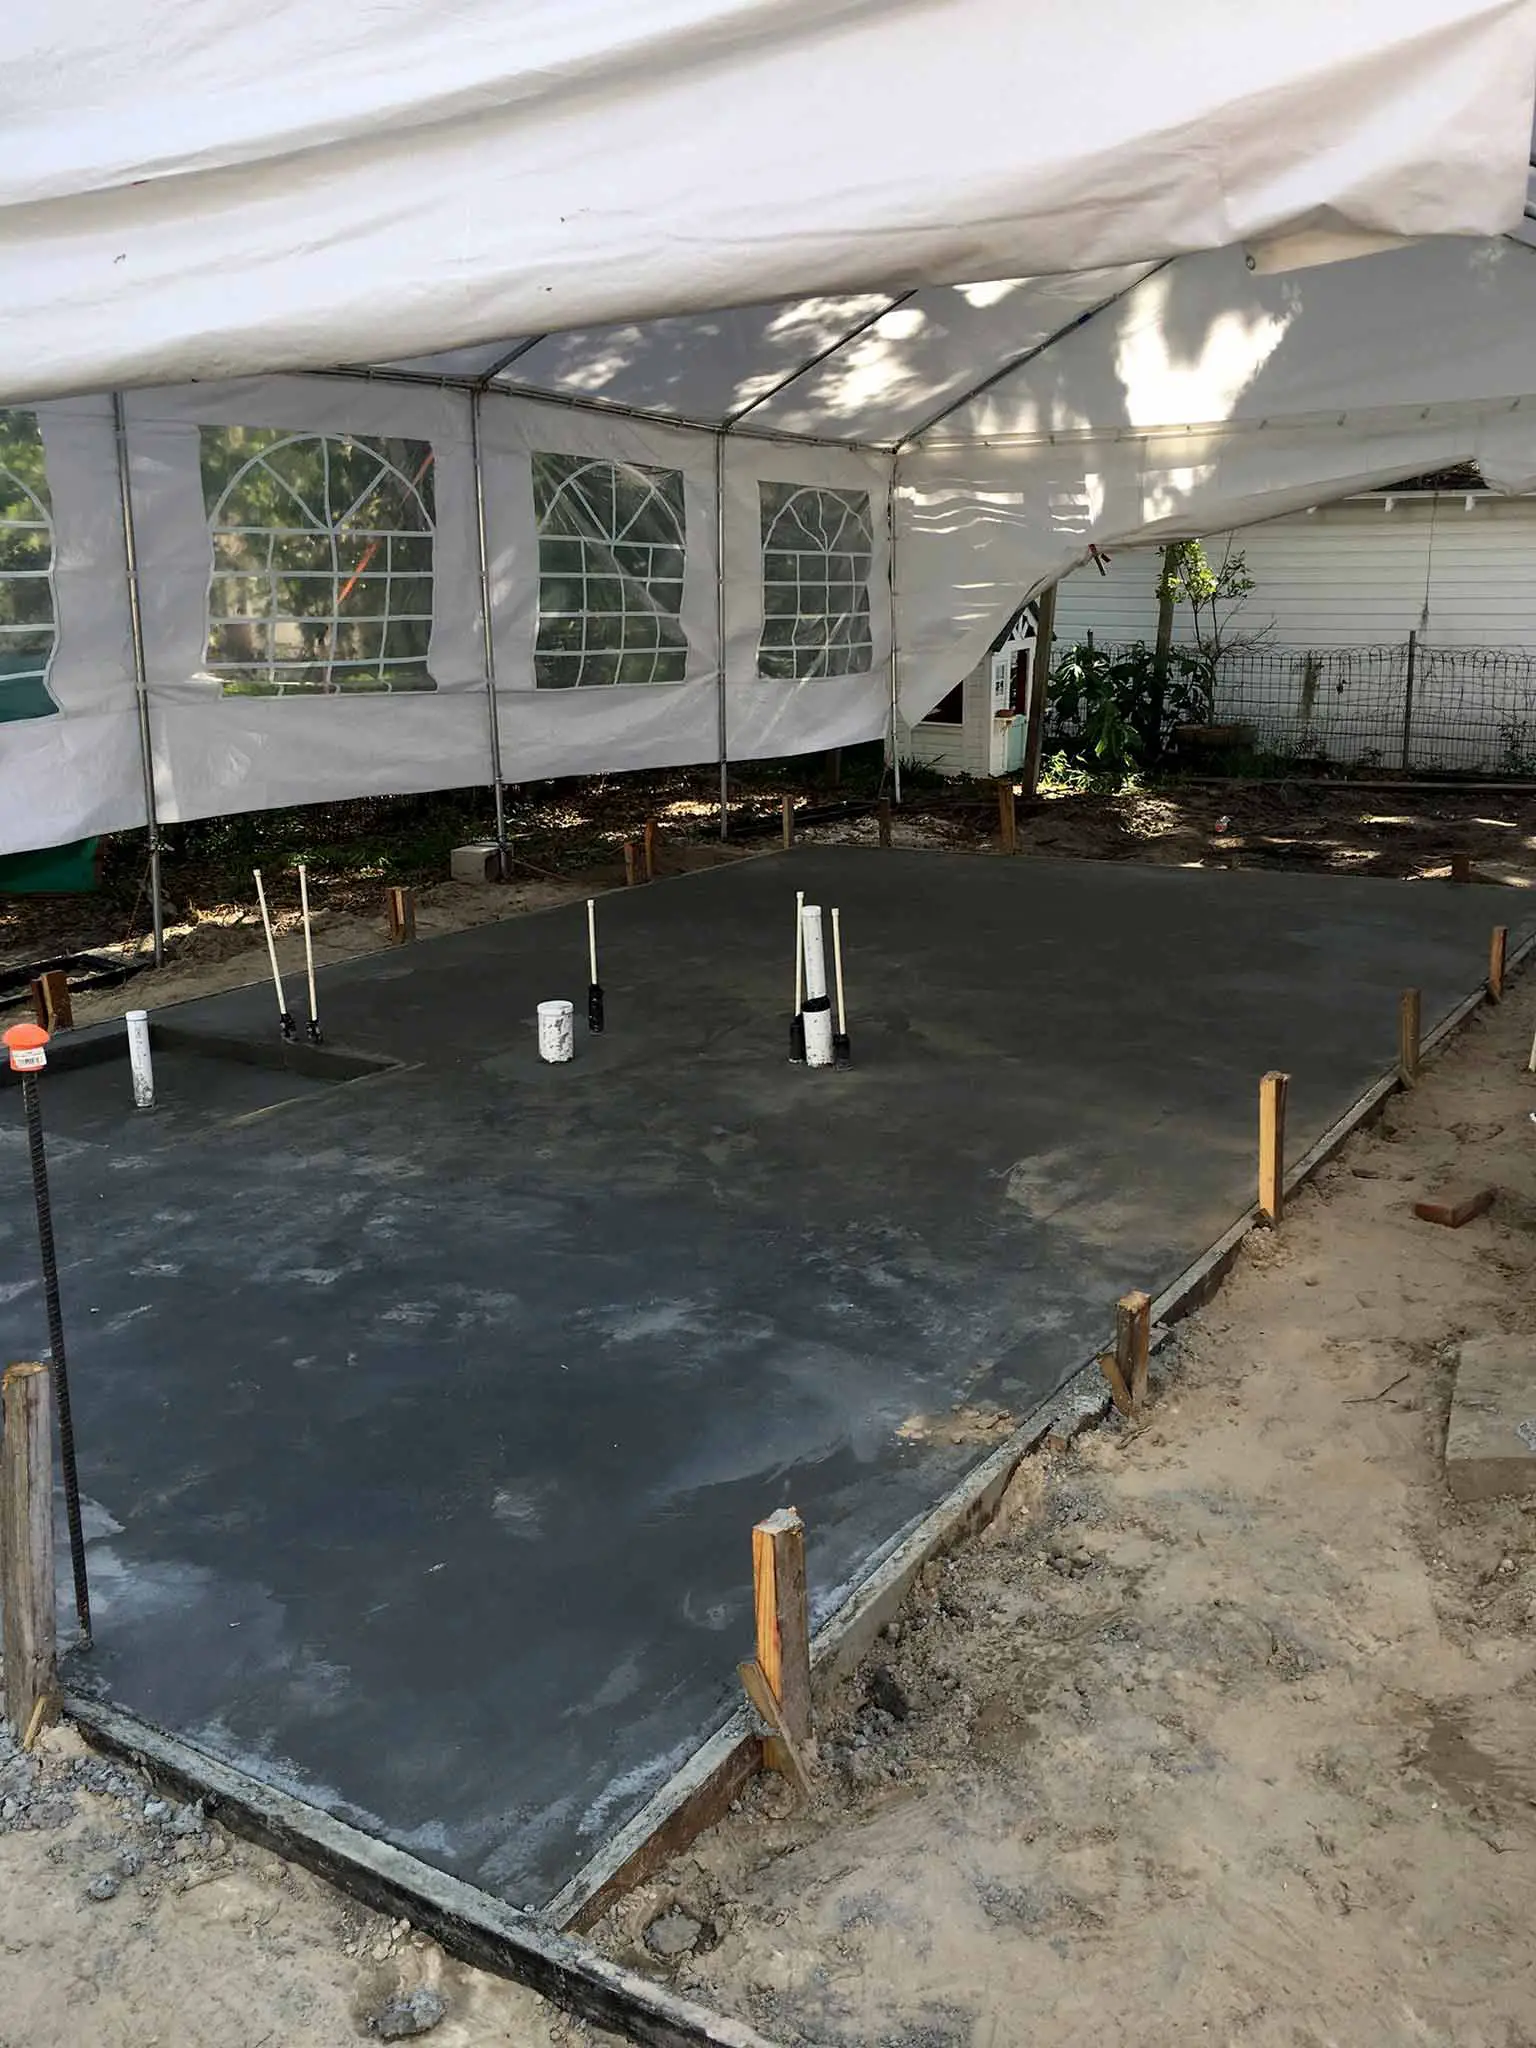
In the meantime, we had been coming up with bigger and better plans (the result of having too much time to think about it!) and had decided to pull the entire garage down and build something new, and larger. The cost of making the current garage structurally sound and habitable was almost as much as starting from scratch, and after all of that the space inside the existing garage would be pretty tight. After many months of waiting and wondering, we finally submitted new plans to the city and they gave us the green light!
Construction began in July so I'll be back with updates as it progresses. We also desperately need to landscape and hardscape so there will be more details on those plans soon. Our front yard is currently a mess of weeds, mud and a big red dumpster—it couldn't get much worse!

So that's where we're up to so far—we've seen a lot of progress in the last 16 months and had a few frustrations. But we wouldn't change it for anything and we are excited to see what the next phase of our home renovation brings!
This post is part of a three part series where I talk about our house buying and home renovation process so far. Be sure to check out the other posts in the series!