Not long after we moved into our home, I realized that the kitchen was a pretty tight space. Our rented house had a lot more cabinet space and an island, and so I knew that I would have to get creative with storage solutions, particularly for our food.
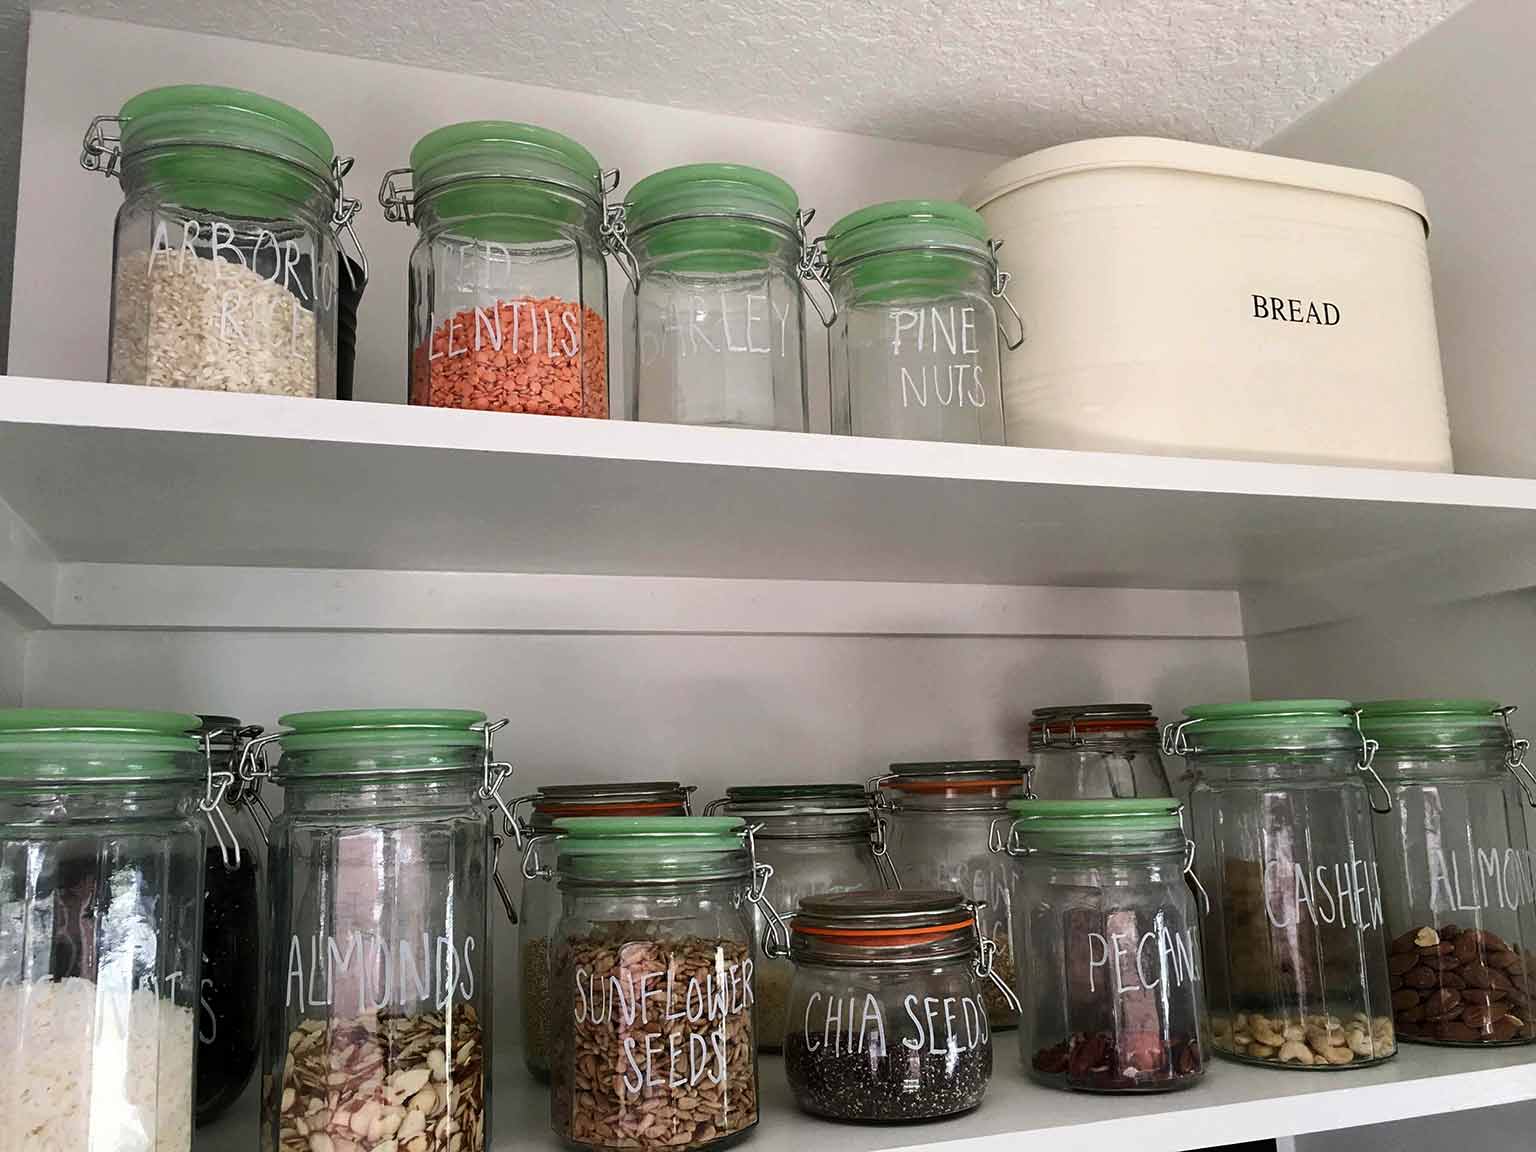
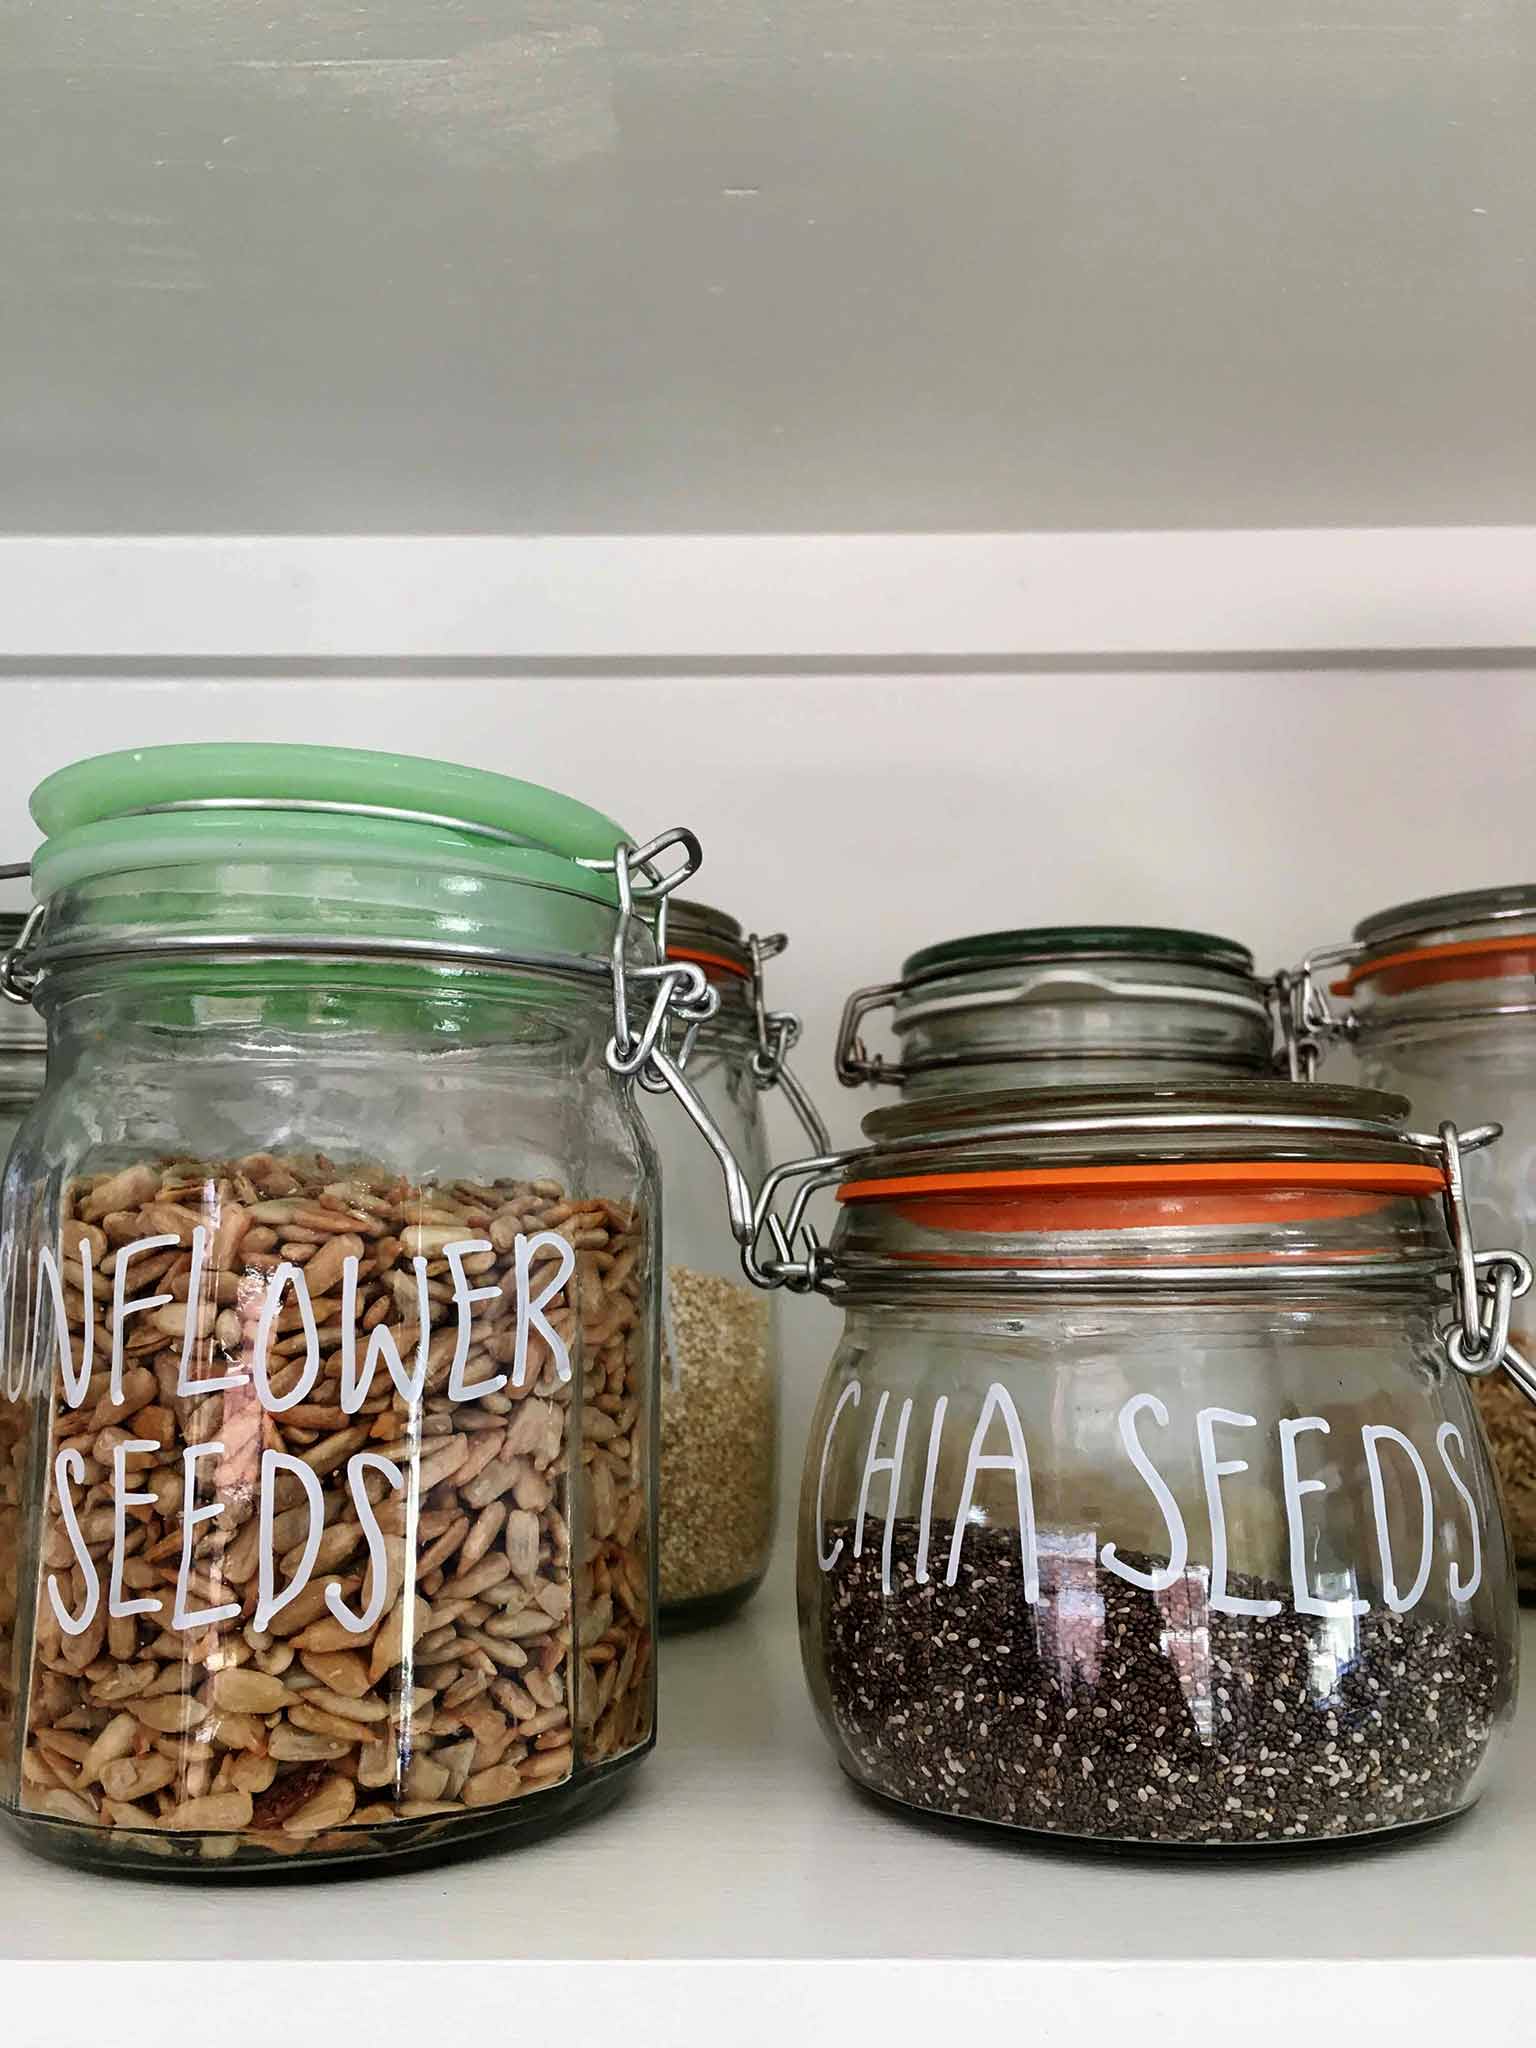
The first project was to build some shelves in our mudroom, which is adjacent to our kitchen. I put all of our dried foods in labeled jars, and bought some baskets for cans and general pantry items. The rest of our food (snacks, cooking, baking, cereals...) fitted snugly into a couple of kitchen cabinets.
It worked well enough, until we started shopping at Costco. And that really threw things off.
Now, for an English gal Costco feels just about as American as you can get. I got a bit giddy with the size and value of everything, and on my first visit filled our car to the max with boxes of crackers, toilet paper and La Croix. Then, because I hadn't thought ahead, (and I didn't have a better idea,) I carried everything that I couldn't squeeze into our cabinets up a ladder into our attic space. And every time we ran out of maple syrup, or apple sauce, or cheerios (which was basically every day) I would have to go back up to the attic to retrieve the goods.
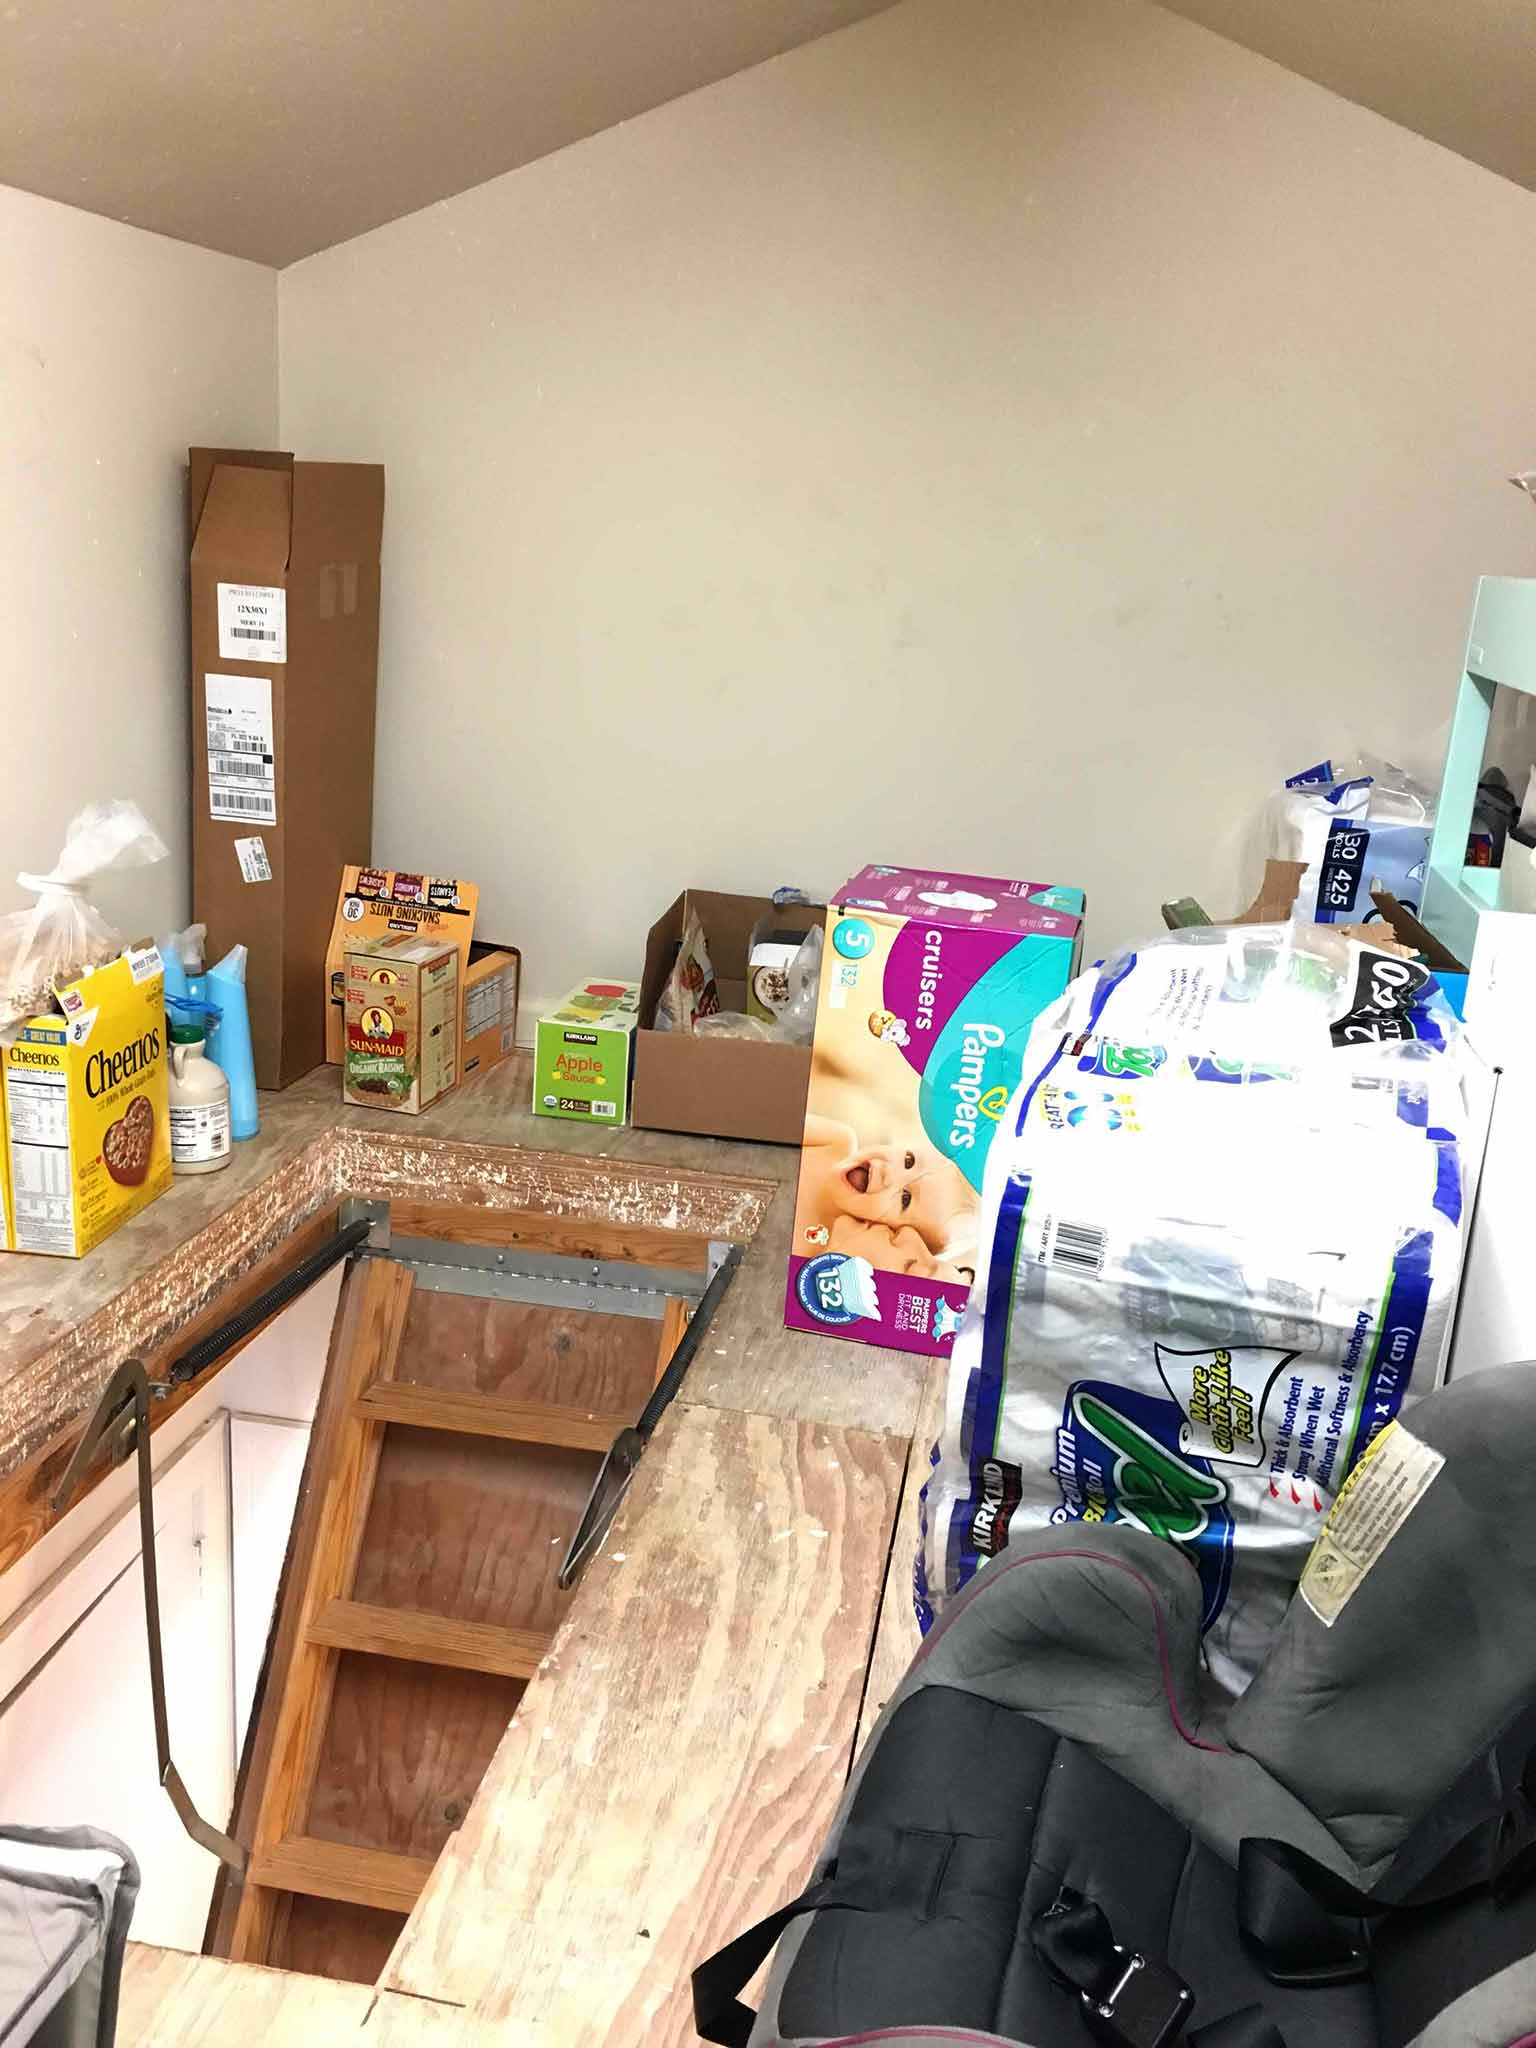
Far from ideal.
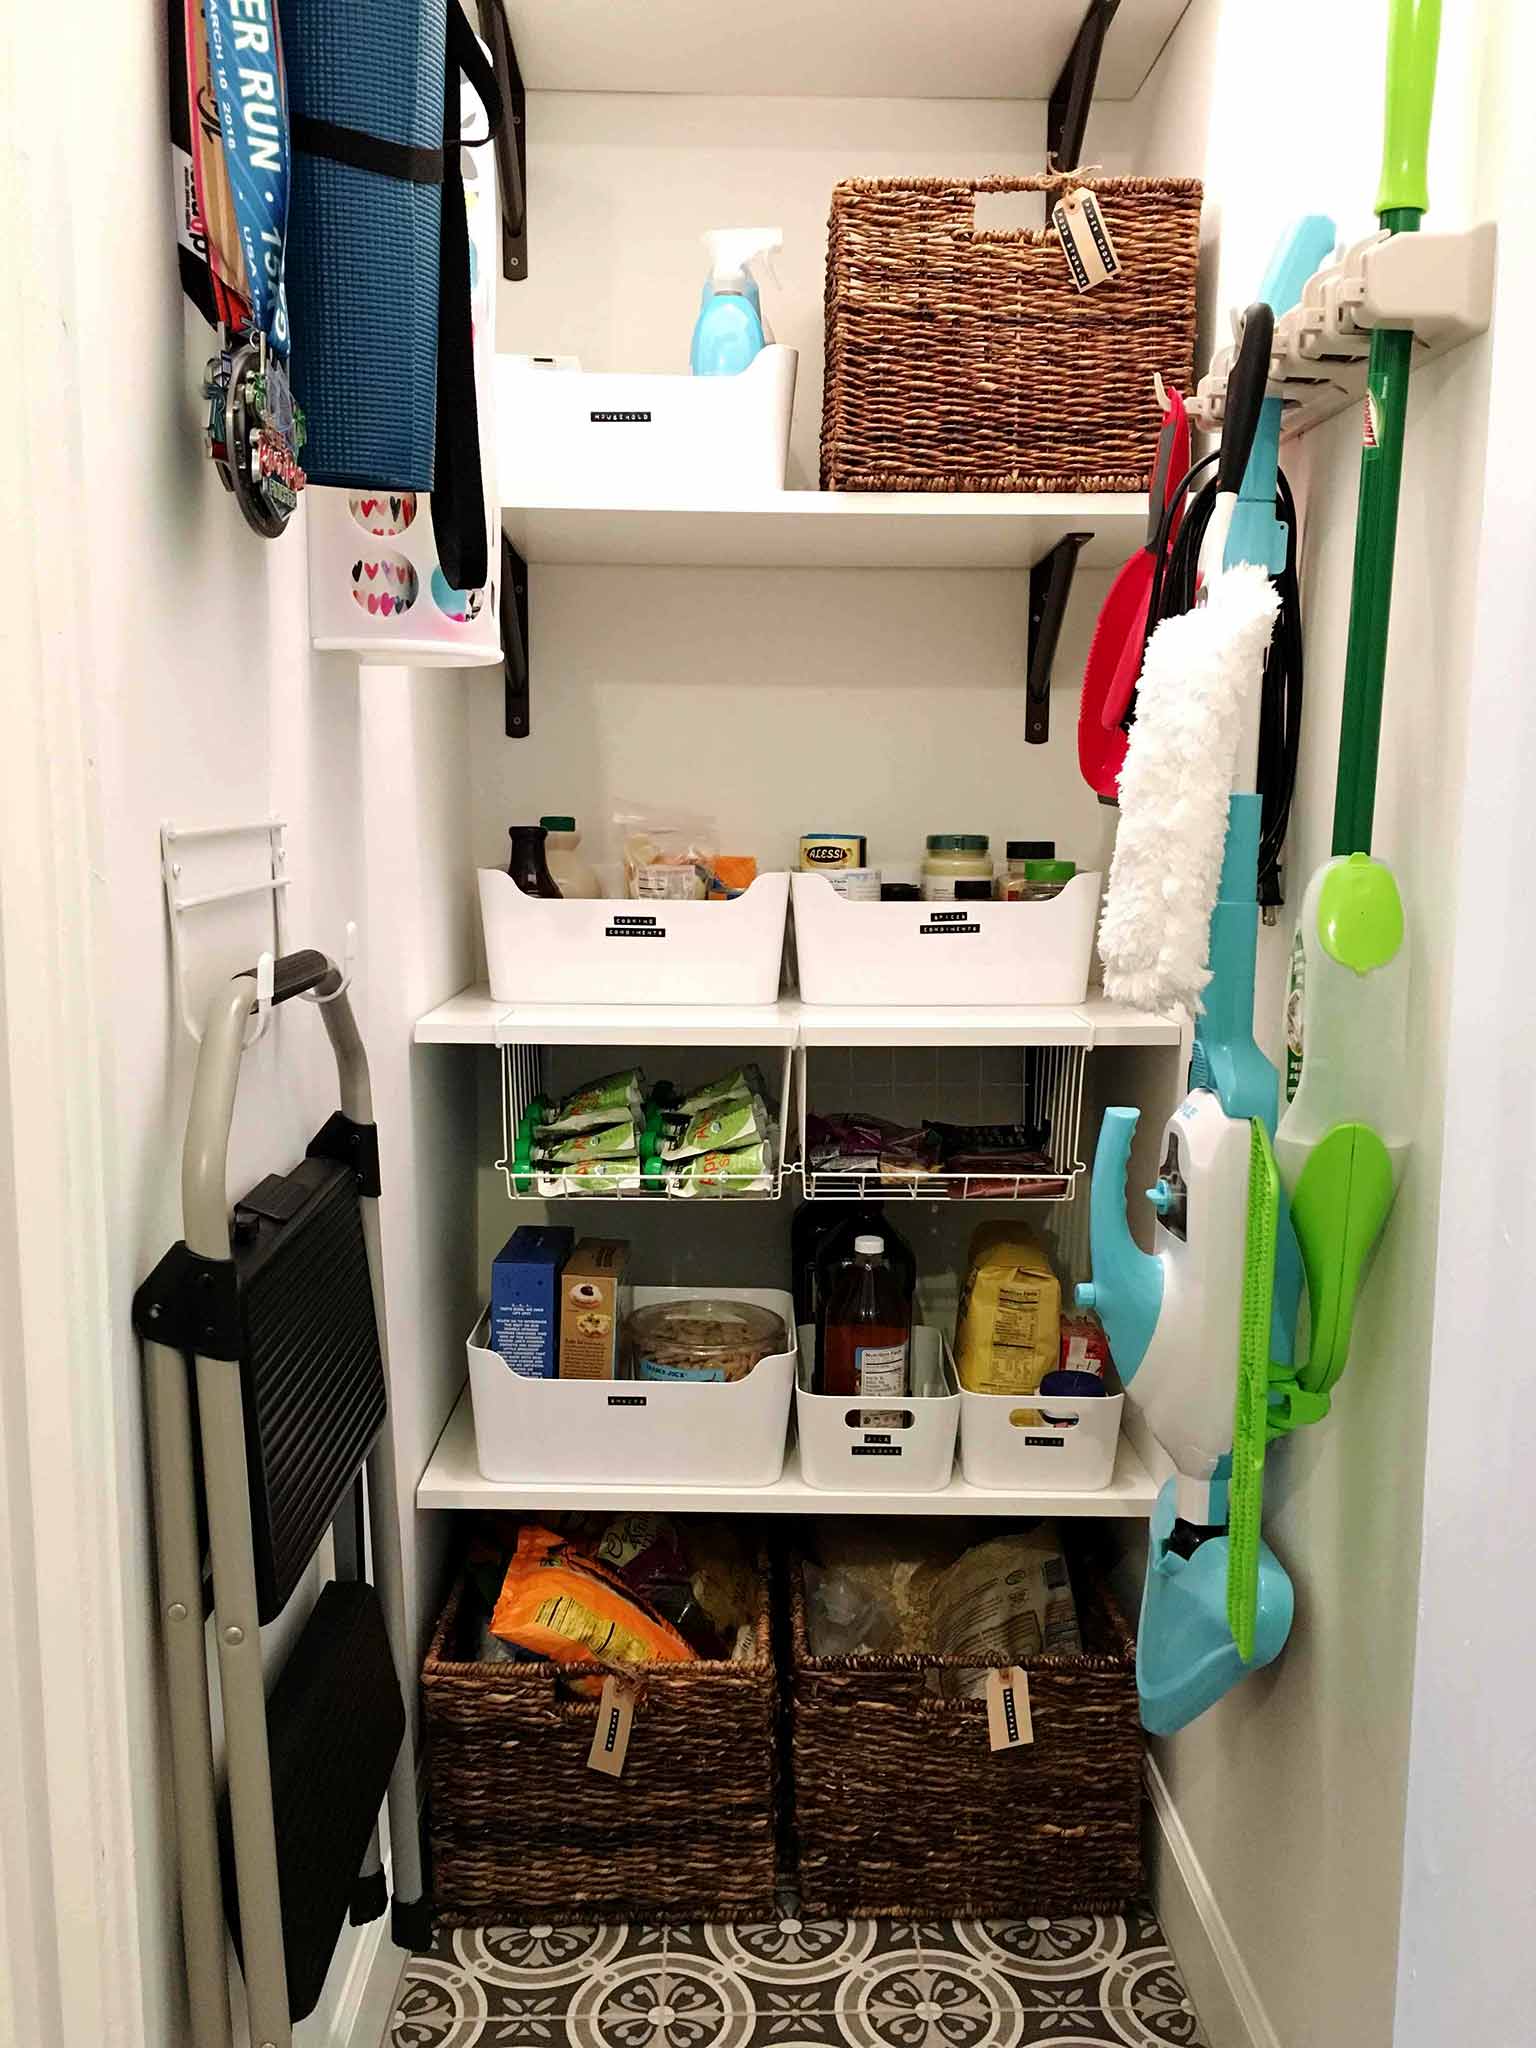
Luckily, I married a man who is smarter than me. Despite me being the "organizing expert," he came up with the suggestion of turning our hallway closet into a pantry. Up until this point, it had been housing our musical instruments, my sewing equipment, paperwork, and old photos.
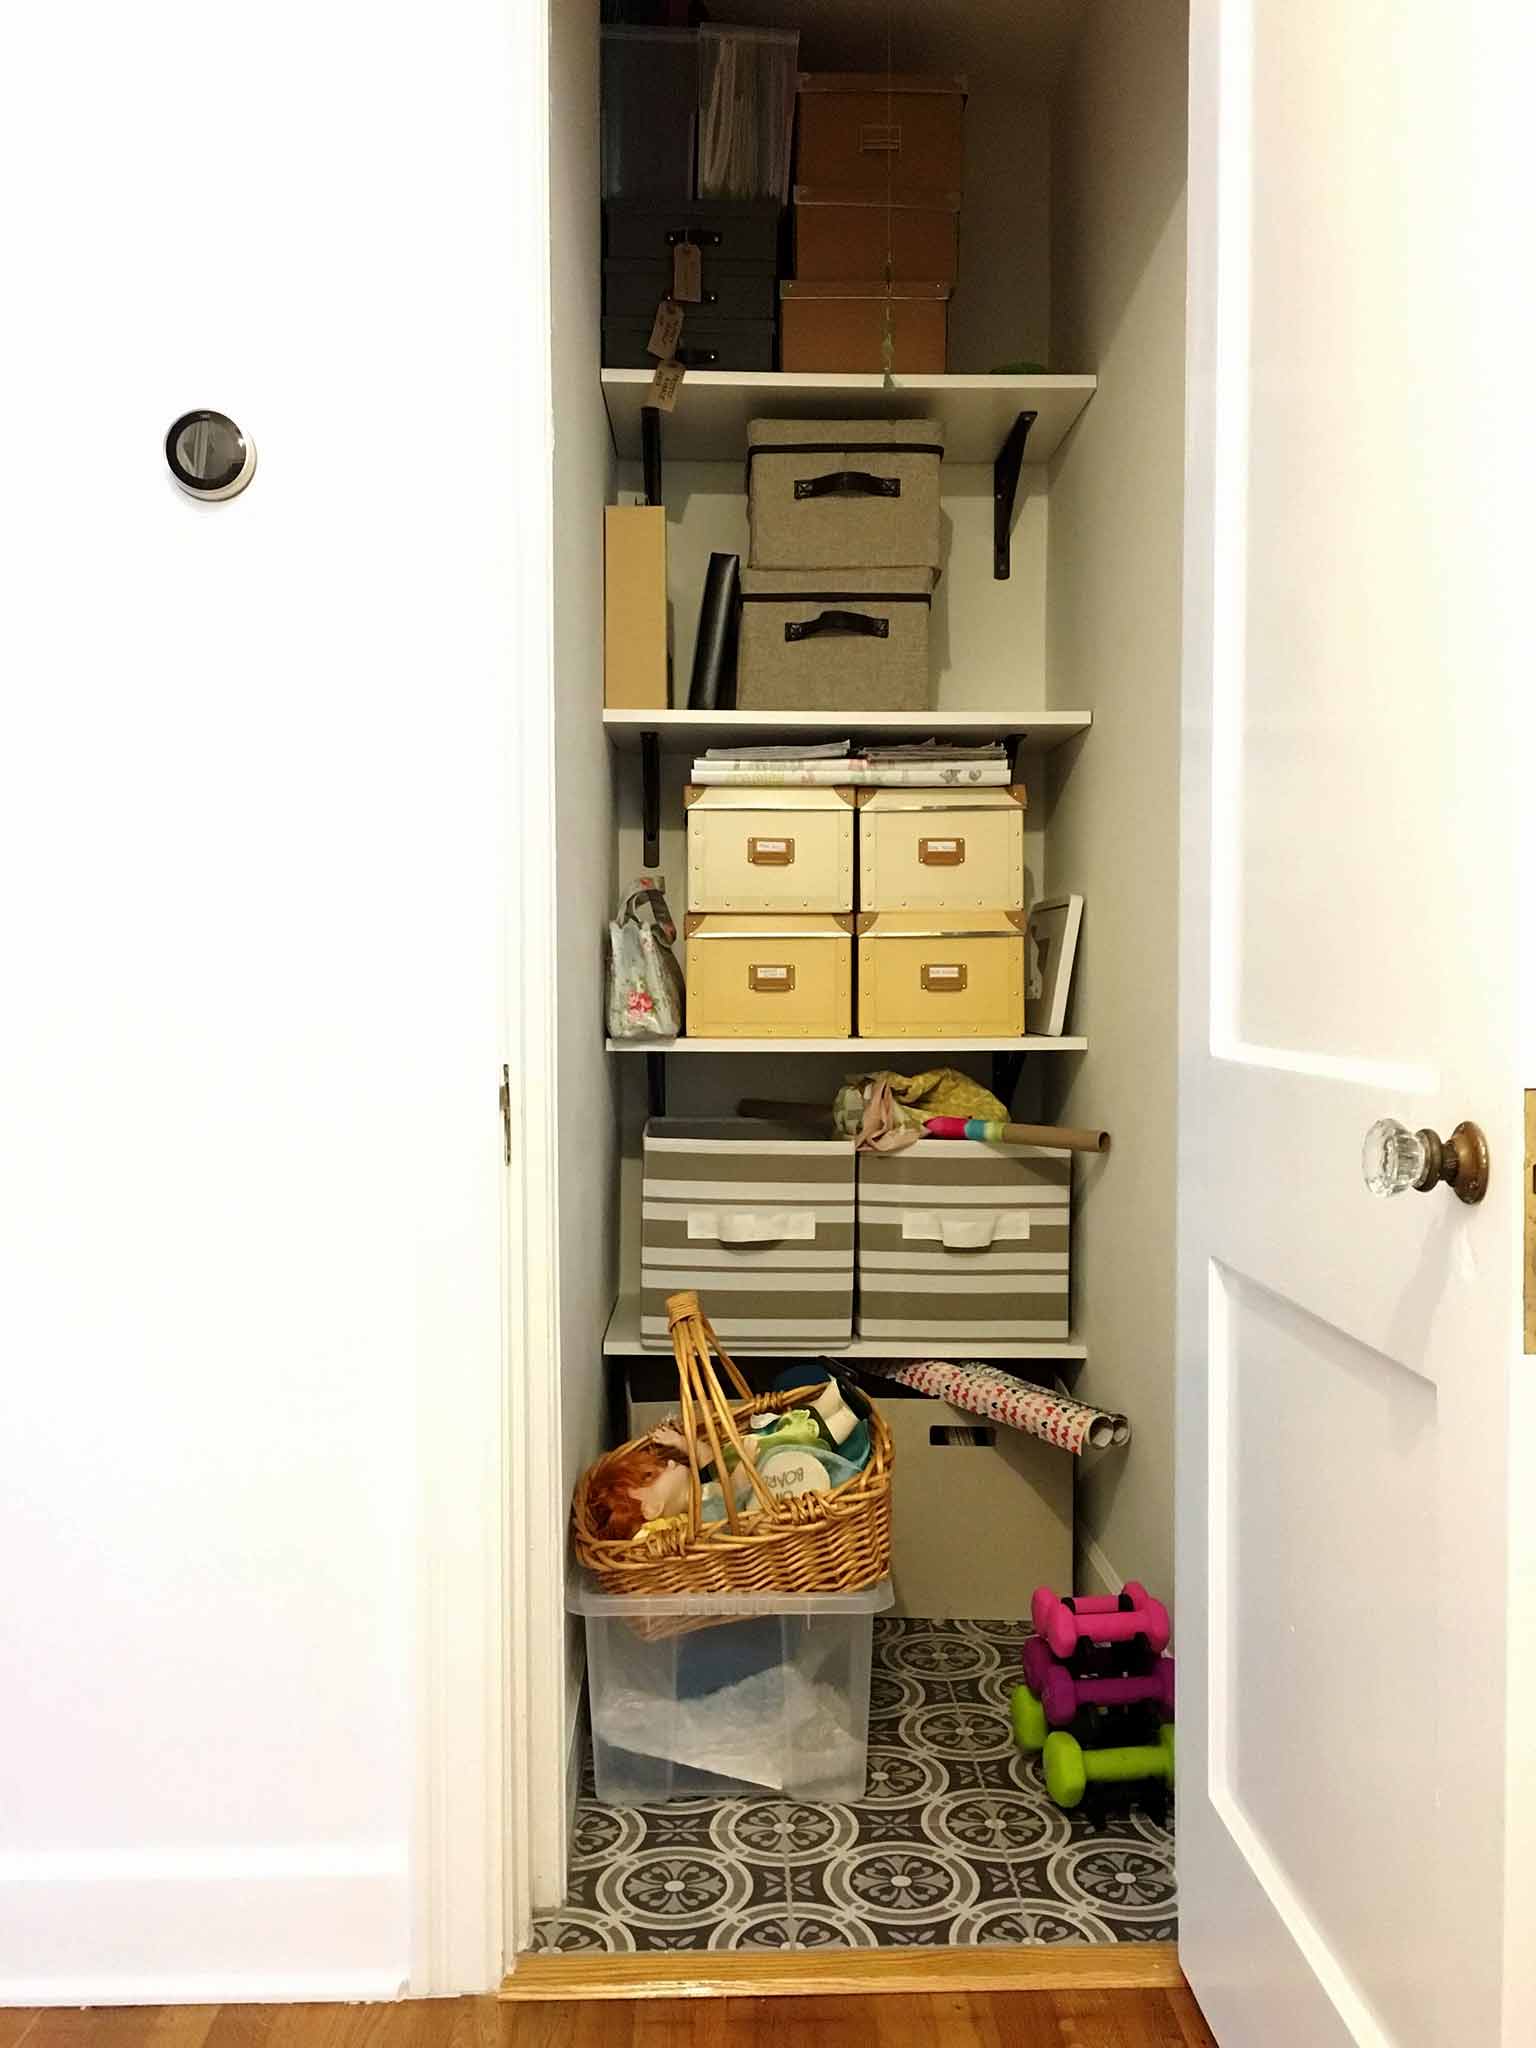
The guest house loft was the ideal place to put most of this, and the rest went up into the attic.
As soon as I saw it empty, I knew that this closet would make a great pantry. The only downside was its location (down the hallway from the kitchen), so we decided to use it more as overflow and bulk storage. We also moved a few other things in, like our vacuum cleaner and mops, as well as other bulky household items. We are continuing to use our kitchen cabinets and the mudroom shelves for regularly used food items.
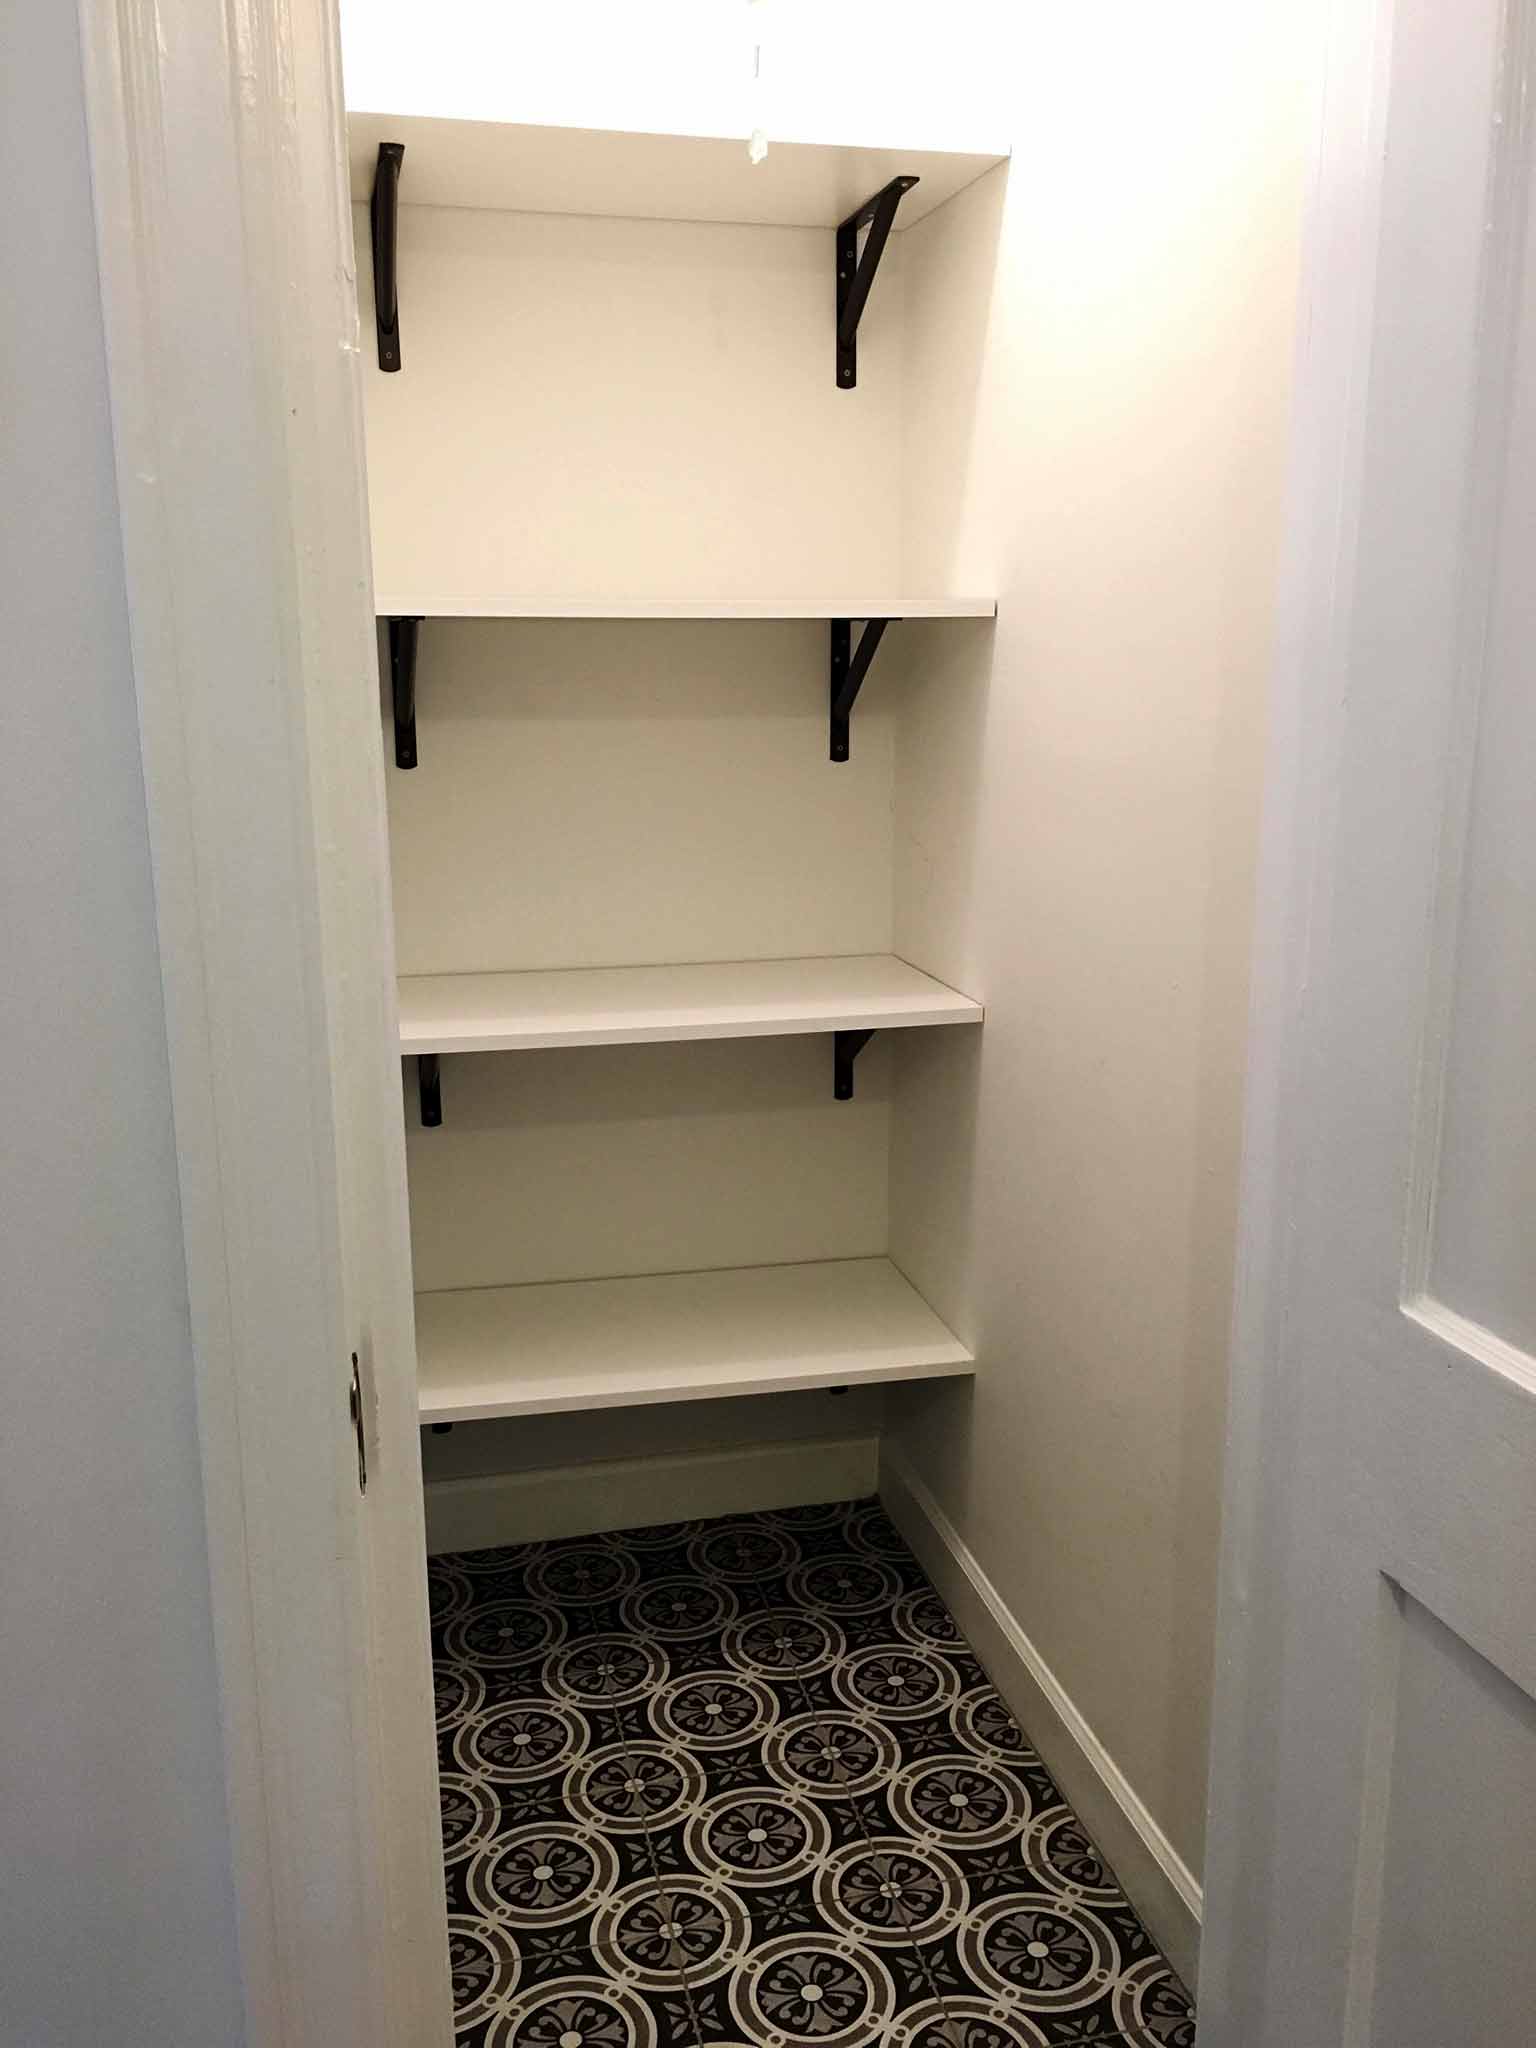
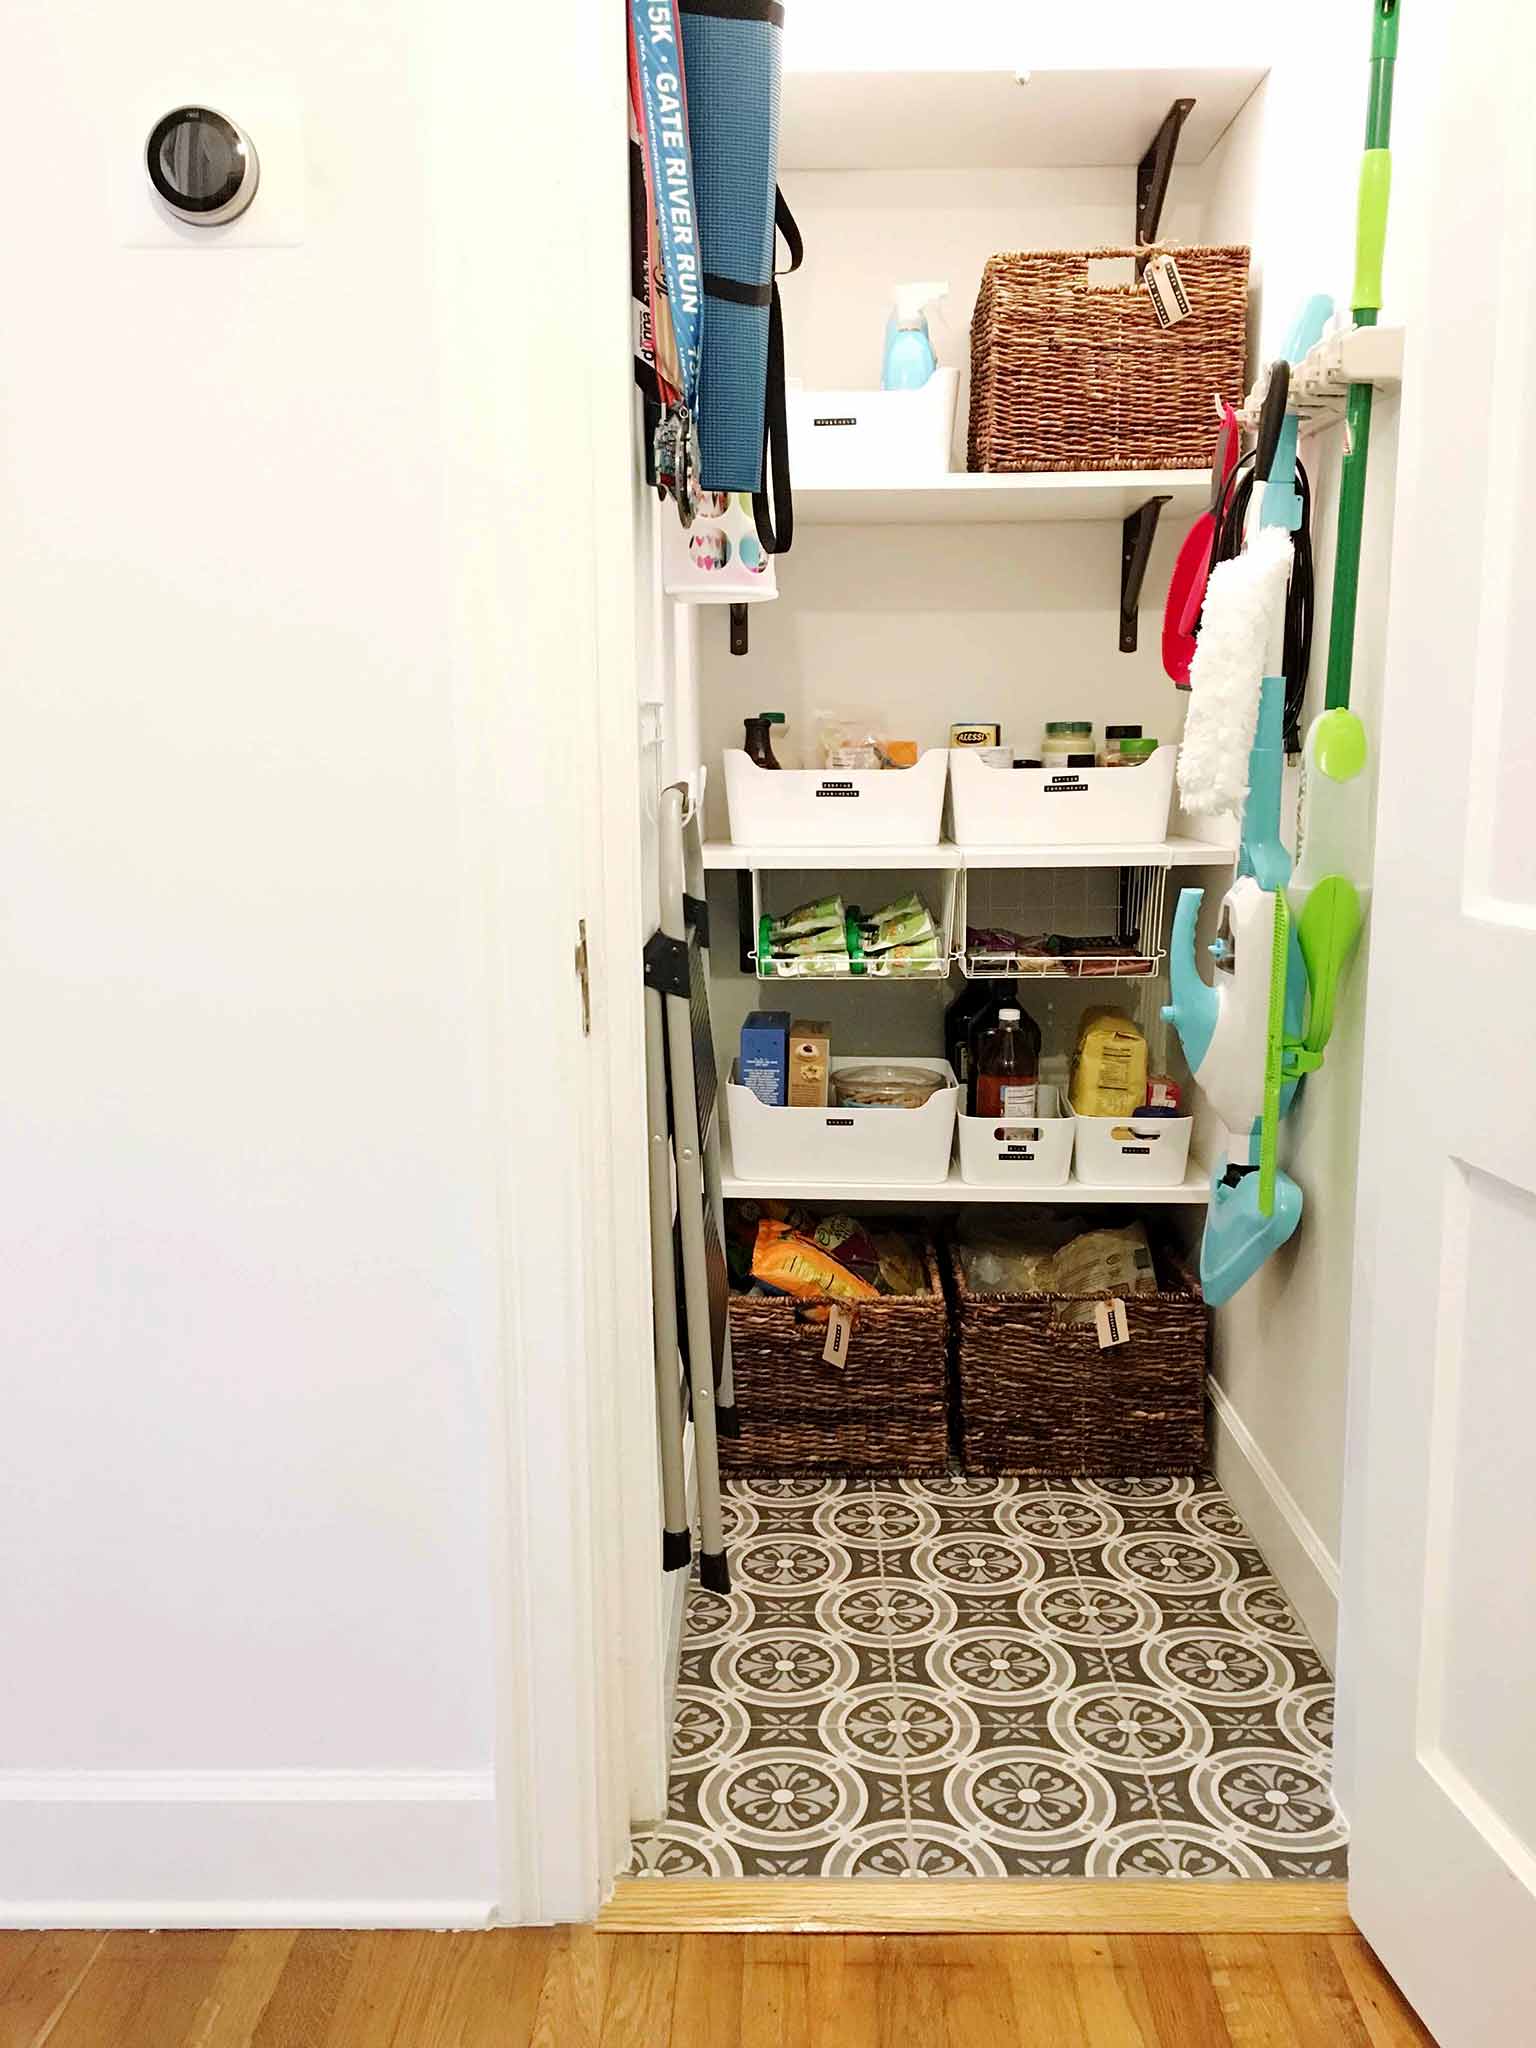
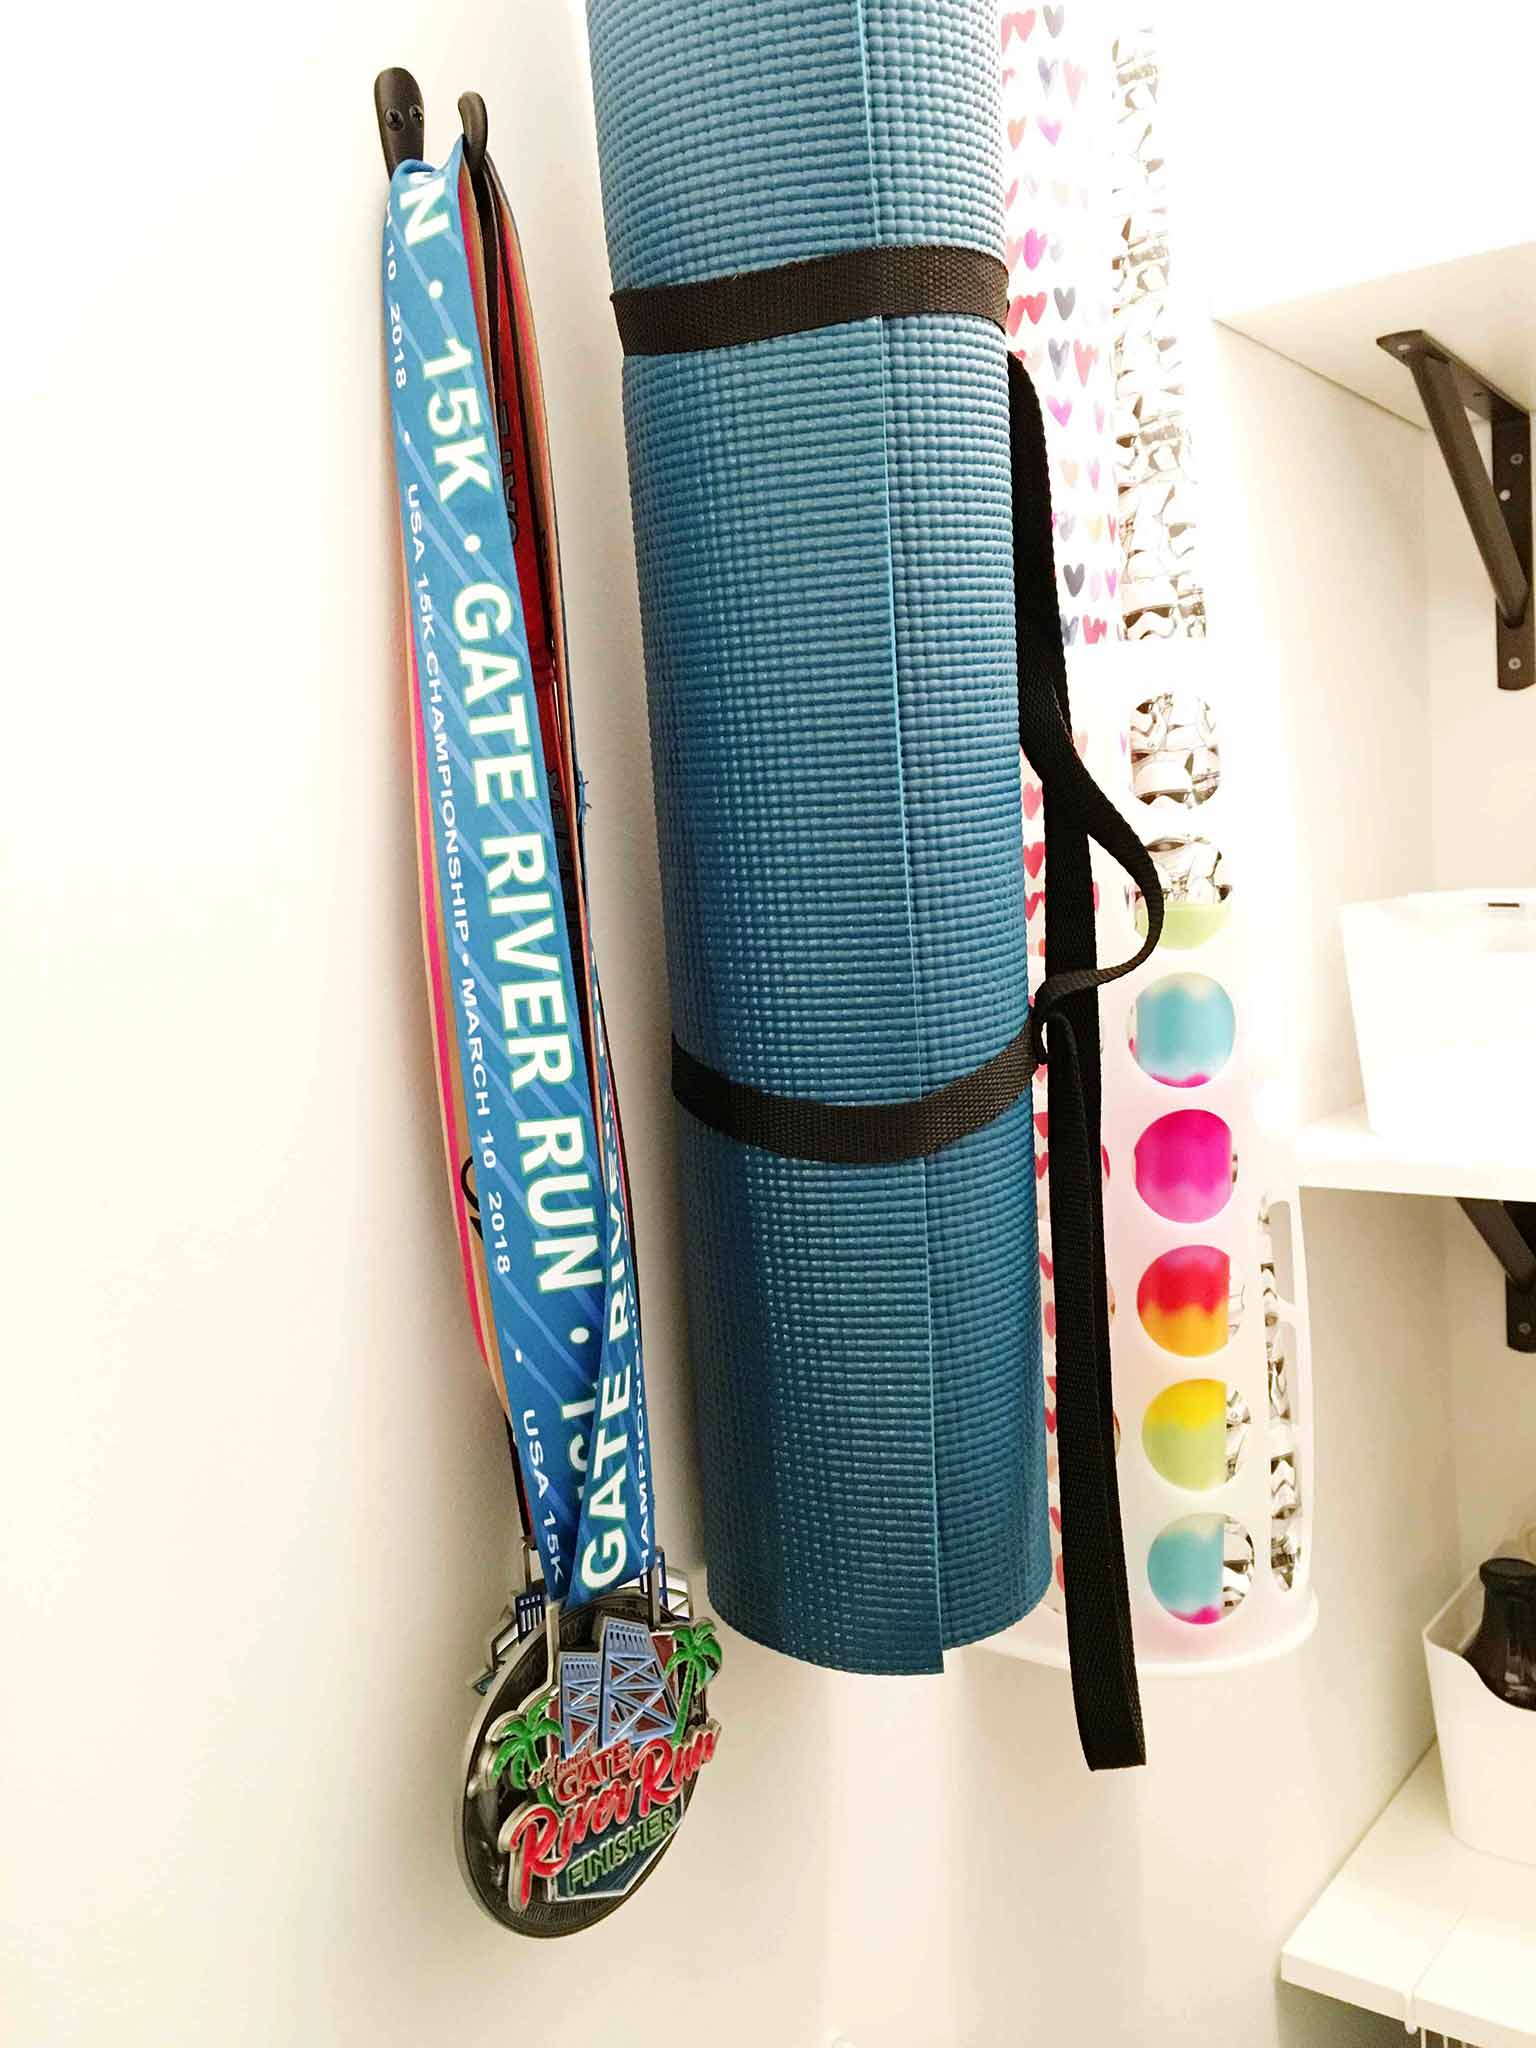
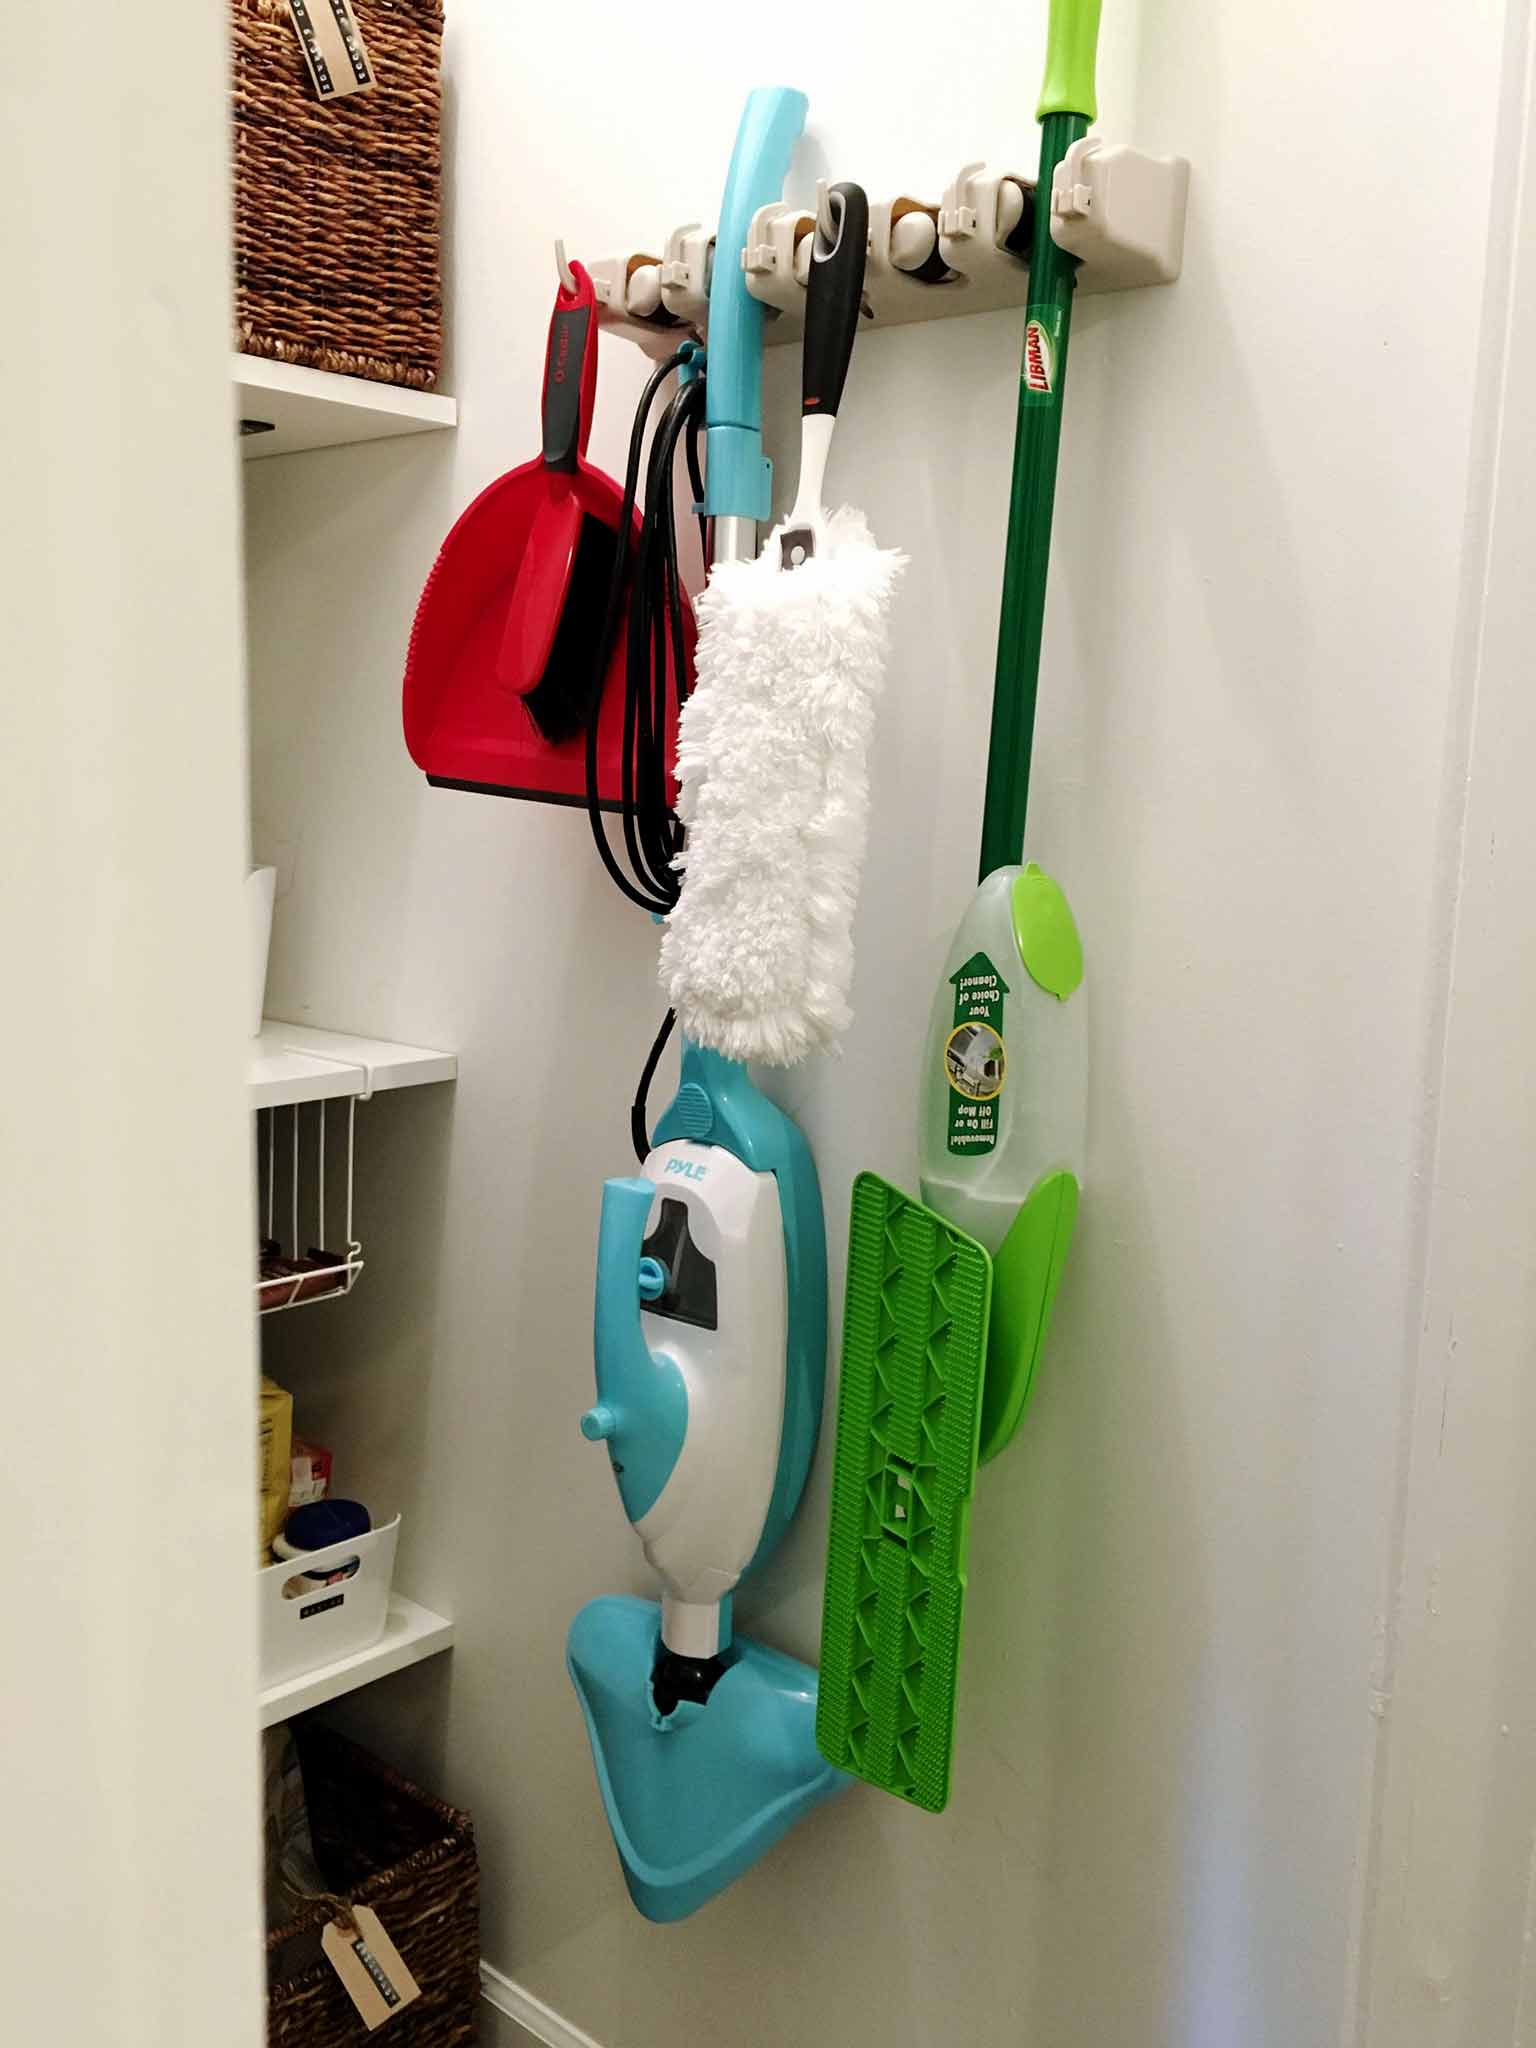
So, I thought I would share a few tips which helped me figure out how to organize all things food in our home.
KNOW YOUR HOME
First things first, and before you run off to Target to buy all the pretty baskets, you need to consider how you work as a family, and what kind of storage space you have to work with.
Do you bulk shop or only buy what you need?
Do you want to decant everything into containers, or does that sound like a waste of time?
(—For me, the effort is worth the pleasing aesthetic!)
If you have a pantry, is it located in your kitchen?
(—If not, you may need to use a similar system to us and keep the overflow food in the pantry, with a small selection of things you use often in the kitchen cabinets. TIP: our kids love refilling the kitchen snack basket which is one less chore for us!)
By thinking about these things before diving head first into the project, you will save yourself time in the long run.
CATEGORIZE
Grab a sheet of plain paper and start working your way around your kitchen/pantry writing down the different categories of food and drink you currently have in your home. Our list looked a little like this:
- Breakfast (oats, cereal, flaxseed, granola)
- Snacks and treats (kids and adult)
- Cooking (condiments, spices, jars, cans)
- Oils and vinegars
- Baking (flours, sugar, baking powder and soda)
- Dry goods (nuts, grains, seeds, pulses)
- Beverages (tea, coffee, alcohol, La Croix)
- Non-refrigerated fresh food (potatoes, onions, tomatoes, bananas)
- Supplements (not really a food, but it makes sense for us to store them somewhere that we can reach for them easily)
Once you have your list, start looking at your pantry or cabinets and mentally allocate space for each category—or you could even draw a diagram. It's a good rule of thumb to keep the most often used items in more accessible places. You don't want to be reaching past the soy sauce to get to the granola every morning. Also, where space allows, keep like items together. But don't sweat it if you can't stick to that 100%.
So, in our home we have:
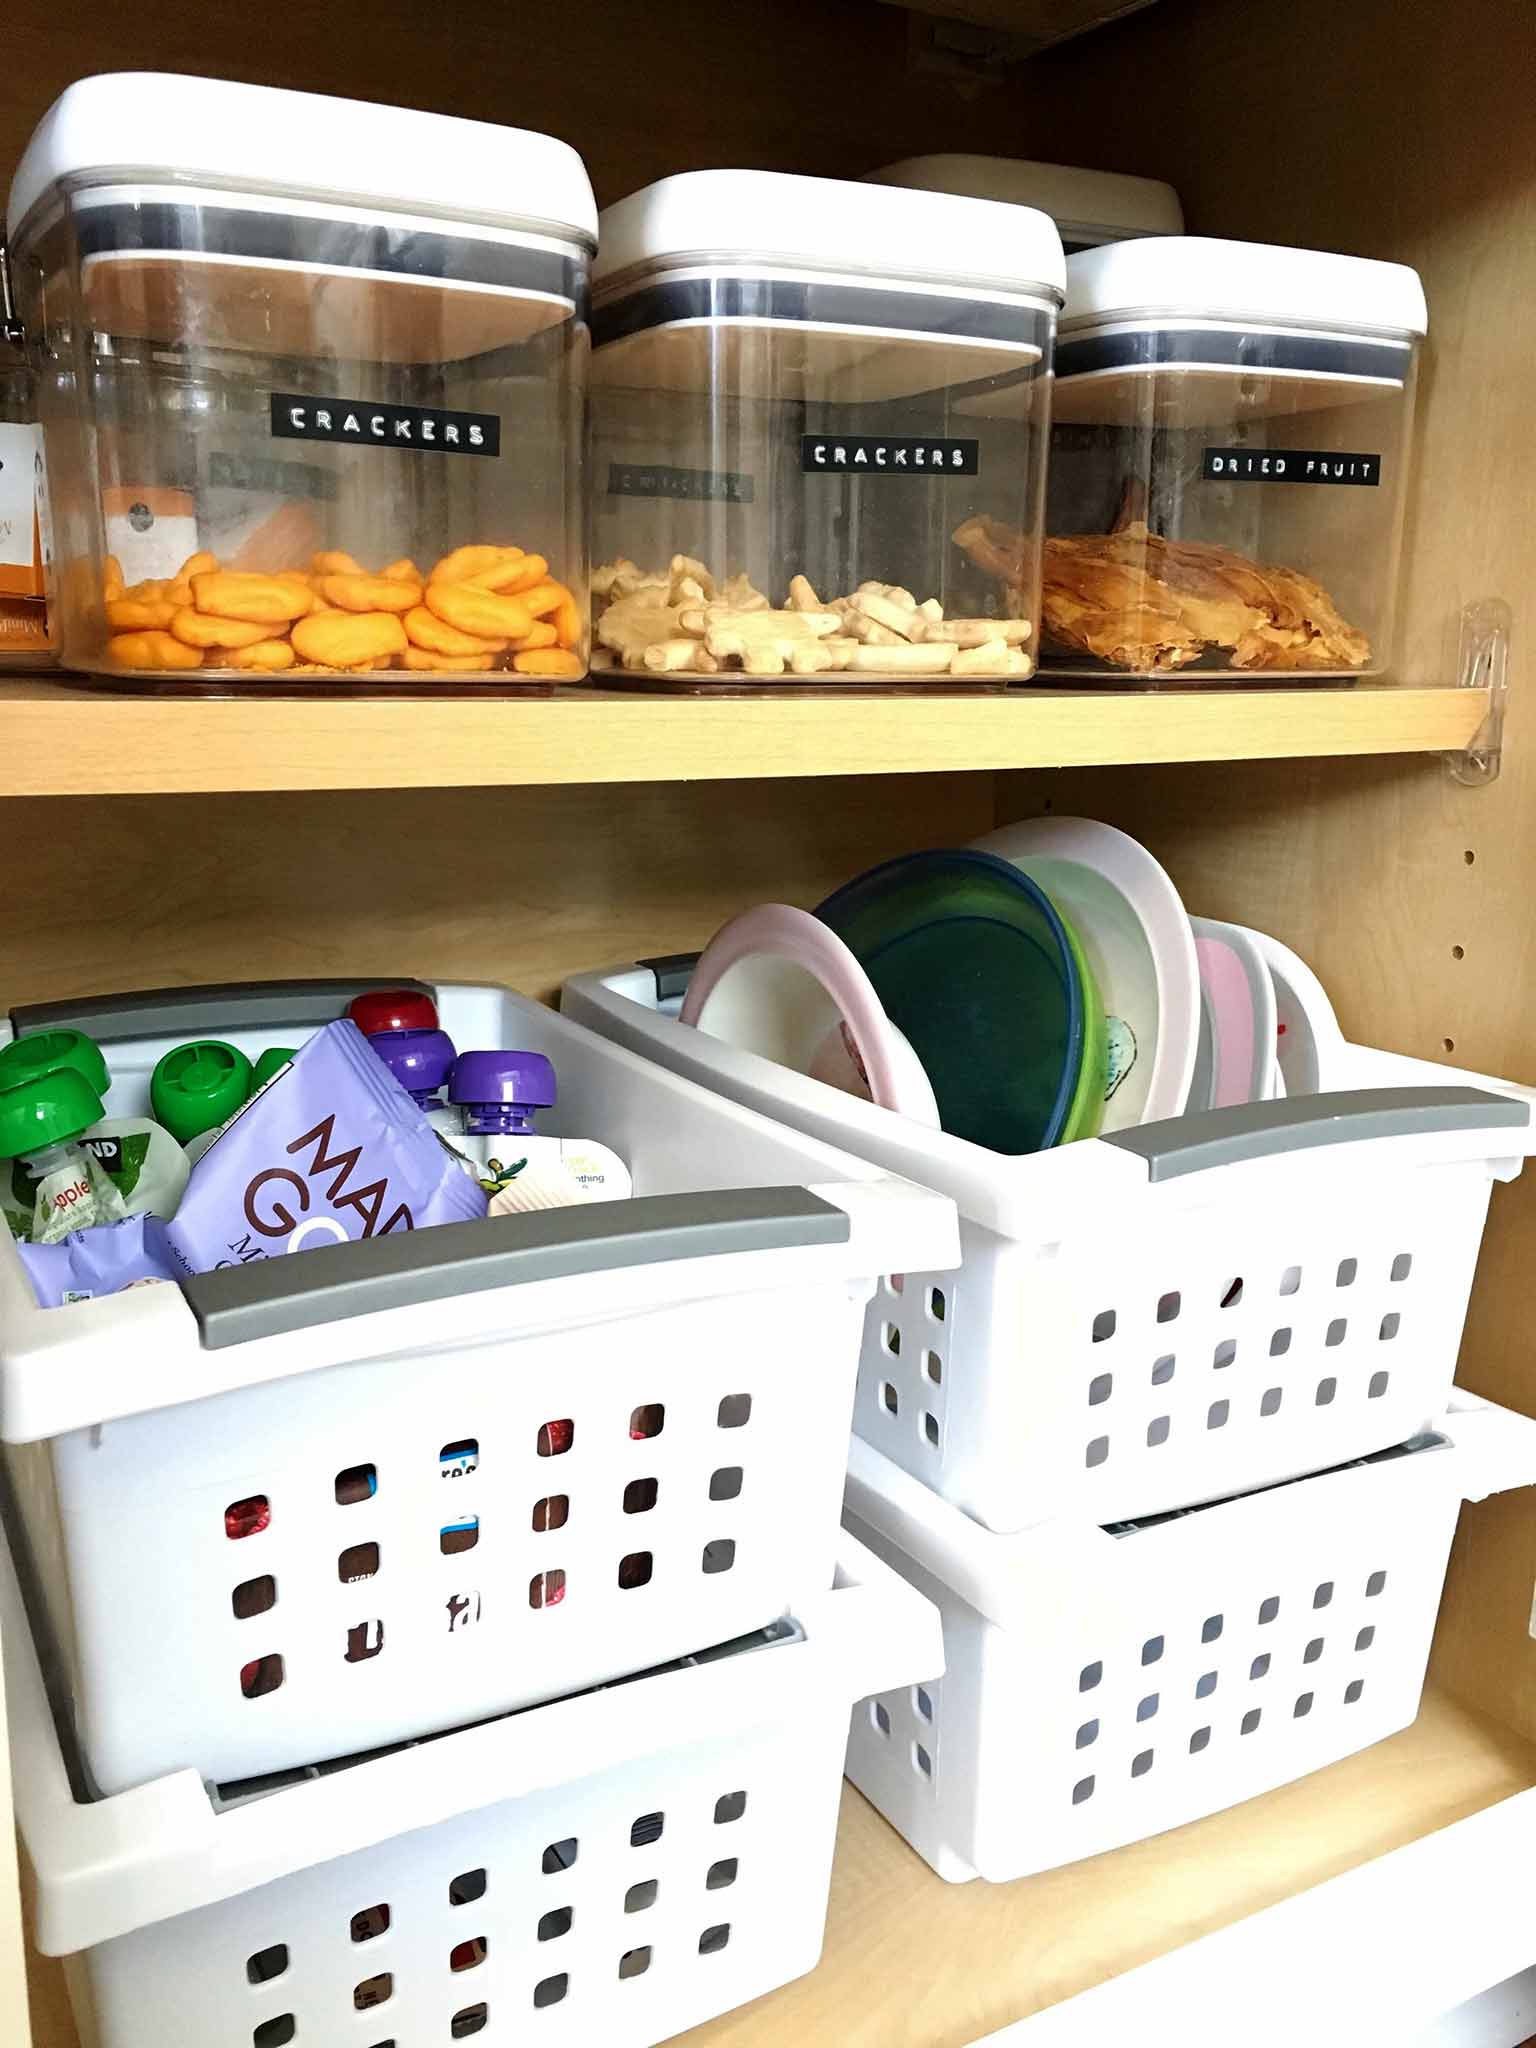
- a low cabinet for snacks and breakfast foods
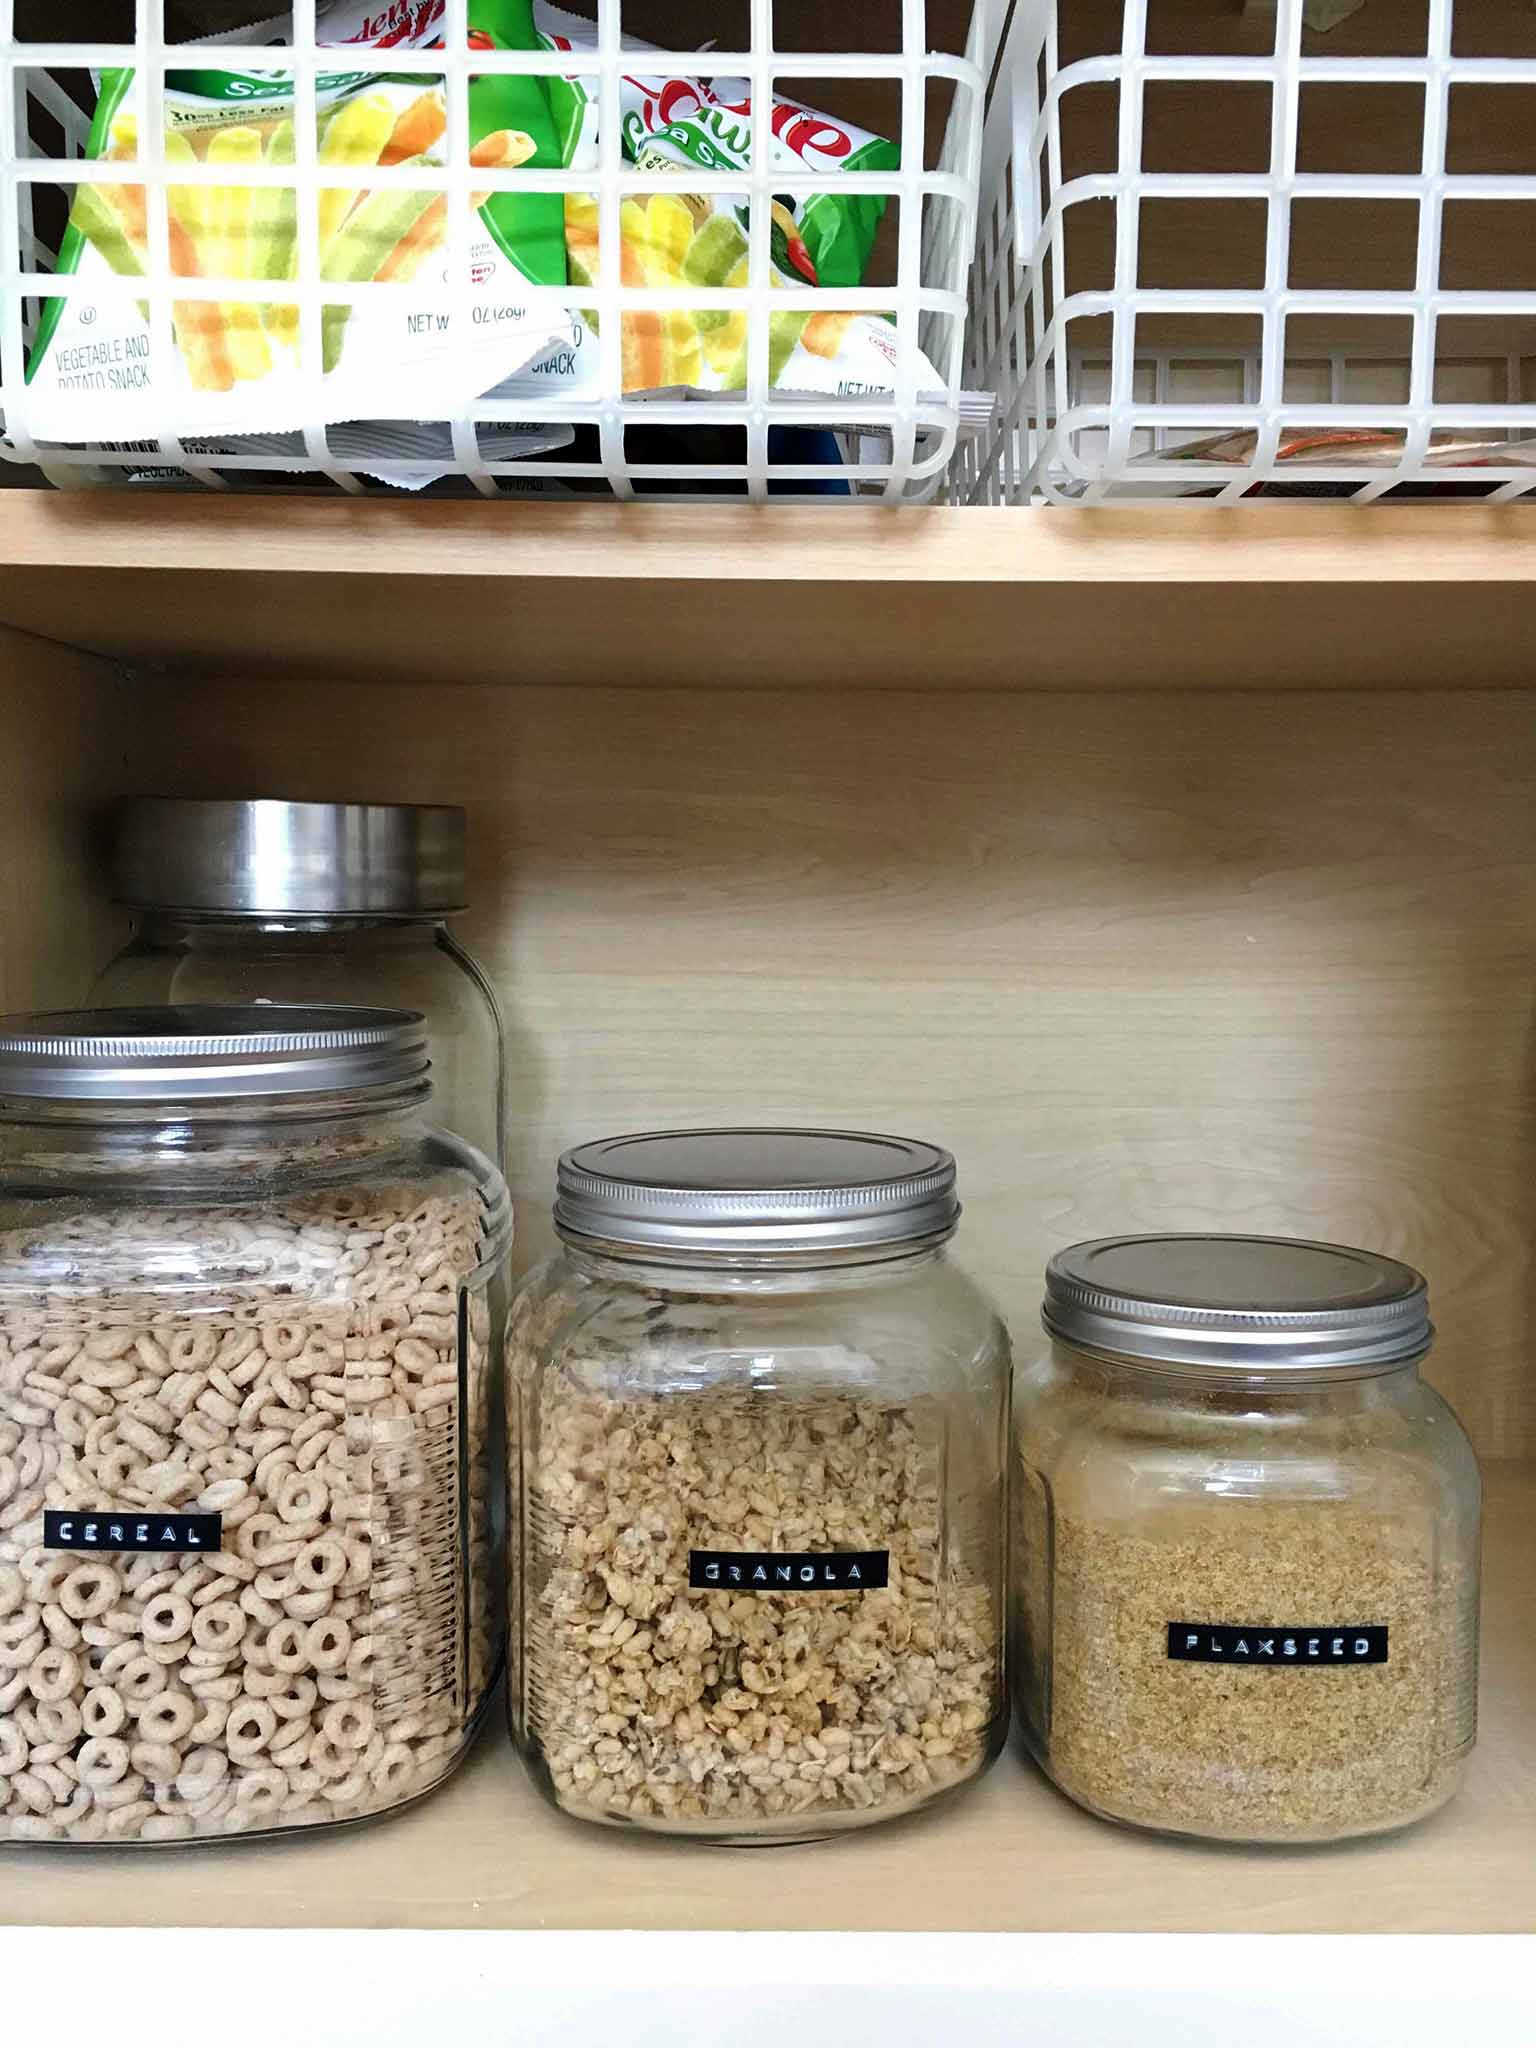
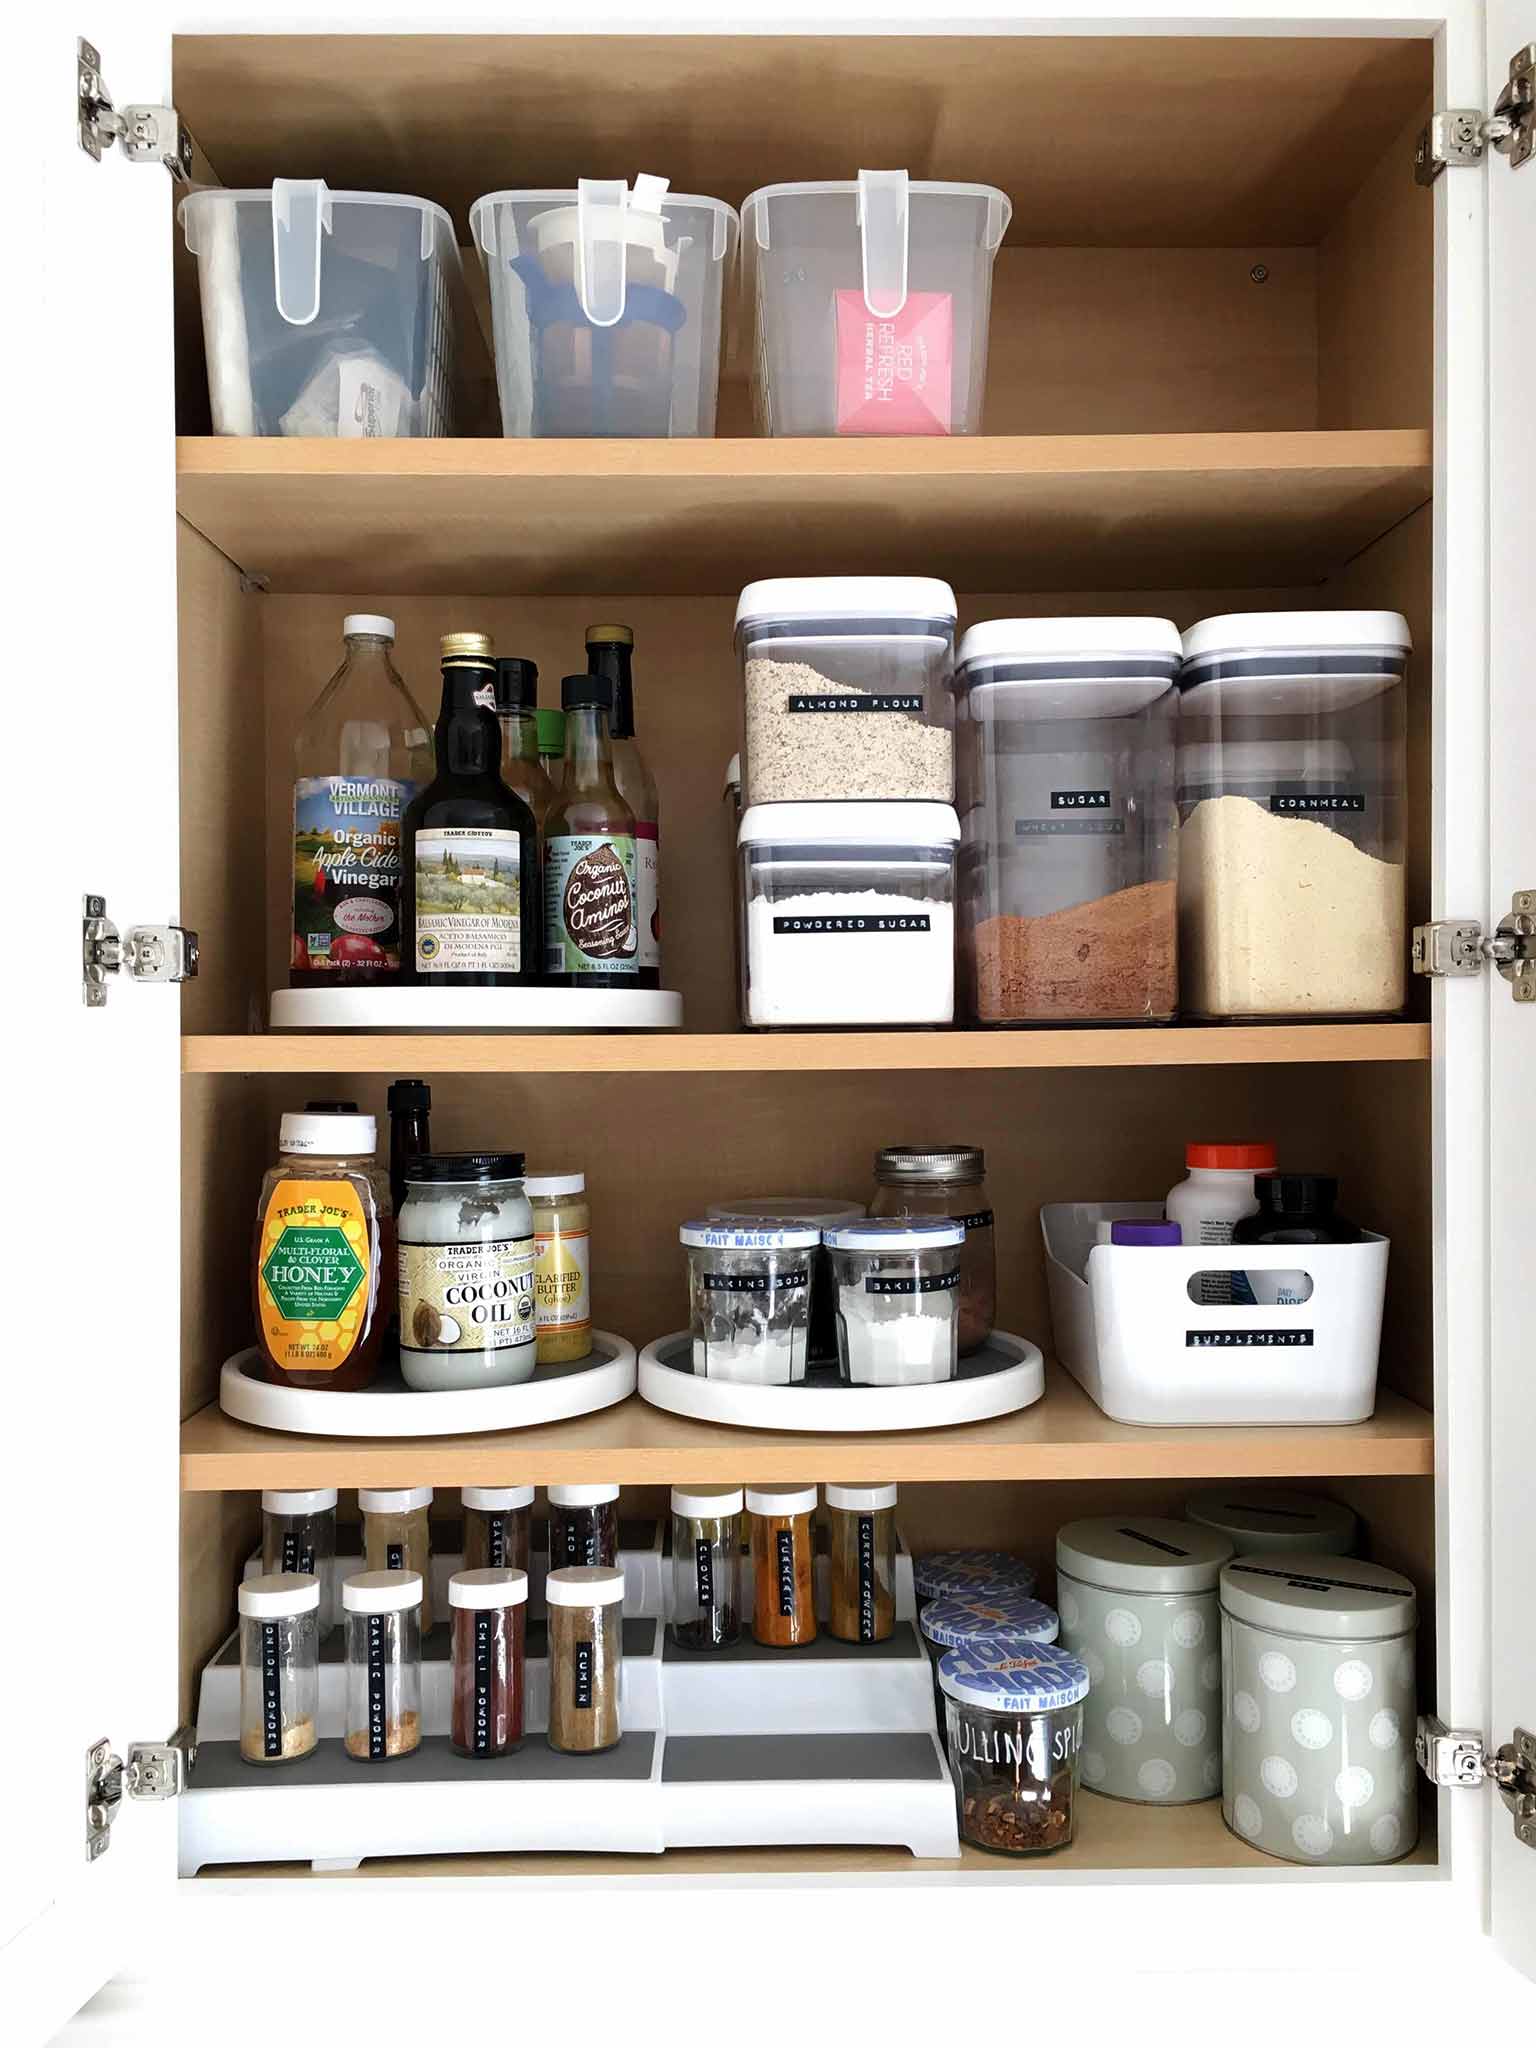
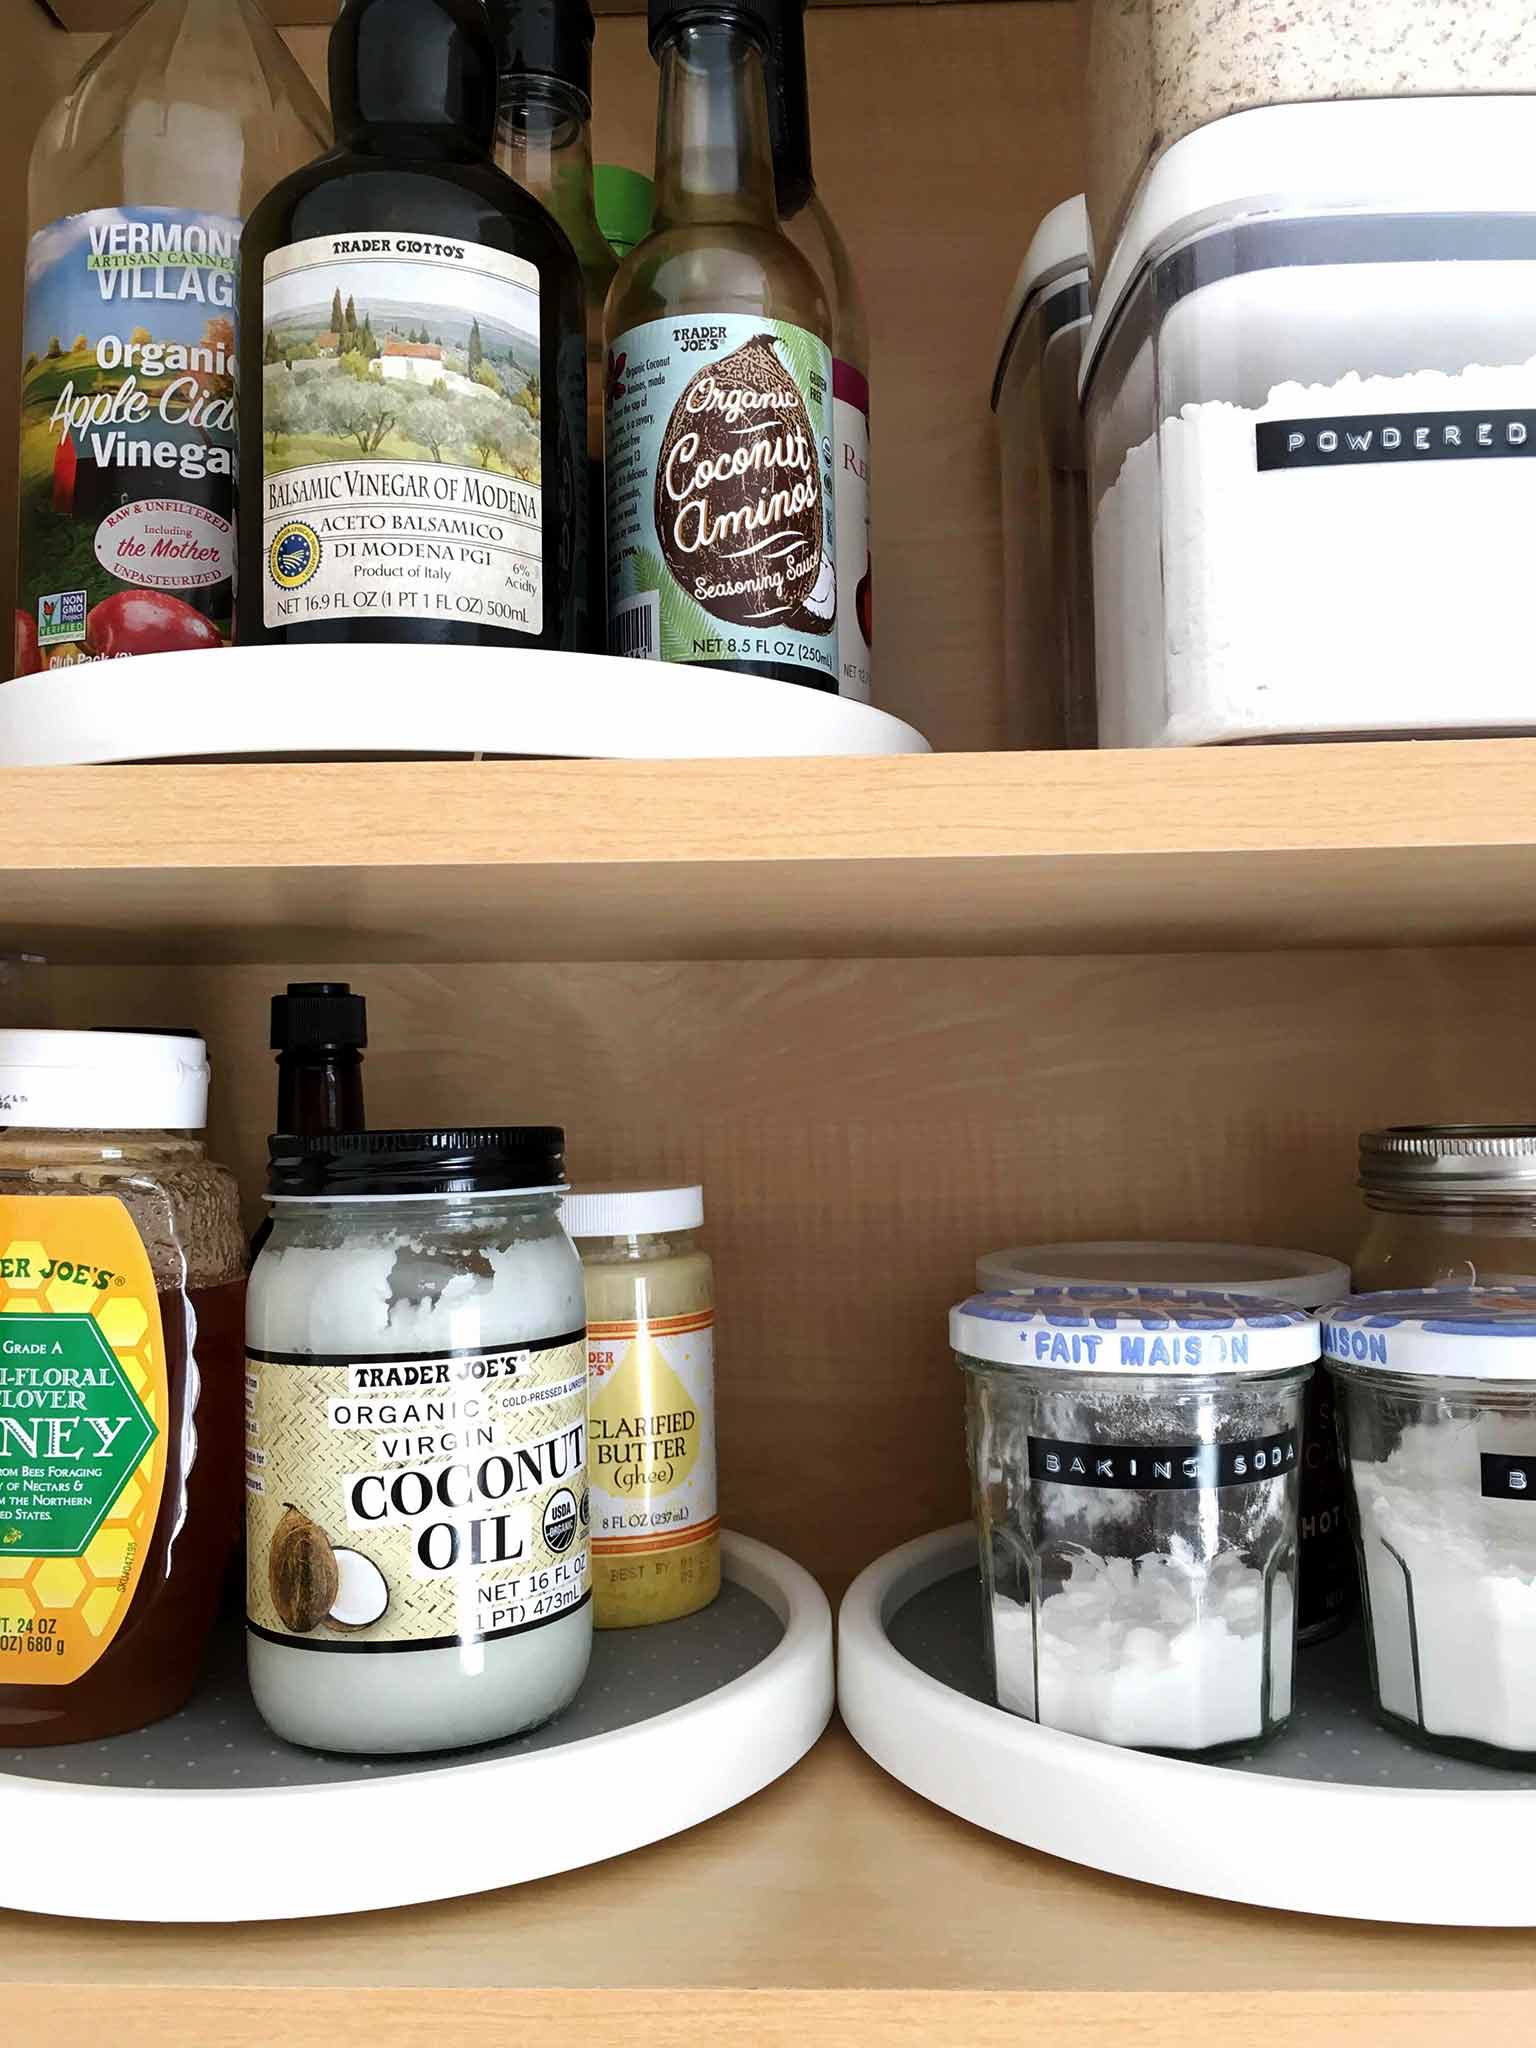
- a cabinet next to the stove for cooking and baking ingredients
- a cabinet in the mudroom for beverages
- shelving in the mudroom for dry goods and non-refrigerated fresh food
and
- our new pantry in the hallway for bulk items and household supplies
At this point, you can also start shopping for all the containers you think you might need. (TIP: keep the receipts—it's difficult to plan for exactly what you'll need until you actually start organizing.)
I had already opted for pretty glass jars for our mudroom open shelving, and practical stackable plastic canisters for our cabinets. I purchased some simple glass spice jars, and a mix of baskets and containers for corralling everything else.
Also, if you've been following my Instagram stories you'll know that I just got myself an embossing label maker, and it is LIFE CHANGING. I love it! It's probably my favorite purchase of the year so far, and definitely helps a ton with this kind of project.
MAXIMIZING SPACE
There are some great, inexpensive products out there that can really help you get the most out of your storage space. These are some of my favorites:
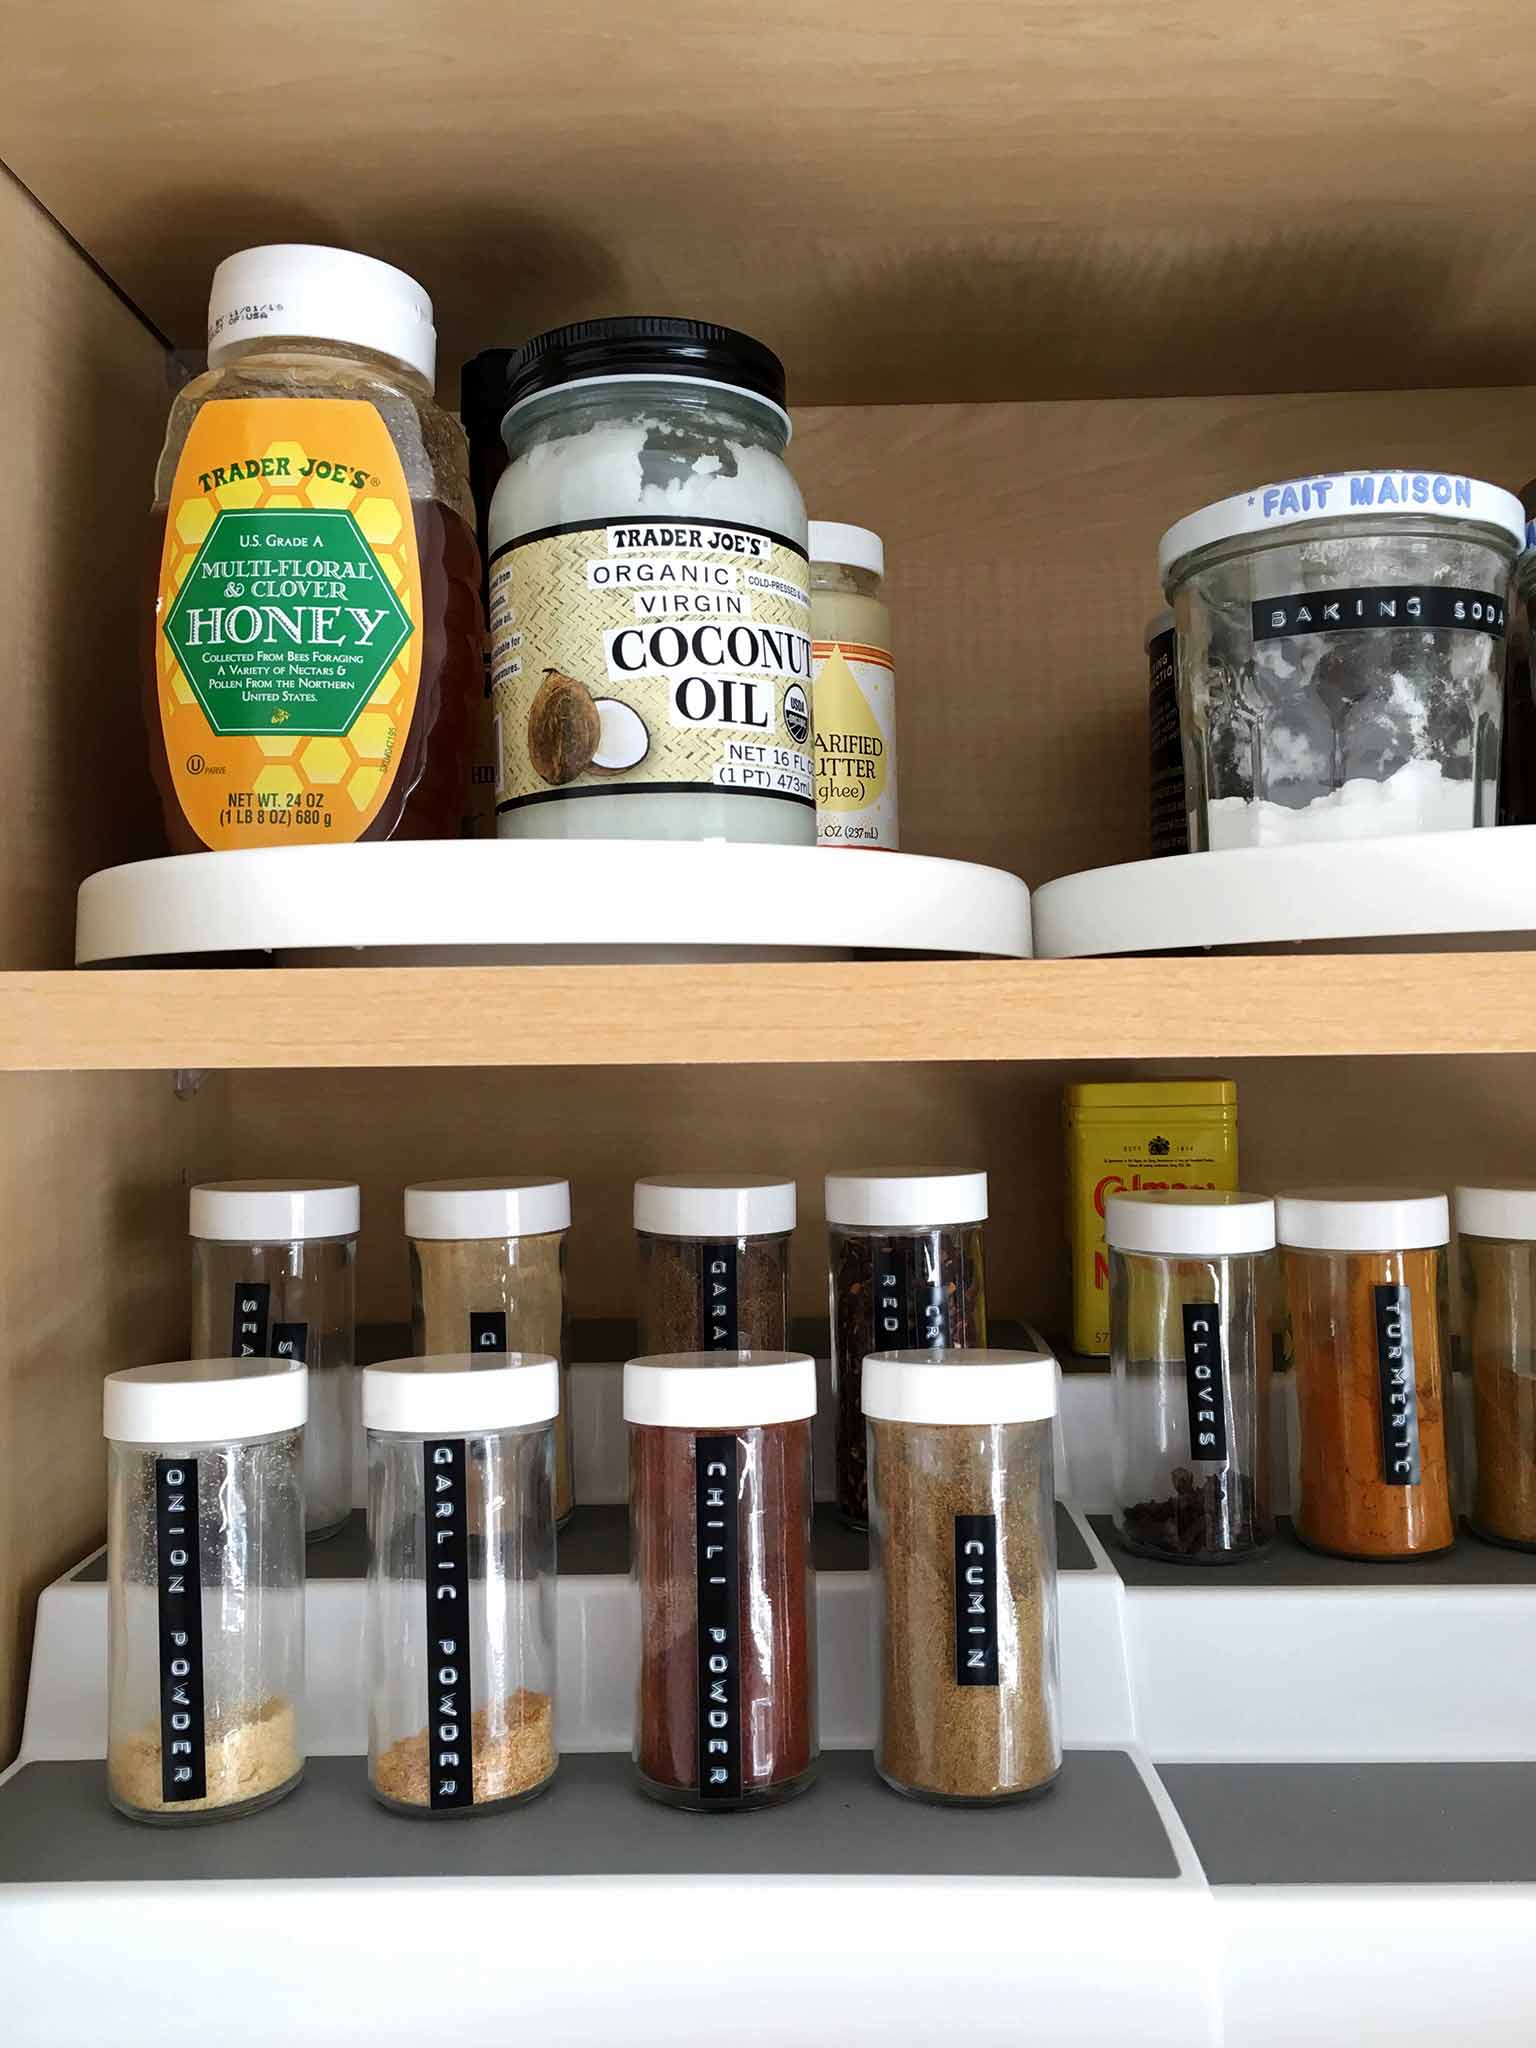
Lazy Susans: these are amazing for oils, vinegars and condiments that you don't want to lose in the back of your cabinet. I couldn't live without them!
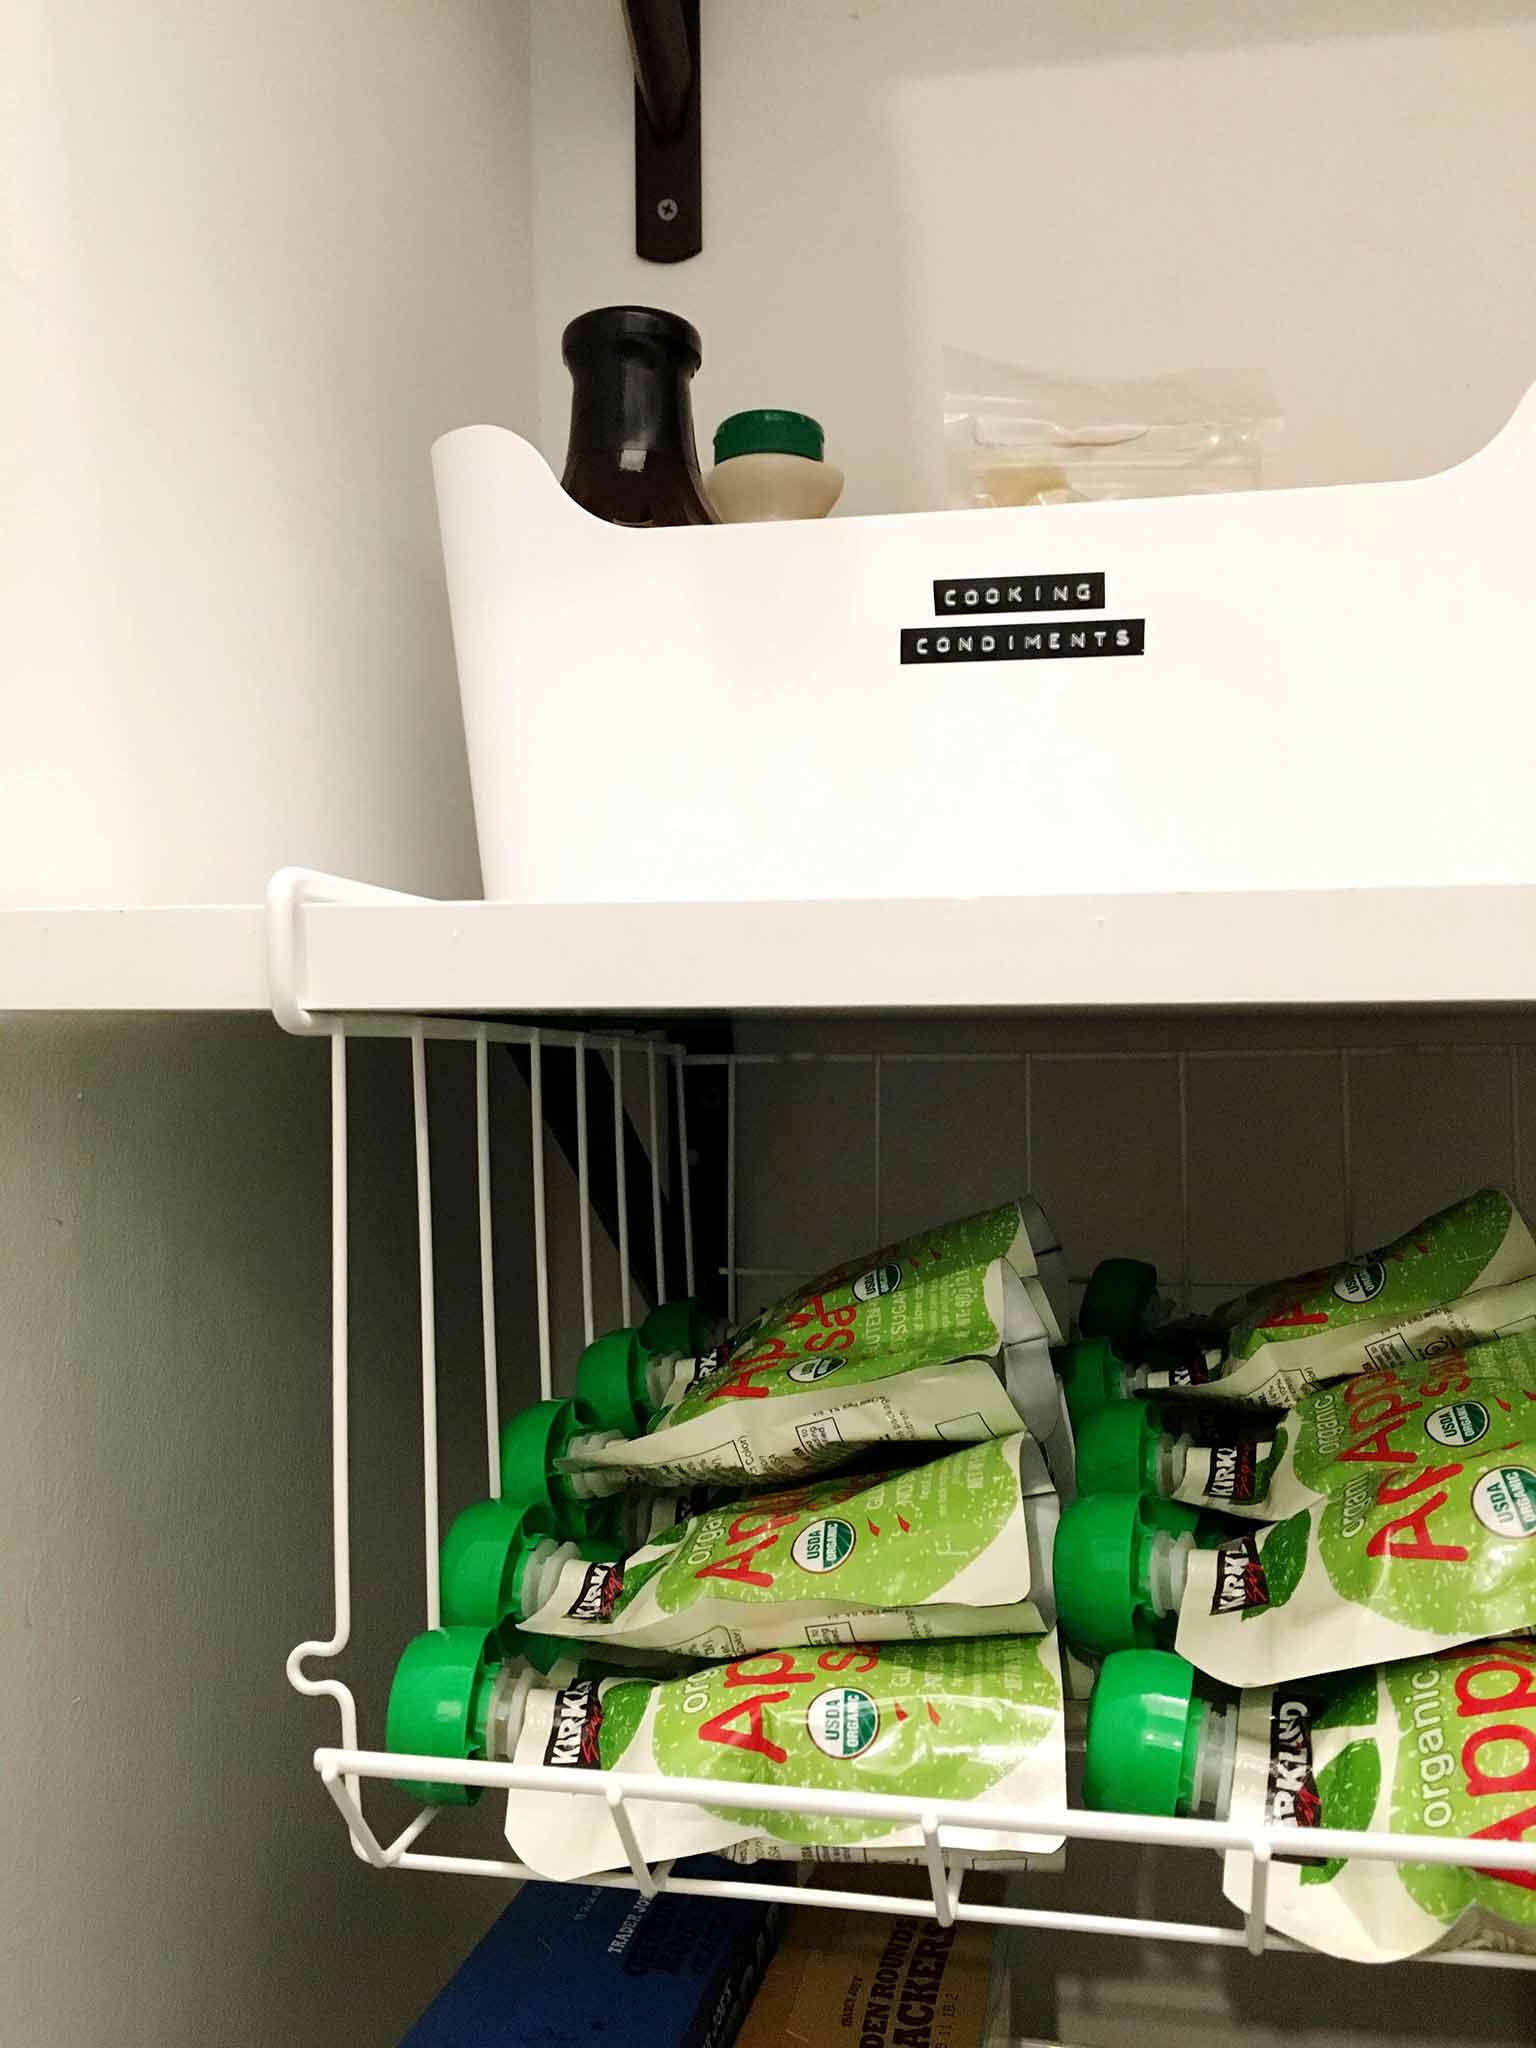
Clip-on baskets: these are awesome to make use of space underneath a shelf. Our pantry shelves are quite far apart so I put a couple of these in for even more snack storage.
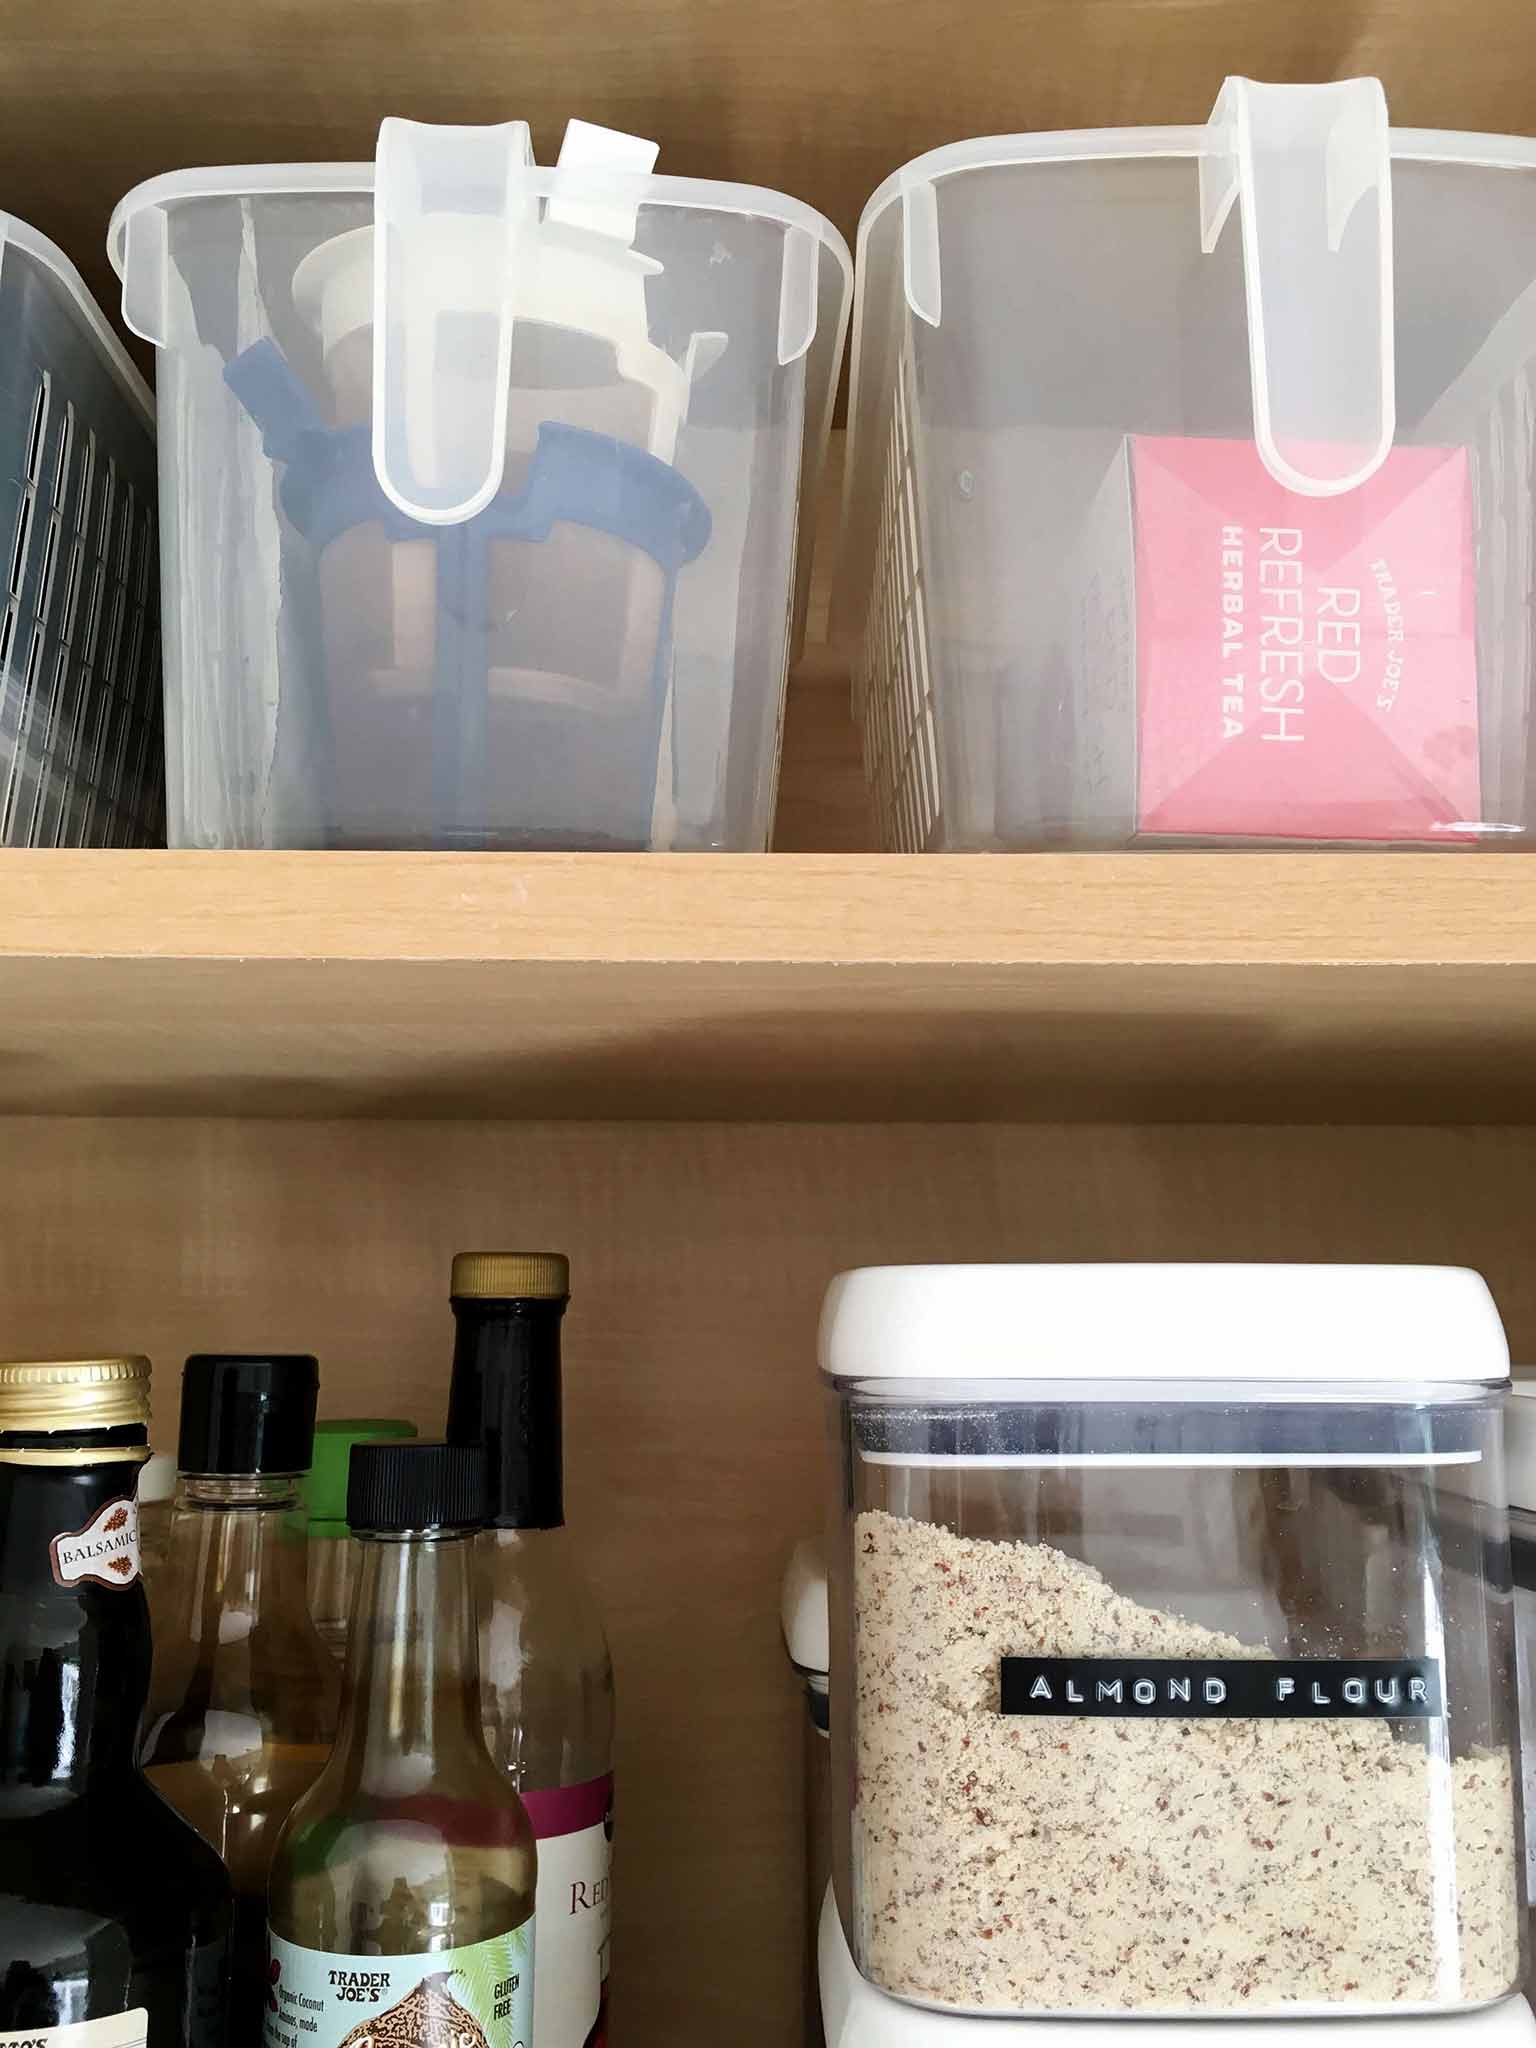
Clear Handled Storage Baskets: these are great for high shelves, as you can grab the handle to pull the basket down. Our kitchen cabinets are tall so we have a few on the top shelf to store extra boxes of tea and coffee filters.
FINDING HOMES
So, by this point you will have:
- thoughtfully considered the needs of your family and the limitations of your space
- decided on categories for your food
- purchased containers
Now onto the fun part!
Pull everything out of your cabinets and pantry and onto your counters. Throw out any out-of-date food. With the shelves now empty, this also is a good opportunity to give everything a good wipe down.
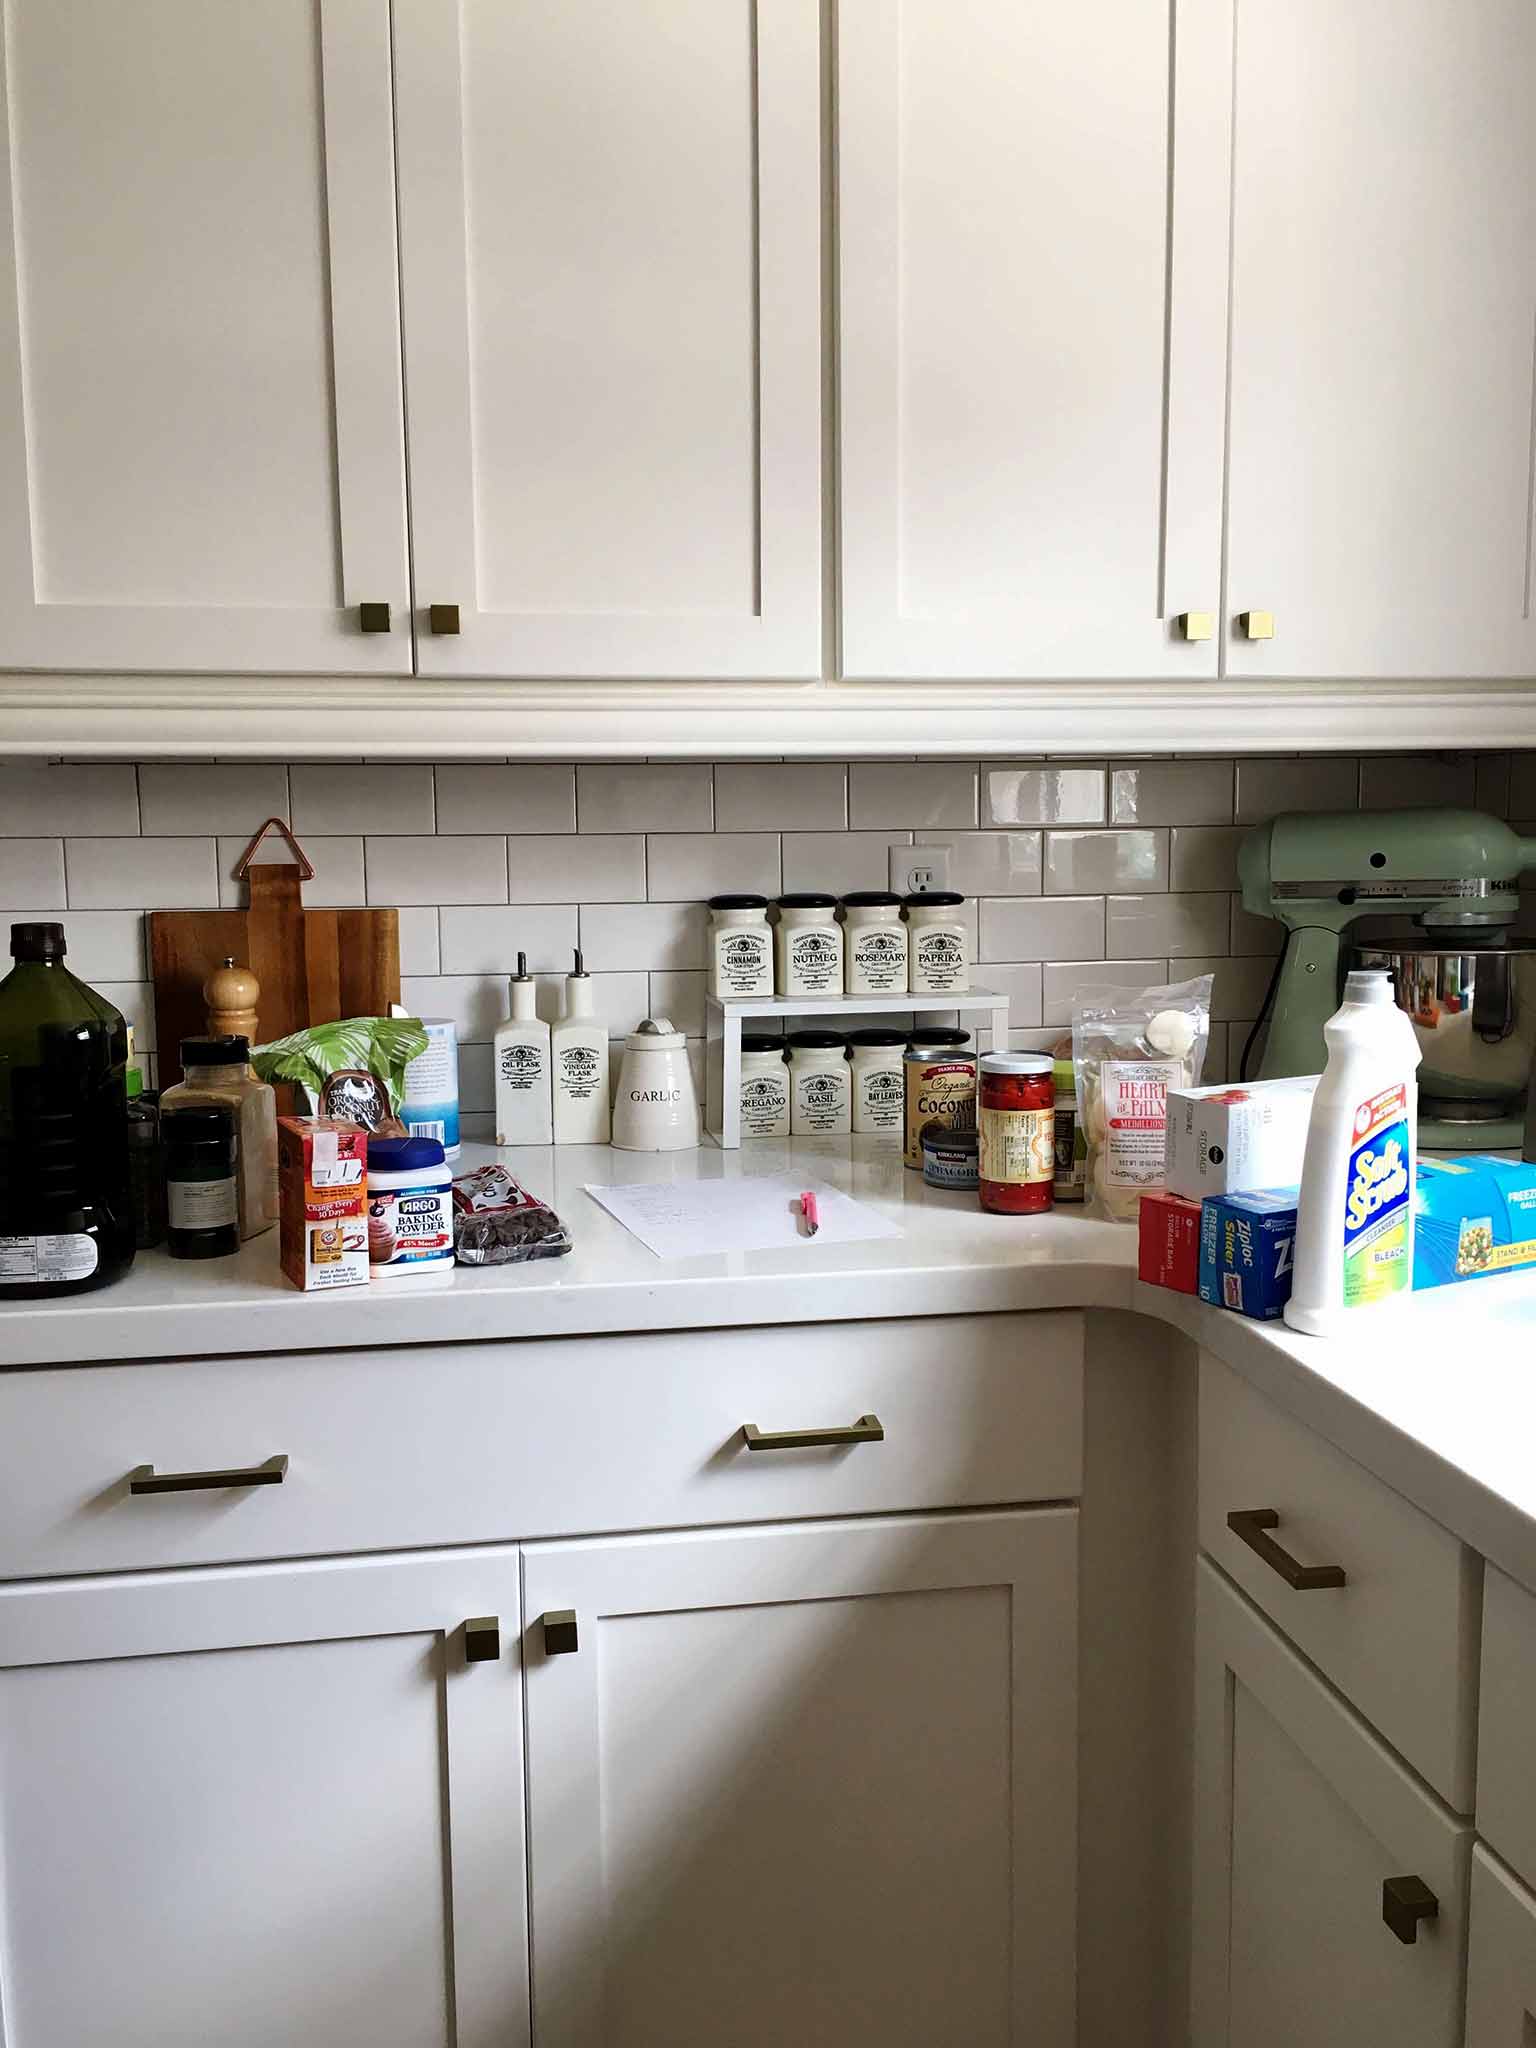
Now, using all of the prep work you've already put in, corral all your items into their categories and put them into the containers that you have designated for them. There will be some shuffling about at this stage, but that's totally normal.
Keep working at it, until your counters are clear!
When you're done, stand back, take a picture, and enjoy your beautifully organized space!
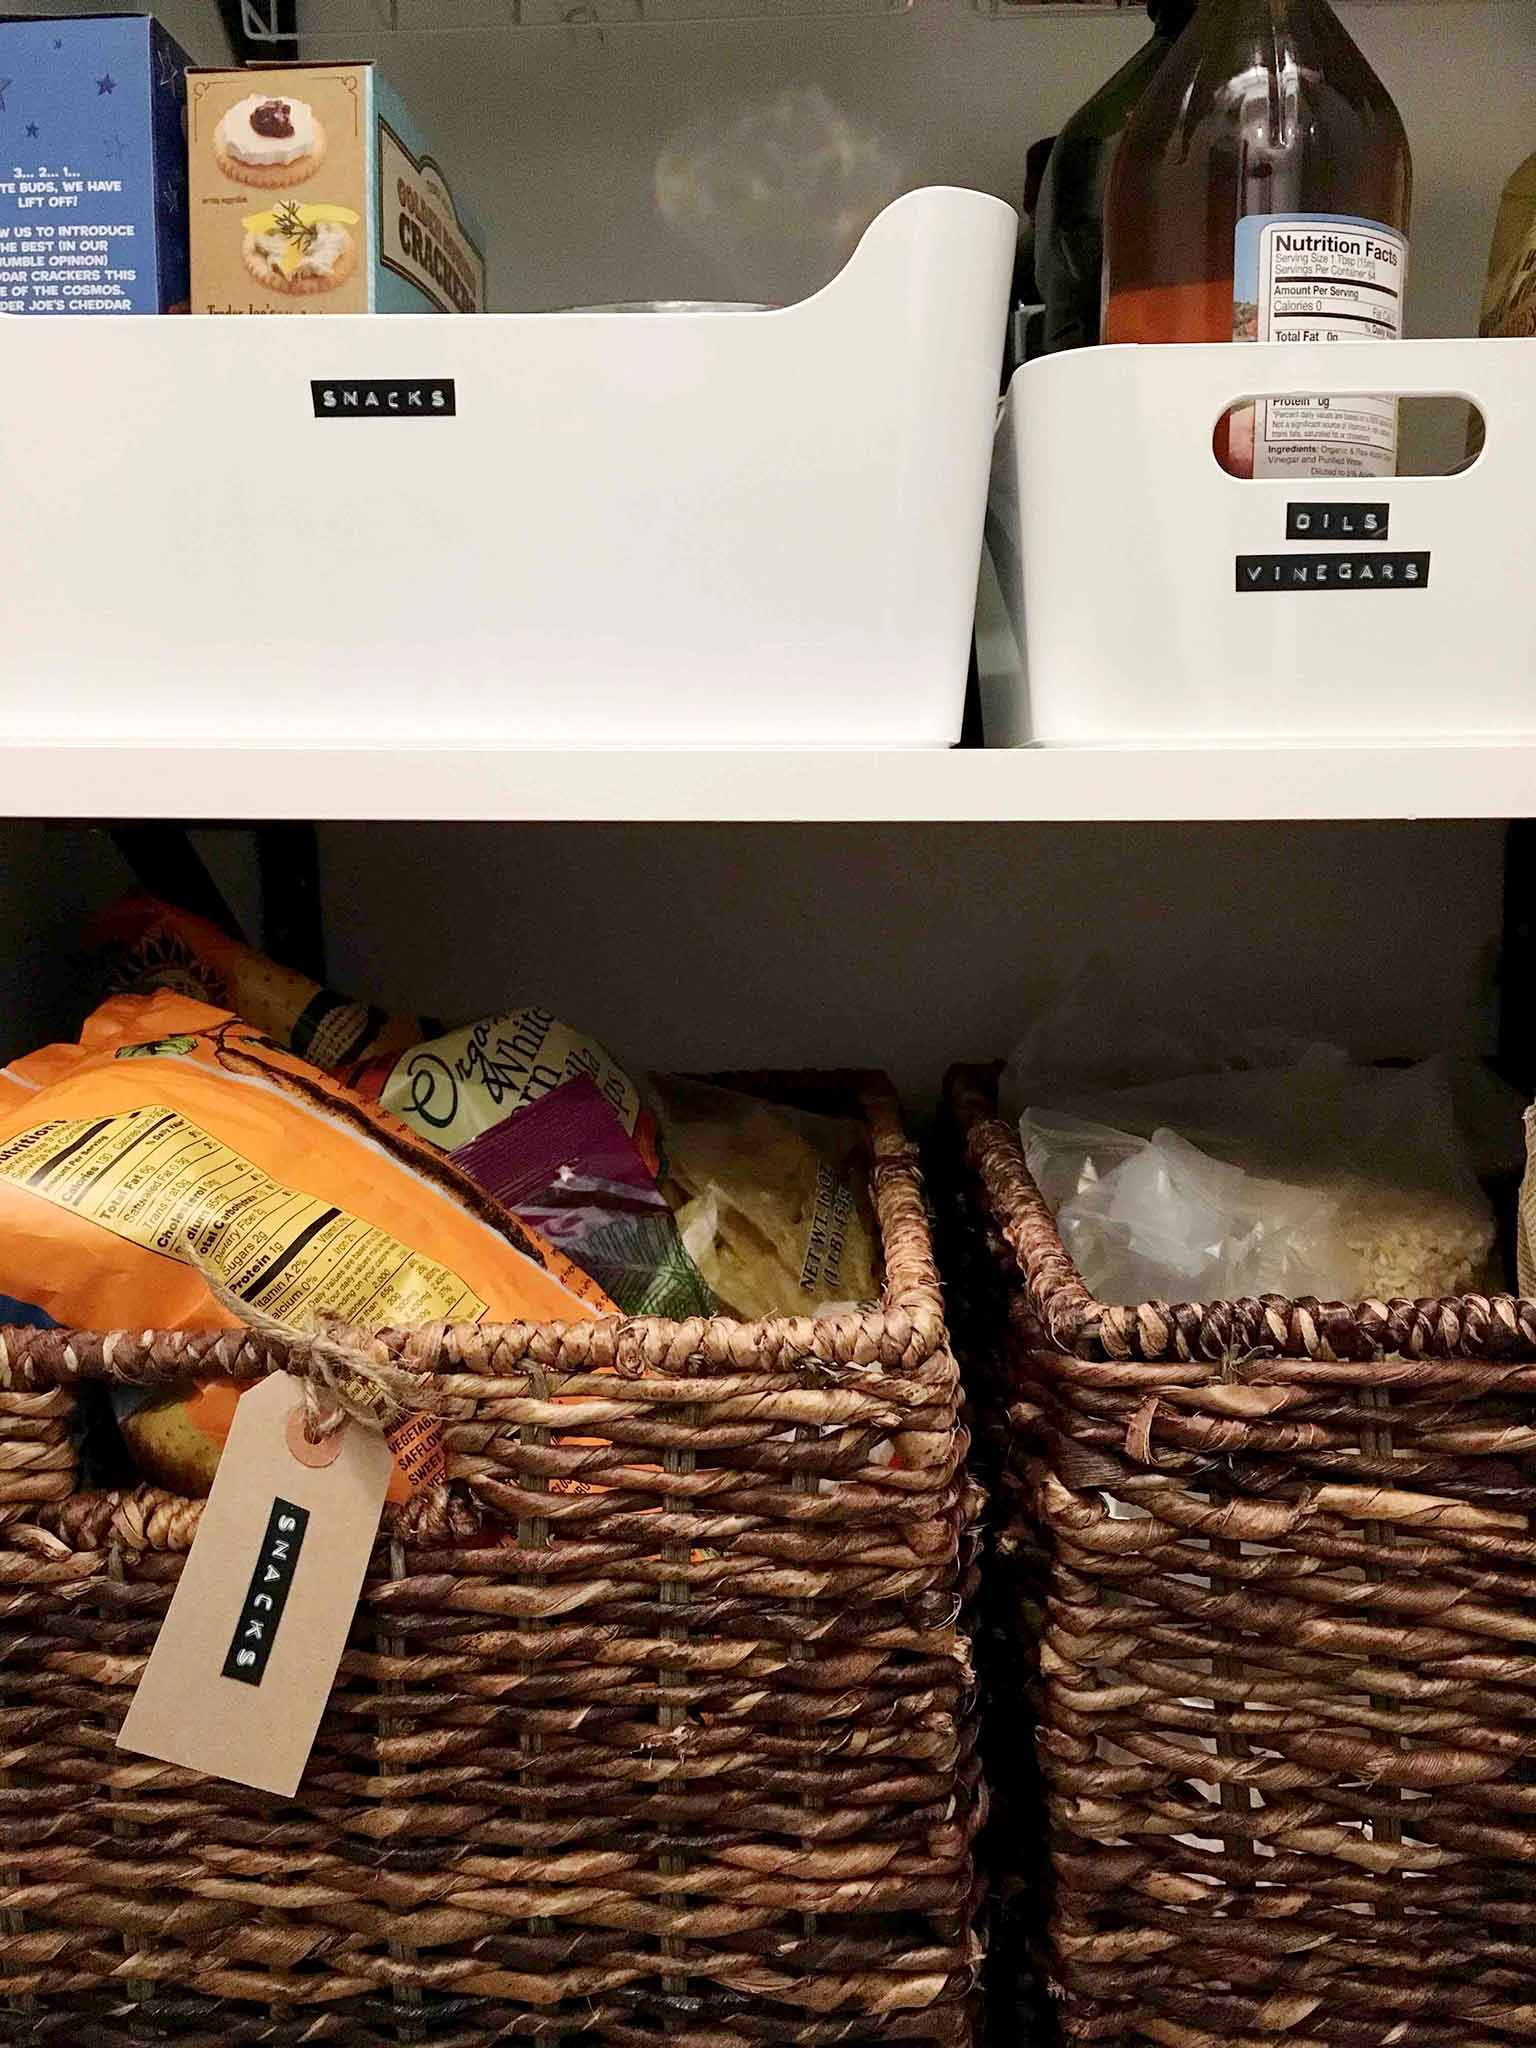
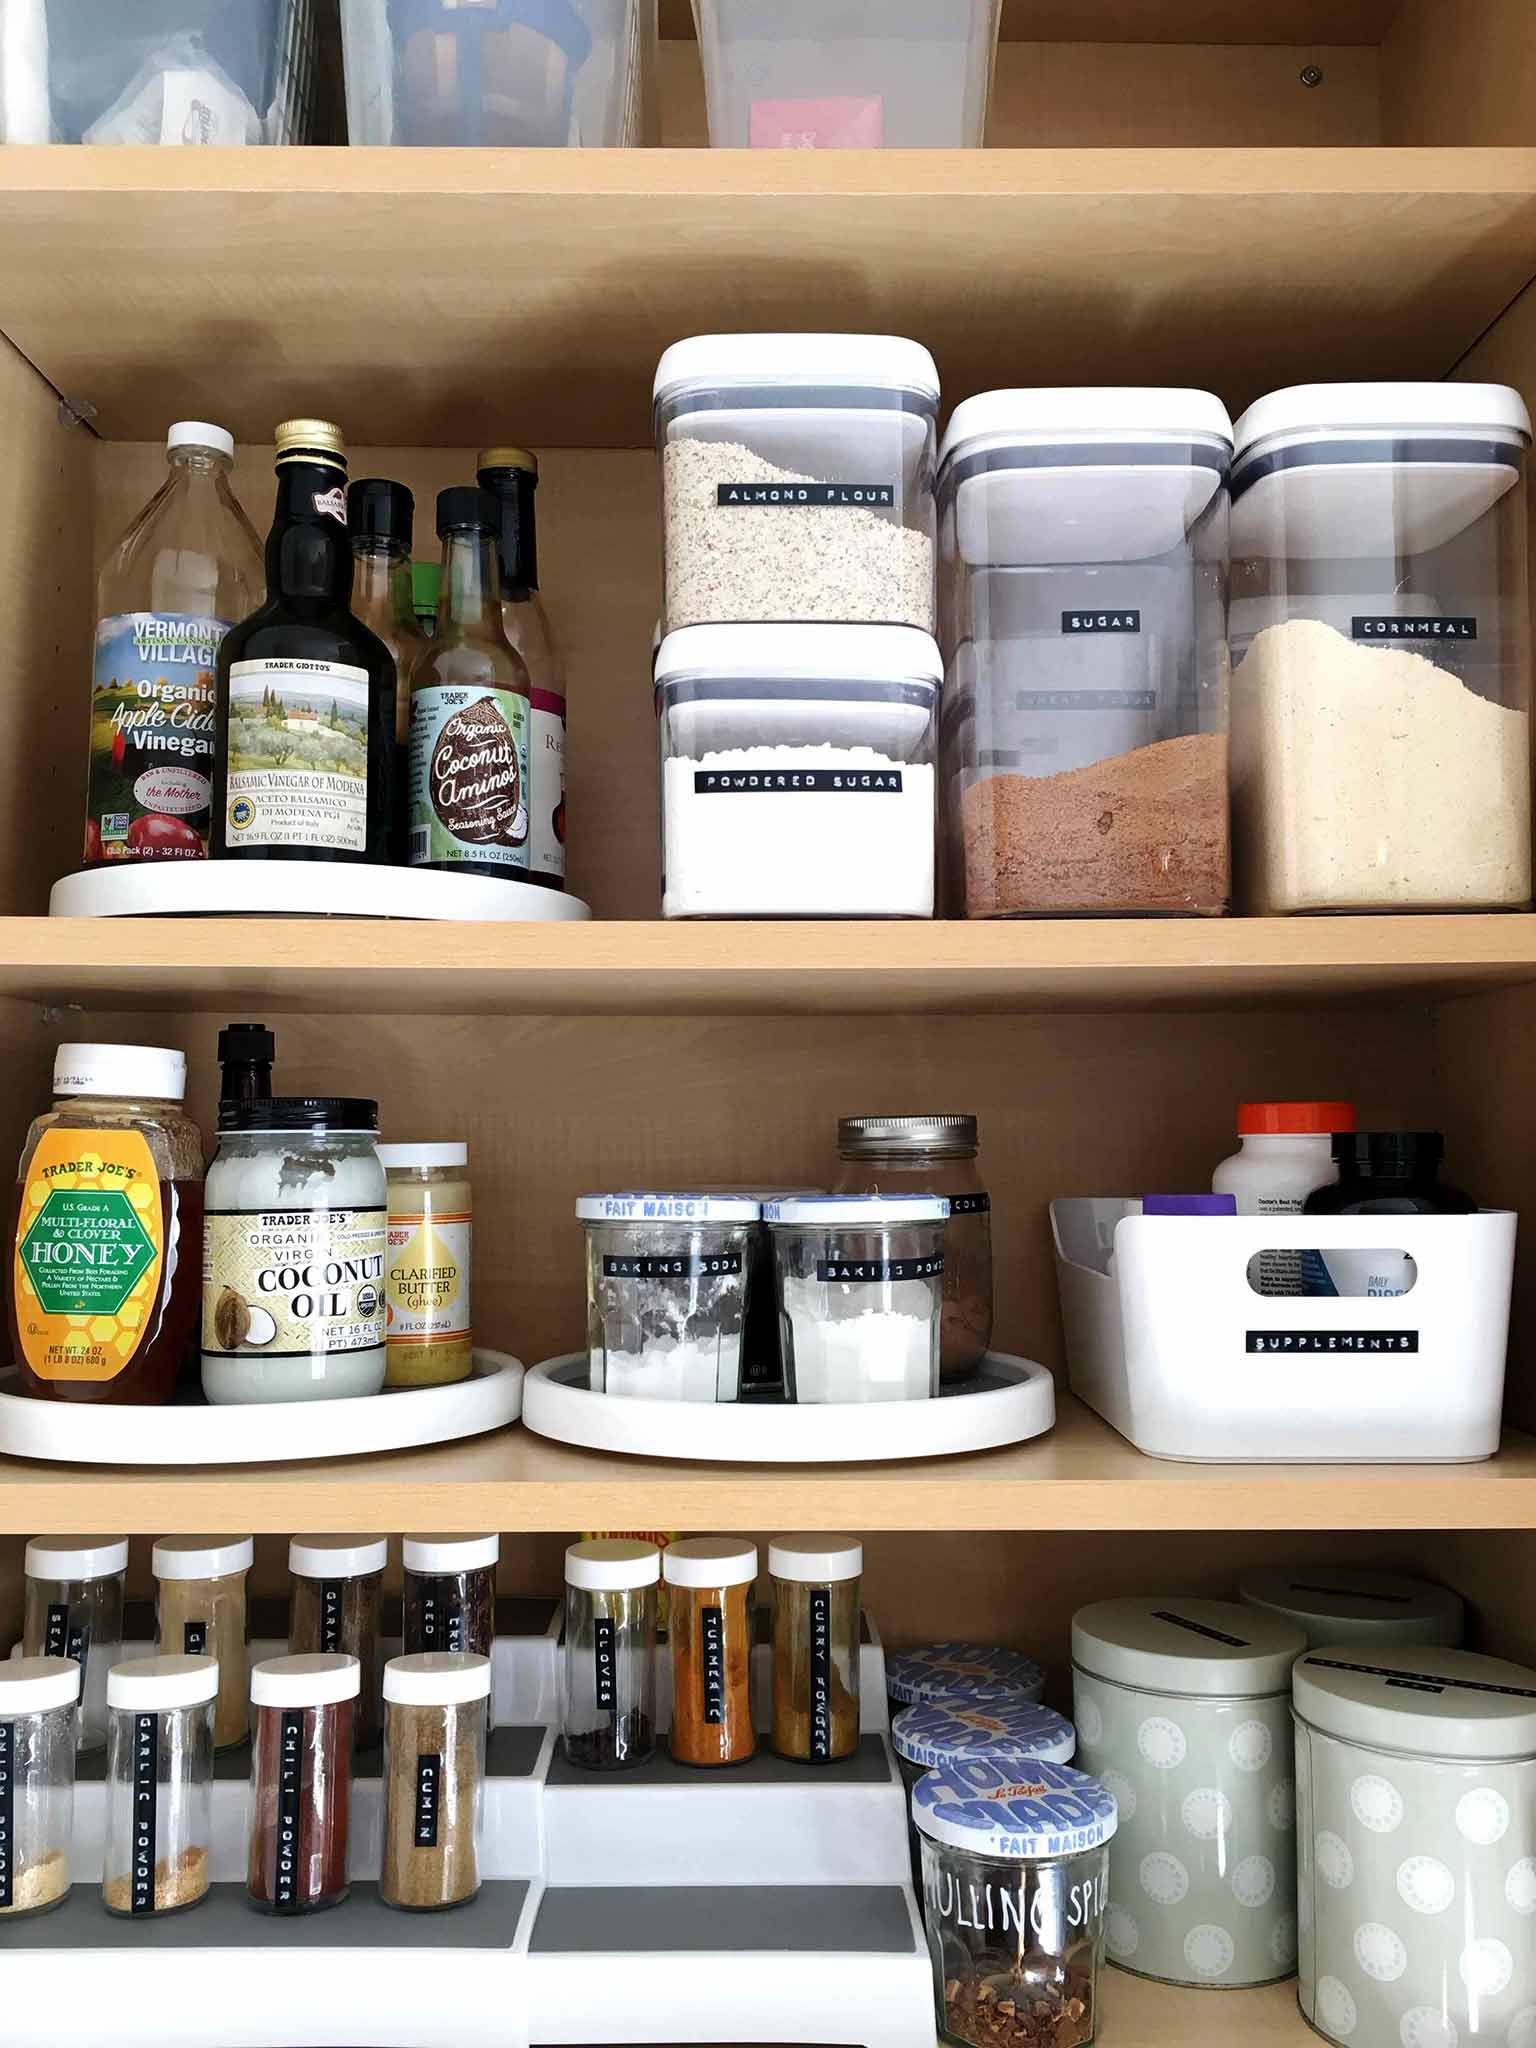
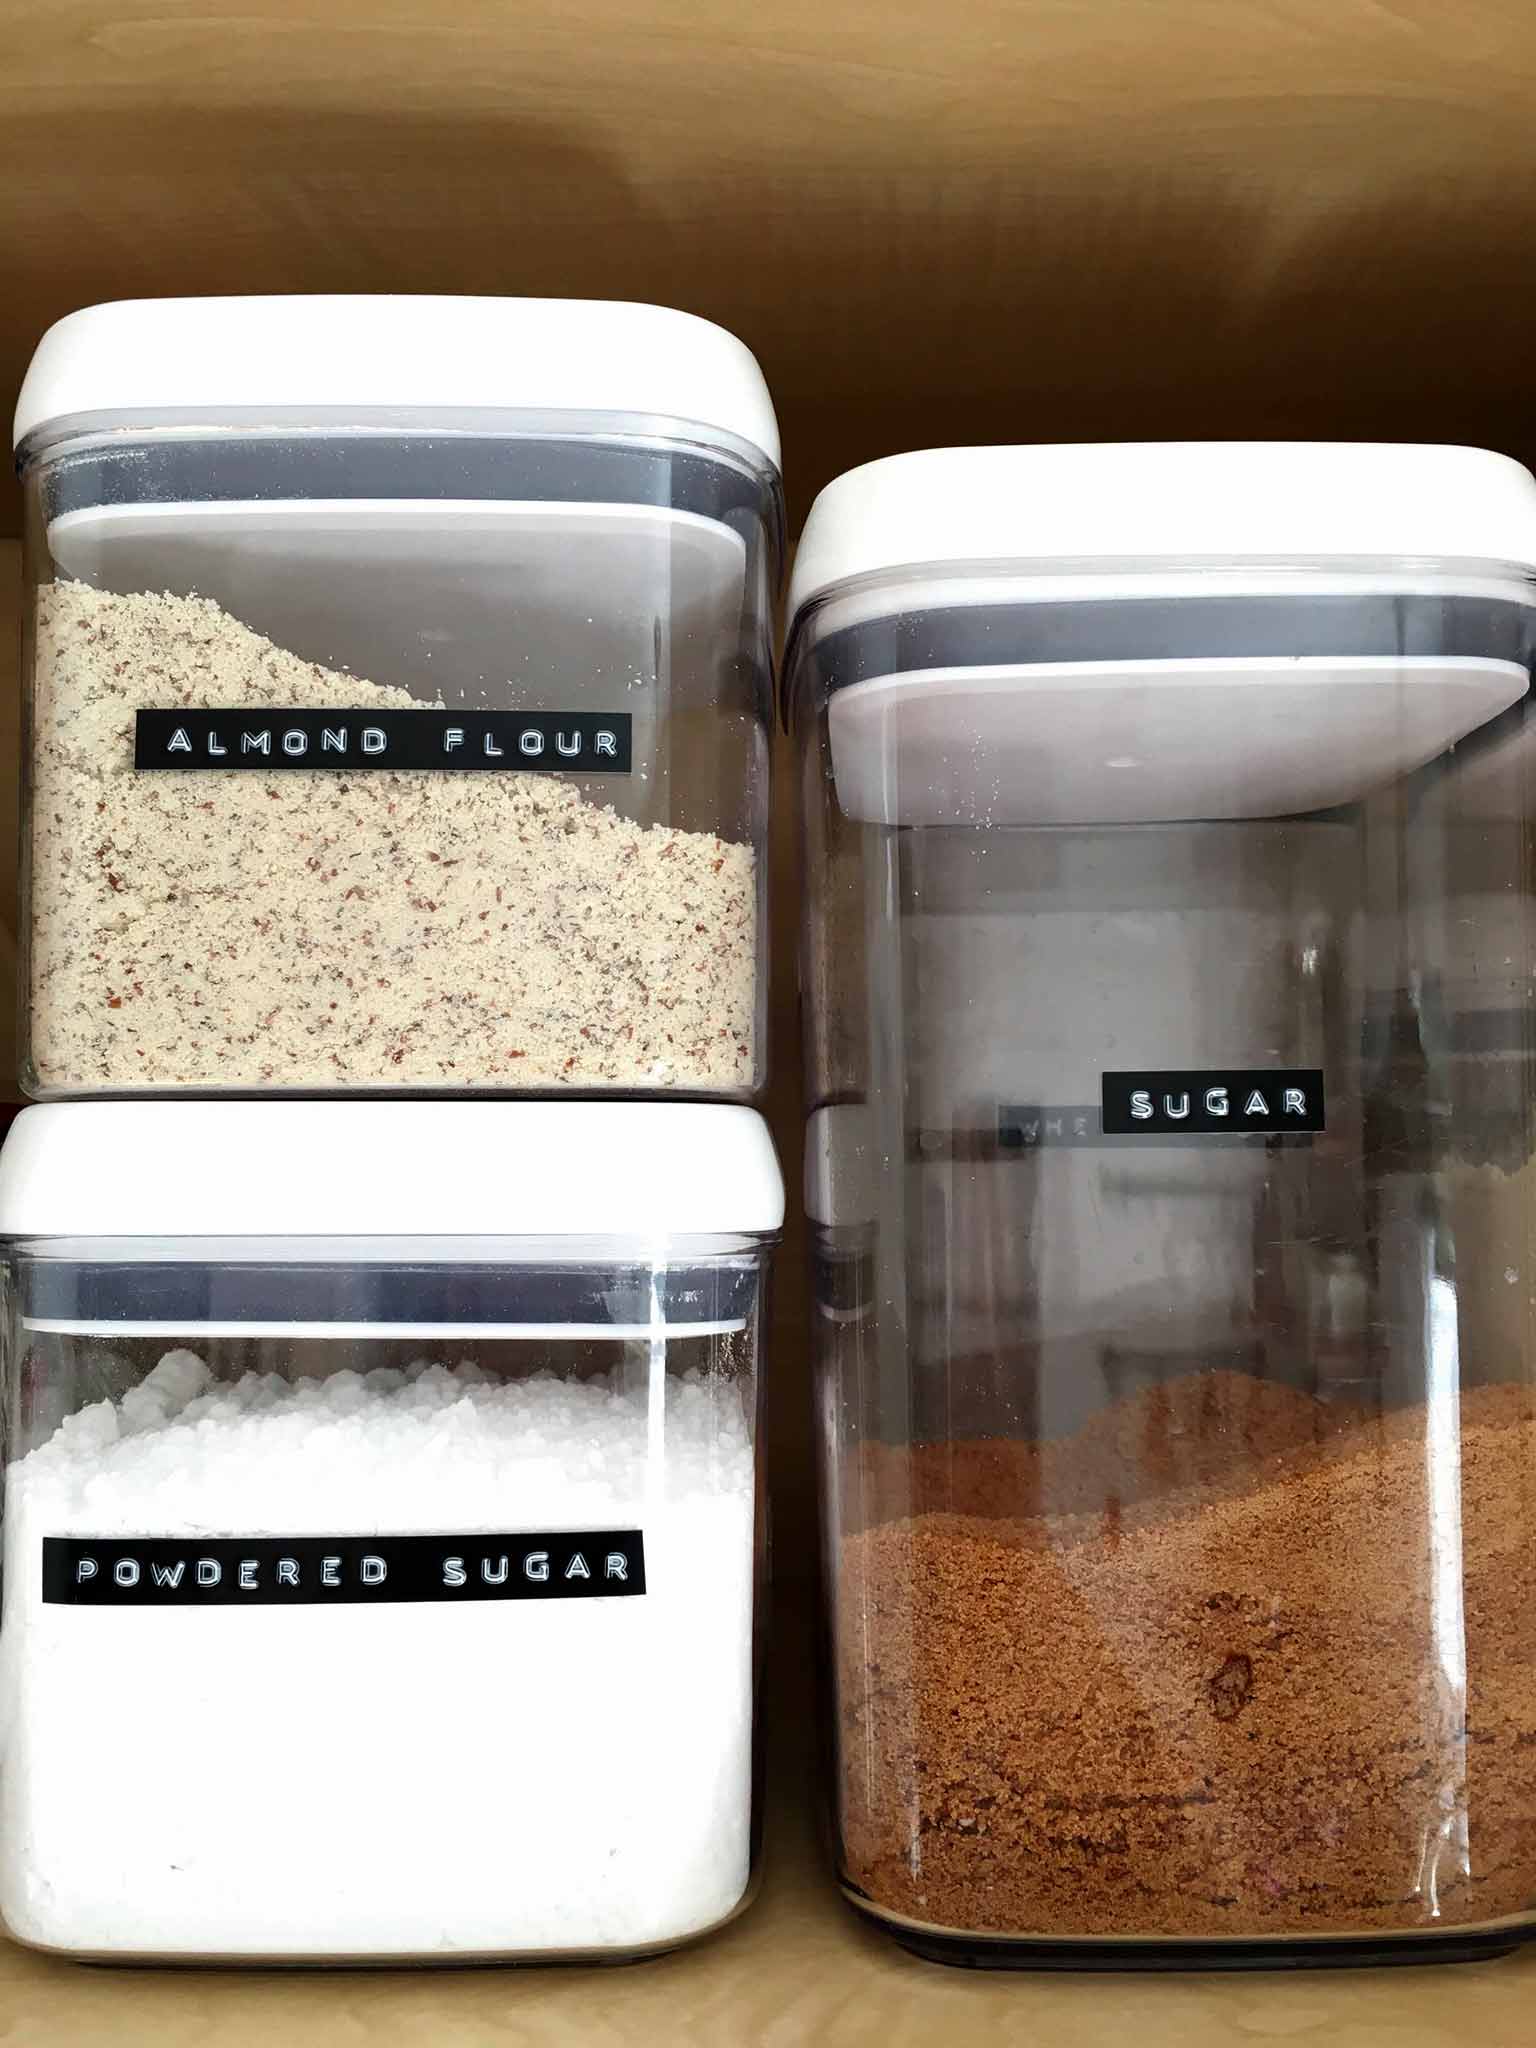
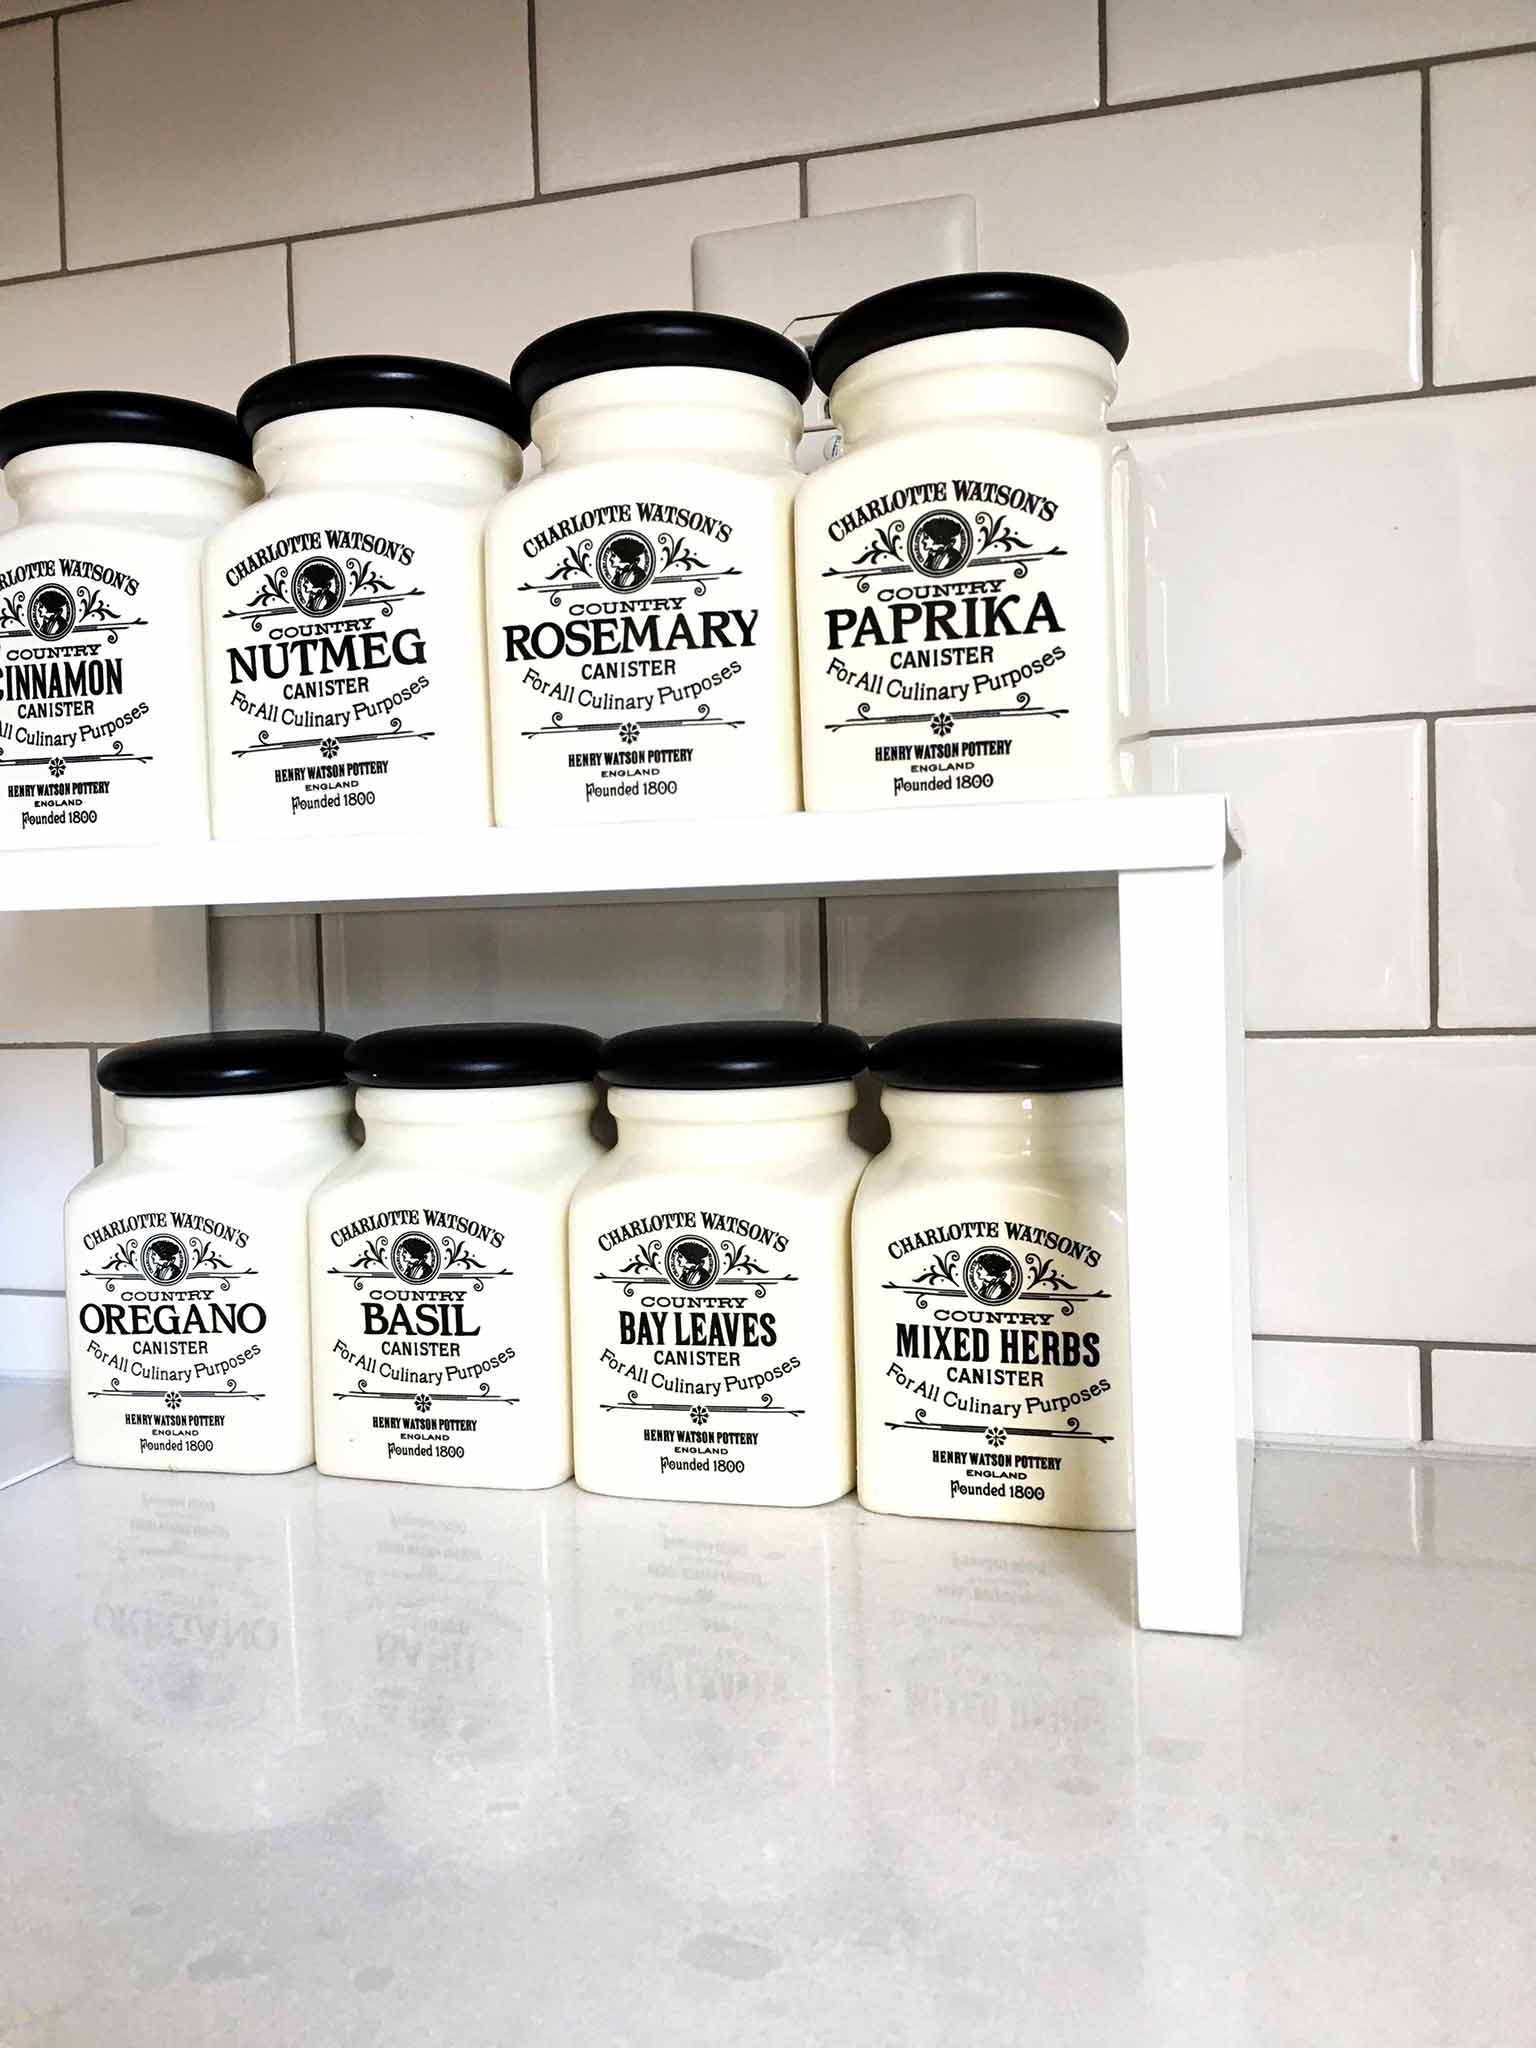
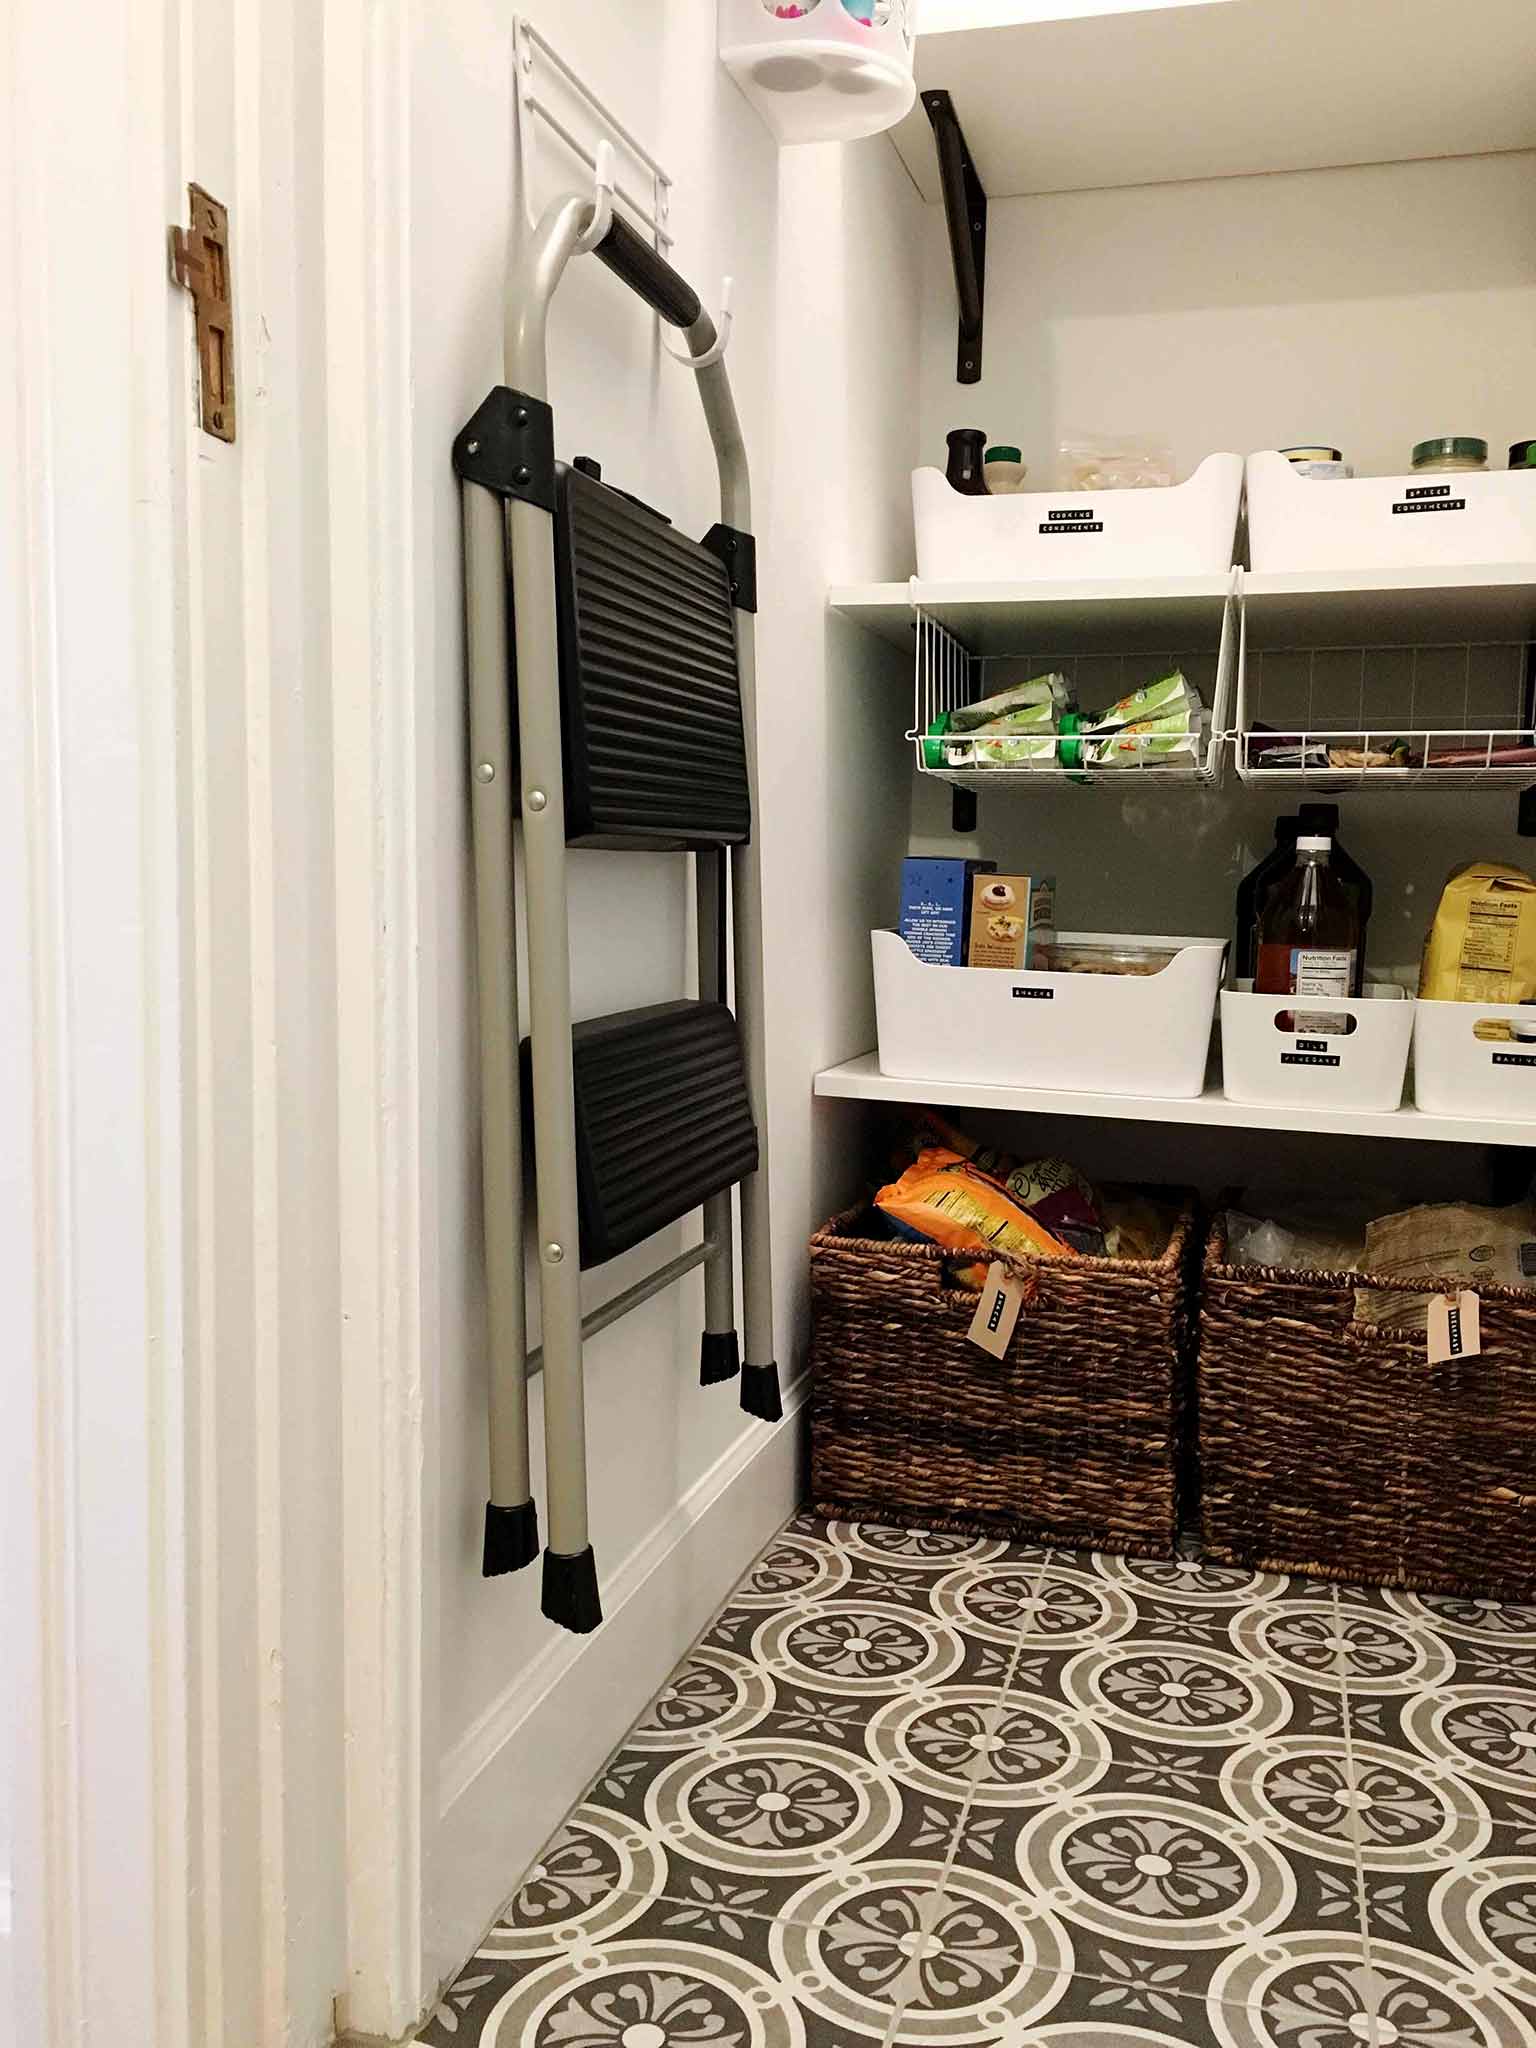
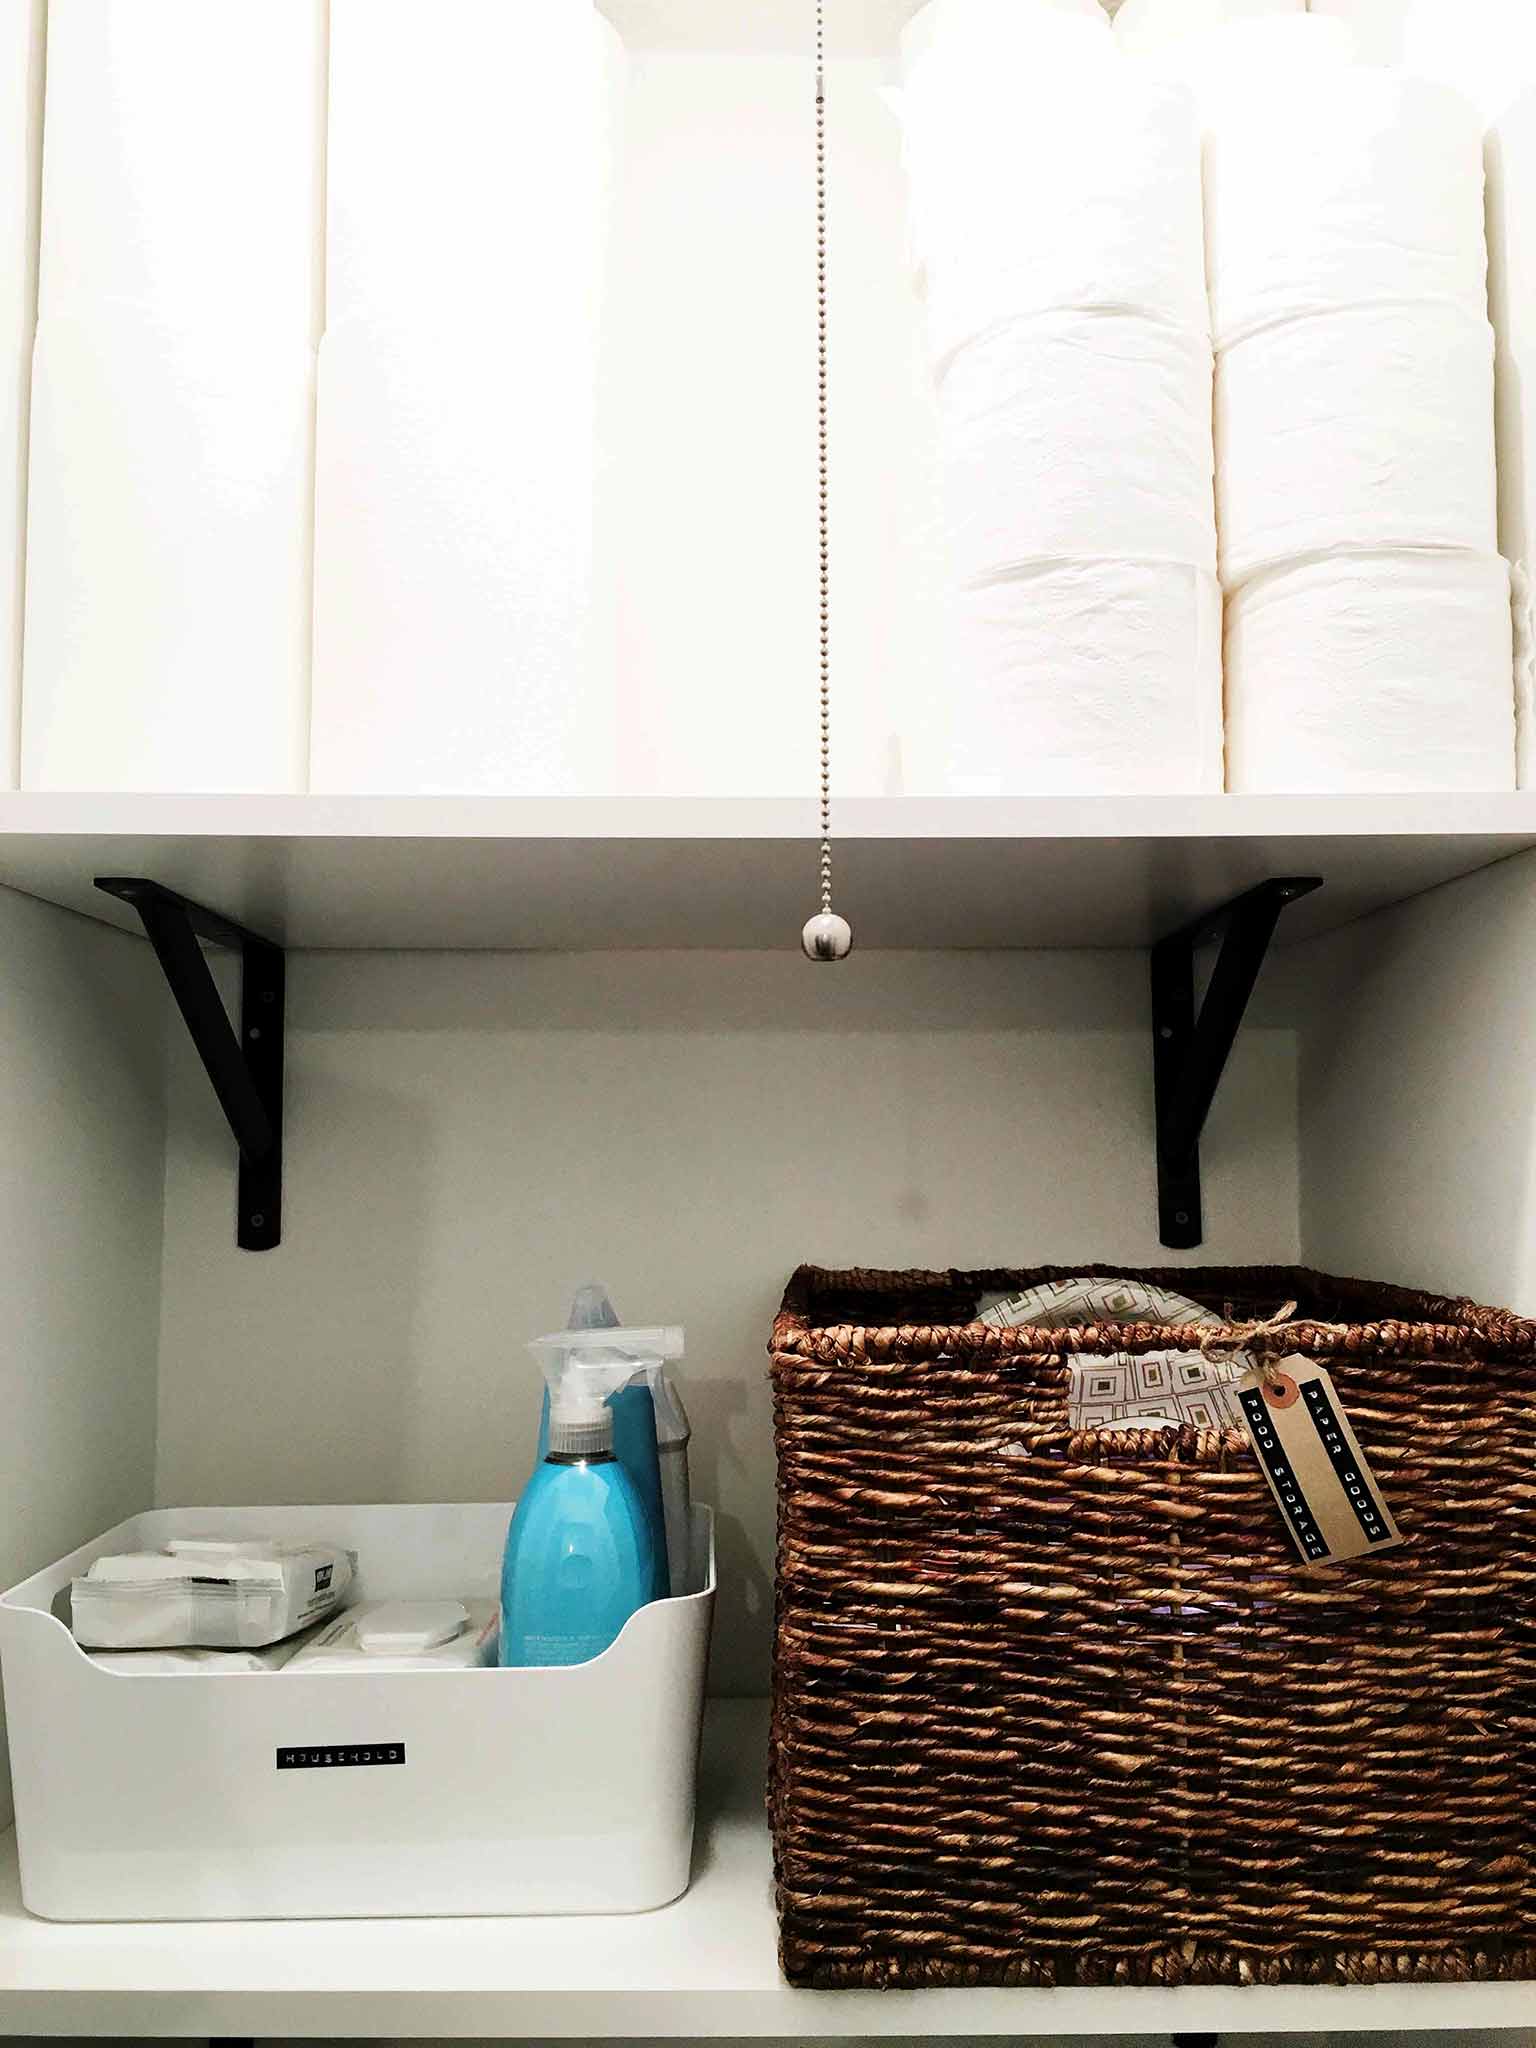
I hope you've found this useful and can apply some of the principles to your own space. Some of this will not apply if you live in a home with ample storage—but I guess what I hope to achieve by sharing our space is that as long as everything has its place, and as long as it makes sense for YOU and YOUR home, then there really are no rules. Our food storage is spread over our mudroom, kitchen, and now the hallway closet, which may seem ridiculous to someone with a huge walk-in pantry in their kitchen. But for our little home, it works. And you can bet that everyone in our family knows exactly where to find everything!
So—spill the beans! What part of your pantry never seems to stay organized? Where do you keep your Costco stash? I'd love to hear from you in the comments below!
This post contains affiliate links, which means that I may receive a small commission for any purchases made, at no cost to you. Thank you for your support!

