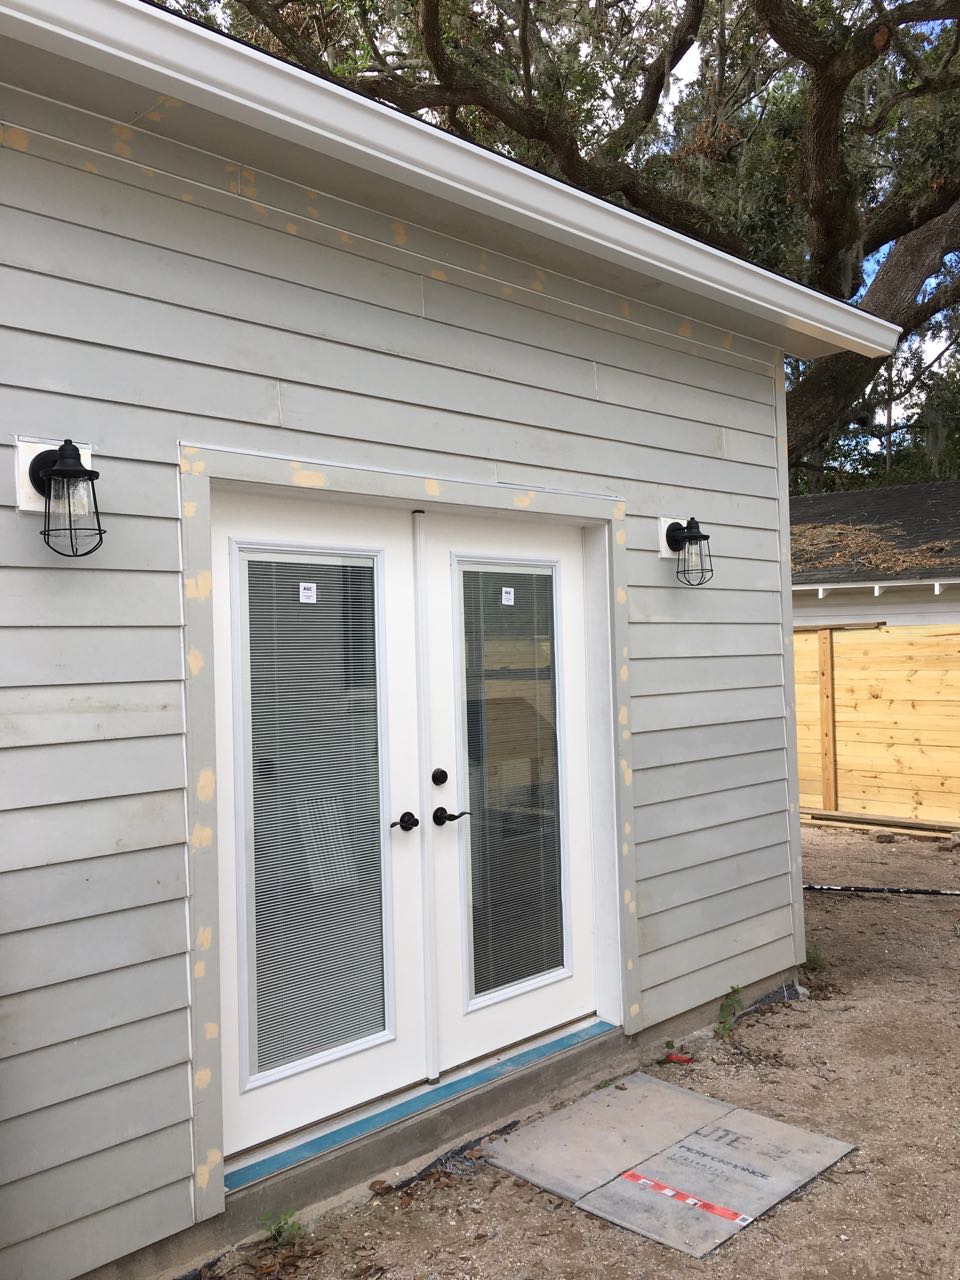
Things have been slow on guest house updates recently because there really hasn't been much to report. What with the patio doors being made incorrectly (three times), an insulation mishap, a hurricane and the most elusive drywall guy EVER...it's been — well, slow.
But, my friends! The tide has turned! This week our dream team (i.e. our GC and his guys) have been back in full force and they have been steaming through the list of tasks quicker than I would ever believe was possible. There have been some glitches and things to work through but the end is in sight — HURRAH! (Plus my parents are flying in on November 1st...so that's a deadline we need to stick to!)
So here's a rundown of all the progress we've seen this week.
TRIM
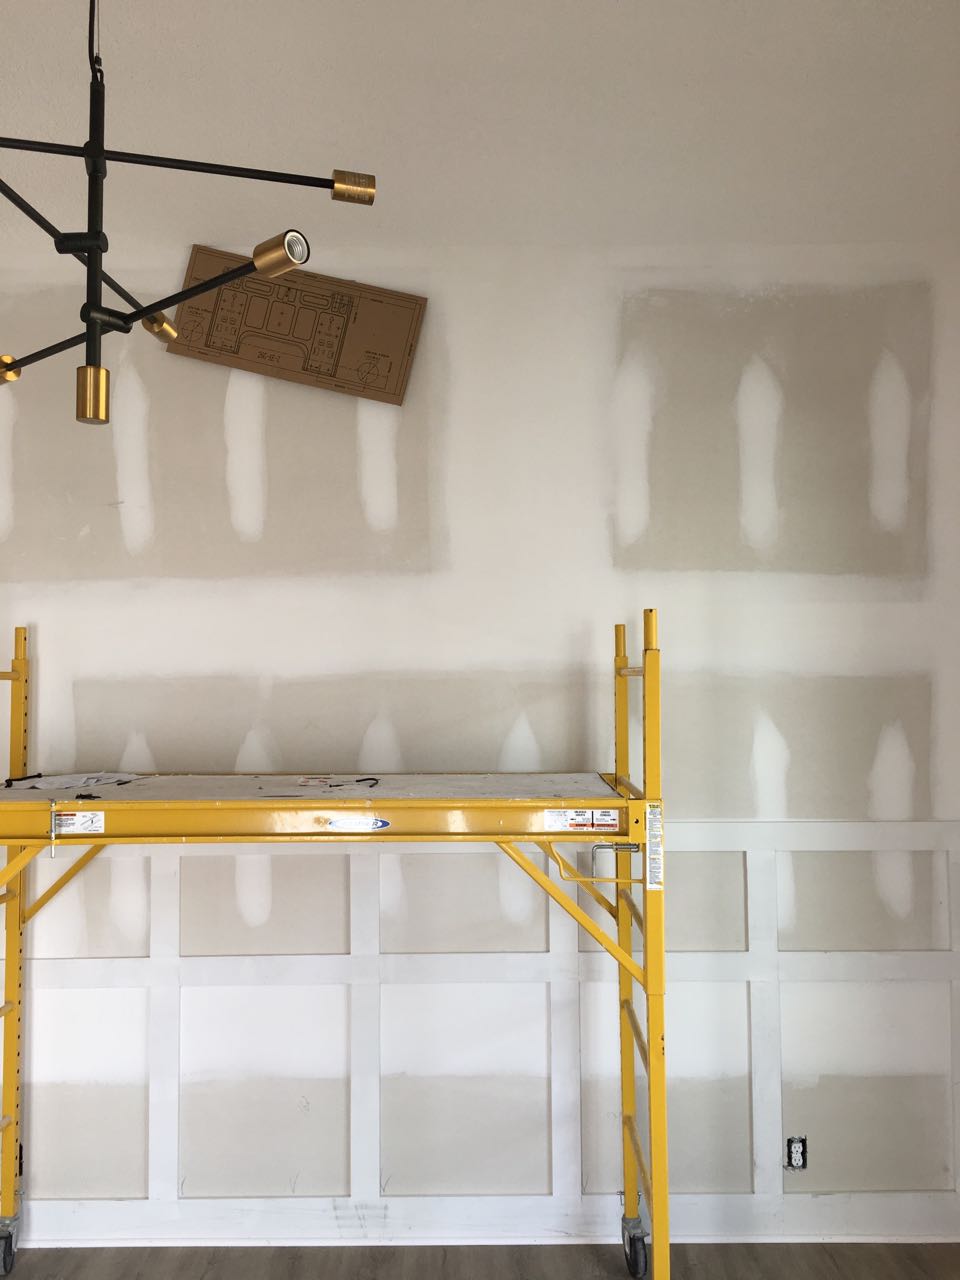
The trim is almost all in place. We decided on a square edge as it would give us the modern, clean look we are going for.
We also had to decide on the design for the paneling. These are a couple of the pictures I was inspired by:
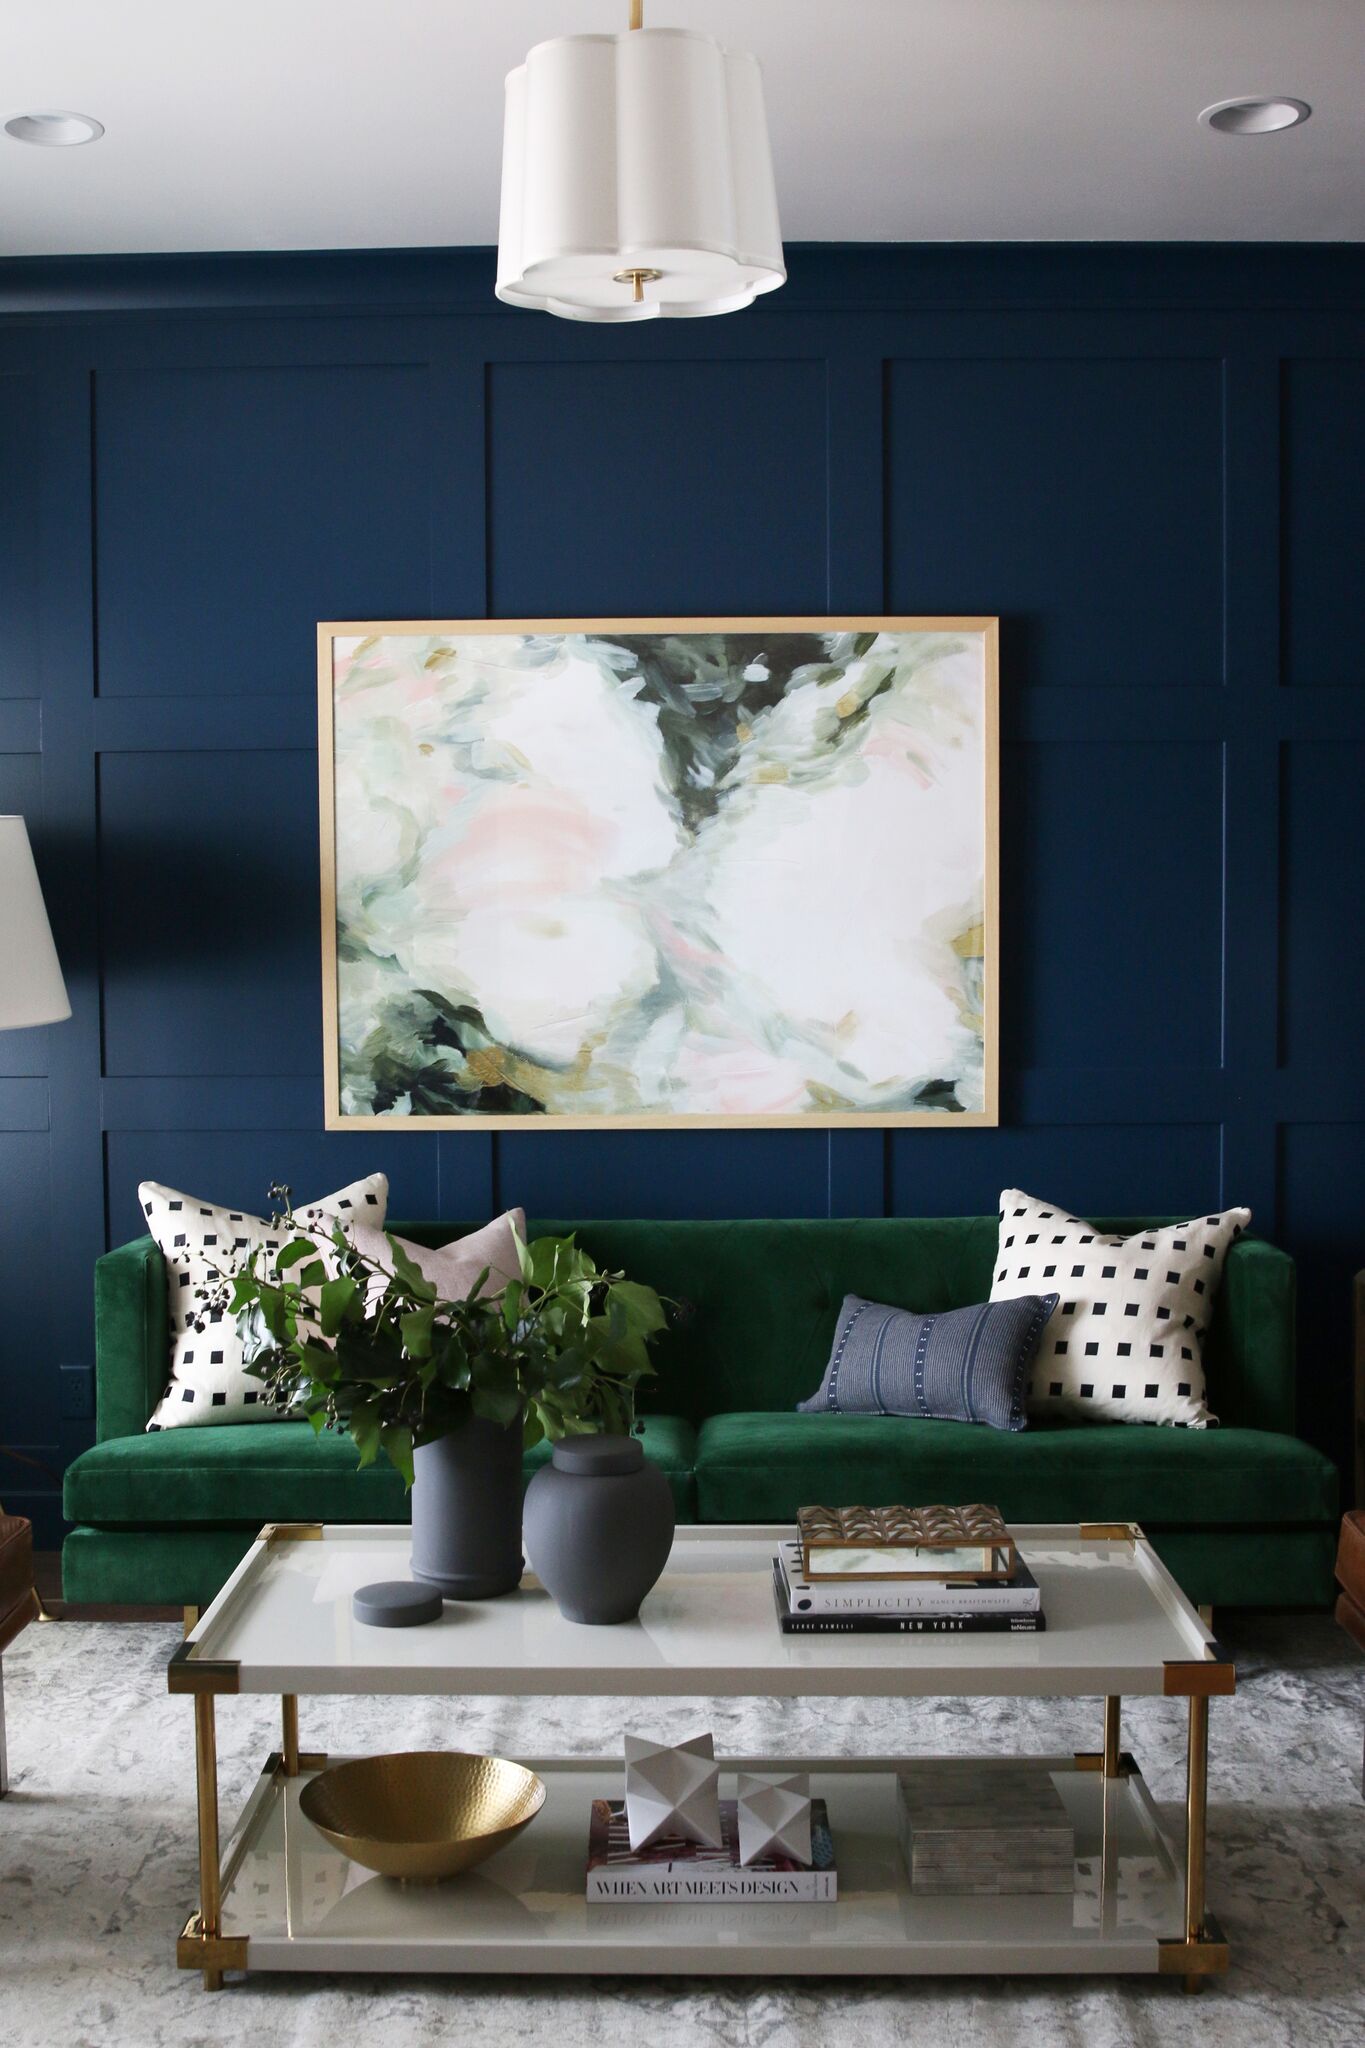
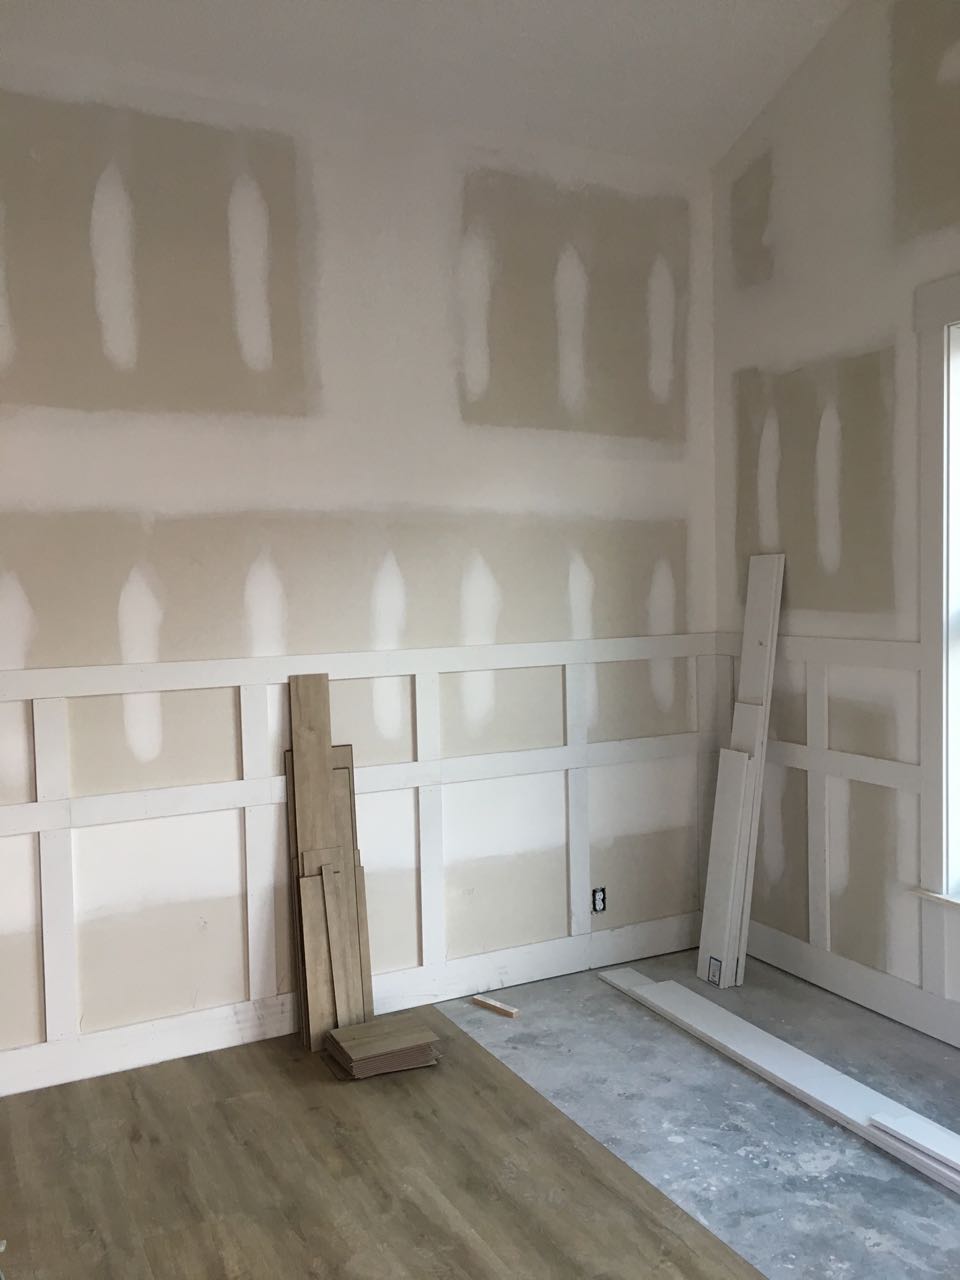
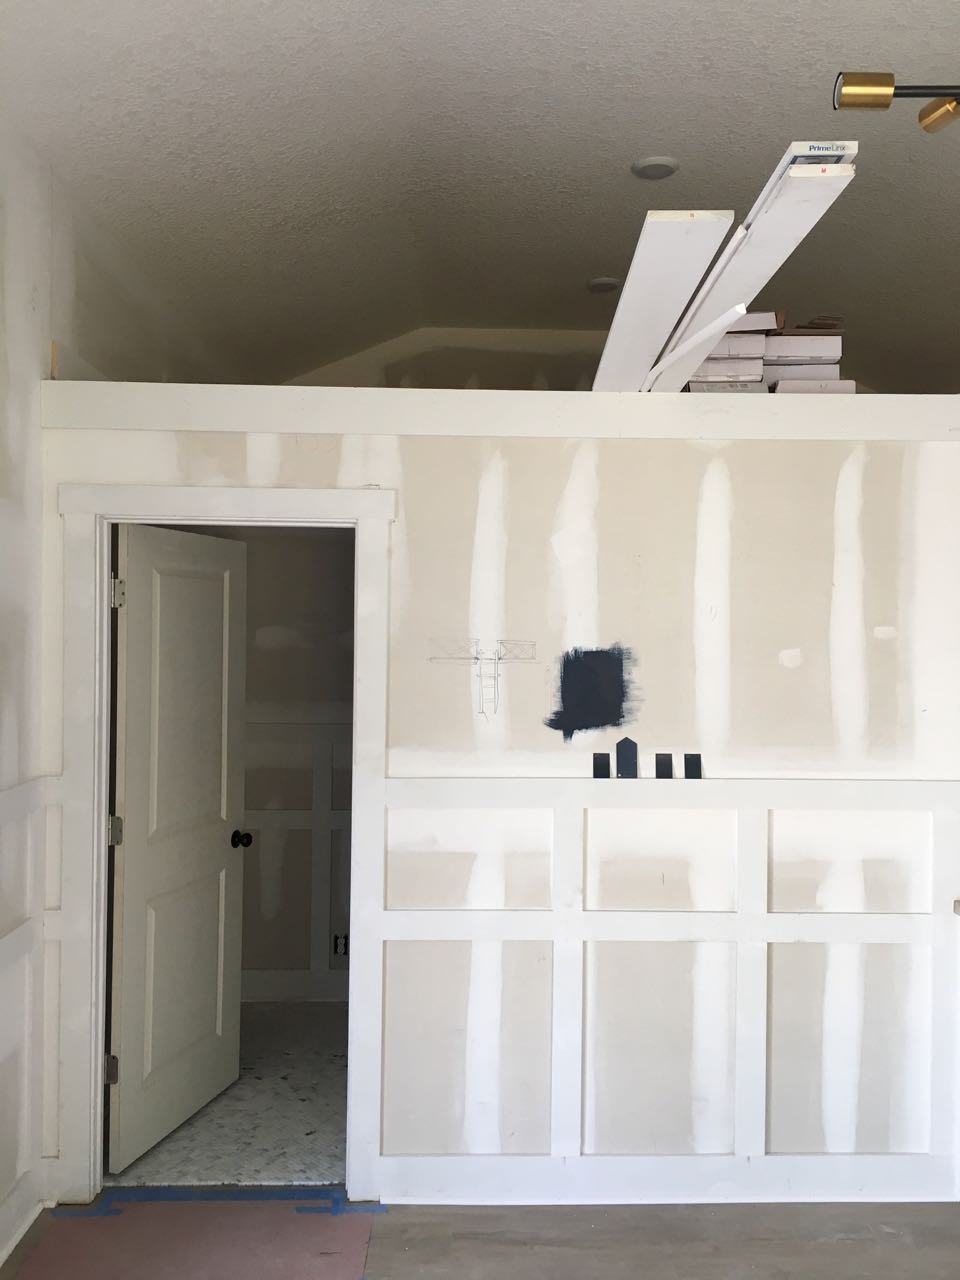
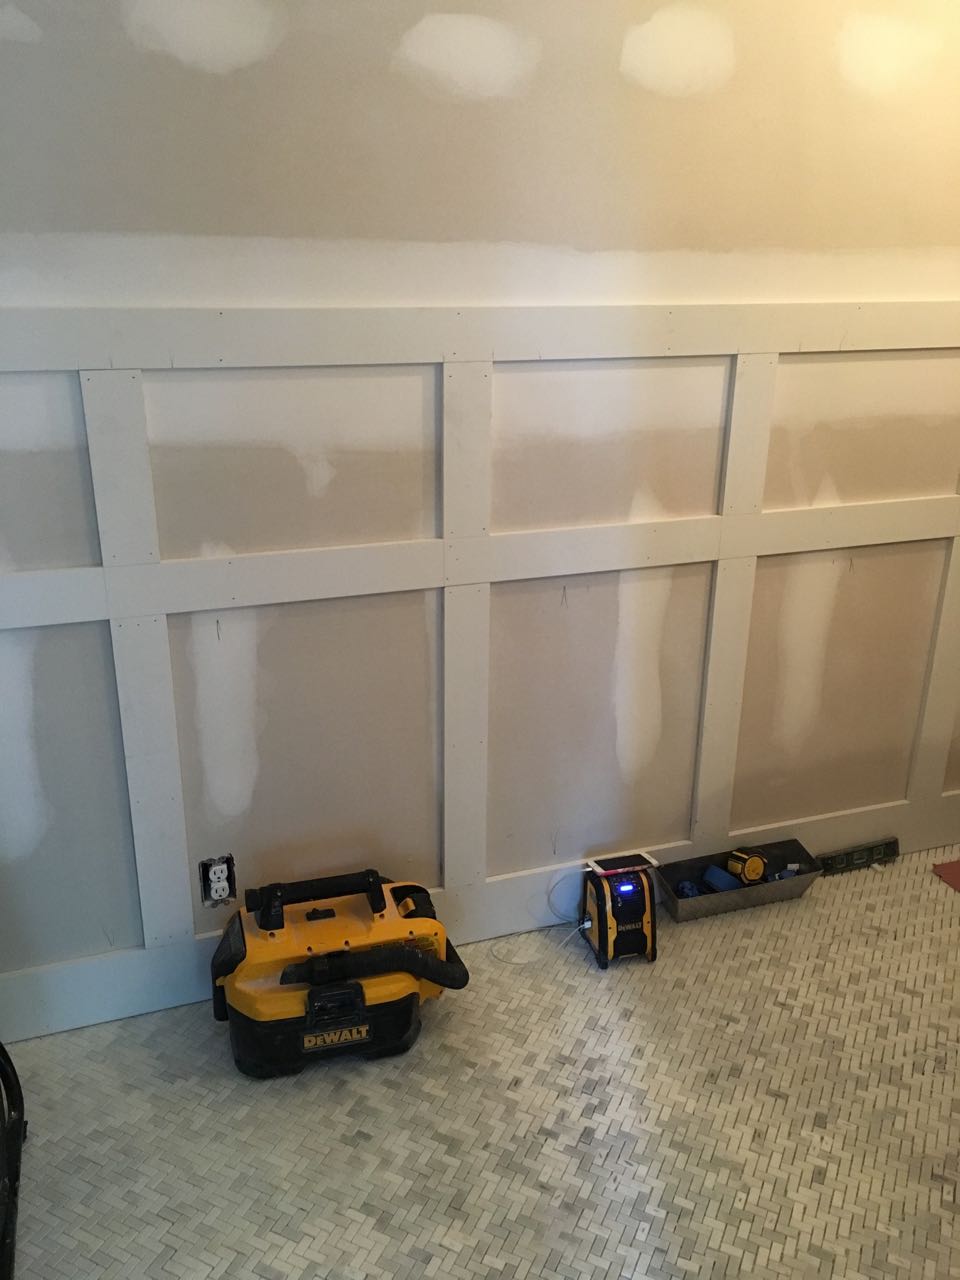
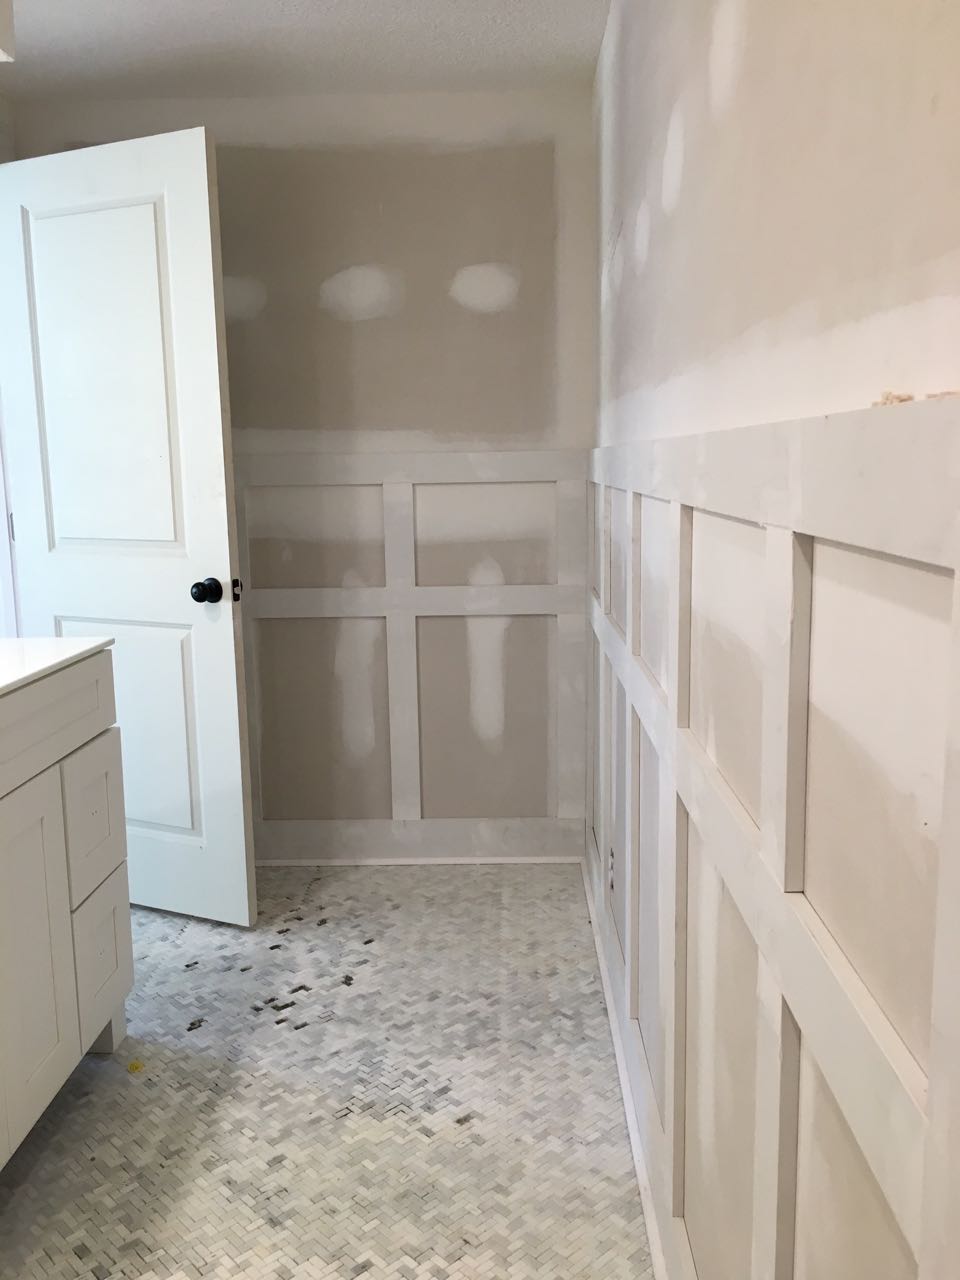
At first, our carpenter only planned to do the bottom row of paneling and it didn't go very high up the wall. I went to look at it, and it really didn't have as much of an impact on the room as I was hoping. We couldn't really go all the way to the top of the wall as it is such a big room. So instead, we asked him to add a shorter layer on the top, to give it a little extra punch. I am really happy with the way it looks now and I feel like it gives the room much more character and depth.
Our paneling is actually not technically paneling - there is no board underneath, just 1x3s nailed straight onto the drywall. We are planning on painting the whole wall in a satin finish to make it look more authentic.
PAINT DECISIONS
The broad paint colors have never been an issue for me. I knew I wanted a mix of navy and crisp white. But I found out firsthand that navy is tricky. They all seemed too dark, or too blue, or too green, or too pale for our space. I was flip flopping between shades and nothing felt right.
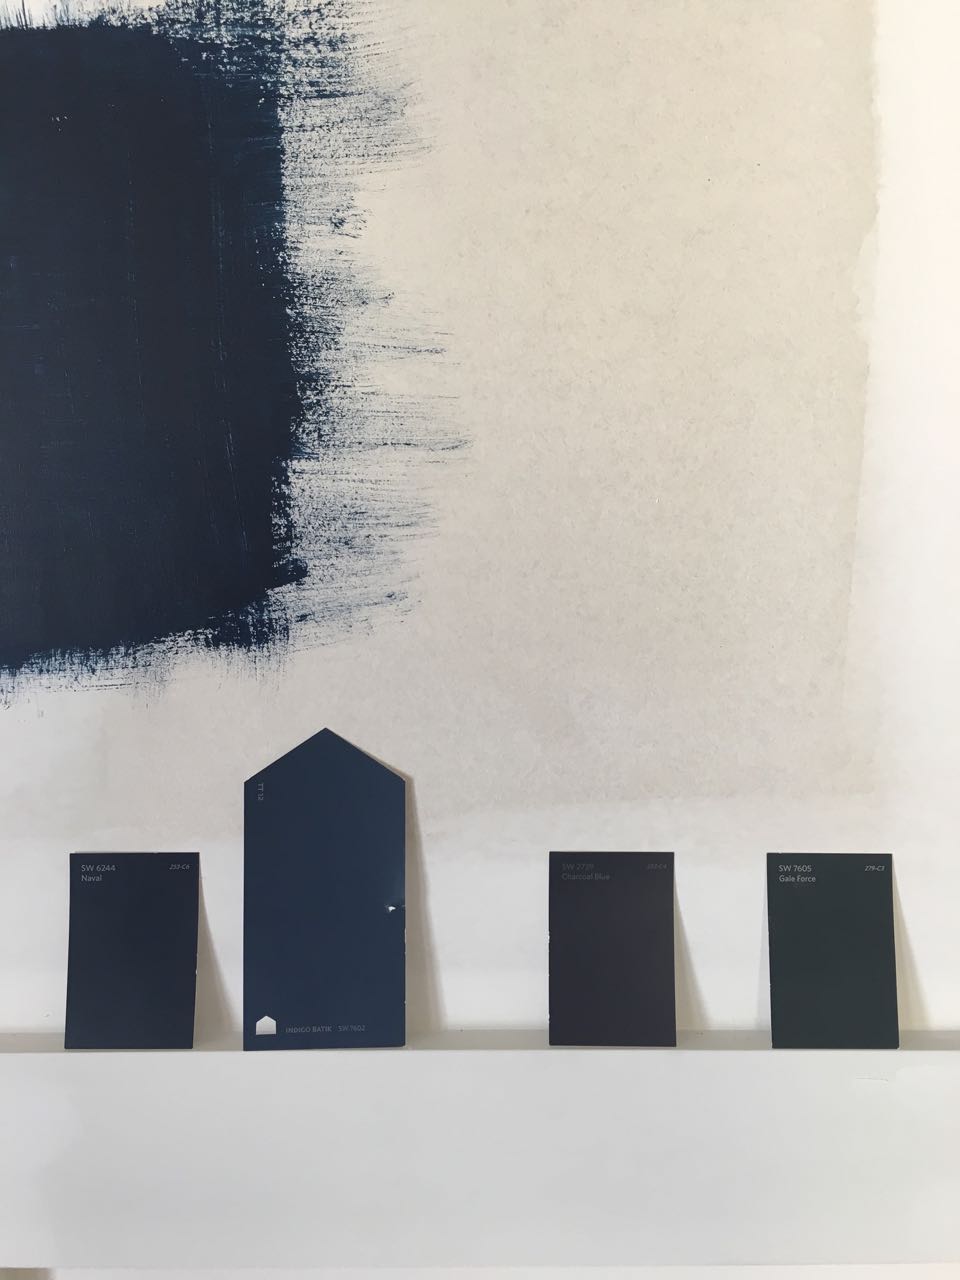
Then I stumbled across some kind of article listing all the best shades of navy in the universe and I found Benjamin Moore's Hale Navy. (I know, I know — I'm late to the party.)
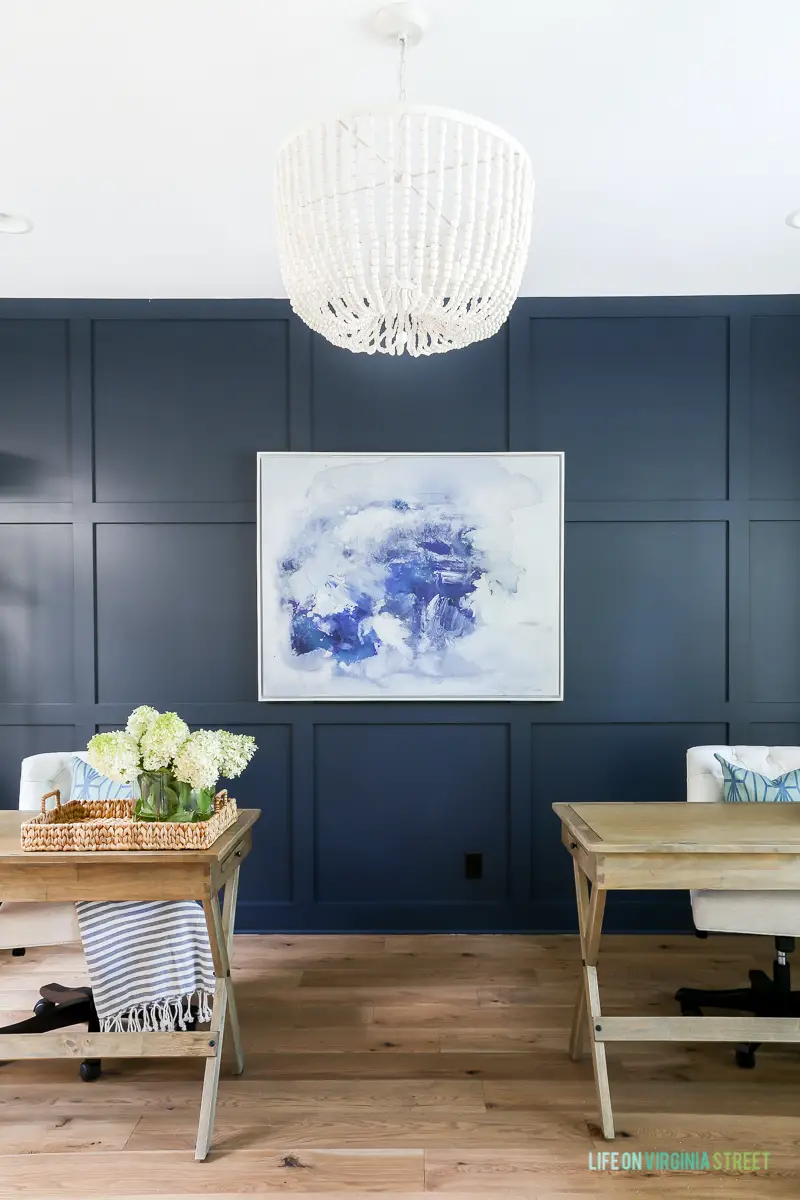
It's a very popular color — I looked at so many photos on Pinterest and even though there were slight variations on how it looked, I loved the way it turned out every single time. So, Hale Navy it is. And I'm not even buying a sample pot, because I am either A) an idiot B) tired of making decisions C) feeling reckless or D) a combination of all three. Plus every time I say "Hale Navy" it comes out in a deep southern accent. So I'm just gonna say "Hale Yes" to Hale Navy. (I know, my brain is weird.)
I have also been really stuck with which bits to paint which color. At first, I was planning on painting the whole room (trim, doors and all) in the navy, with a white ceiling. But that feels like it's too much dark paint for me. I want the moodiness but I also want light and bright. (I know — I basically want it all). I thought about painting the paneling navy and the walls white, but I couldn't quite figure out what we would do with the doors and window frames. We also have a white AC unit to consider - I don't really want that popping against a navy wall.
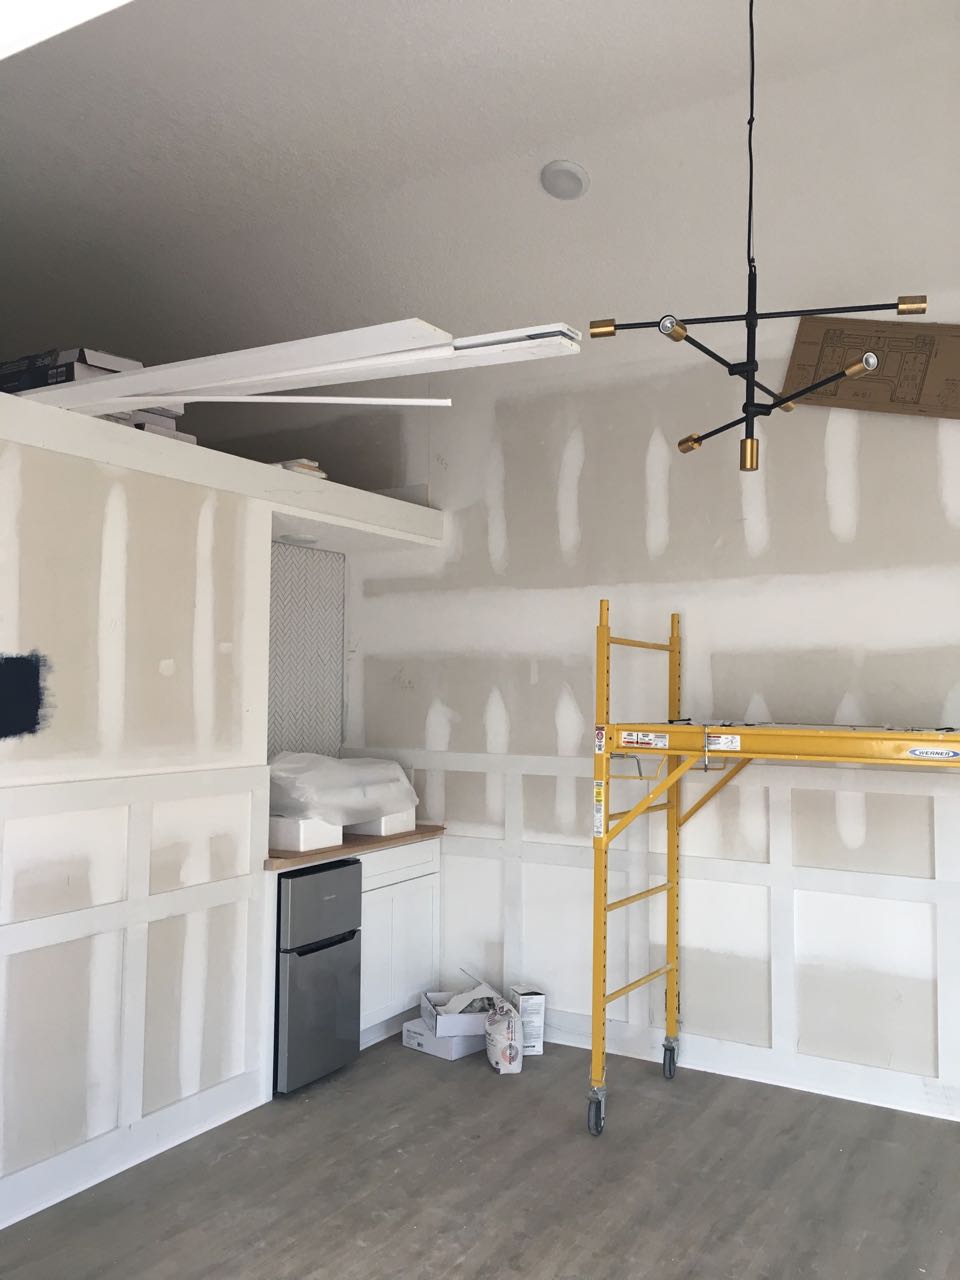
So. My plan thus far is to paint two walls entirely white, and the other two entirely navy (doors, kitchenette cabinet and all). This way I can have the dramatic dark trim that I wanted to dabble in, but also the white clean look. Is it going to work? Honestly, I'm not sure. I asked for advice on Instagram and lots of people said "go with your gut". I have a bit of a gut feeling about this and so I'm going with it. If we hate it we can always paint it, right?
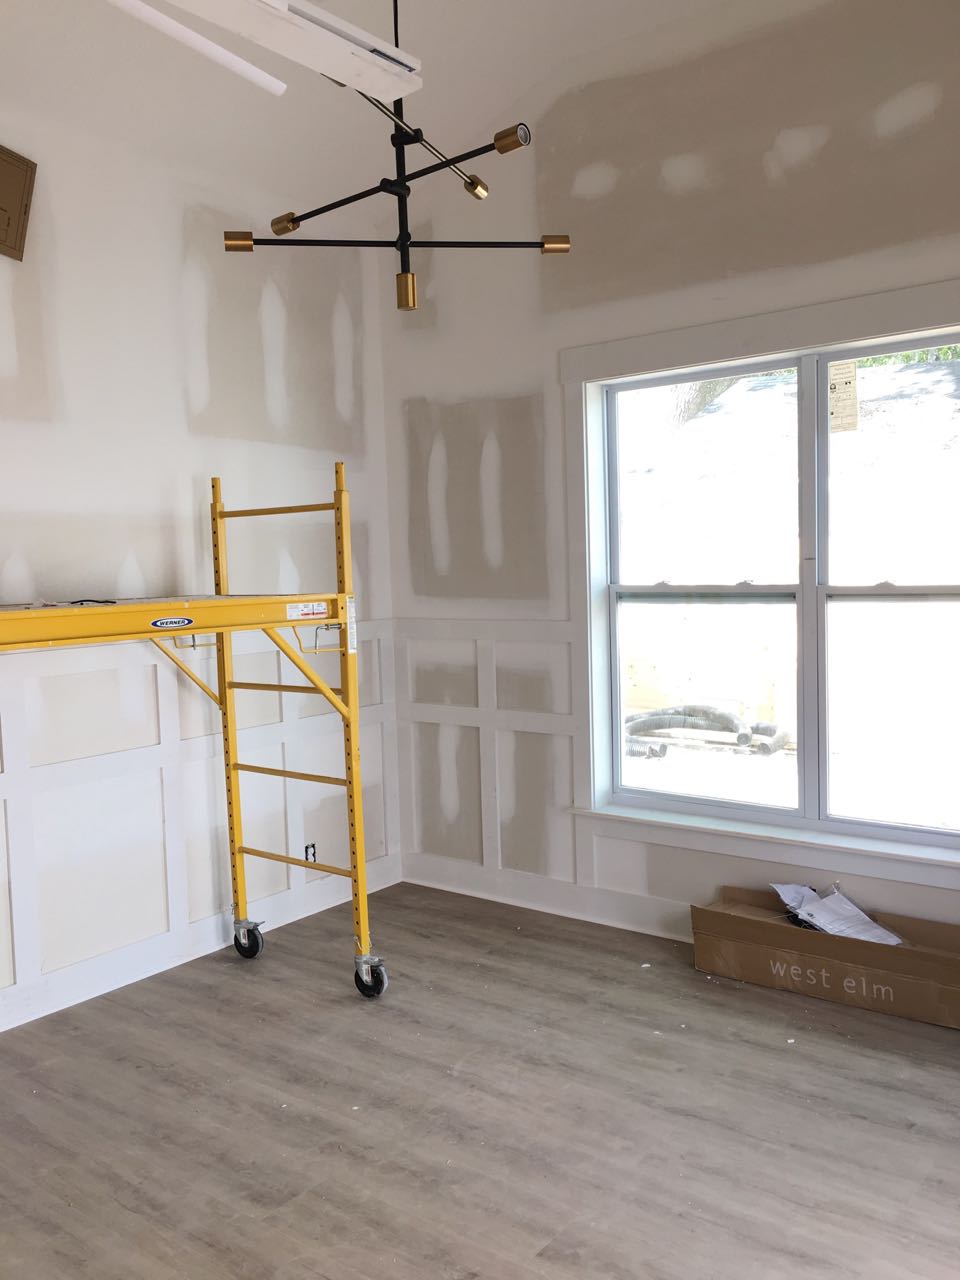
The bathroom was much easier to decide on — we will keep the same colors through into that room but keep it more traditional. White trim and paneling, navy upper walls. Simple.
FLOORING
The laminate flooring is also in and looking lovely. We went with the NuCore Gray Blonde Plank and it already has a cork backing so it can be laid straight onto the concrete. Unfortunately the molding pieces which transition from room to room have not been delivered yet. I think the store actually sold them to another customer, but they won't admit to that. So we are still waiting on those so that we can get the loft flooring and trim completed.
TILE DRAMA
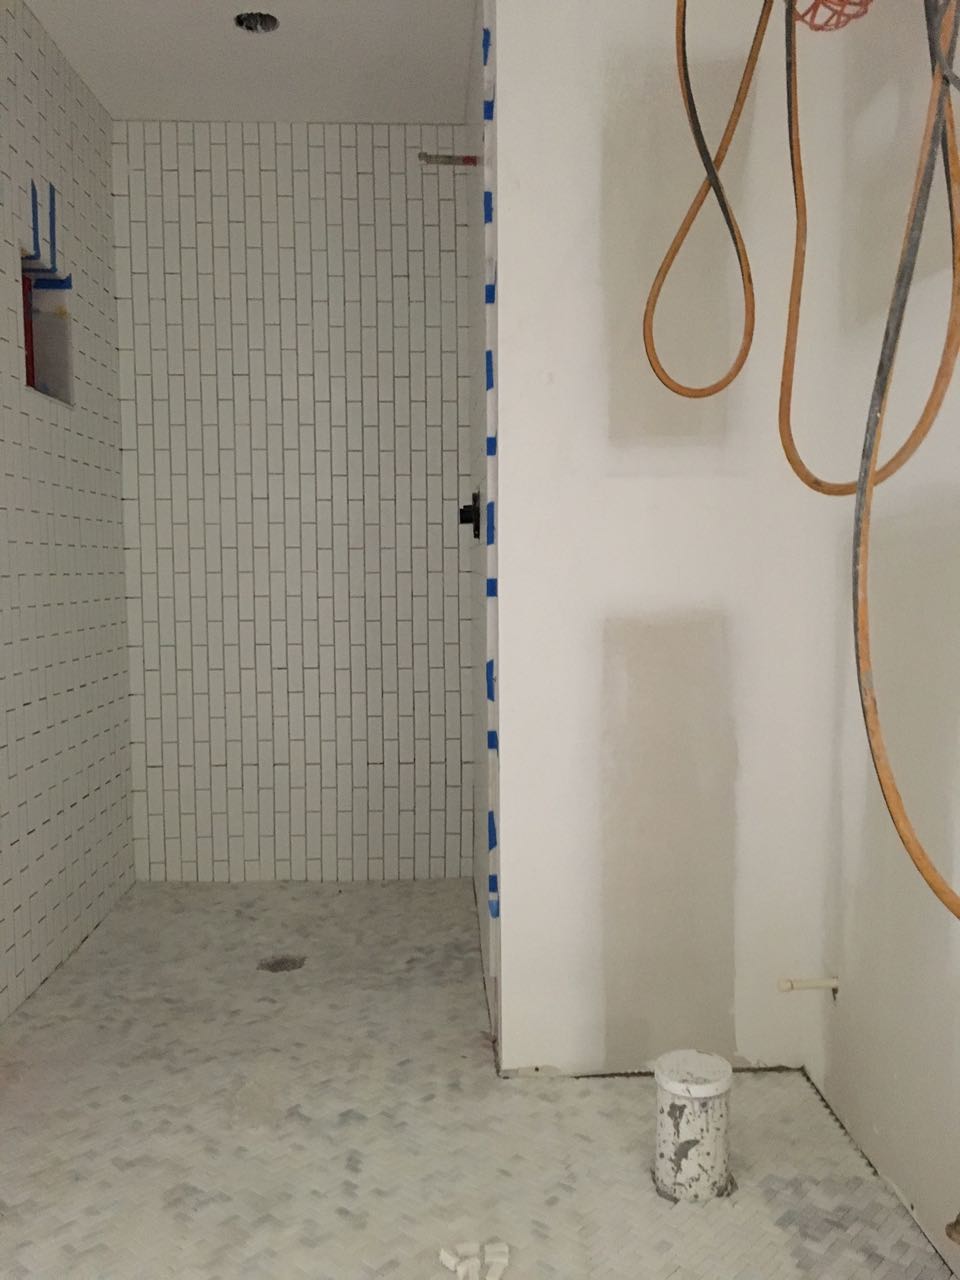
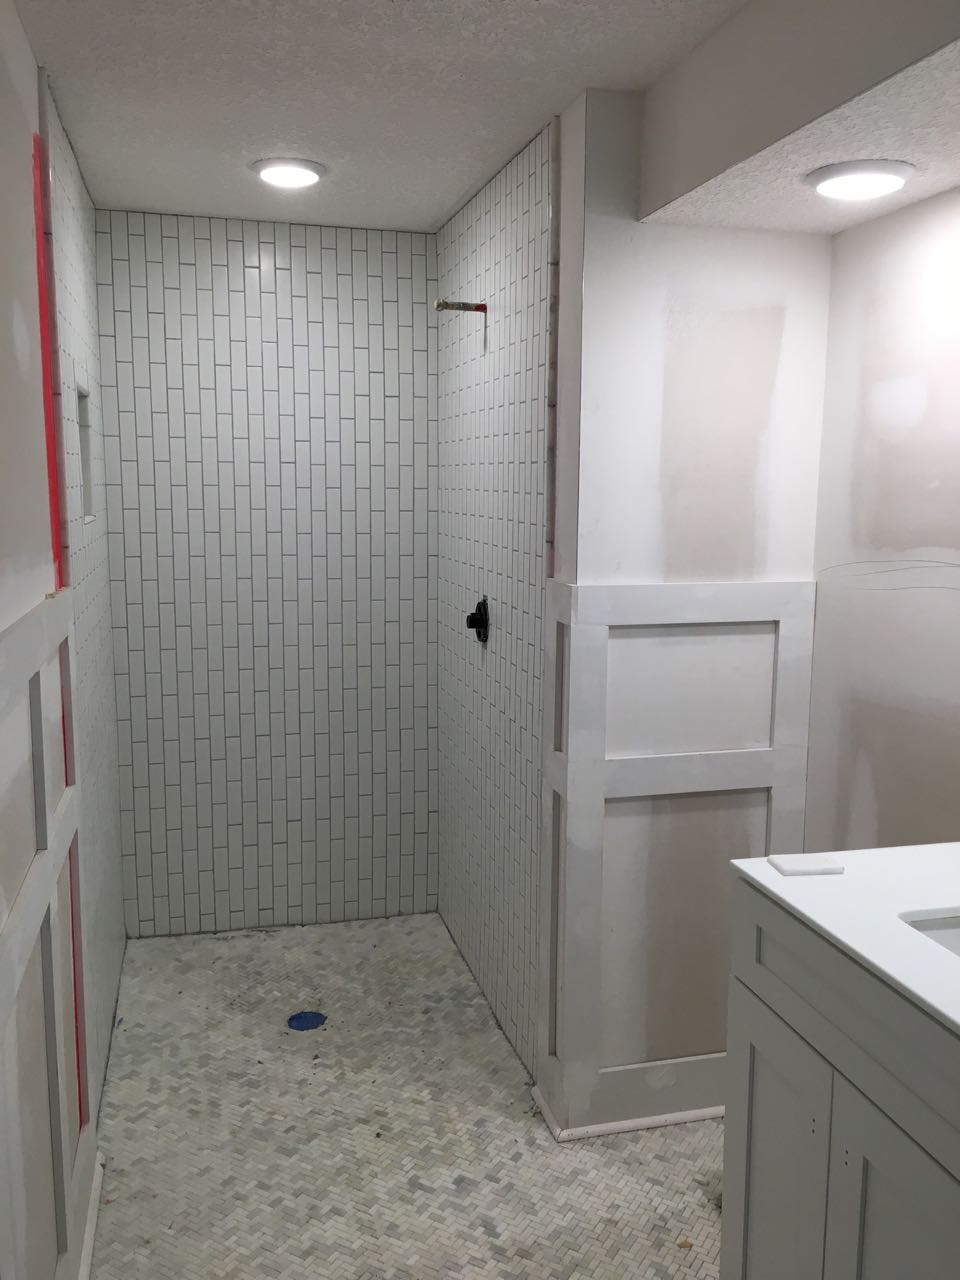
Aaaaand the bathroom tile. The shower tile went in first and looks amazing. I decided to have it going vertical instead of horizontal and I think it makes it a little more unique.
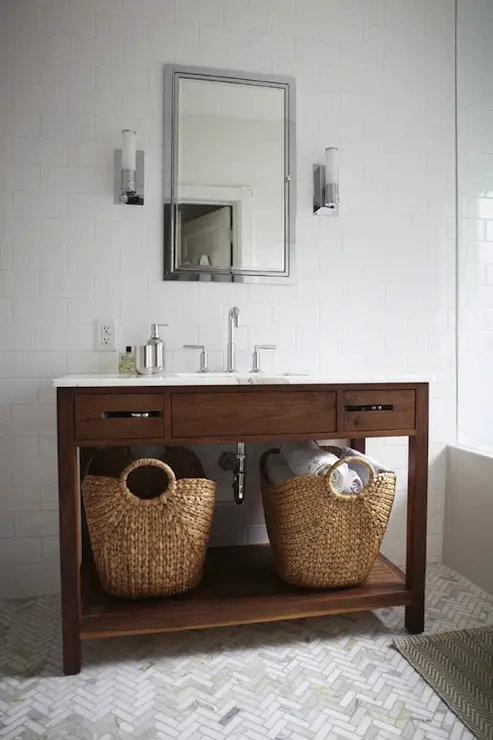
Then they started on the marble herringbone floor which I was expecting to look something like this:
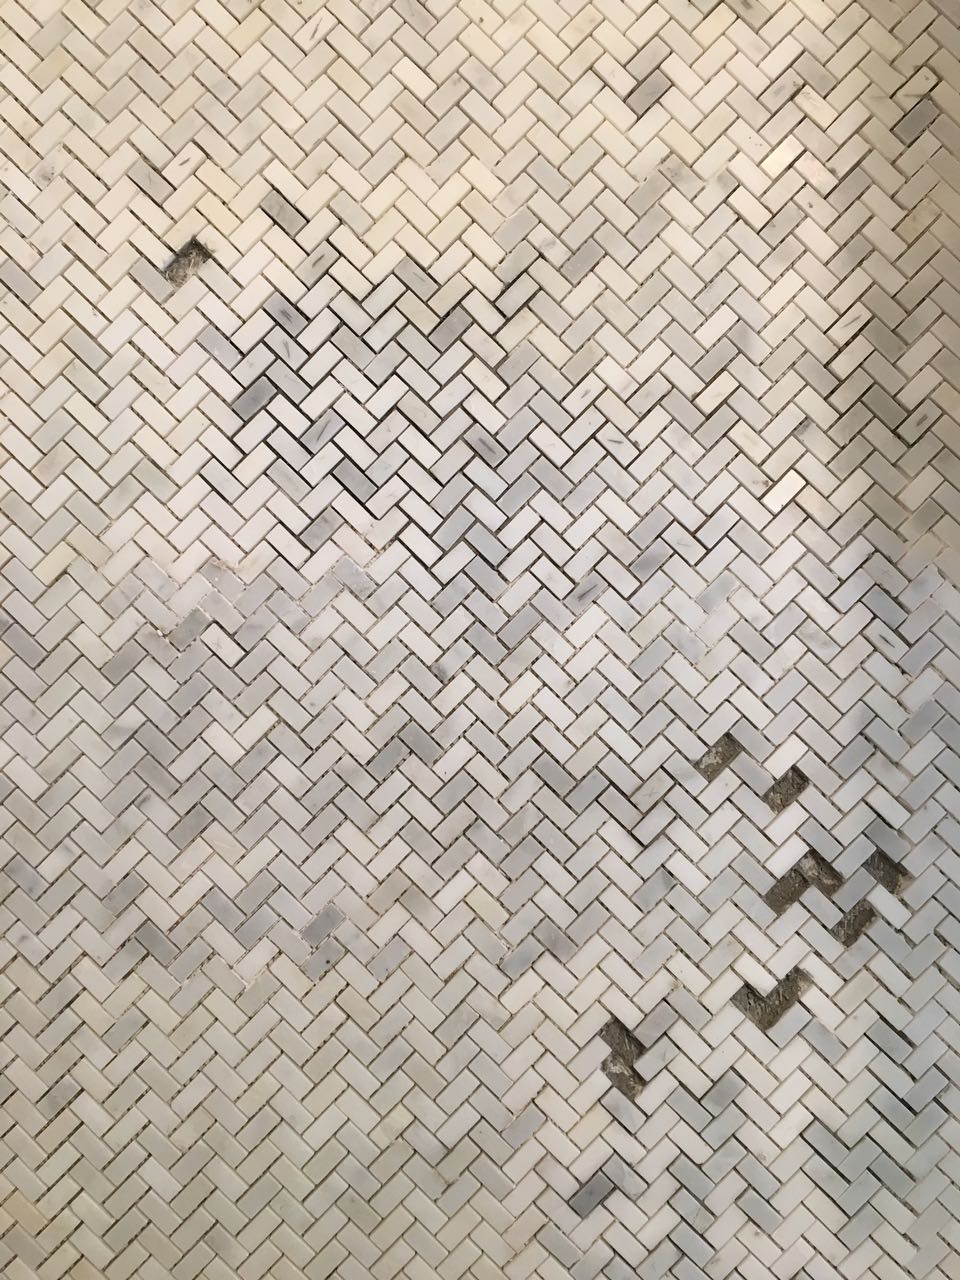
Only this is what it looked like at the end of the day:
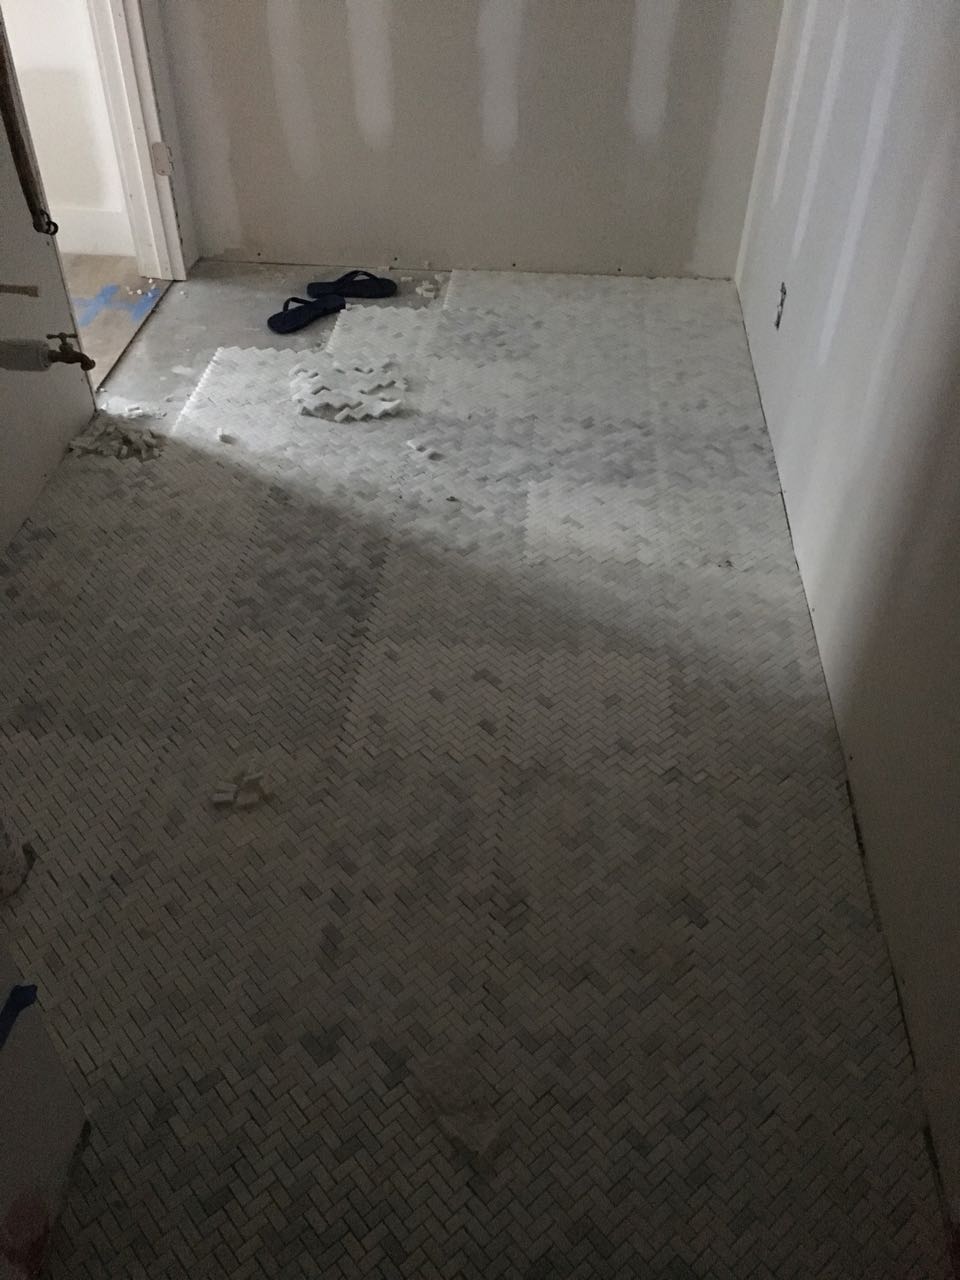
Guys, I literally cried when I saw it (not happy tears). It reminded me of one of those interlocking foam play mats for kids. Not quite the look I was going for.
I texted a friend to make sure it wasn't just me being uber picky and she agreed that it looked HORRID. I was especially sad that we had stretched our budget to get the marble. Sad face.
My big mistake was that I should have opened all the boxes in advance to check I was happy with the each piece, then gone to switch out the pieces that didn't blend in as well...but with this being my first experience using marble, I just didn't realize the 12x12 tiles would be so drastically different. Hindsight and all that.
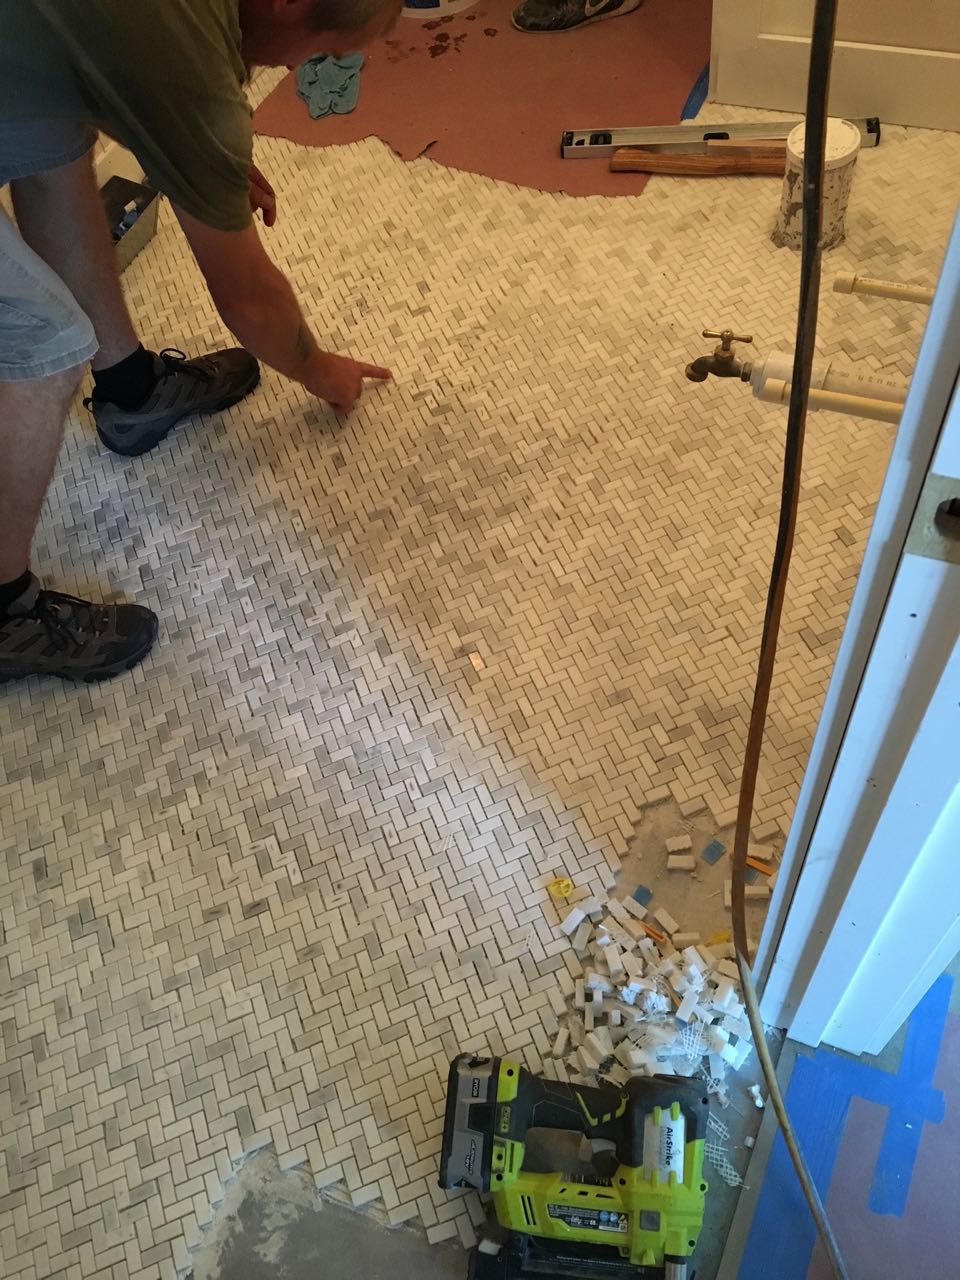
Our GC also happened to be out of town that day, so I had to work it out with his tile guys. They started laboriously popping out individual pieces to switch around along the seams and it took them hours. I'm sure I wasn't their favorite person that day. The frustrating part was that I went back to the store to get some extra pieces and looked through all the boxes. They all looked really similar in color. I don't know why the ones we ordered were so dramatically different — perhaps they were taken from the reject pile?!
So — please learn from my mistake. If you use a natural material with variations in color, first check with your own eyes that you like all of the pieces. If not — take them back to the store to exchange them and hand pick them yourselves. Don't trust the guys in the warehouse.
Then, if you are fussy (like I am) get involved with the placement of the pieces. This situation could have avoided with me being a little more pushy. But I'm British, so I just complain about things quietly (or on my blog) rather than confronting things head on. LESSON LEARNED.
Anyway. Tile crisis diverted (sort of). It still looks a little quirky and mismatched, but I think I can start calling it a design feature rather than straight up ugly.
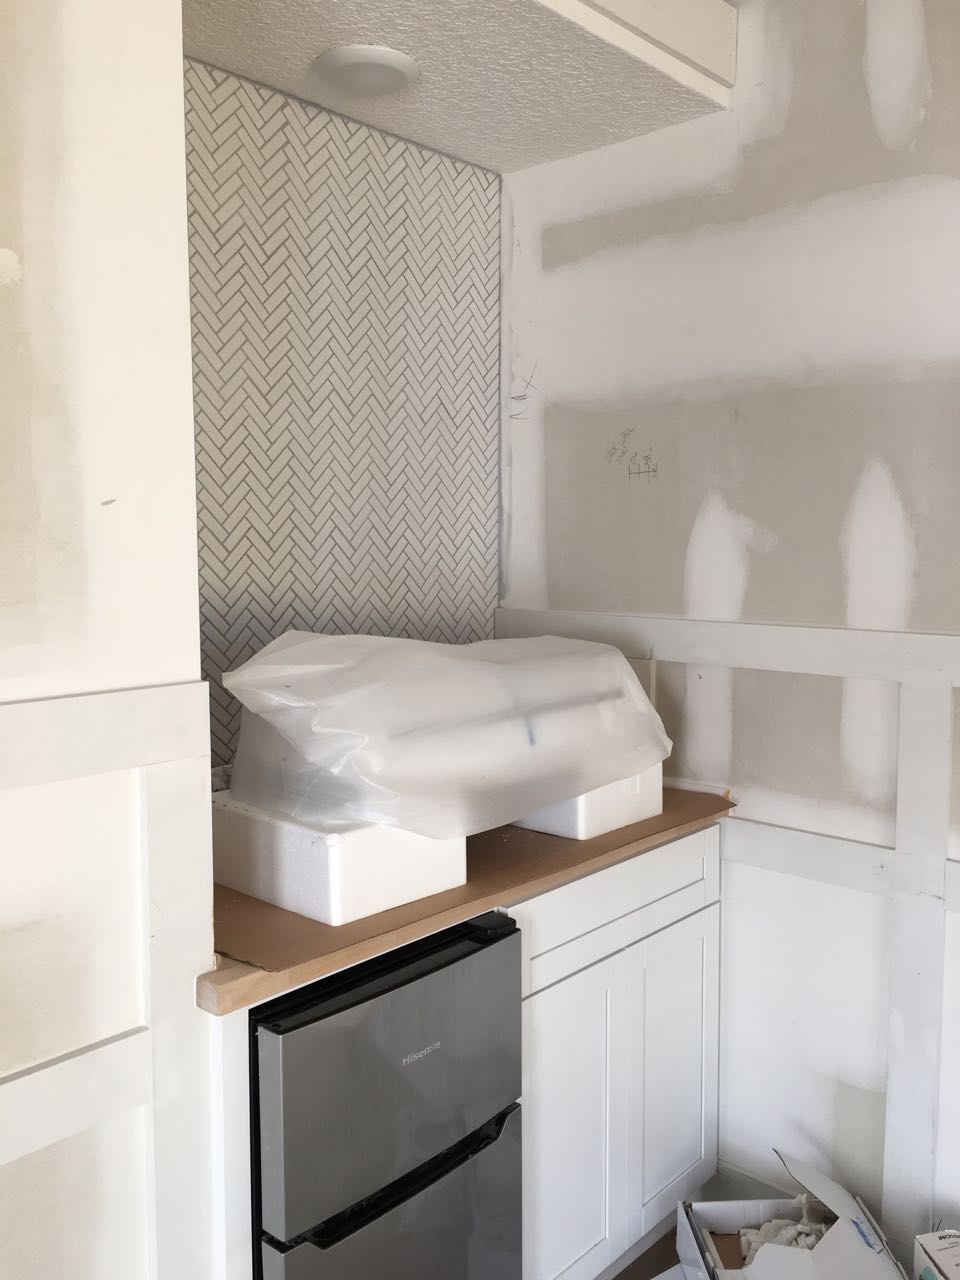
I almost forgot to mention the kitchenette tile which looks AWESOME. This was a super inexpensive tile choice at just $3 a square foot. Our carpenter made some shelves out of a piece of leftover butcher block that wasn't long enough to use for the countertop (my bad) and they are stunning! (They will be going up after the paint is on the walls.)
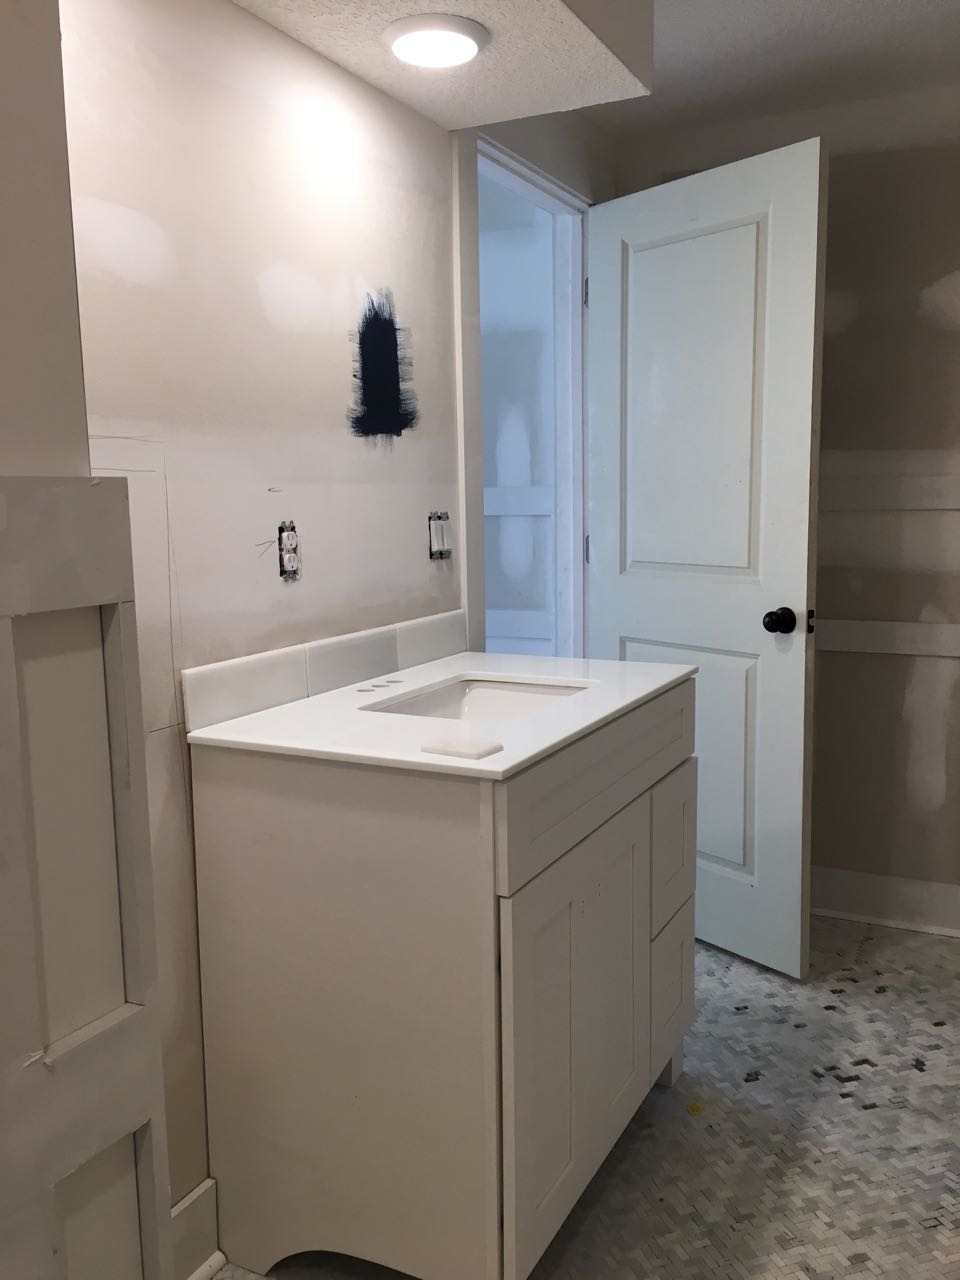
We also have all the light fixtures in place, a bathroom vanity and an AC unit. It's coming along!
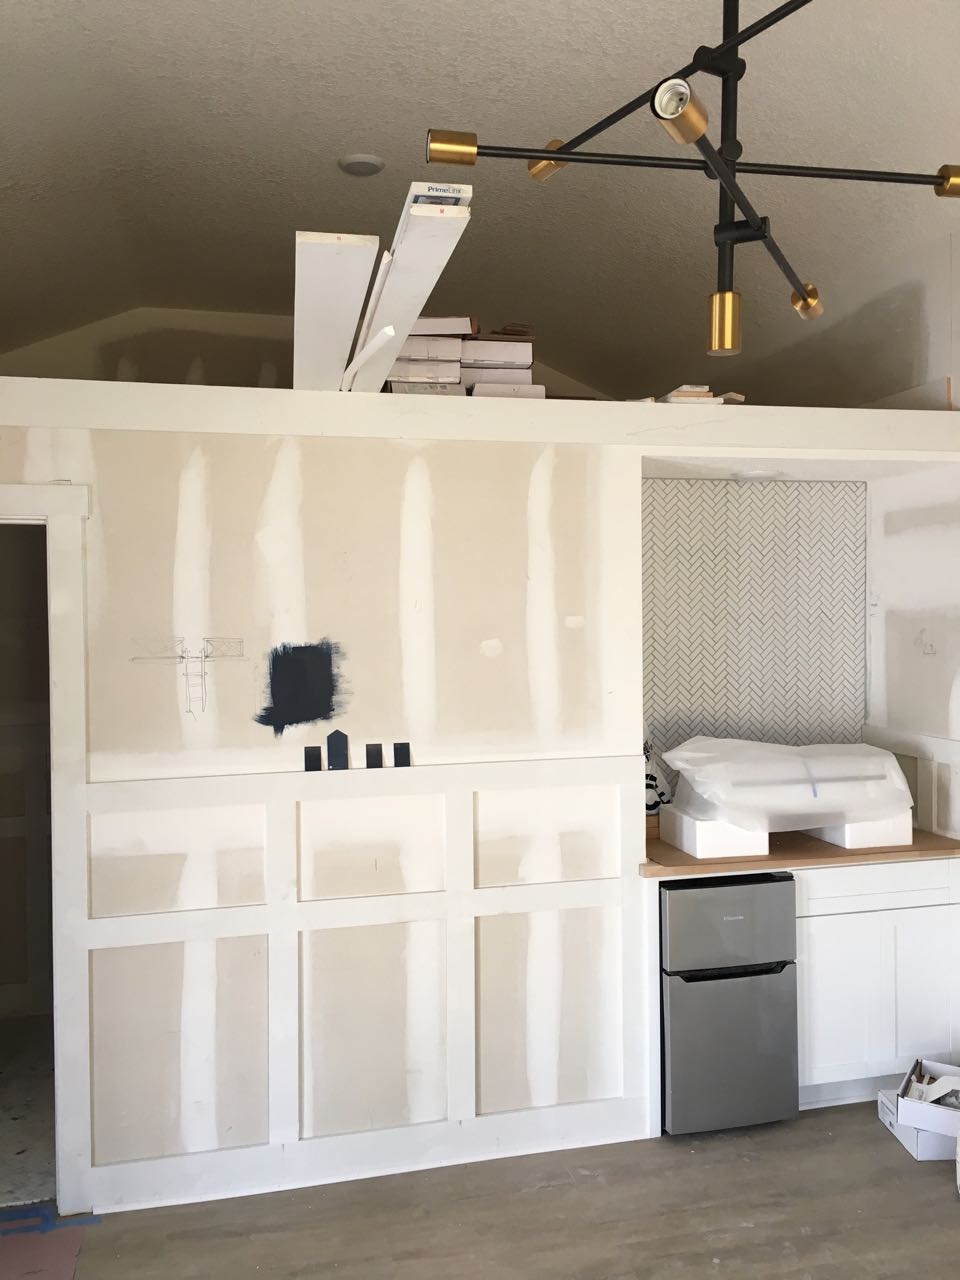
I can't believe that we are almost finished — the next update I share will probably be the big reveal! I'll probably have to wait until December to finish decorating as my parents will be staying in there for the best part of November, but I'll be sharing some sneak peeks over on Instagram in the meantime.

