I'm writing this update a few days later than I had planned, and if you've been following on Instagram you might already know why! Over the past week we've been tackling the first major task of our One Room Challenge, which was sanding and sealing our dining room table, and we hit a couple of teeny bumps in the road along the way.
Luckily, it all came good in the end, and I'm happy to share what went wrong so that YOU can hopefully learn from our mistakes!
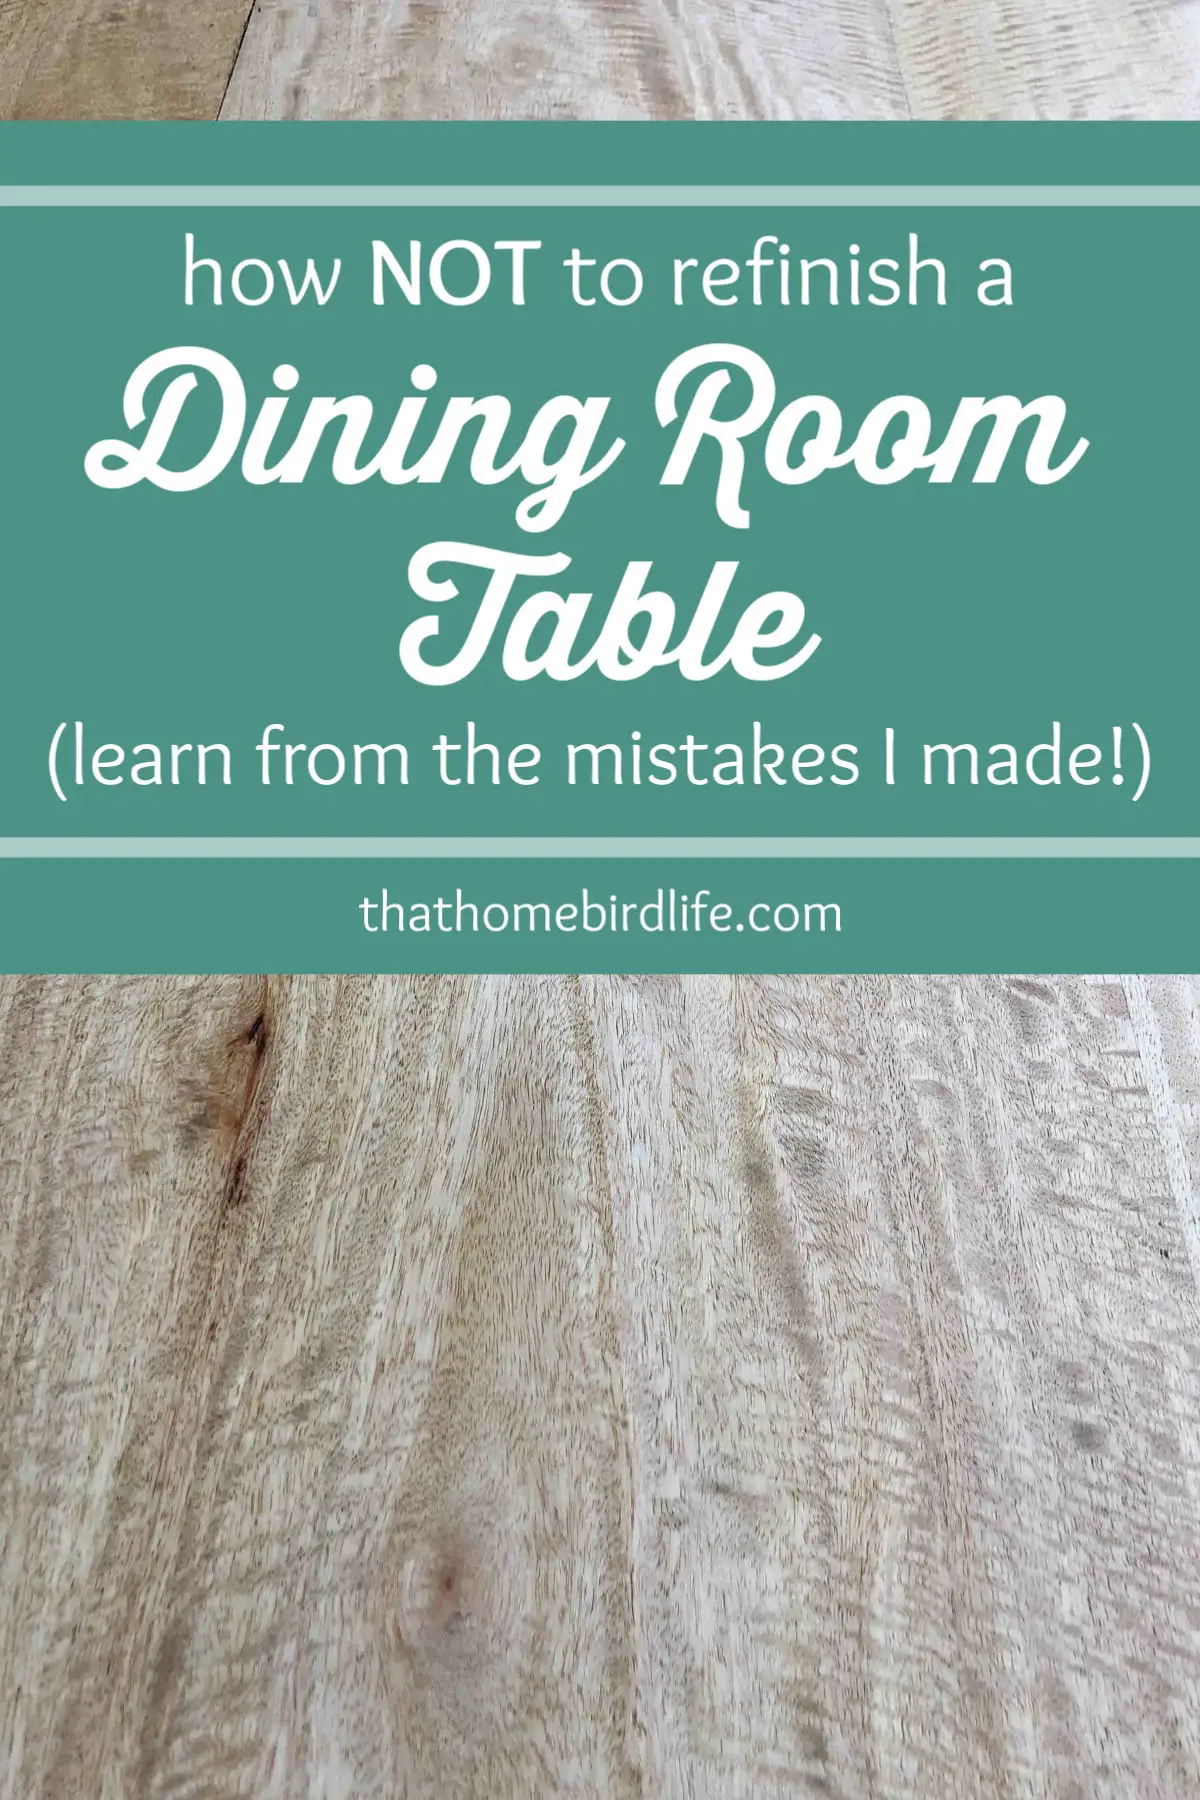
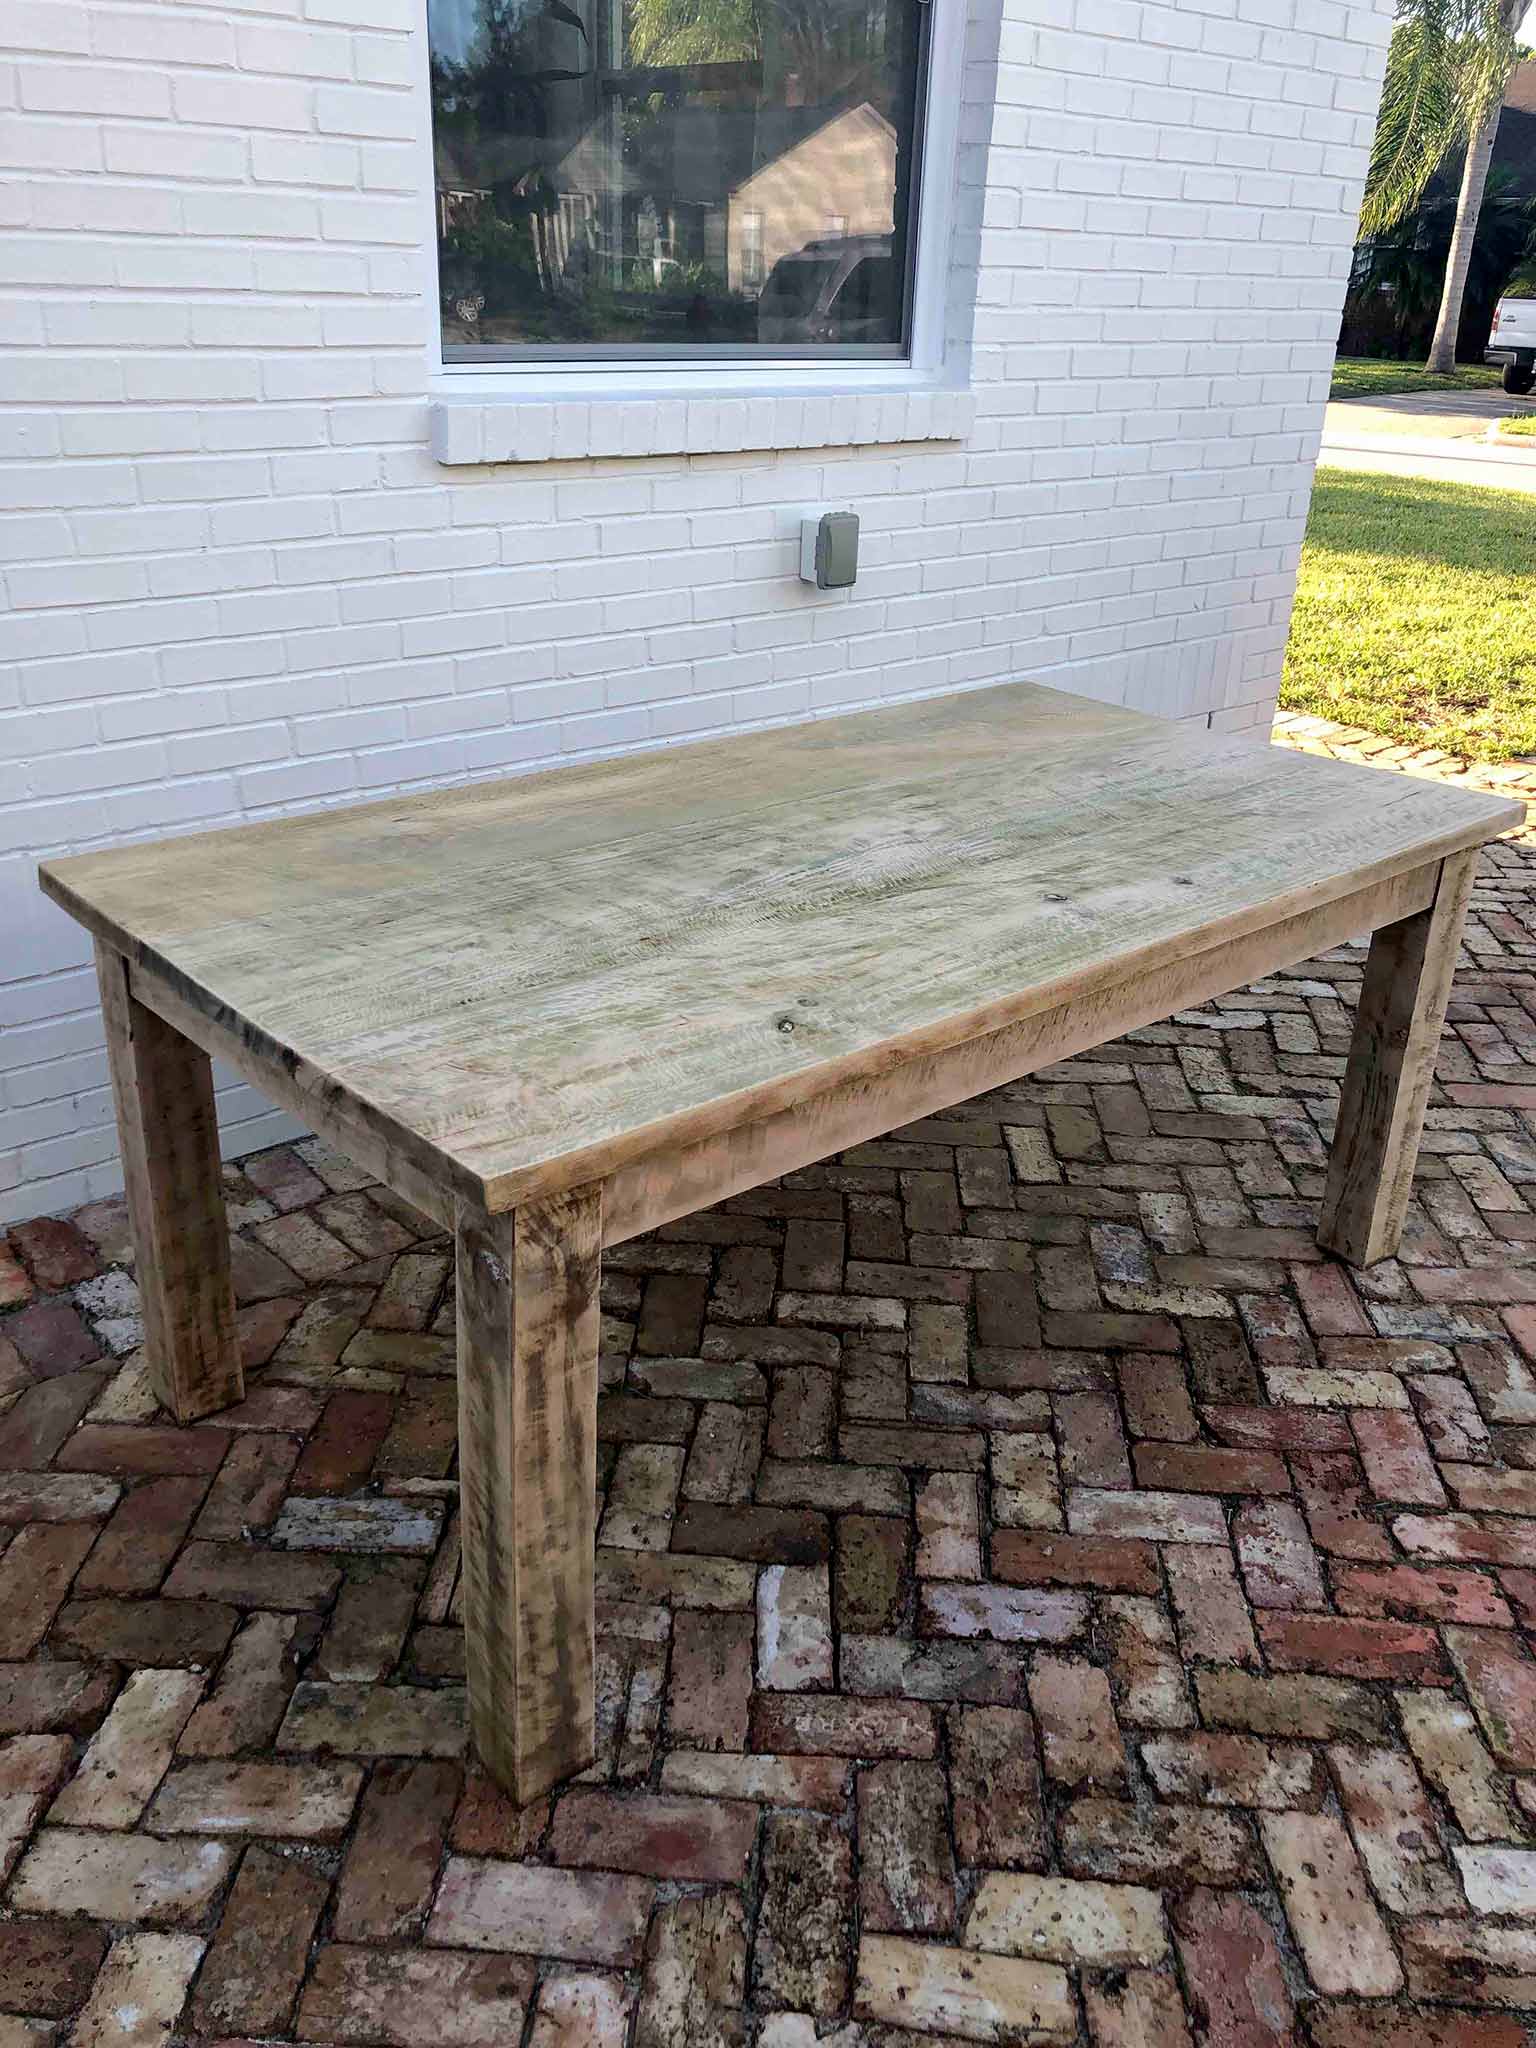
First off, here's how our table looked a week ago:
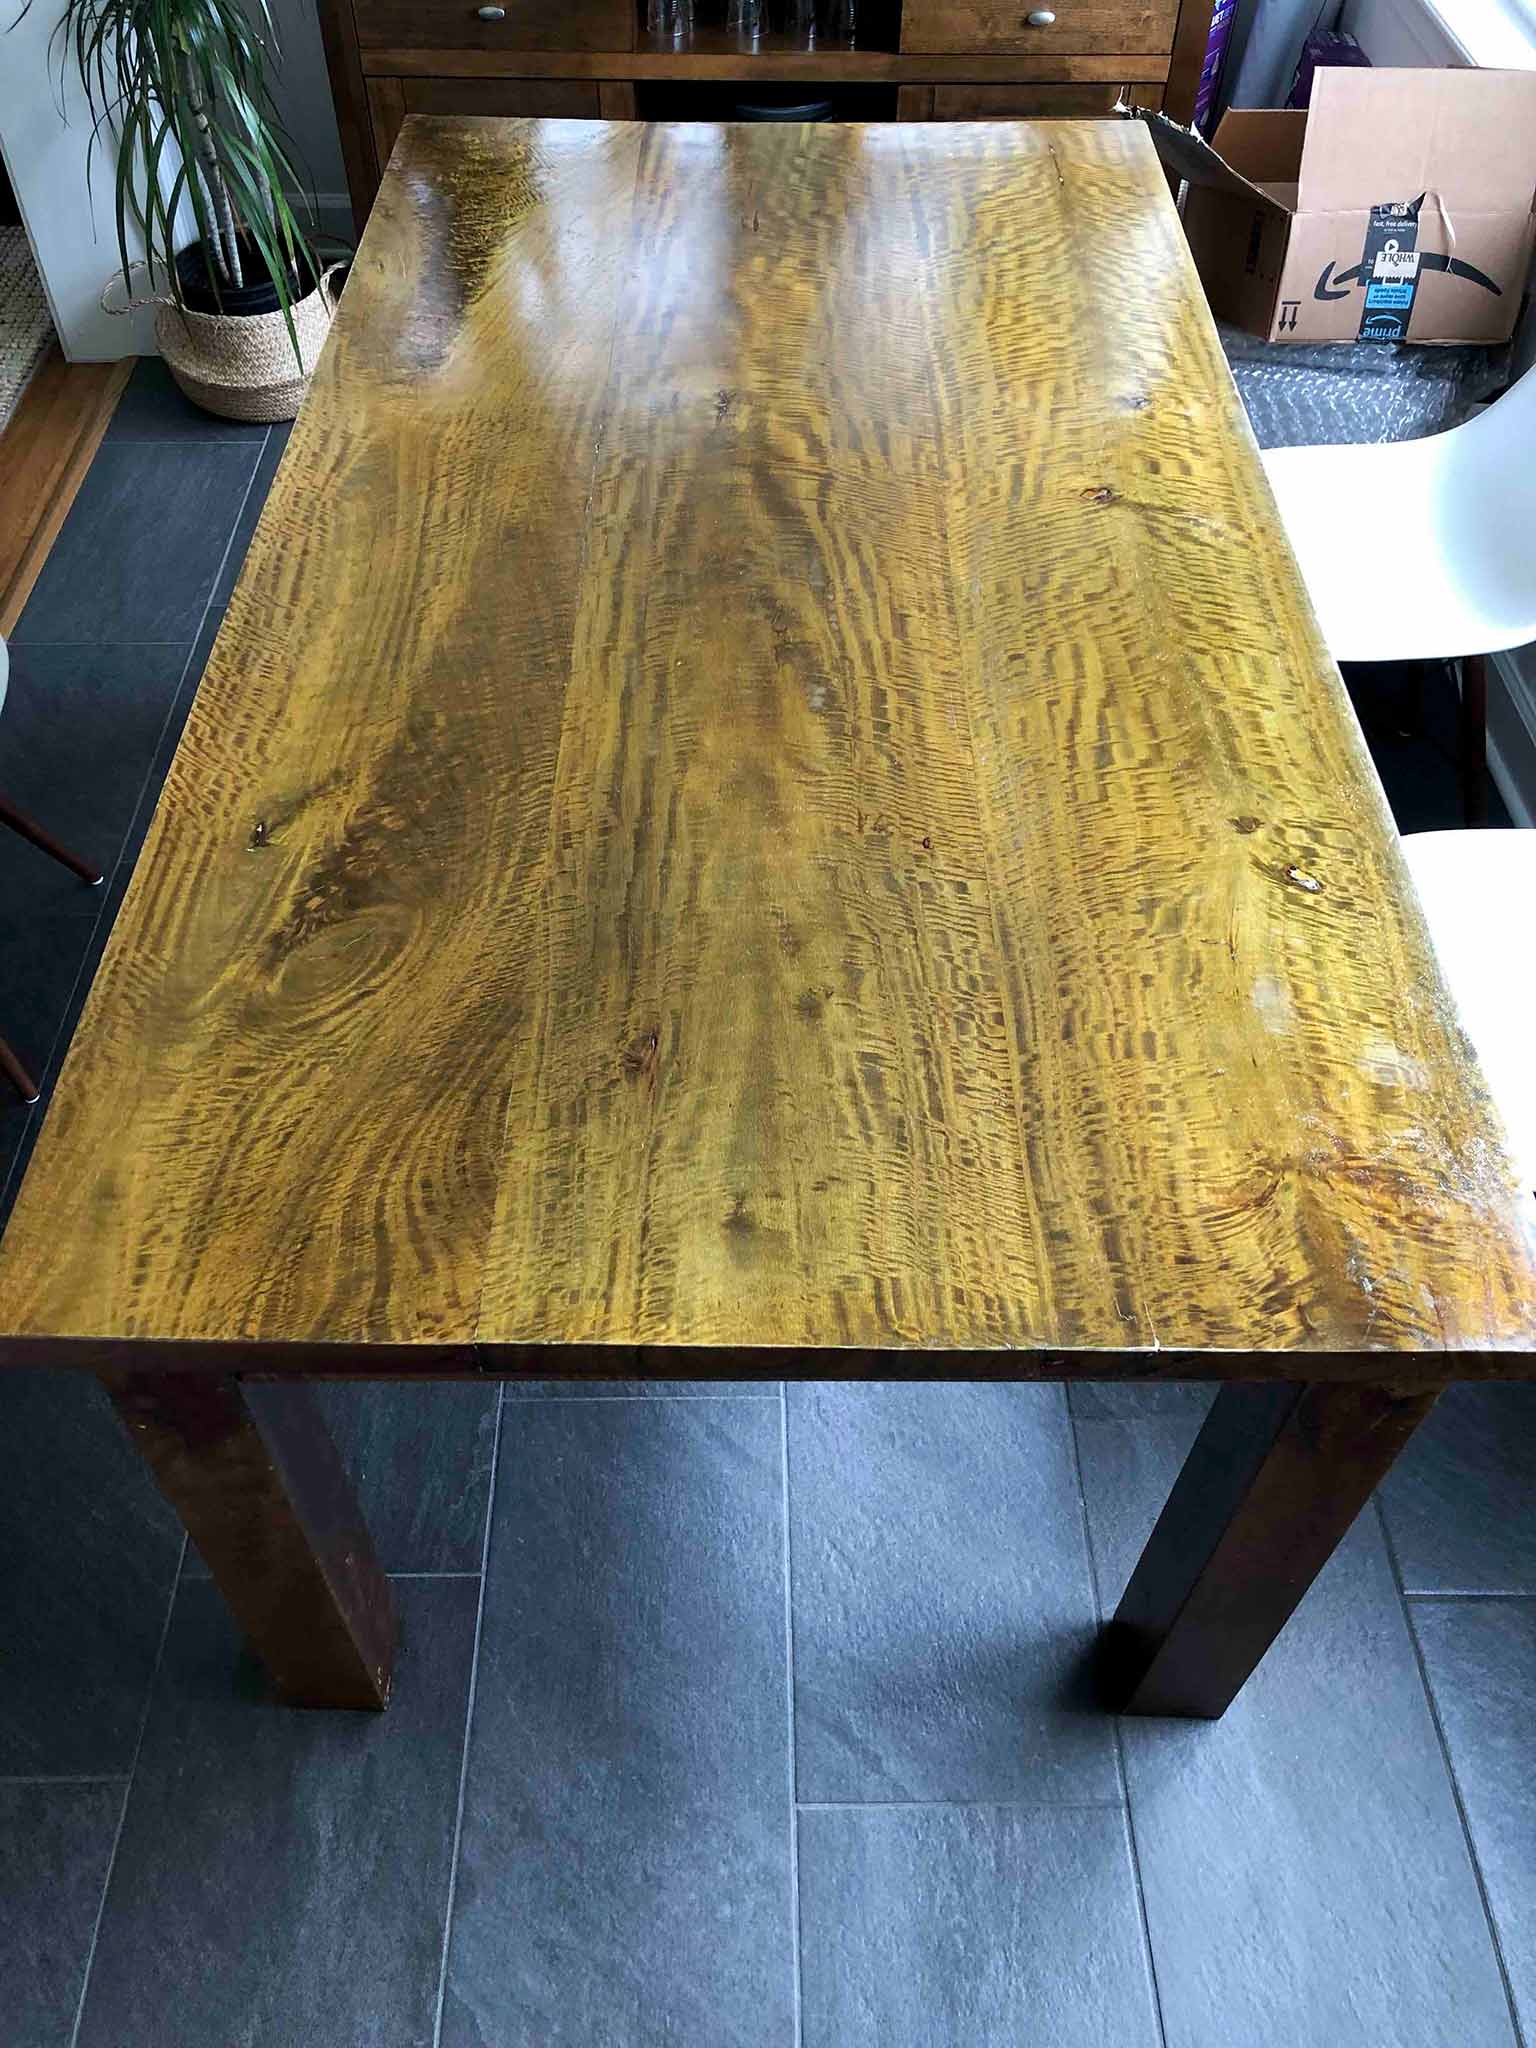
We found it in a little furniture store in the Cotswolds (UK) when we were engaged and finding pieces for our new home. Looking back, it was a steal as I think we only paid £200 for it—it's solid tigerwood and really well built. But ten years and two kids later, it has been VERY well used. There were scratches, dents, and sticky patches that I couldn't scrub off. It definitely needed some love. I've been loving the look of natural wood dining tables, so I thought we'd just sand it down real quick and seal it with a clear coat of poly. Easy, right?
MISTAKE NUMBER ONE: NOT CHECKING THE WEATHER FORECAST
My four year old only goes to preschool two days a week, so I decided that we should take on this task when she would be out of the house for a few hours. On the morning I chose, the clouds looked a little omninous but I wanted to stick to the original plan, because I knew it would be so much easier without a little helper by our side.
I thought our biggest challenge would be getting the table outside as it was so heavy. Between the two of us, we managed to get it out onto the driveway without pulling too many muscles, and as soon as we had set up, it started raining. Luckily we had a tarp at the ready, but it wasn't the best start to our project.
MISTAKE NUMBER TWO: NOT ALLOWING ENOUGH TIME FOR THE PROJECT
I had planned to knock out this project in a few hours while the girls were at school.
Big. Fat. NOPE! I could not have been more wrong!
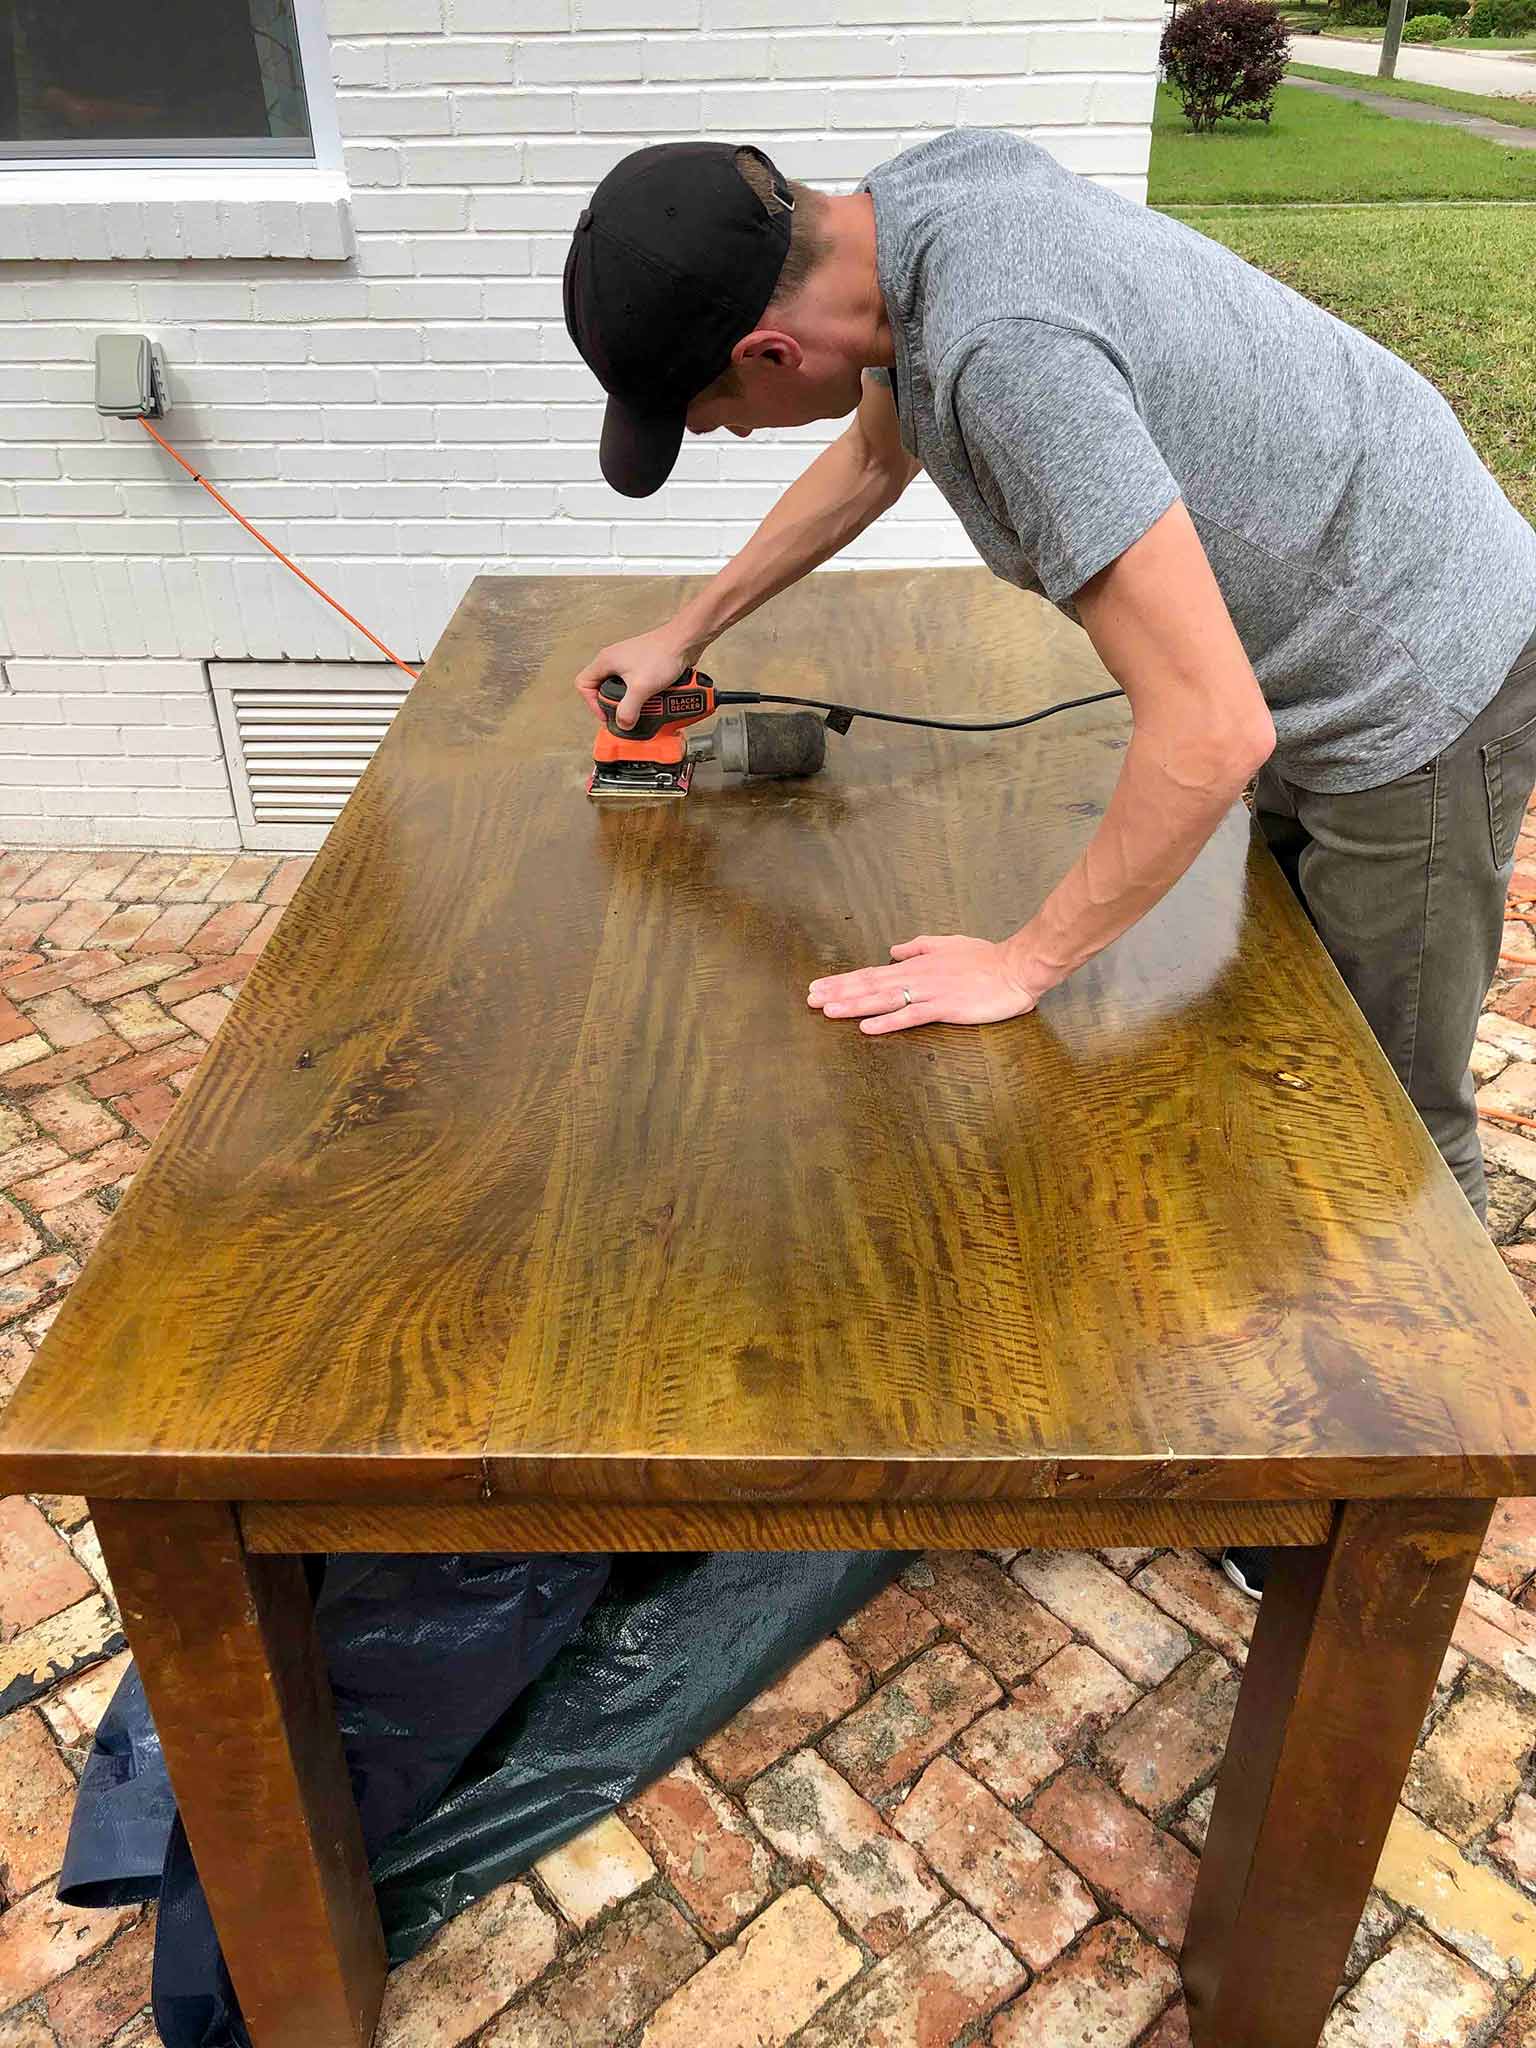
Once the rain cleared up we started sanding with our trusty palm sander, and it was then that we realized that there was some kind of thick laquer/varnish that had been used to seal our table. It came off in clumps and kept on gumming up the sander, which made the job painstakingly slow.
At this point, I decided (spontaneously) that we should use chemicals to strip the table and speed up the job, so off to Lowe's we went, to pick up the necessary items for the job.
MISTAKE NUMBER THREE: NOT RESEARCHING "PLAN B" IN ADVANCE
I have never used a paint stripper before, and although I'm not totally put off from using it again in the future, I definitely wish I'd been a little bit more prepared in advance. We used Citristrip, which worked pretty well, and the first part of the process was super easy. But scraping off the gel plus dissolved varnish afterwards was SUCH a messy job, and halfway through the heavens opened. I'm pretty sure this was the lowest moment of the entire project! The rain made everything gloopy and sticky, and we found that did not have enough drop cloths/disposable gloves/containers to scrape the goop into. (Again, if I'd done a little bit more research I probably would have bought us some hazmat suits for the task!)
We ploughed on, and managed to scrape off the worst of the goop and clean up the rest with mineral spirits. At this stage, we probably should have done another round of Citristrip, but I just couldn't face it, so we returned to sanding.
MISTAKE NUMBER FOUR: QUITTING EARLY
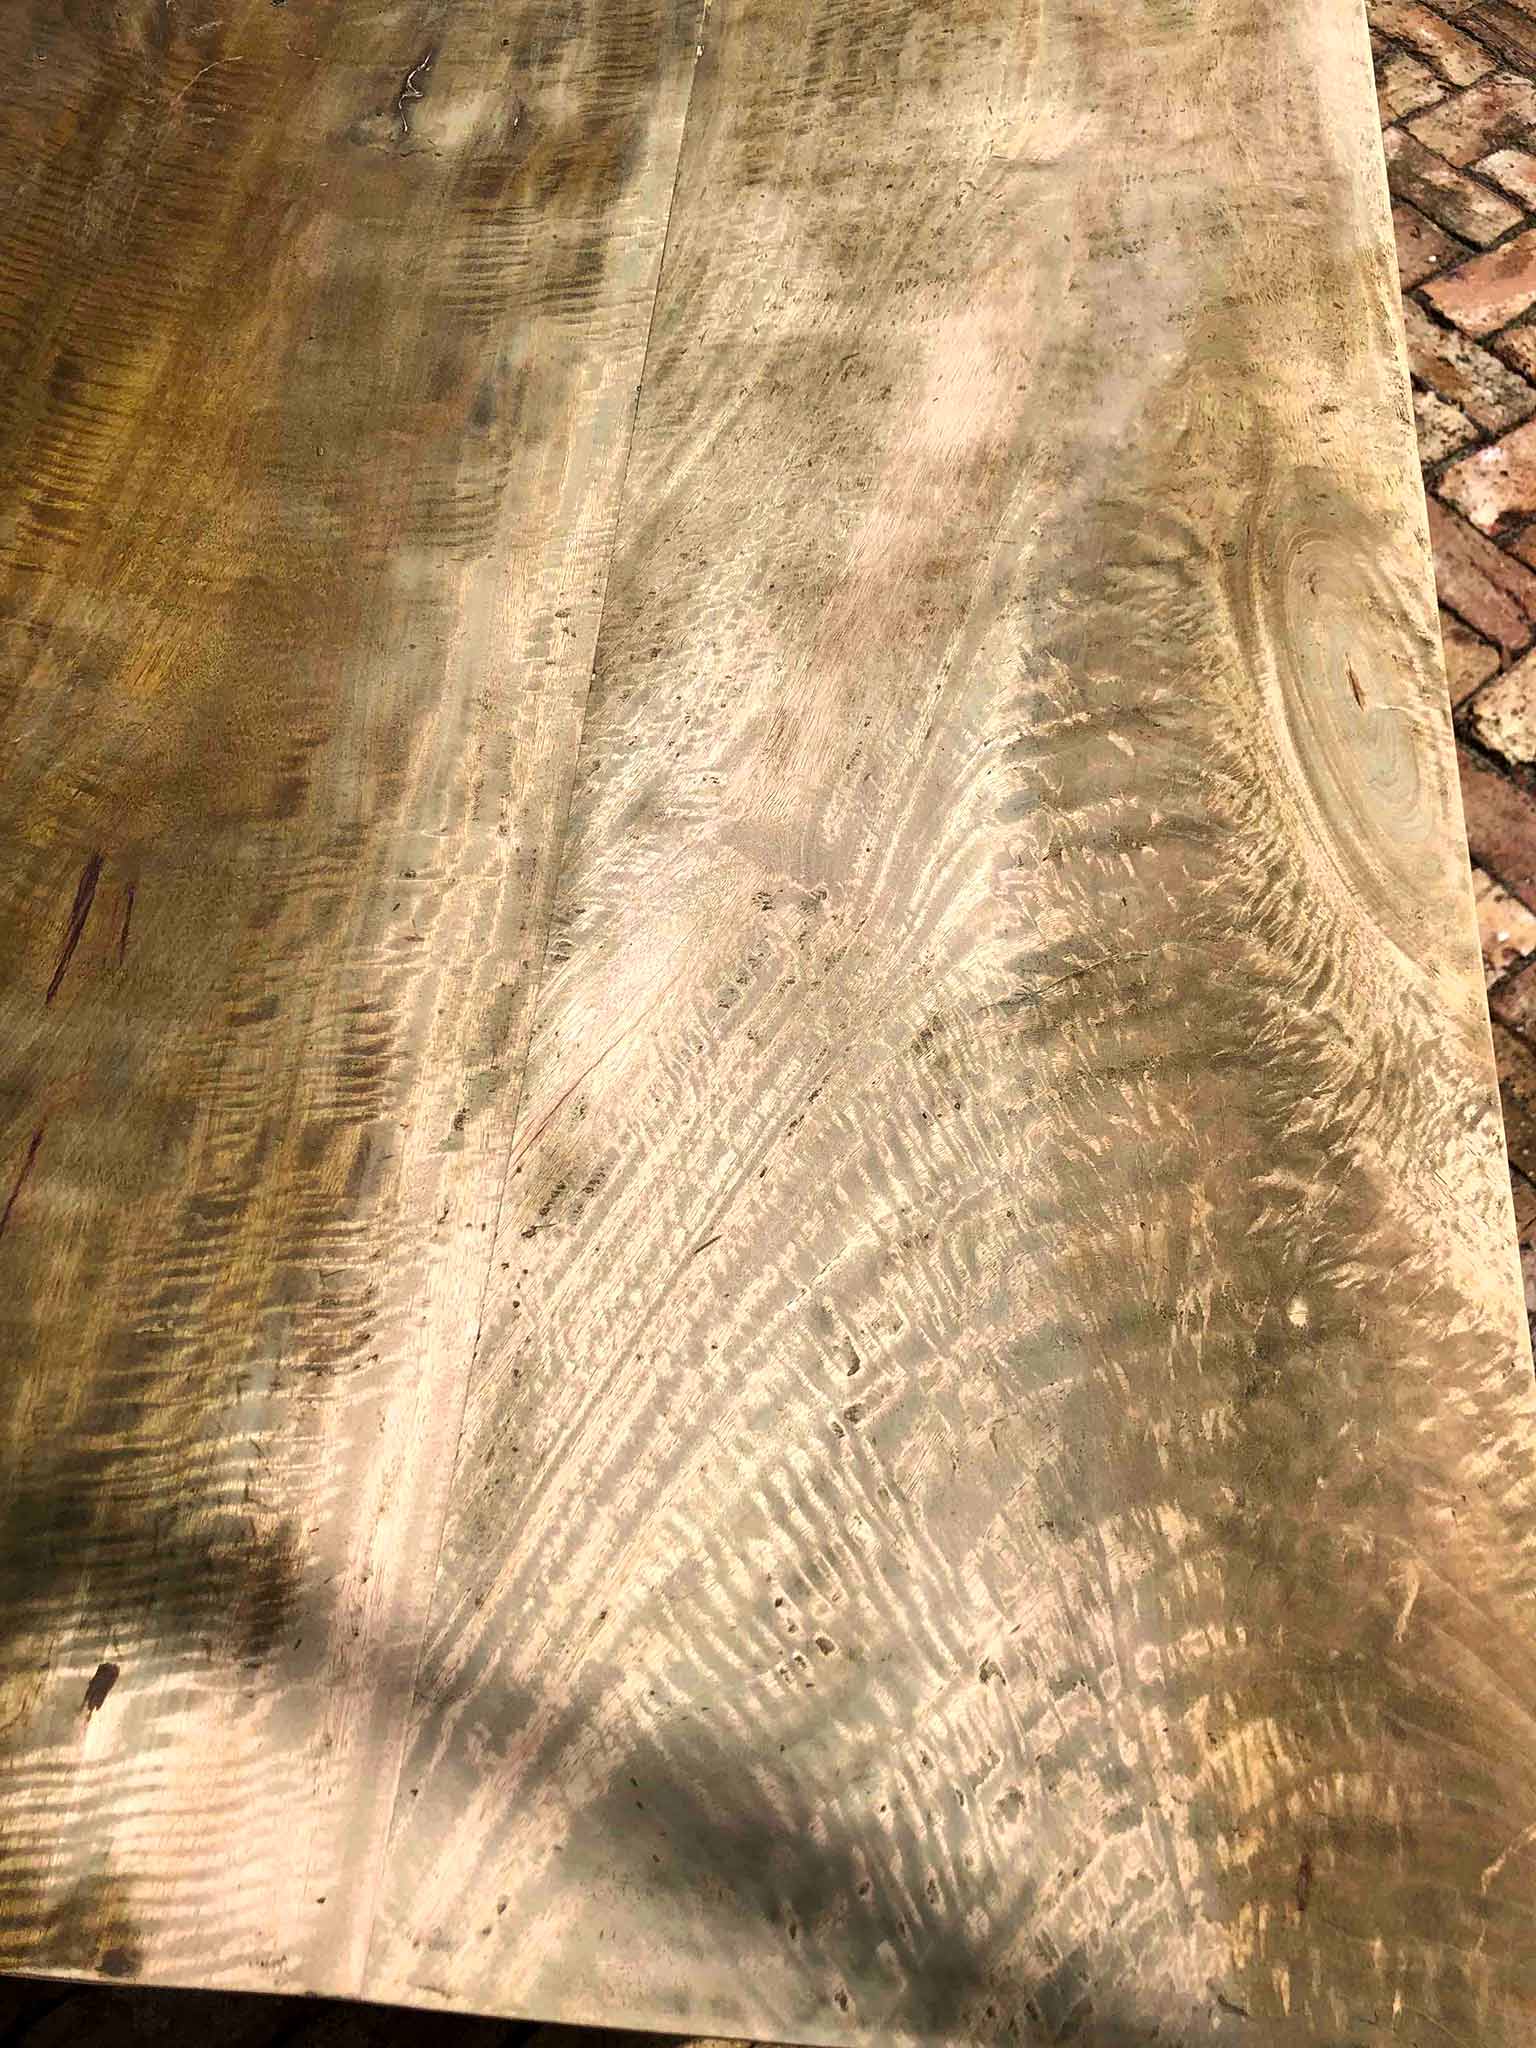
After another afternoon of sanding, we decided that enough was enough. I wasn't particularly thrilled with the outcome, but I thought it was passable as "rustic," and the truth was that I just couldn't face another day of work on it. So, we lugged it back inside (chipping off some paint from our front door on the way in) and set it inside our dining room.
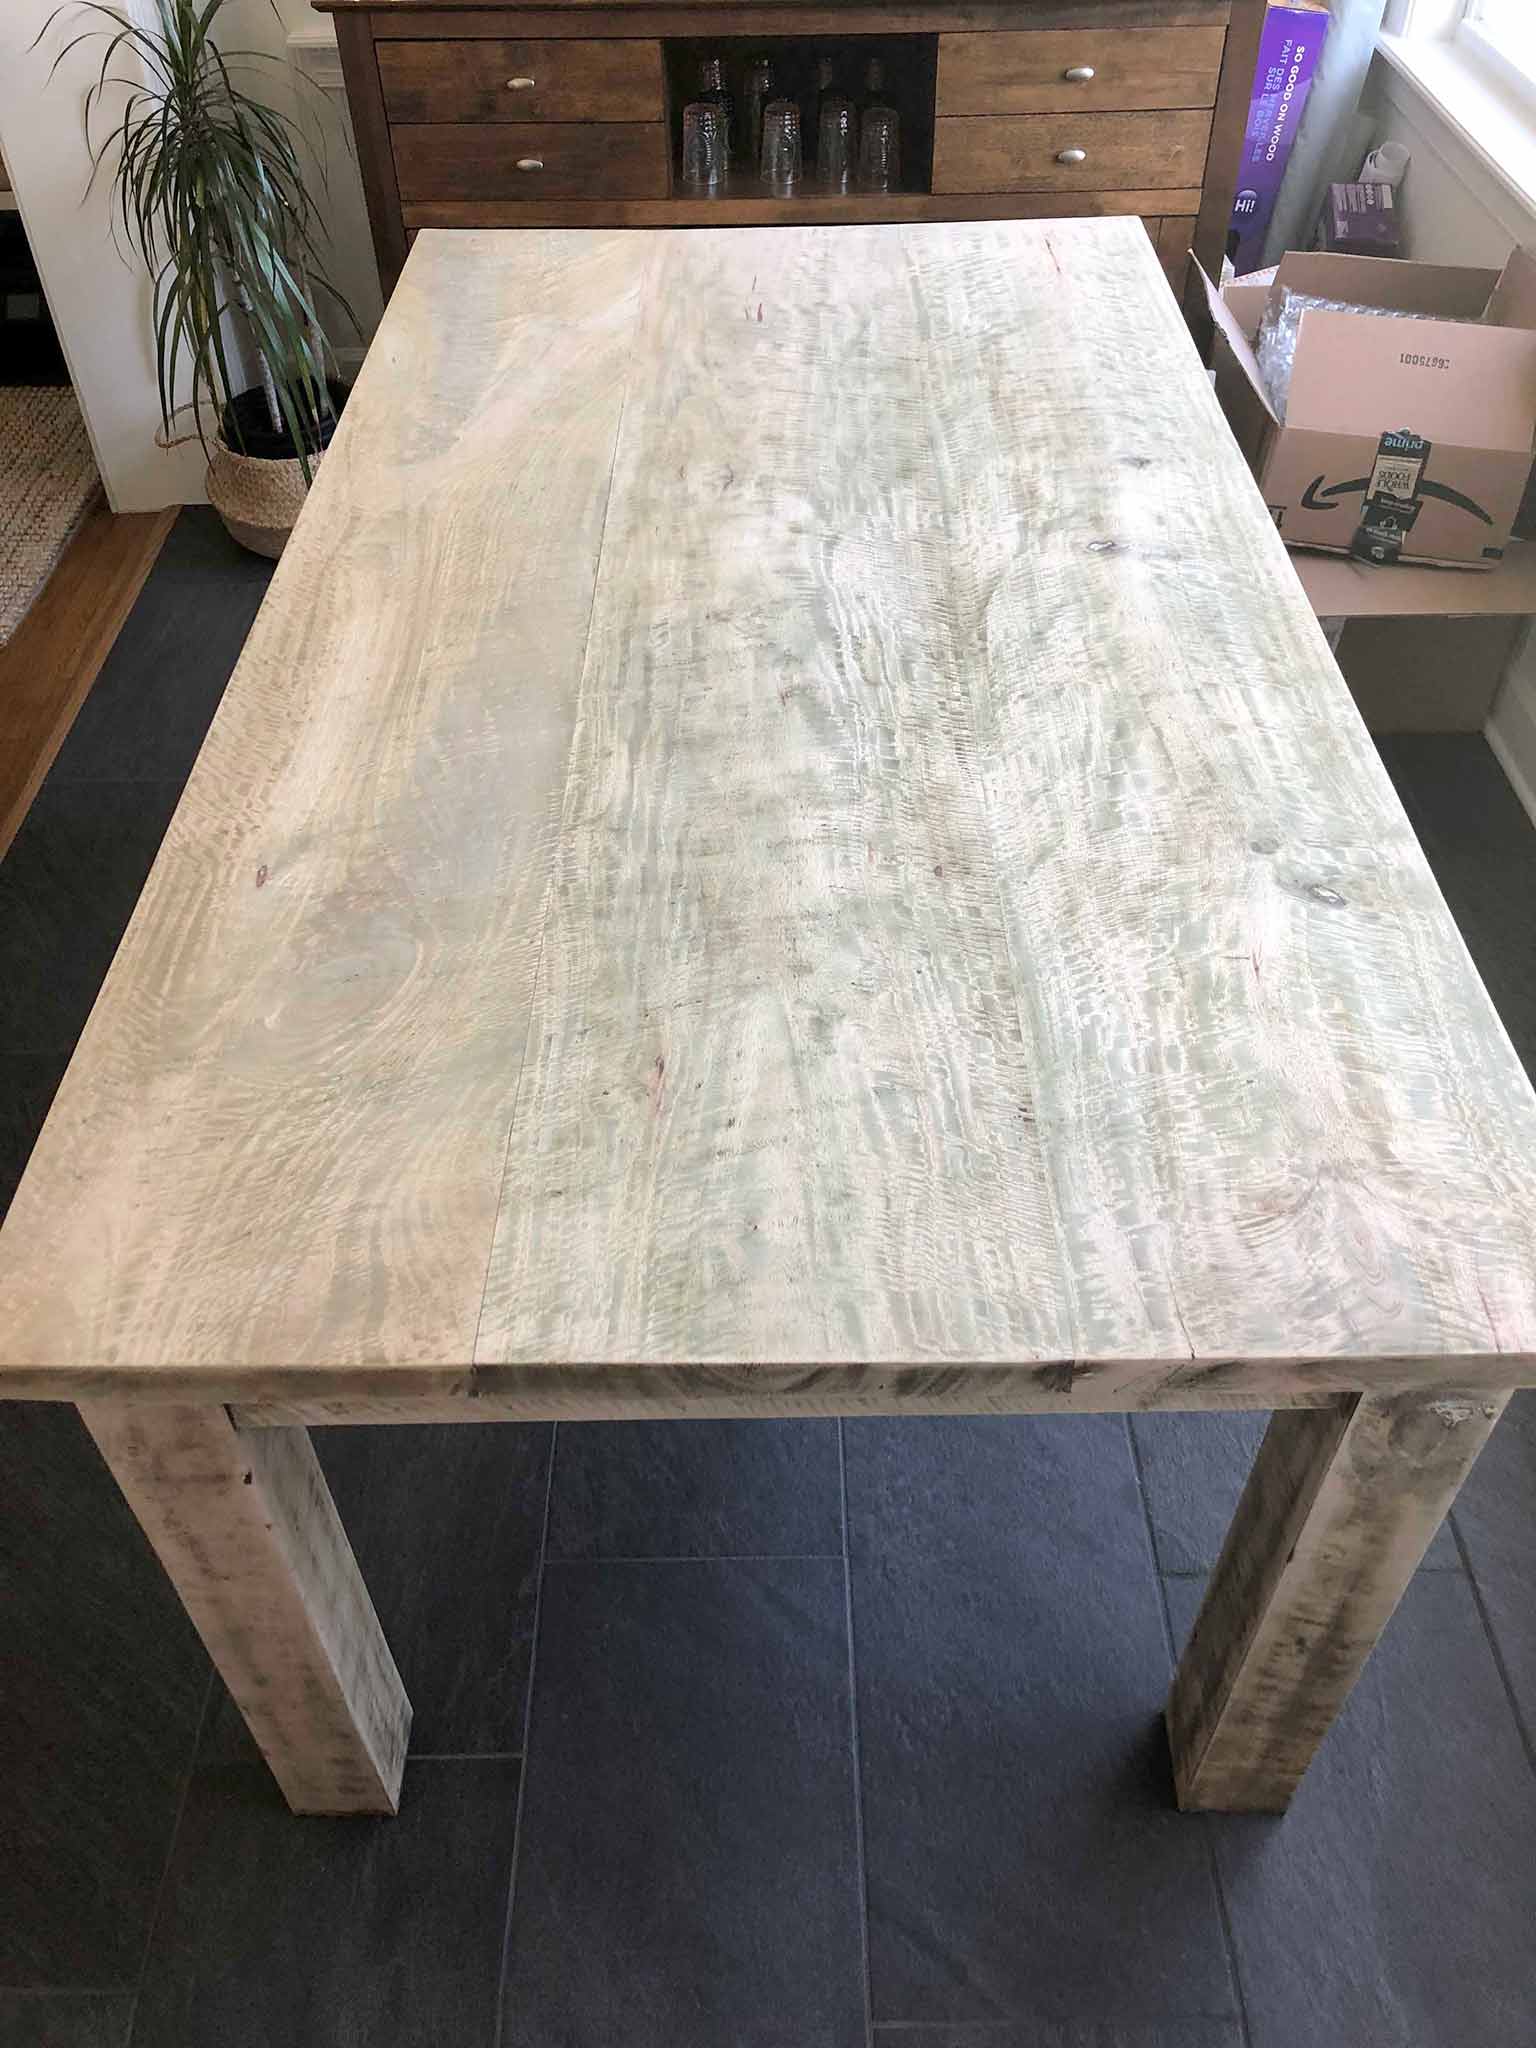
Once it was in our house, I realized how much I disliked the finish. For some reason, it looked less patchy outside, but the more I looked at it, the more I hated it. During the week I had also been making big final decisions about the finishes for a big client project, which took a lot of my mental energy. I didn't have a lot left, and our failed refinishing project left me feeling totally defeated.
At this point, I was ready to quit the entire challenge, until I realized that we had a table that was unusable, zero dining room chairs (I had sold them on Craigslist that morning), and one window without a blind as it had broken a few weeks before. So, quitting really wasn't an option. But equally, I now had a dining table that I didn't like at all.
Here's the part of the story that makes me want to cry. (Don't worry—just happy tears.)
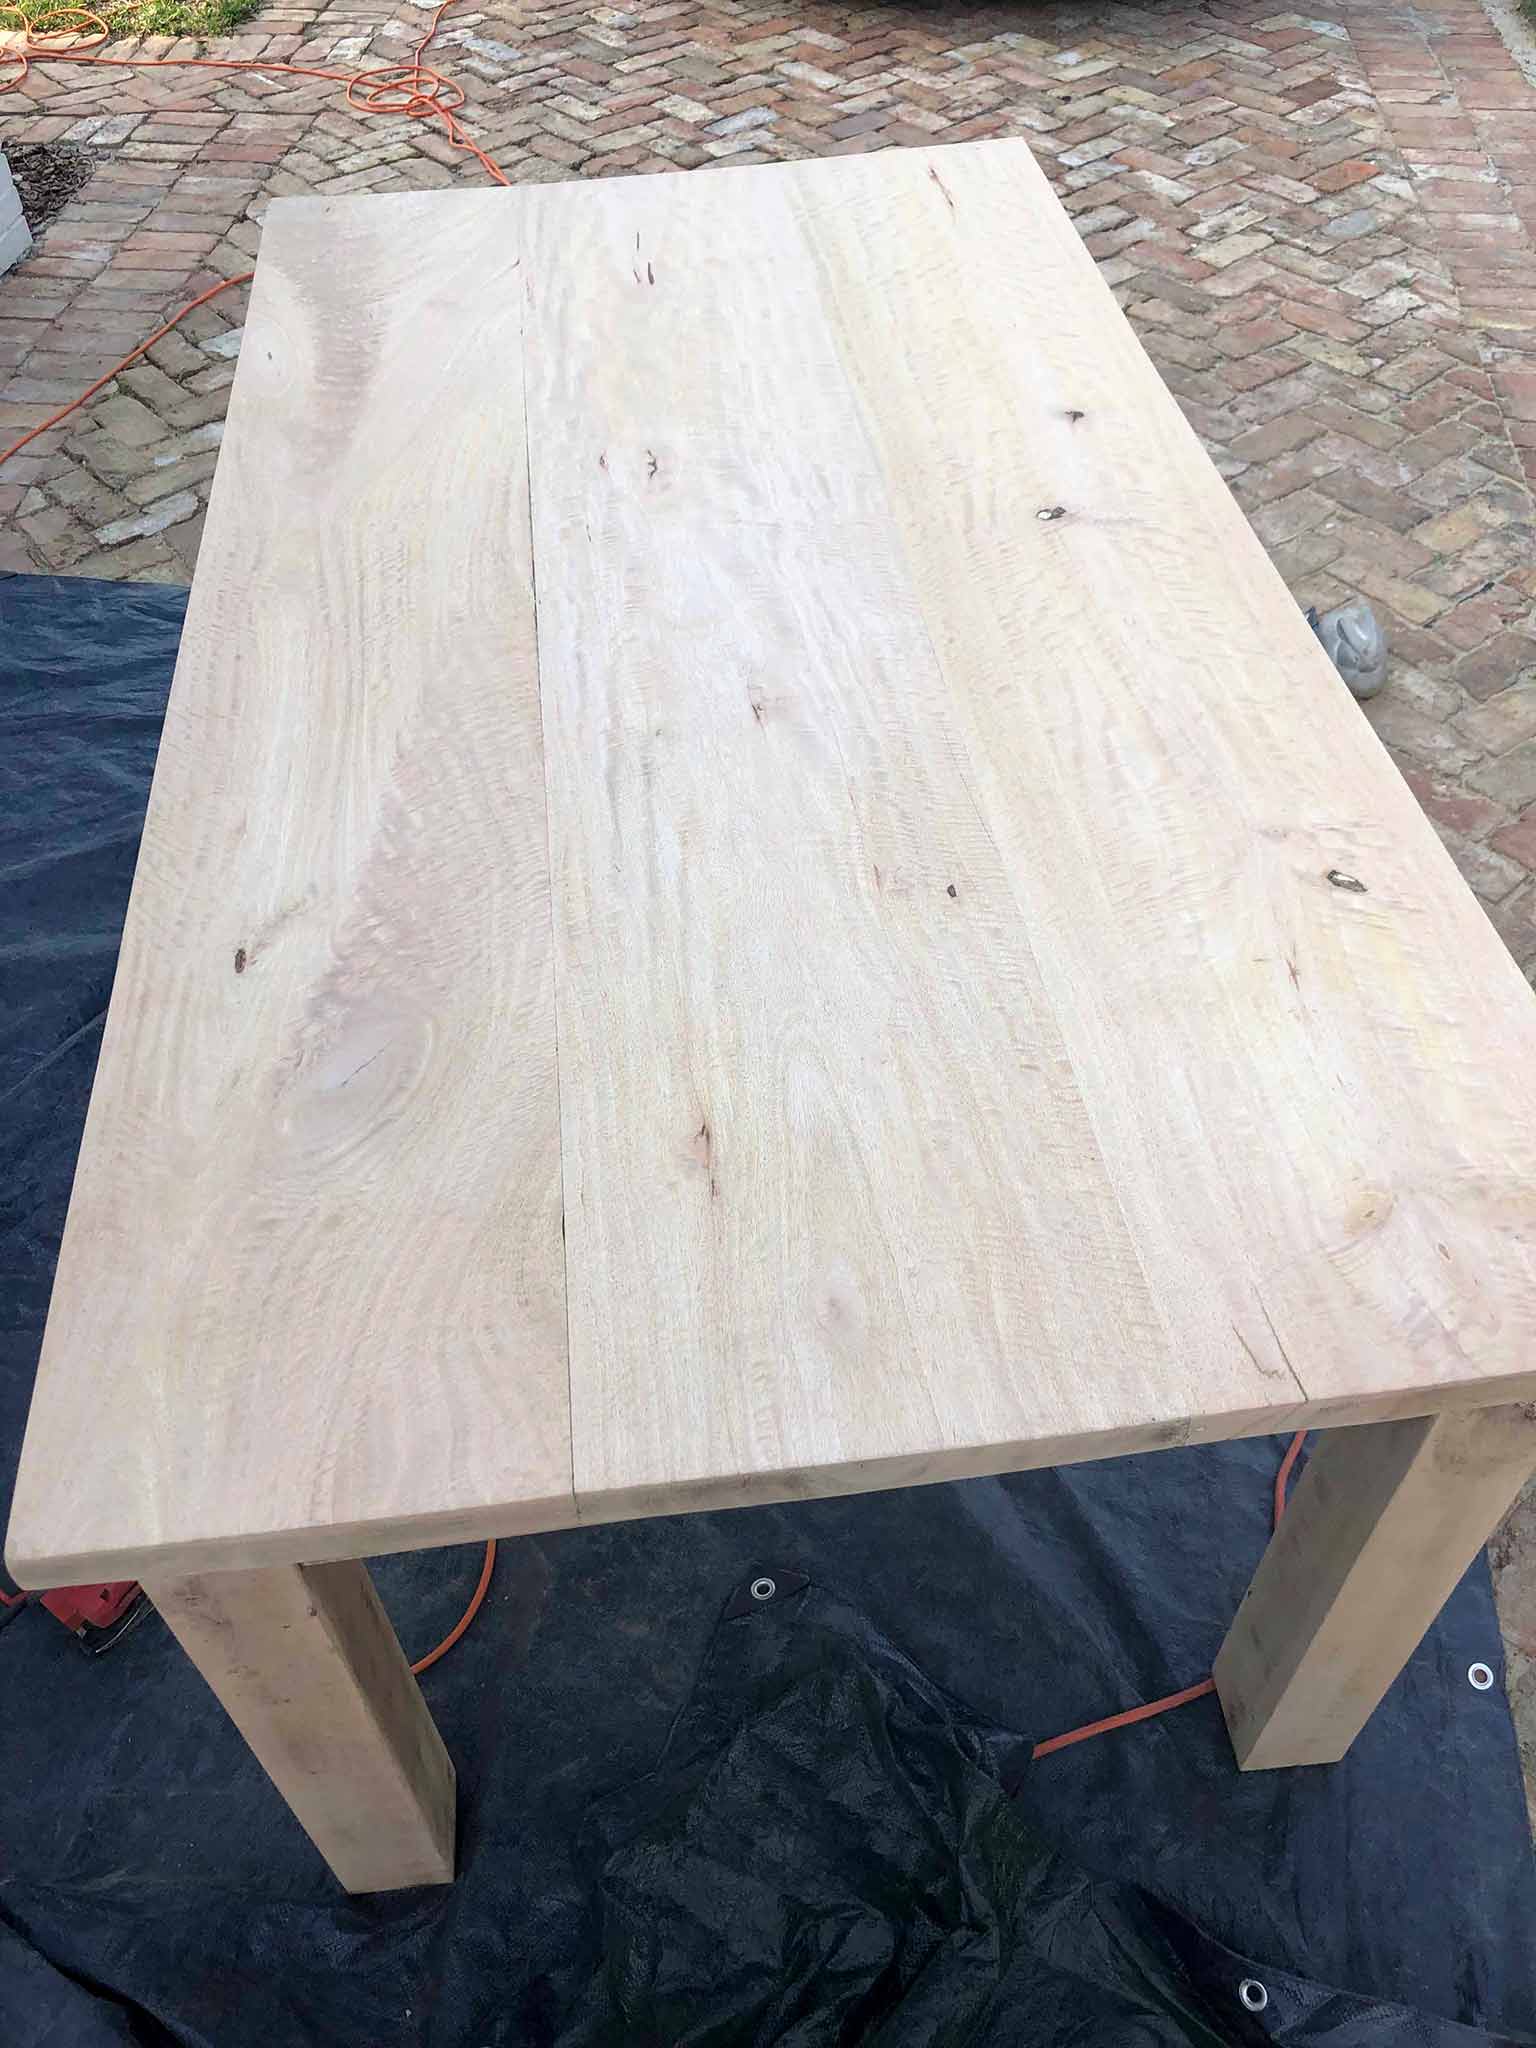
One of our neighbors had seen us working on the table, and knew that it wasn't quite going how we planned. He's a handy guy, and likes working on this kind of project, and he asked if we needed any help. My husband decided to take him up on his offer, and the following day we carried the table outside (again). My husband and our neighbor spent a solid four hours sanding, and by the end of the afternoon, this was how it looked:
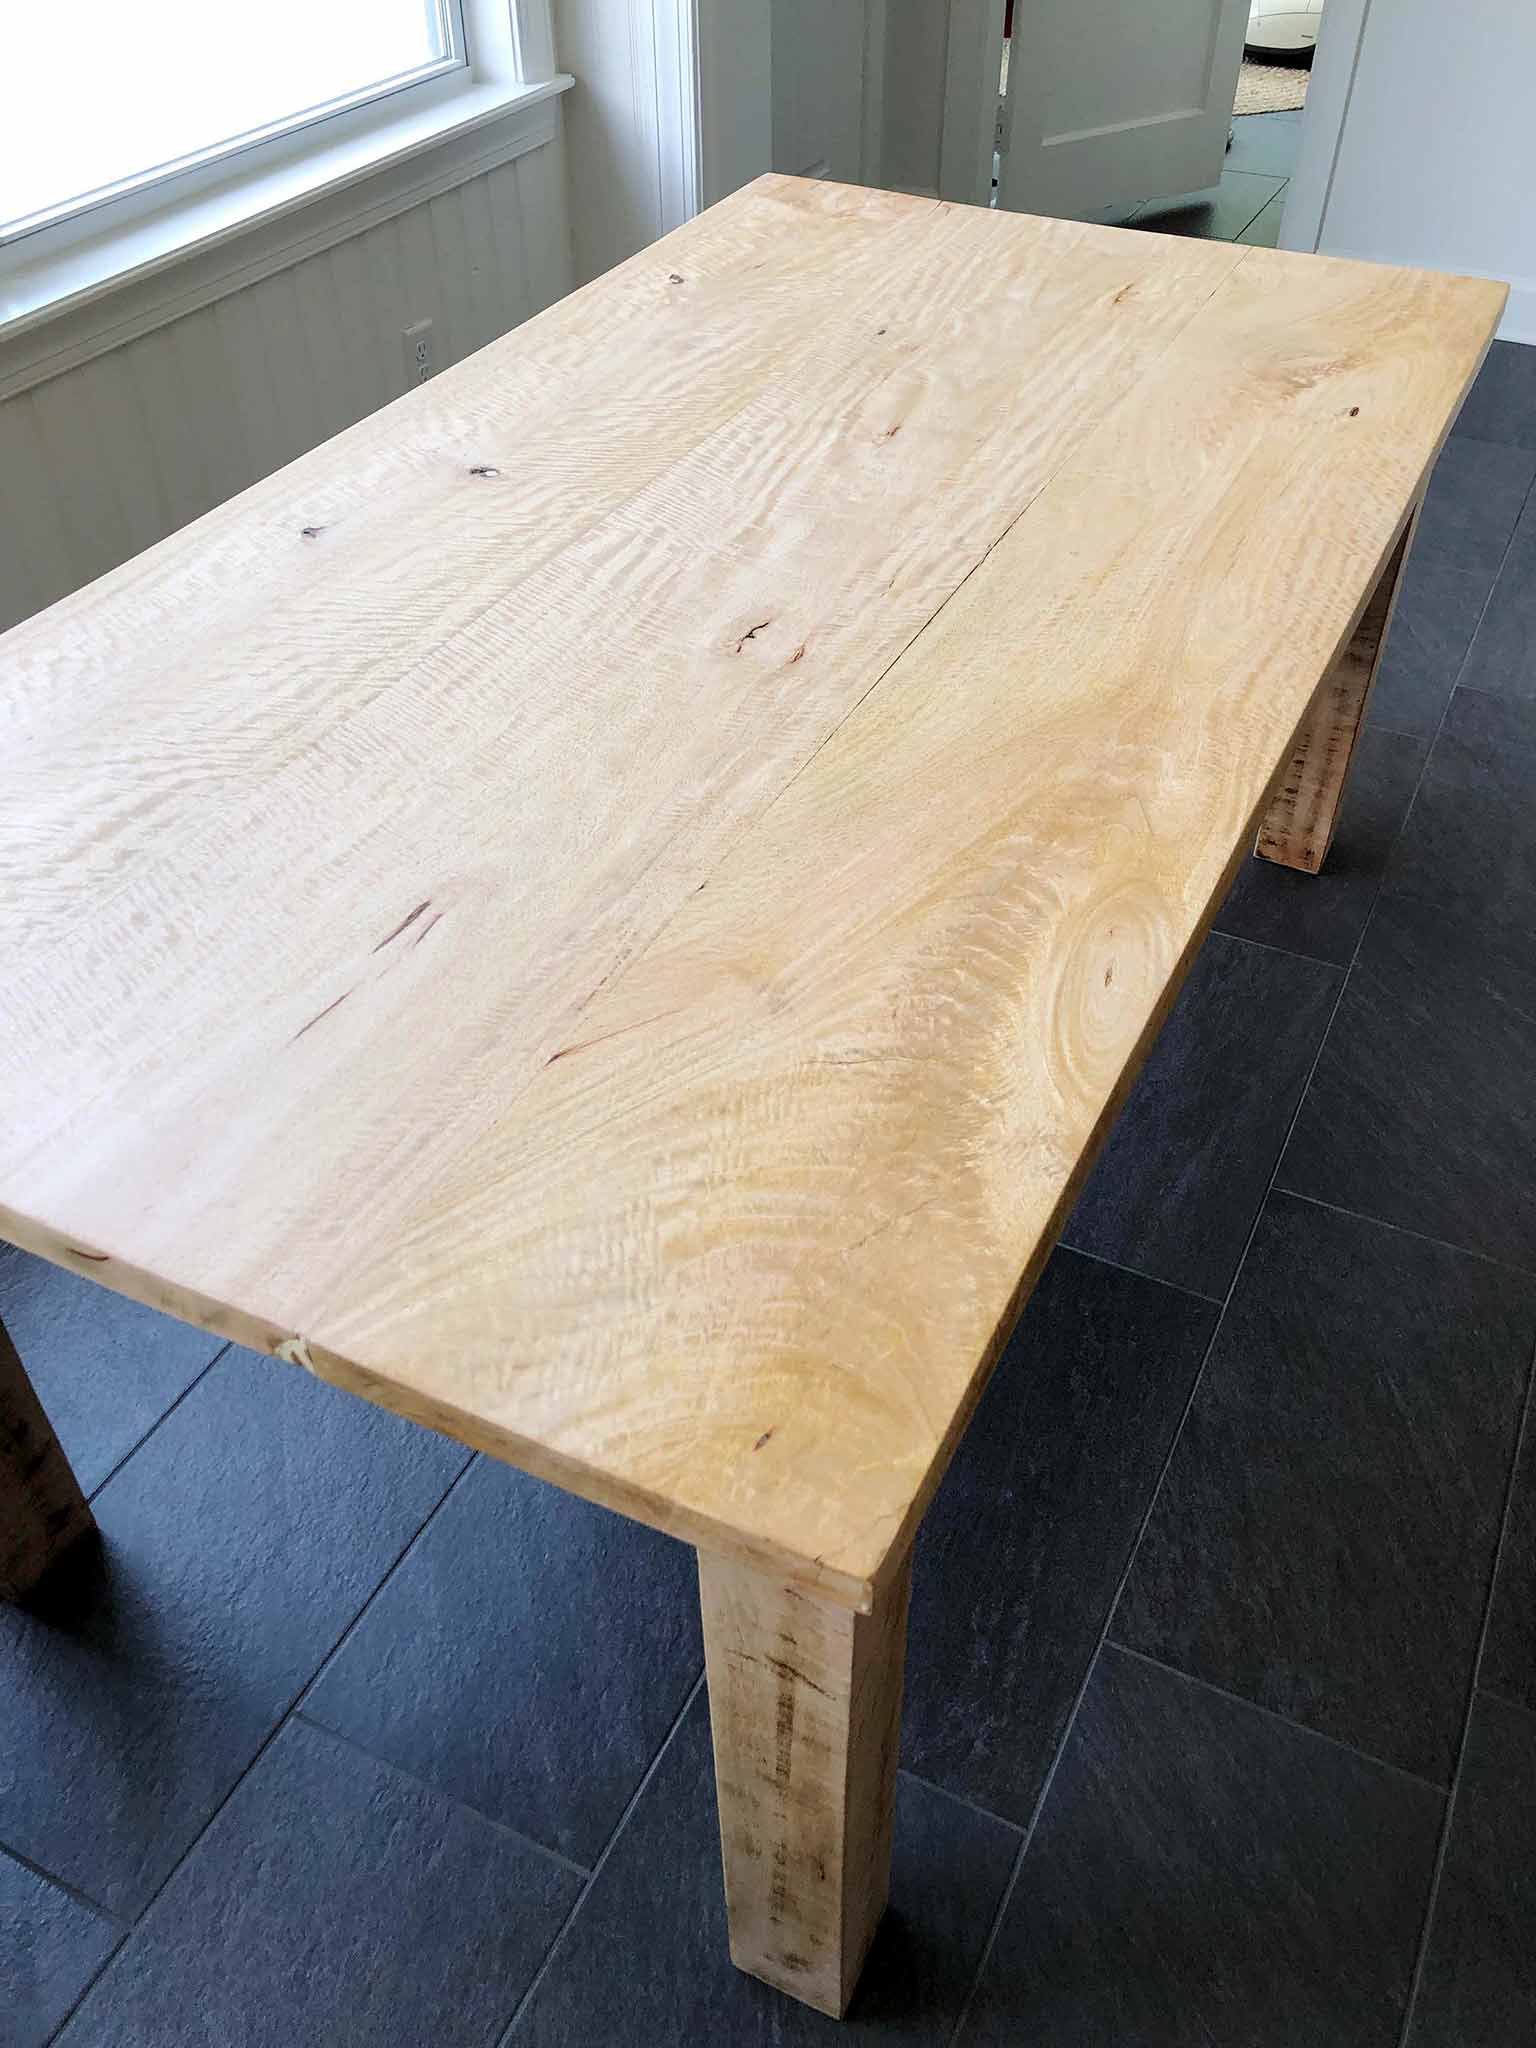
In the end, perserverence paid off. I can't take any of the credit for this, but I am SO happy with the outcome. Thank goodness for hardworking husbands and generous neighbors. We carried it back inside for the final time, and it looked exactly the way I had envisioned.
The last part of the project was sealing it with a few layers of matte polyurethane, (I used this one by Varathane), and I'm happy to say that it this was the easy part!
I've ordered our new dining chairs which I am so excited about, and the polyurethane will cure whilst we wait for them to arrive. In the meantime, we are eating at our kitchen penisula, which technically only seats three people, and there are four of us! It's cozy, for sure.
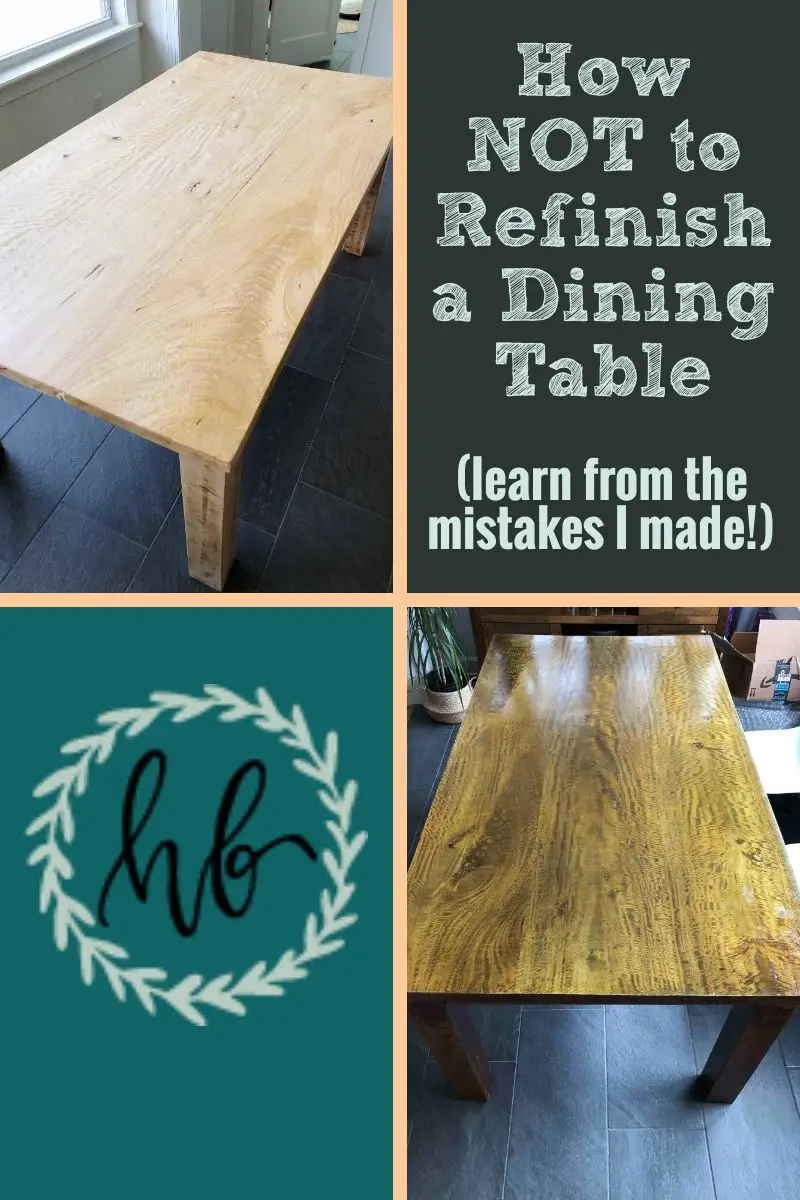
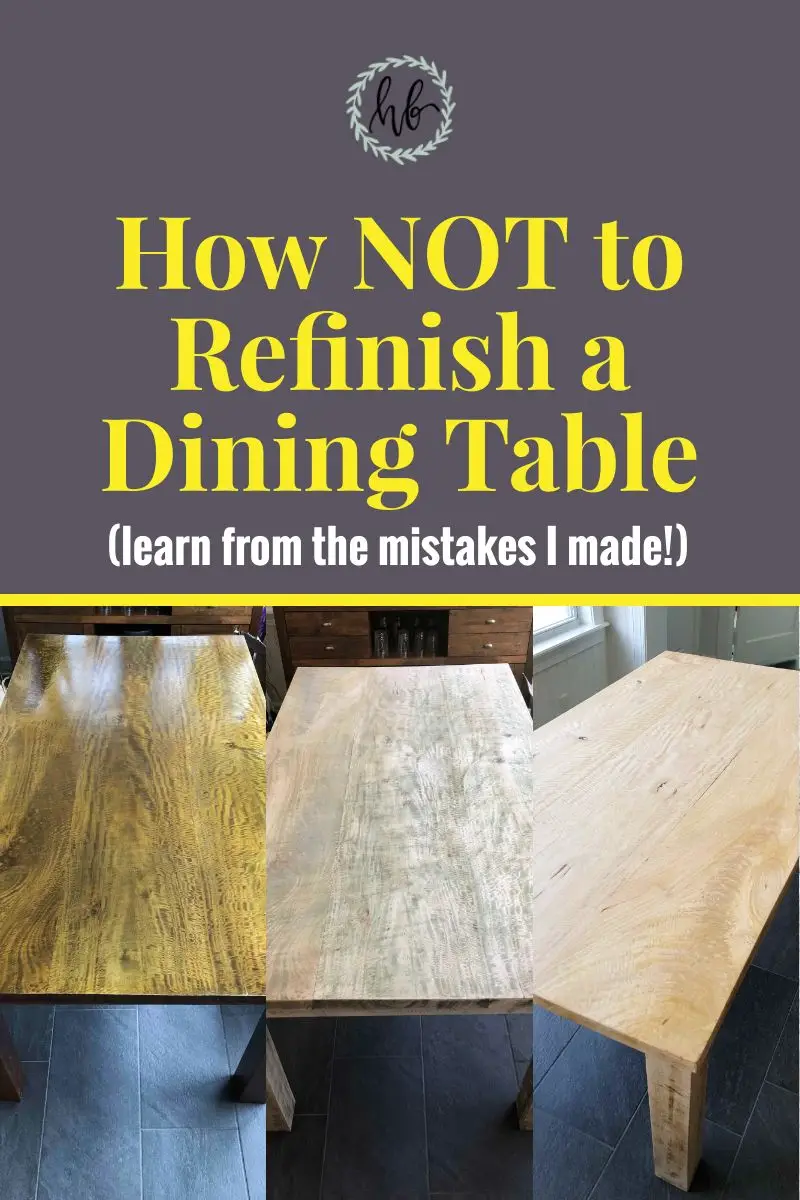
So, whilst I wouldn't necessarily recommend my exact process for refinishing the table, the supplies we used did the trick. Picking a day with no rain forecasted, blocking out a lot more time for the job, and a little bit more forward planning would have made everything a lot less stressful! However, we've ultimately ended up with a table that we love, and that was always the goal. And if I ever take on a project like this in the future, I won't be making the same mistakes twice!
SUPPLIES WE USED
Stripping the wood
Citristrip // cheap paintbrush // disposable dropcloths (LOTS of them!) // small metal buckets (for applying the citristrip and scraping the goop into after) // solvent resistant gloves // mineral spirits + rags for clean up
Sanding
palm sander // 30, 60, 80, 120 & 220 grit sandpaper (start with the lower numbers and work up) // steel wool (use after sandpaper)
Finishing
tack cloth (this picks up all the loose dust before the seal coat goes on) // matte polyurethane
// good quality foam brush

I'm hoping for a less dramatic (and more timely) update for Week Three! I'll be starting to work our fabric blinds soon...what could possibly go wrong?!
Catch up on previous weeks...
Week One: Inspiration, Mood board, and Plans
Don't forget, you can view all the other talented guest participants here—head on over and show them some love!

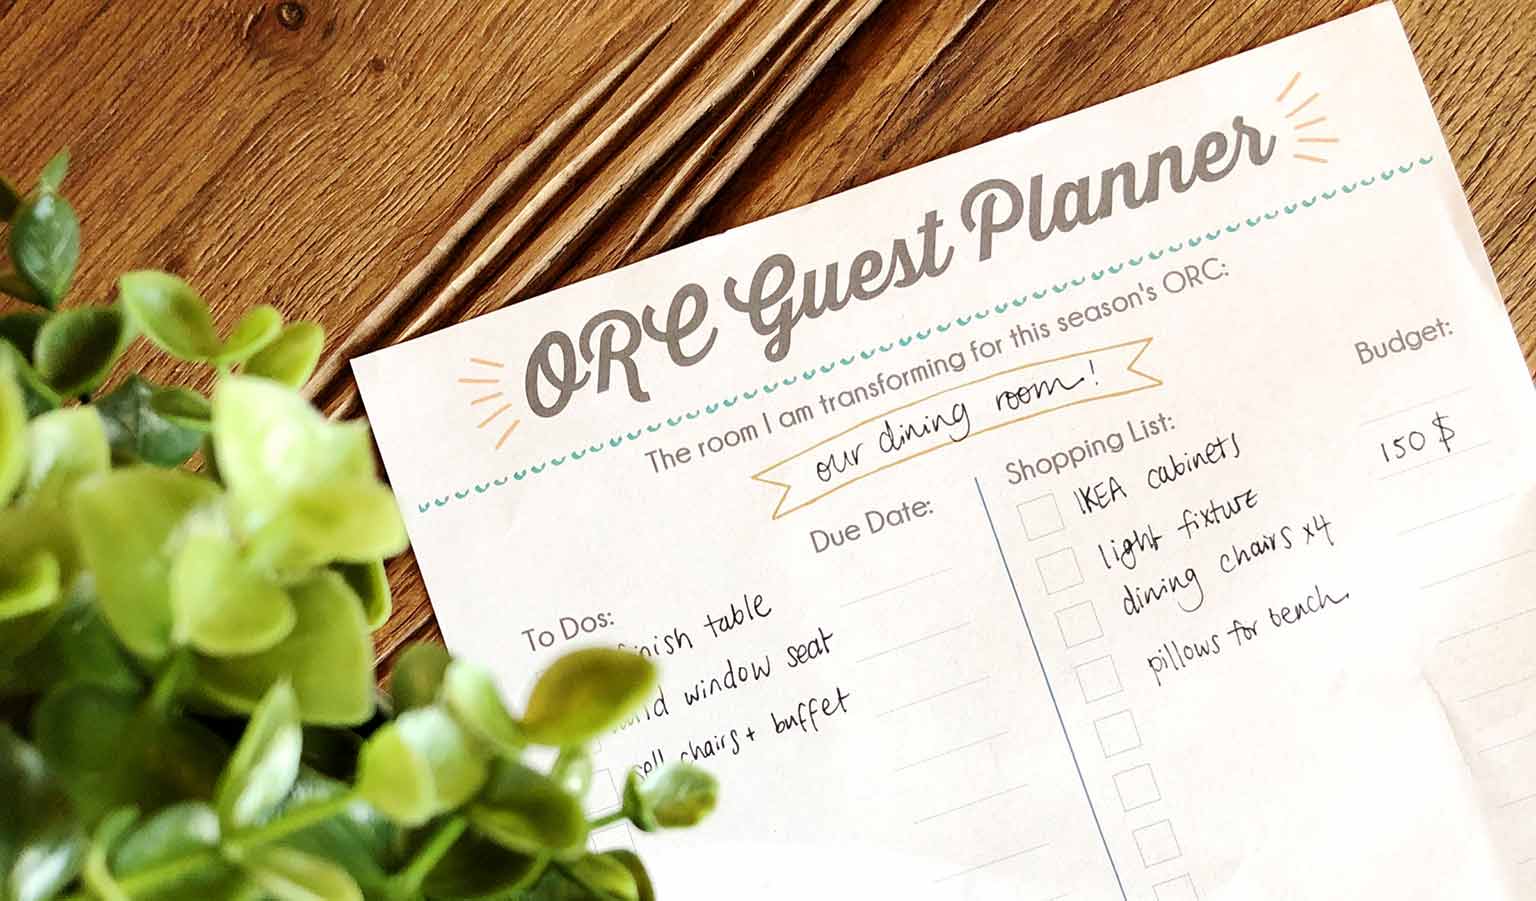
Are you a fellow ORC Guest Participant?
I've written a guide (which you can read here) and designed a printable planner to help get you organized for the challenge! Simply put in your email below to have the PDF planner emailed to you: