My One Room Challenge is officially a-rolling, and we managed to make some good progress this week. Plus we are getting closer and closer to the styling stage—which is my favorite part of any project! I knew that I needed to get ahead of schedule a little as I am currently in Boise, ID helping a friend with her new home. (Check out my IG stories if you want a peep!)
So, here’s a recap of what went on this week.
PATCHING WALLS AND FLOORS
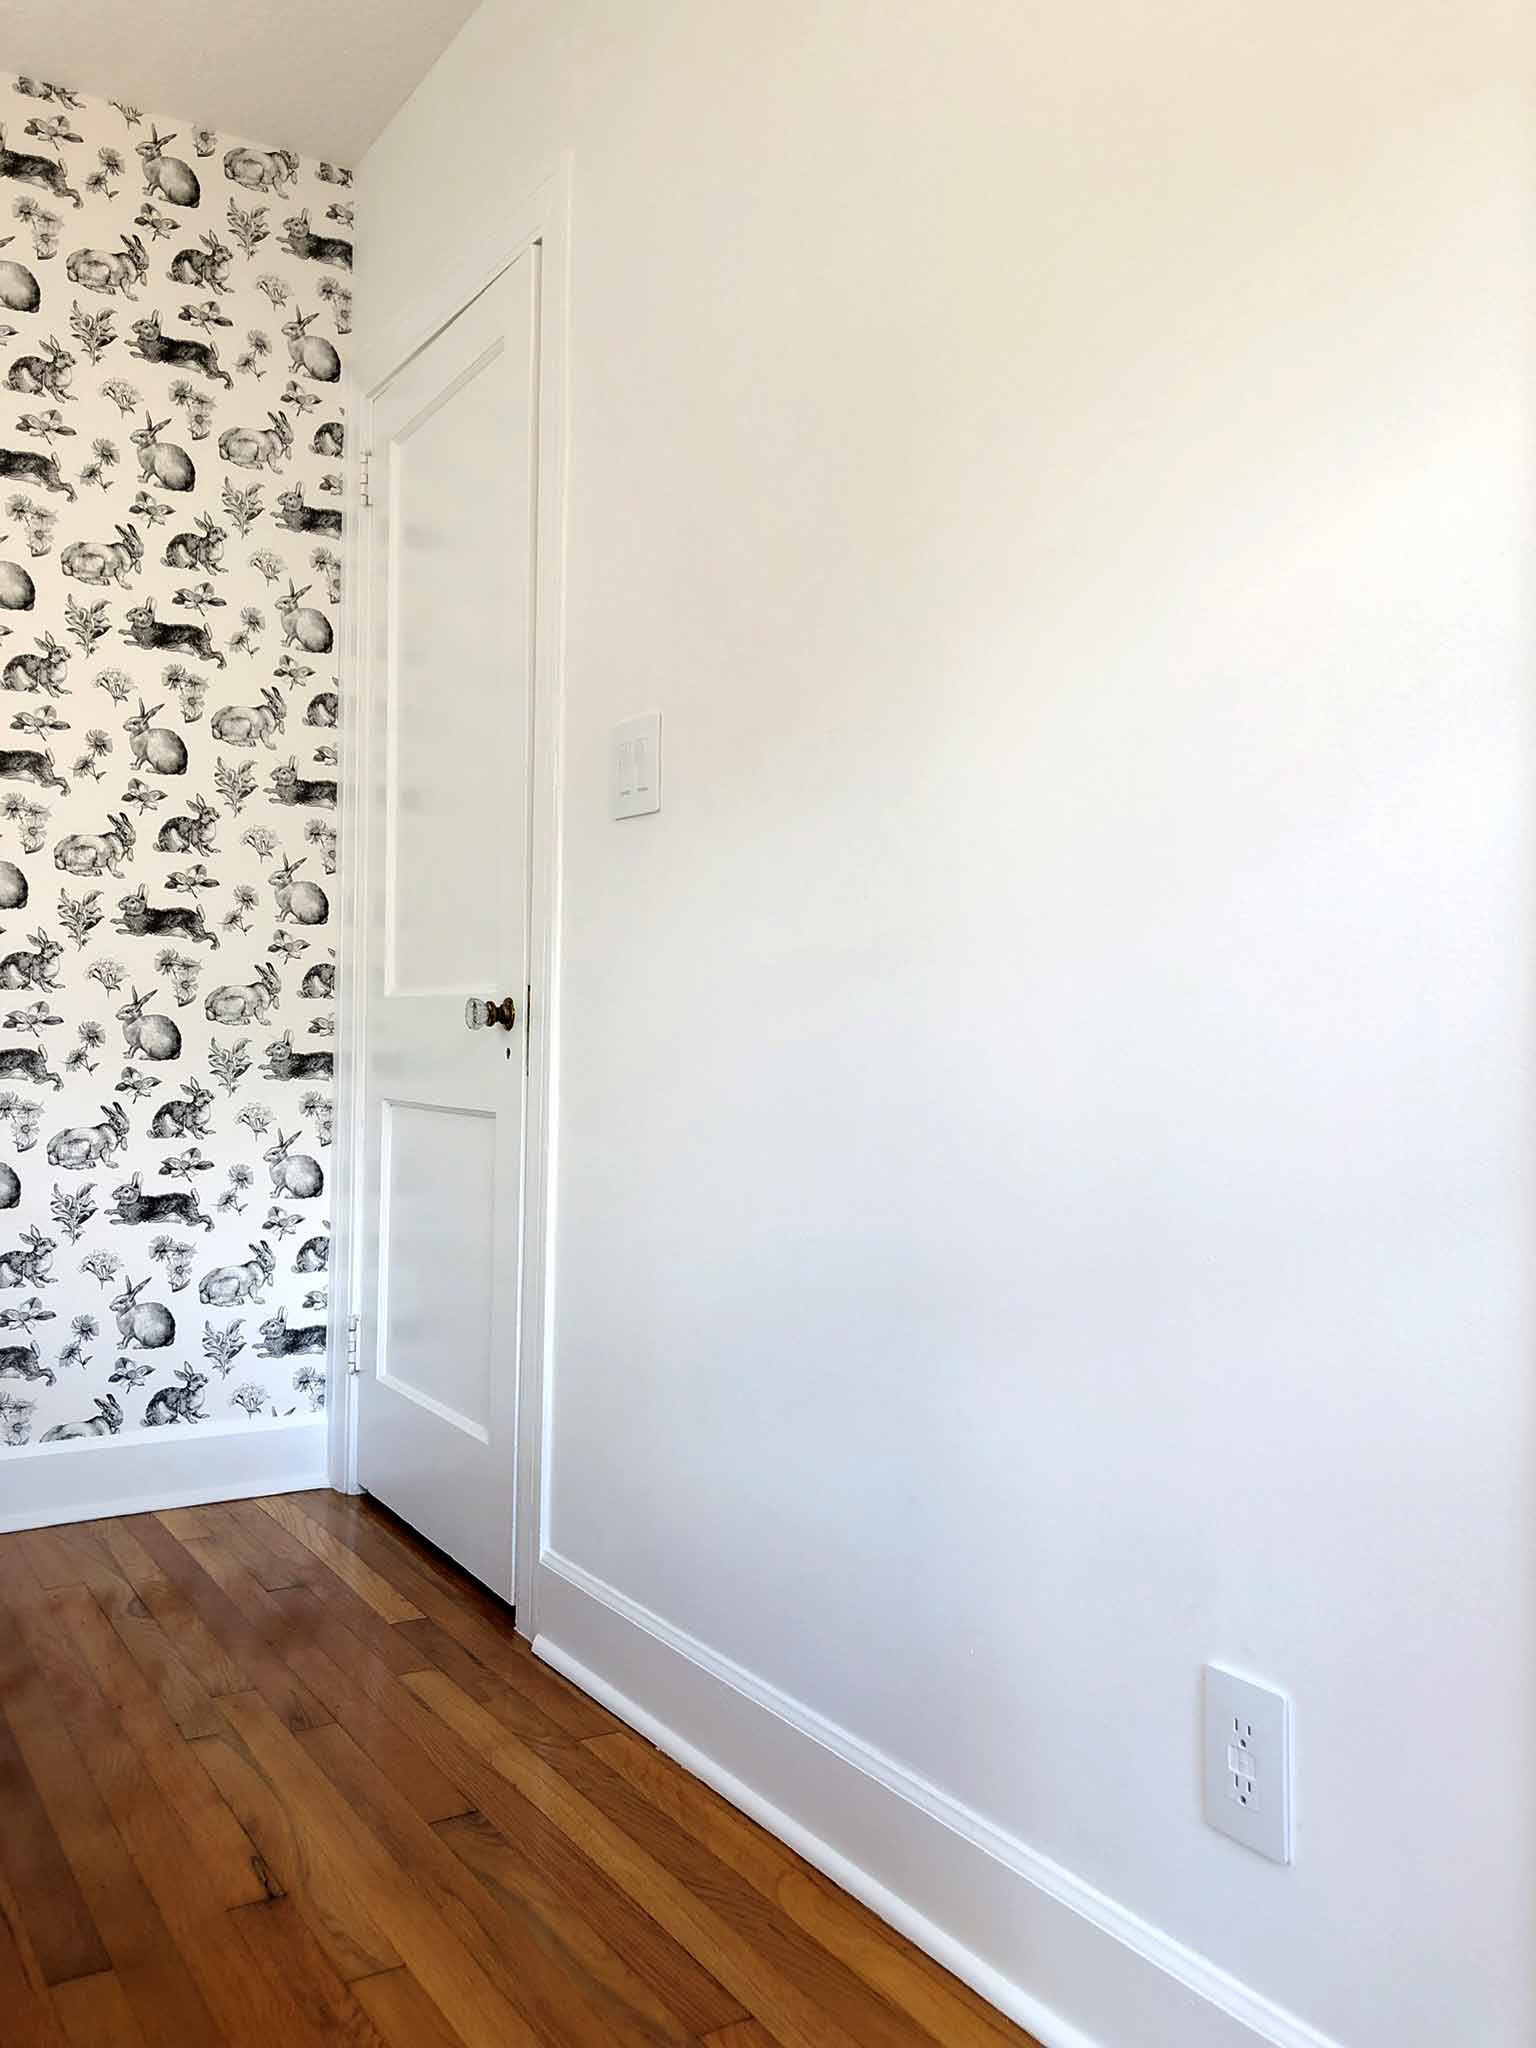
I don’t quite know how we have managed to make quite so many holes in the walls during the two years that we have lived here, but these walls were in a bit of a mess and needed some serious patching. Although I am keeping many of the existing art pieces, I wanted to start over with a fresh white wall rather than try and re-use existing holes, so we spackled and sanded and painted until the room looked brand spanking new again.
Whenever I do a big project like this, I also like to give my hardwoods some love. Zep hardwood refinisher is a product that I have been using for a while now after wrecking my newly refinished hardwoods (gulp!), and I love how easy it is to apply. It literally freshens up the floors in about thirty minutes and makes them shiny again!

HANGING WALLPAPER
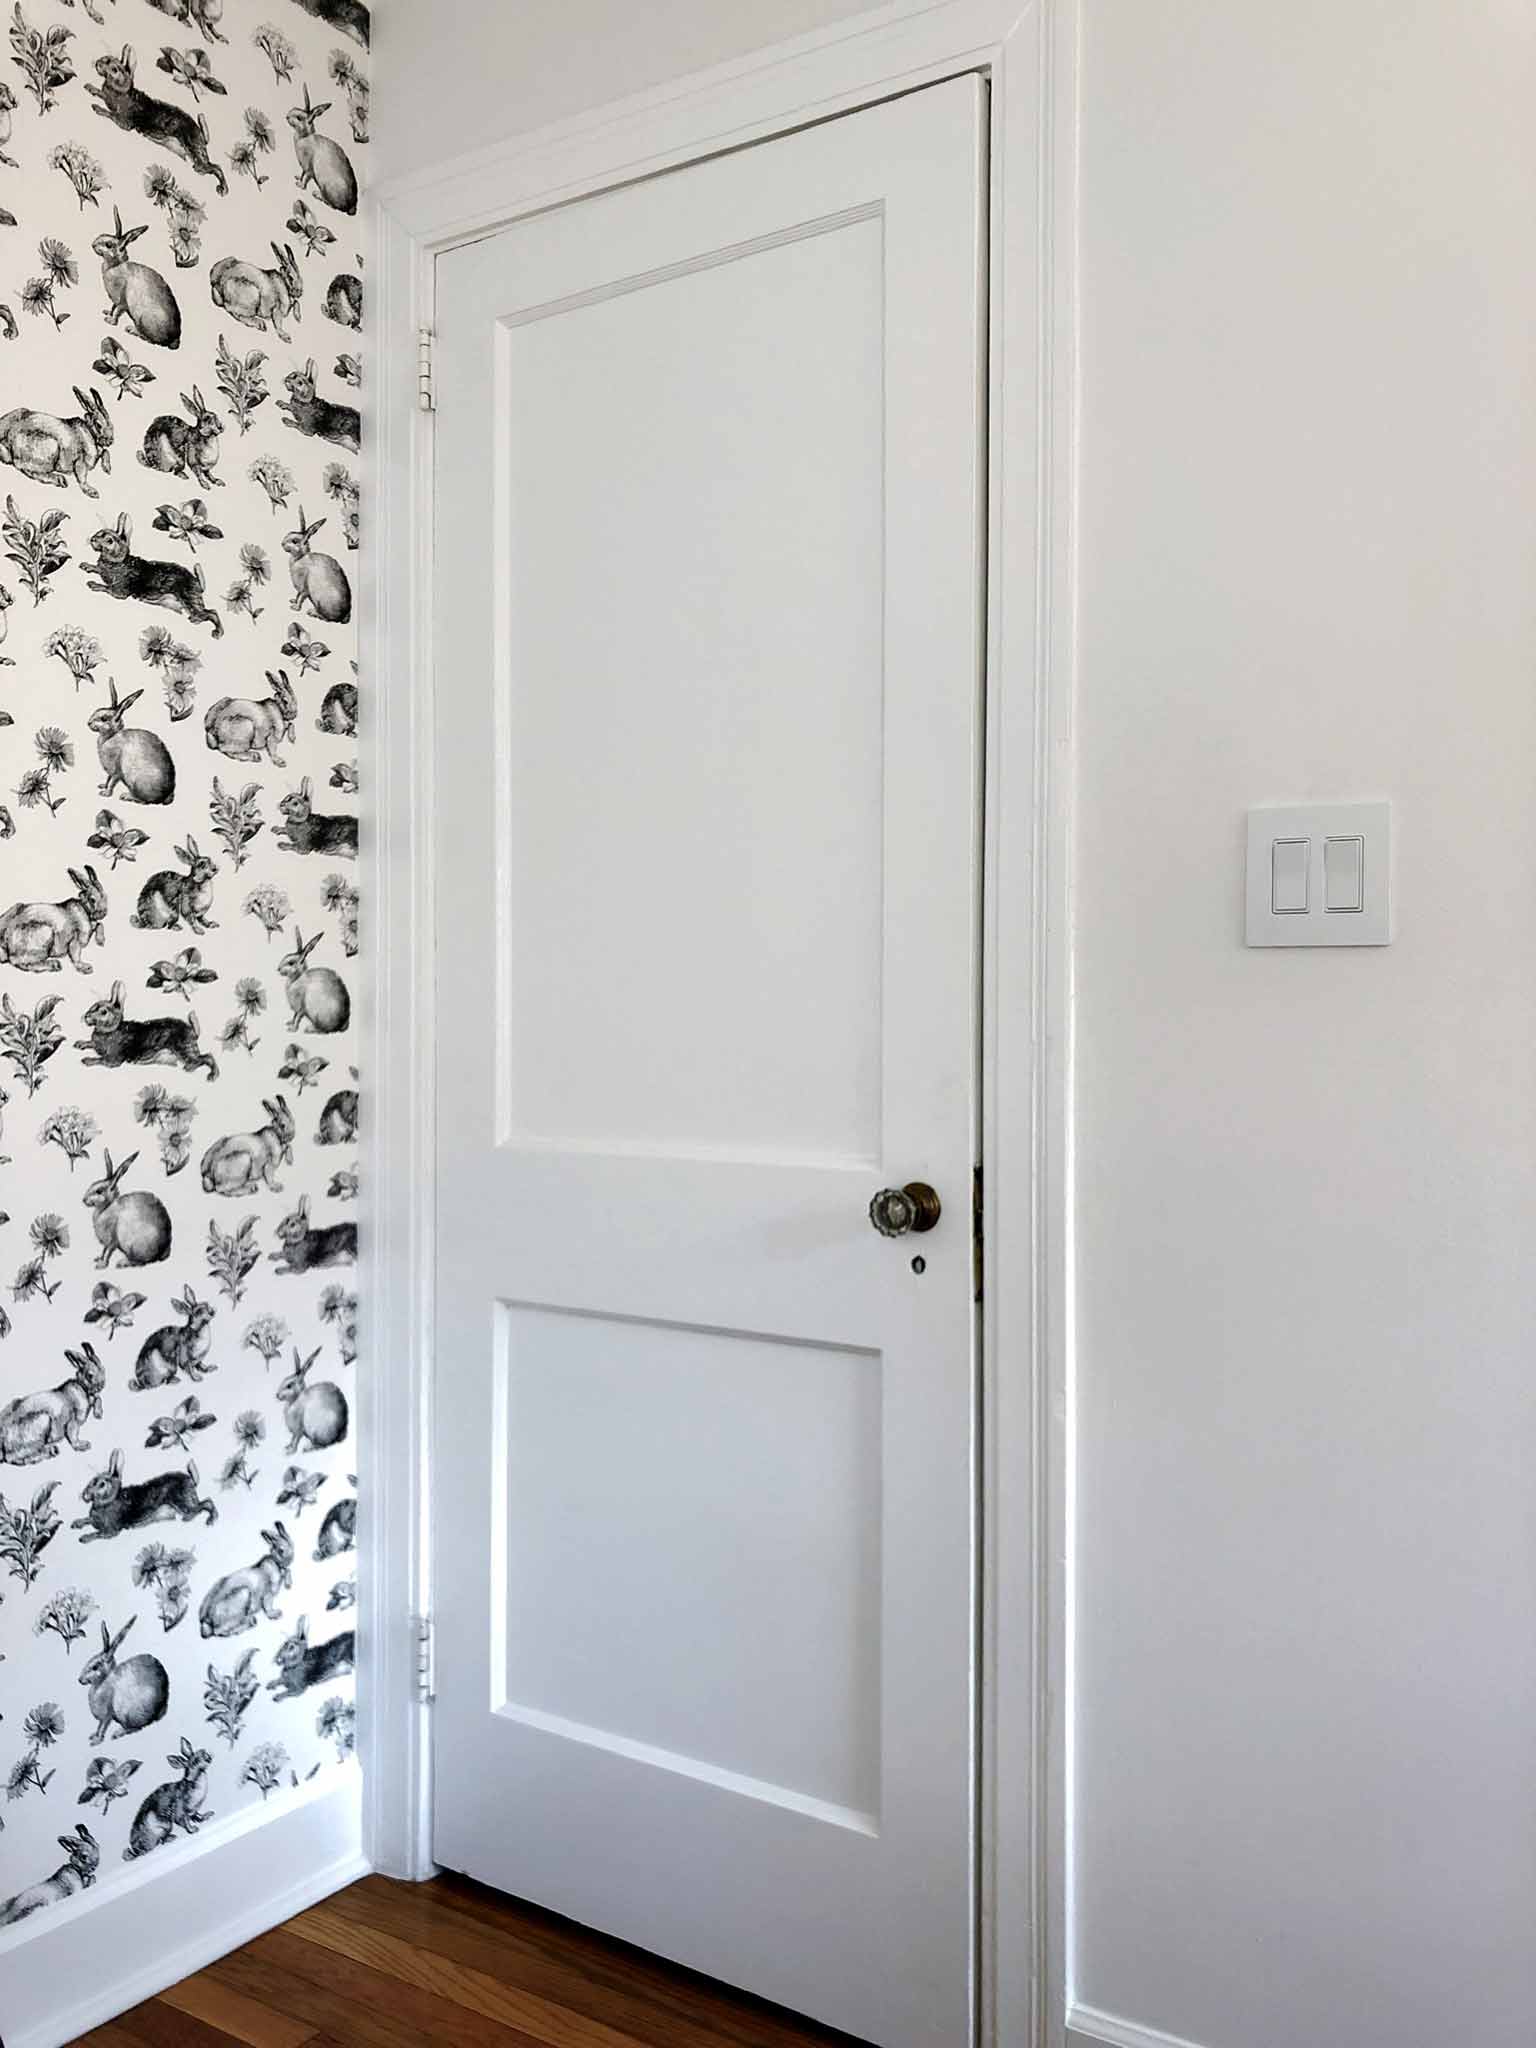
Oh boy. Those darling bunnies. How should I describe this particular project? It was actually a process that I found myself enjoying, but equally it was so intense and all-consuming that I don’t think I’d like to do it again soon. But the good news is that it was definitely possible, and it looks RAD. (In my opinion, anyway!)
The minute I saw the toile lapin wallpaper I knew I absolutely had to use it in my home. The girls thankfully had no objections, and so I measured the walls and ordered a couple of rolls. (This was my first error, as I didn’t quite order enough—but I’ll get onto to that later.)

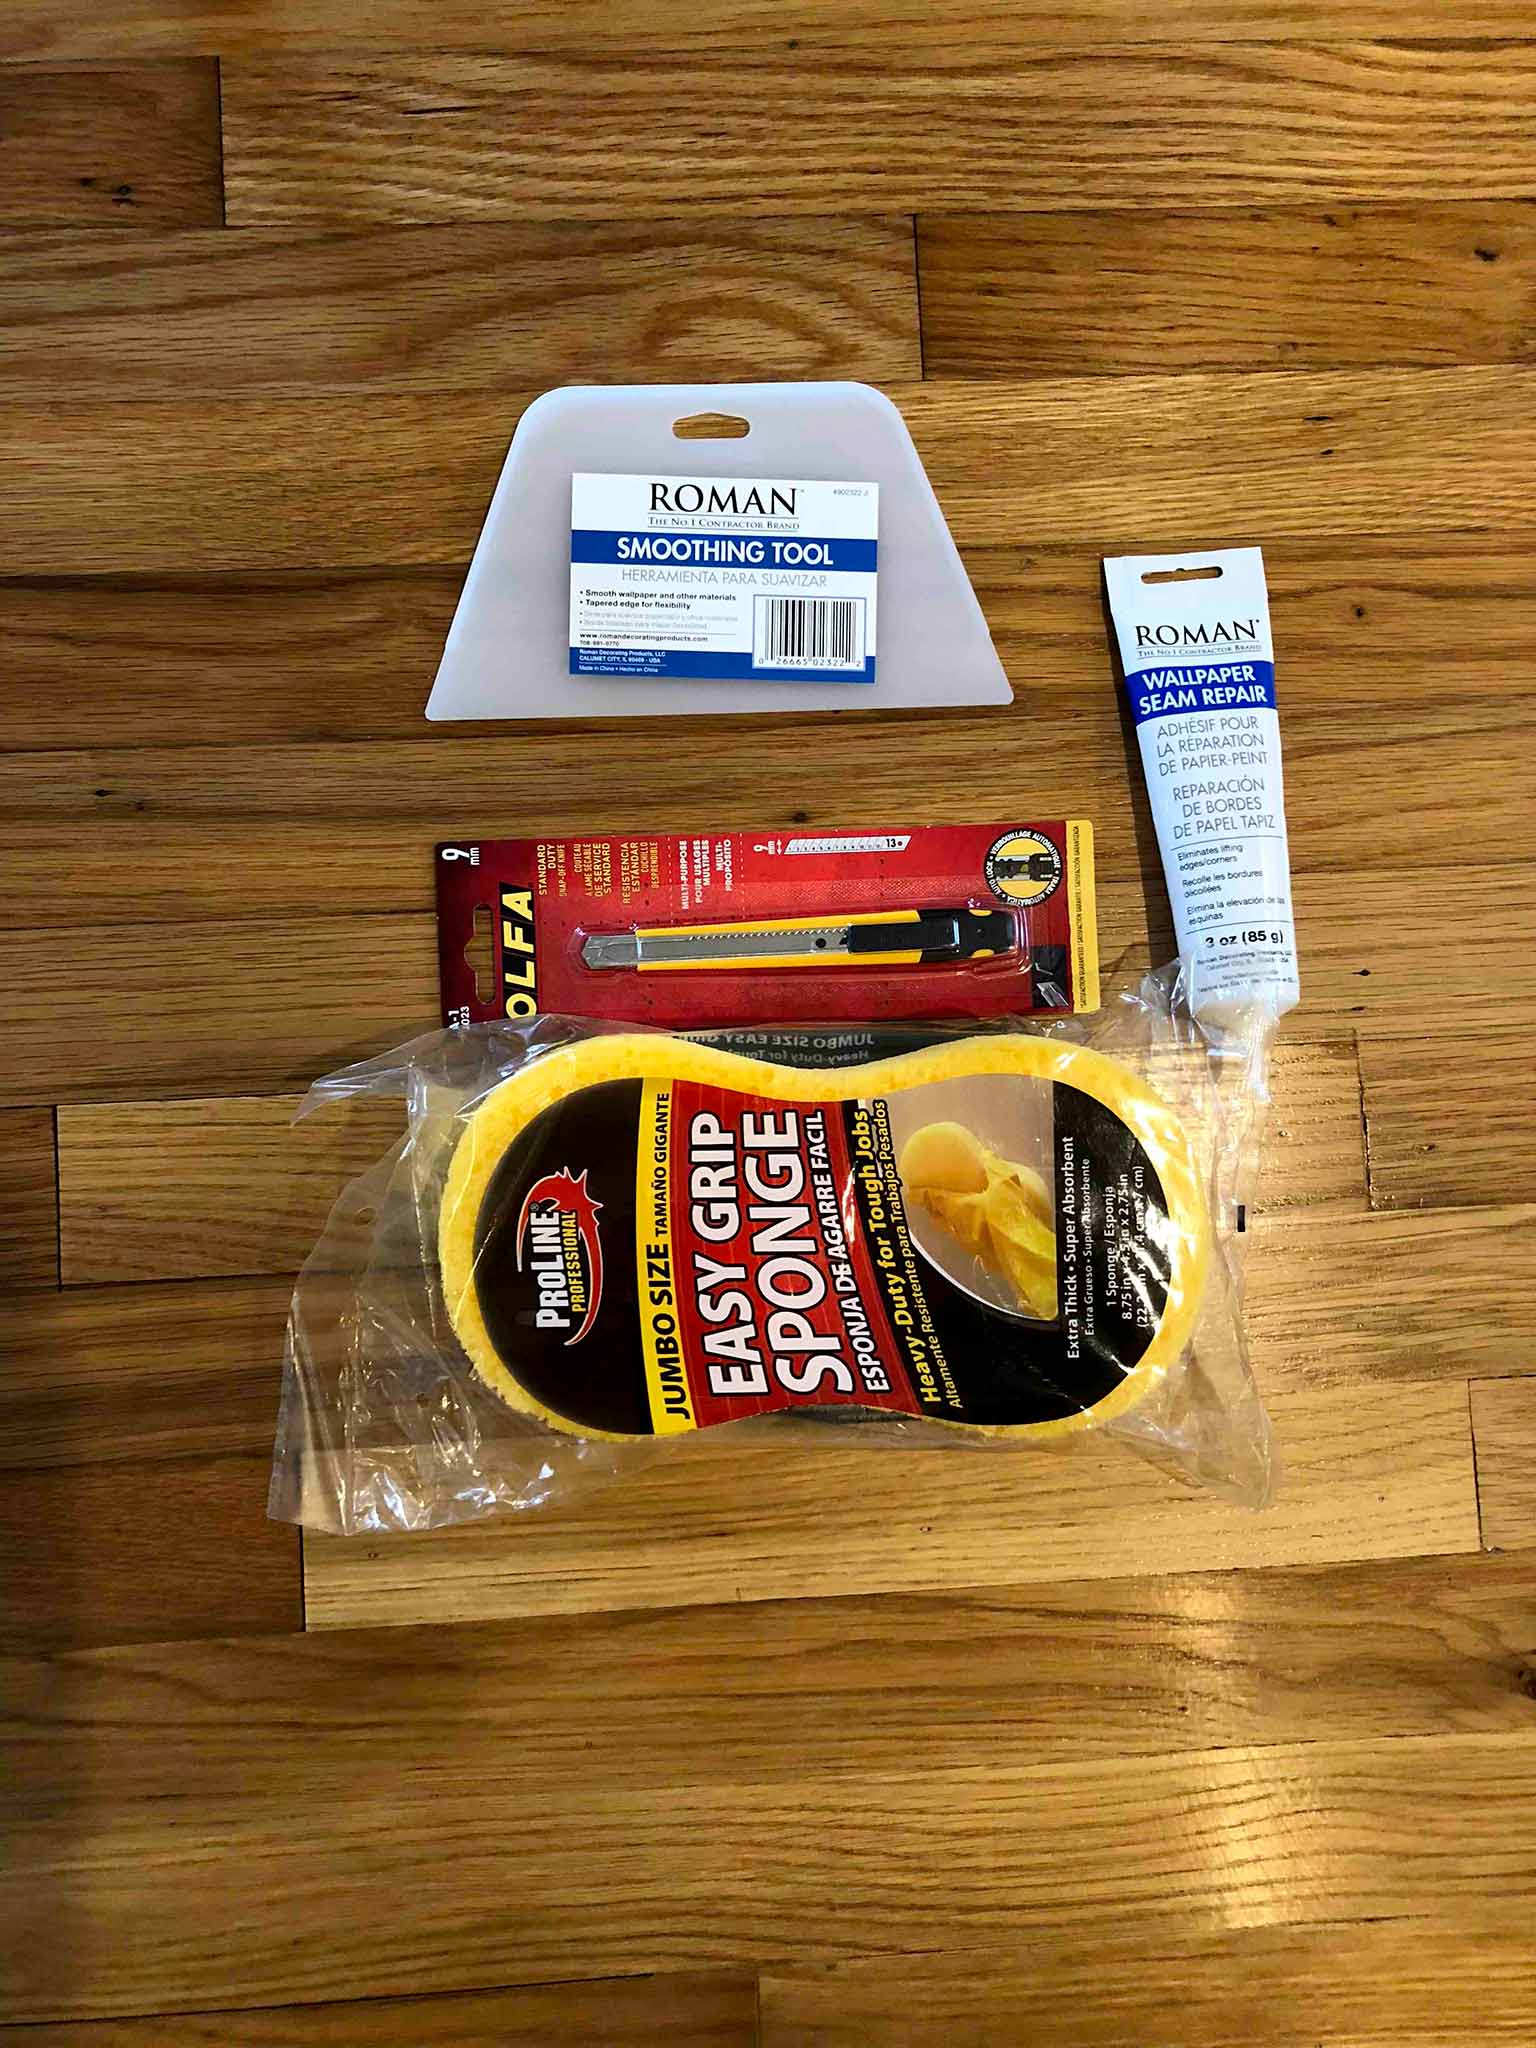
After filling all of the holes, sanding them down and washing the walls, it was GO TIME. Knowing that we were only doing one wall, and that I wasn’t planning on wallpapering anything else in the near future, I kept my tools pretty minimal: a spray bottle filled with water (we were using pre-pasted wallpaper), an old sheet to catch the drips of glue, a plastic scrapey thing (technical term) for smoothing out wrinkles, a sponge, a pair of scissors and a snap-off knife.
Note: there is also some wallpaper seam repair glue in the following photo which I tried in a small section but didn’t like at all. It was thick and goopy and I found it much easier to add a little spray of water to any parts of the seam that weren’t quite adhering to the wall.
First off, we cut a piece of wallpaper a few inches bigger than the height of the wall, and then drew a plumb line on the wall for guidance. (Although I’m not totally convinced that it was dead straight.)
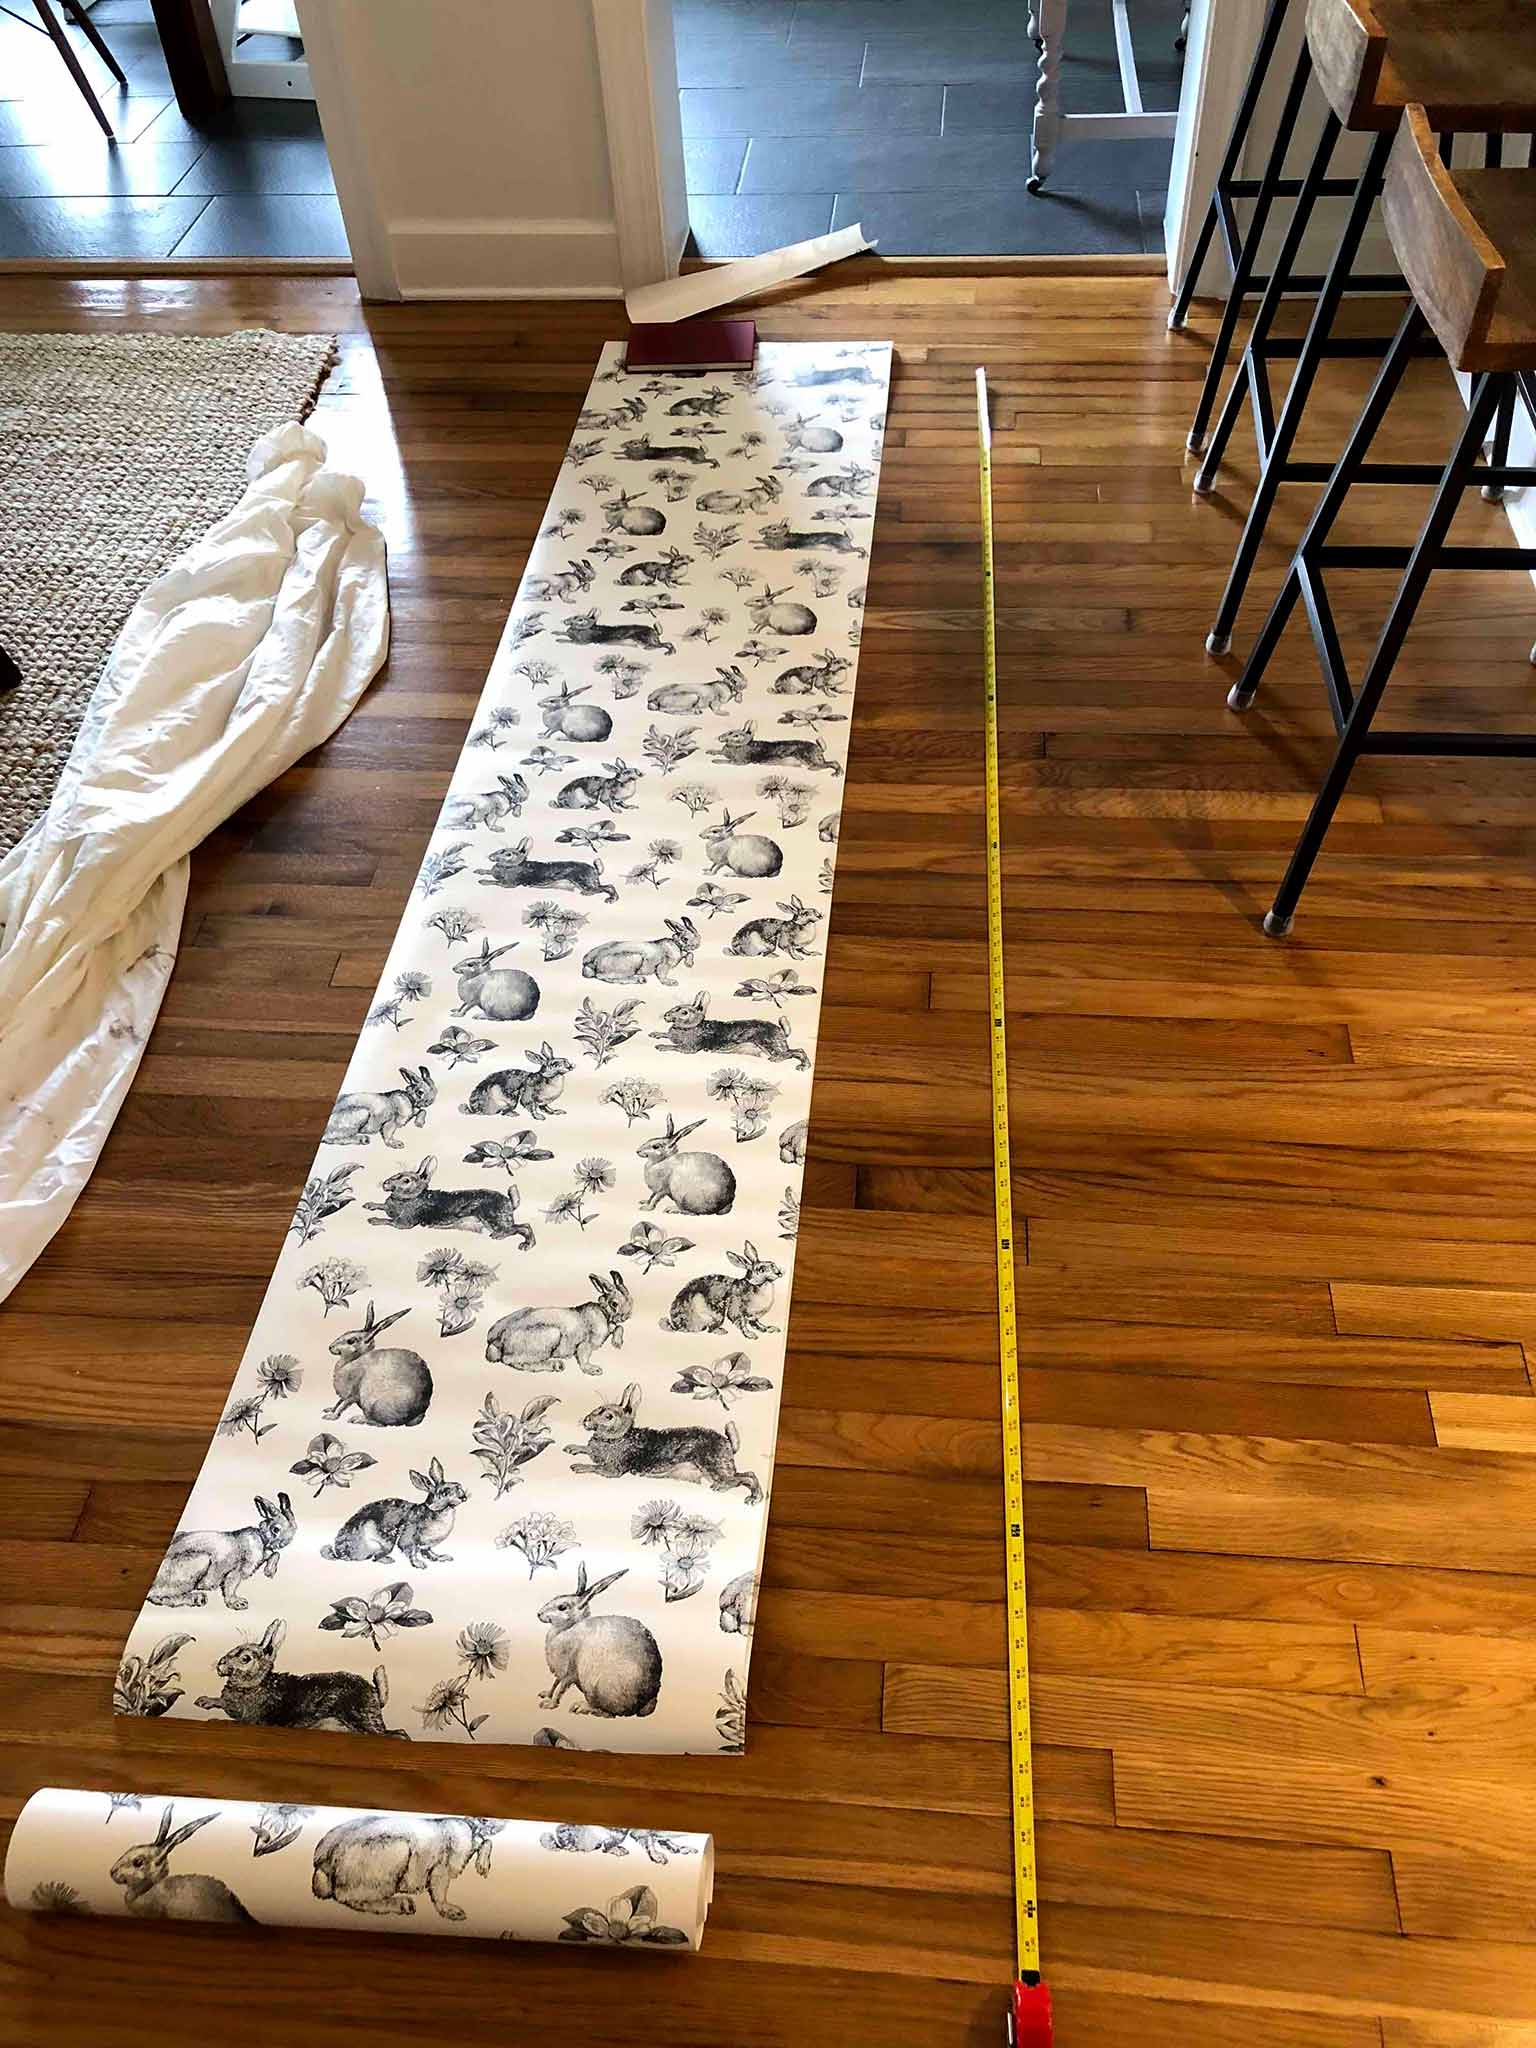
Even so, we ploughed on and after spraying the back of the paper with water and letting it relax (using the instructions provided by the wallpaper company) managed to get the first piece on the wall. It went on fairly easily, and I used the plastic tool to smooth it all out, paying particular attention to the seams to make sure the glue was stuck down well. Then I wiped it all down with the sponge to get rid of any glue residue, and trimmed it off with a sharp blade at the top and bottom. (Note: In some spots it was easier to use scissors. I’m not exactly sure why.)
Then we started the whole process again with the second piece, and so on. Towards the end, it was clear that we were, frustratingly, slightly short of paper. The cost of buying another roll and wanting to get the job finished won over my perfectionist tendencies, and so we decided to patch it with some offcuts. I matched up the pattern as best as I could, and I have to say—it really isn’t noticeable.
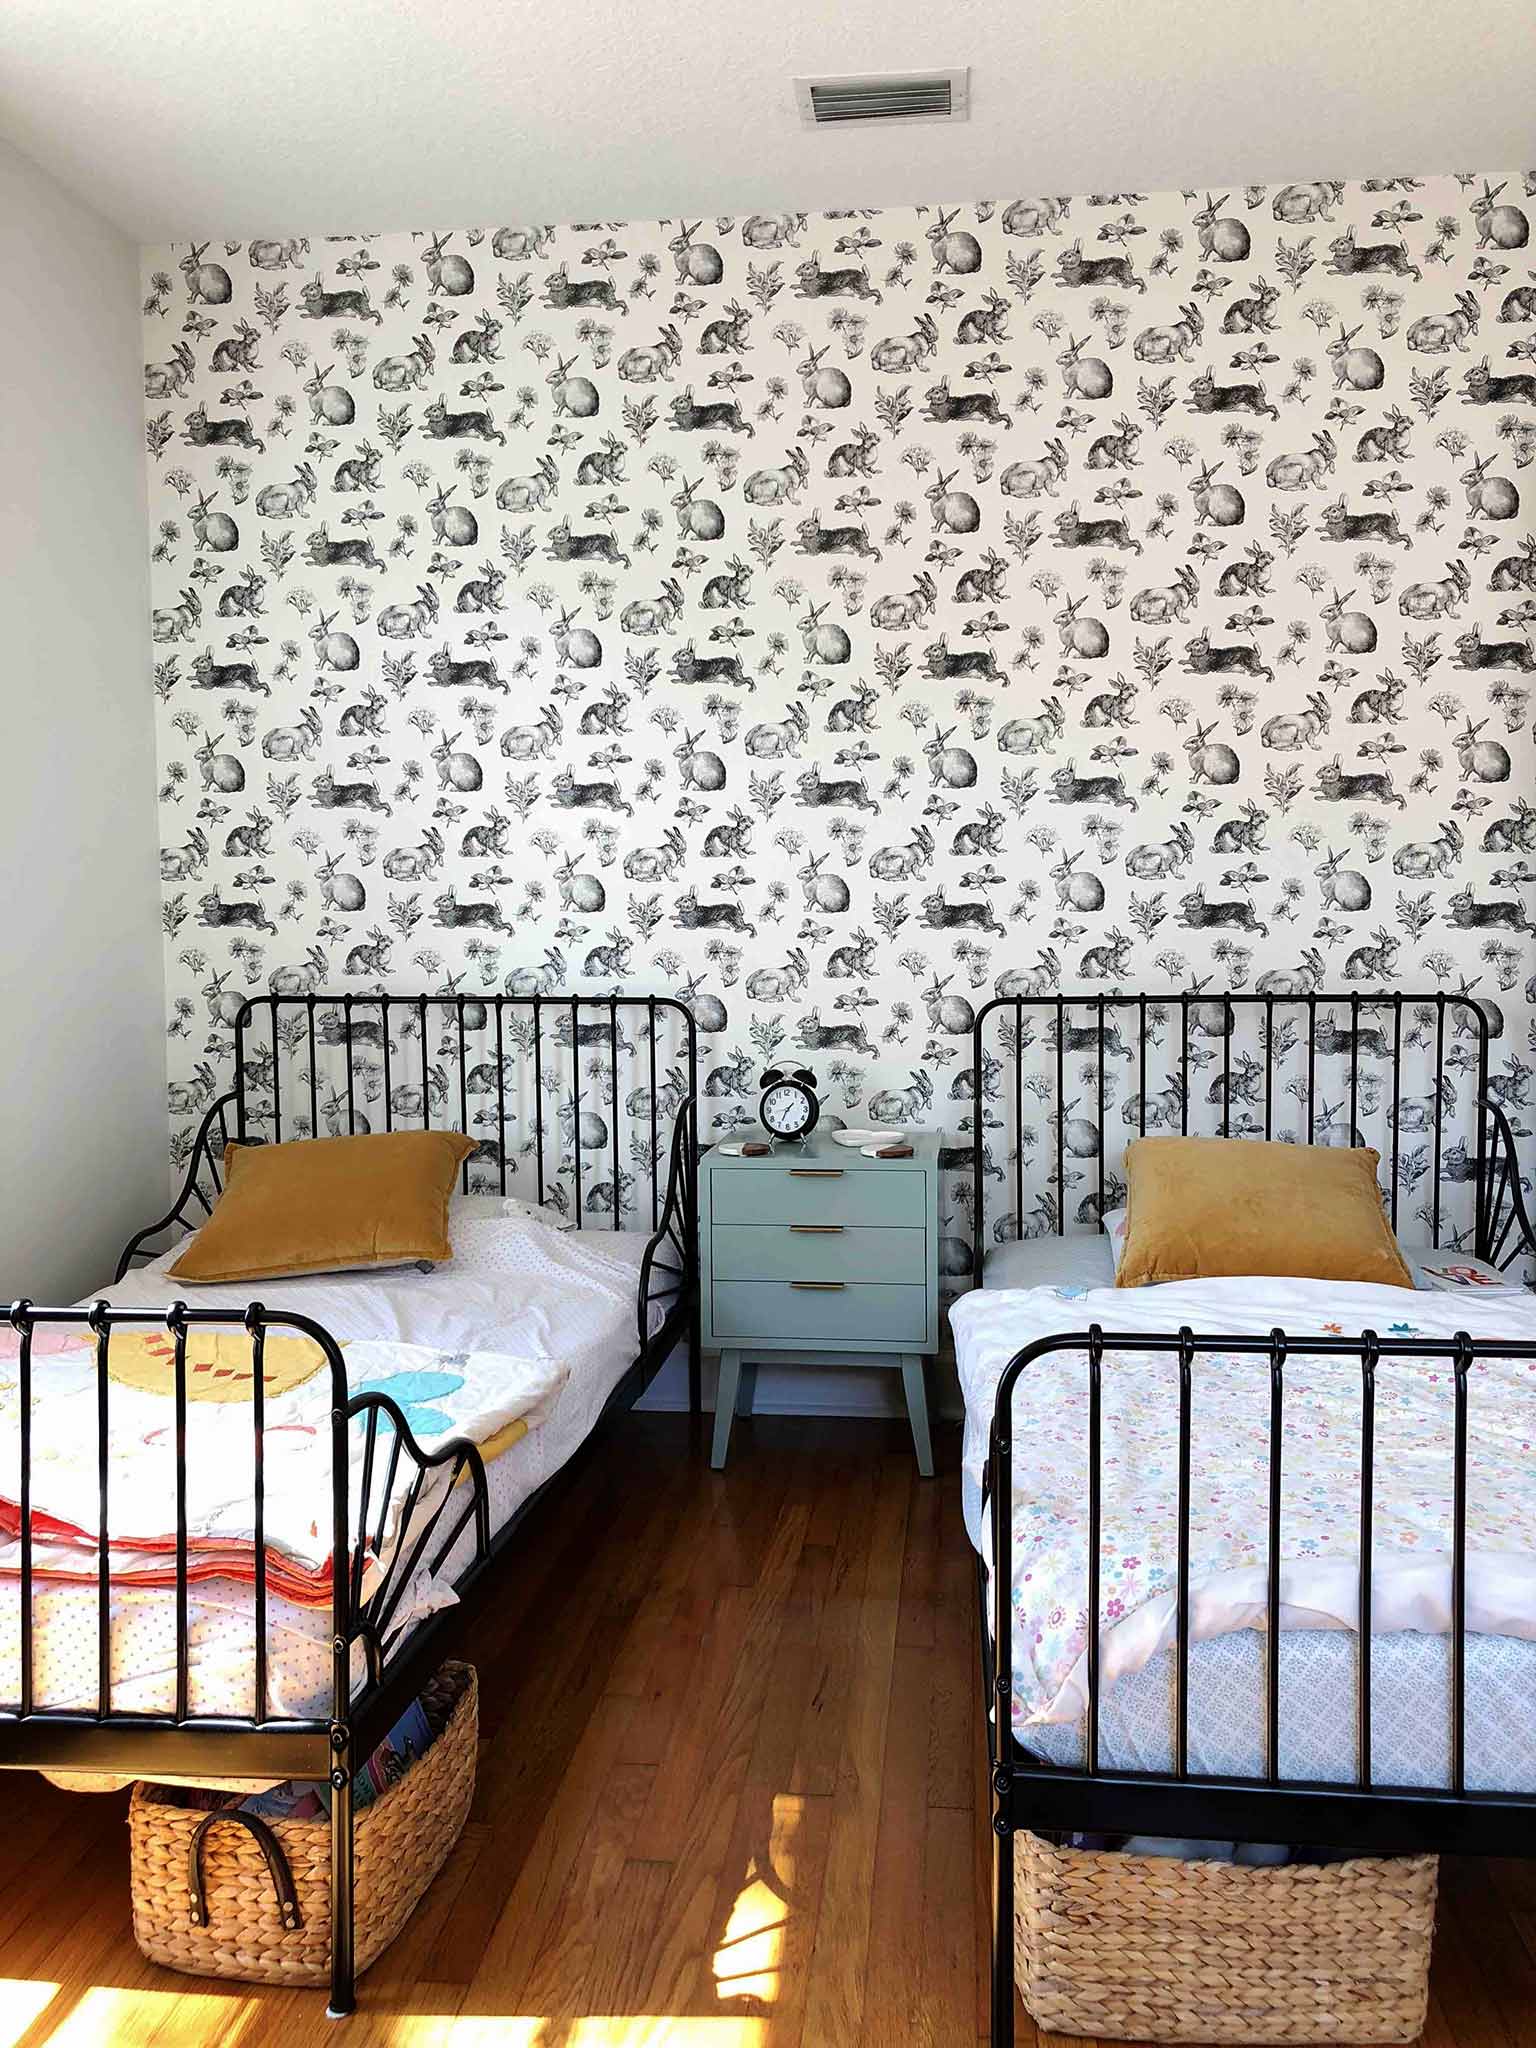
Is it a perfect job? Definitely not. Is it passable? I really think it is! As a first attempt, I’m pretty pleased with the result, and the girls are ecstatic—so what could matter more? Sure, we could have hired it out to a professional, but there really is no guarantee that their work would have been perfect, and it is nice to take ownership of a project and learn new skills.

UPDATING THE OUTLETS AND LIGHT SWITCHES WITH LEGRAND
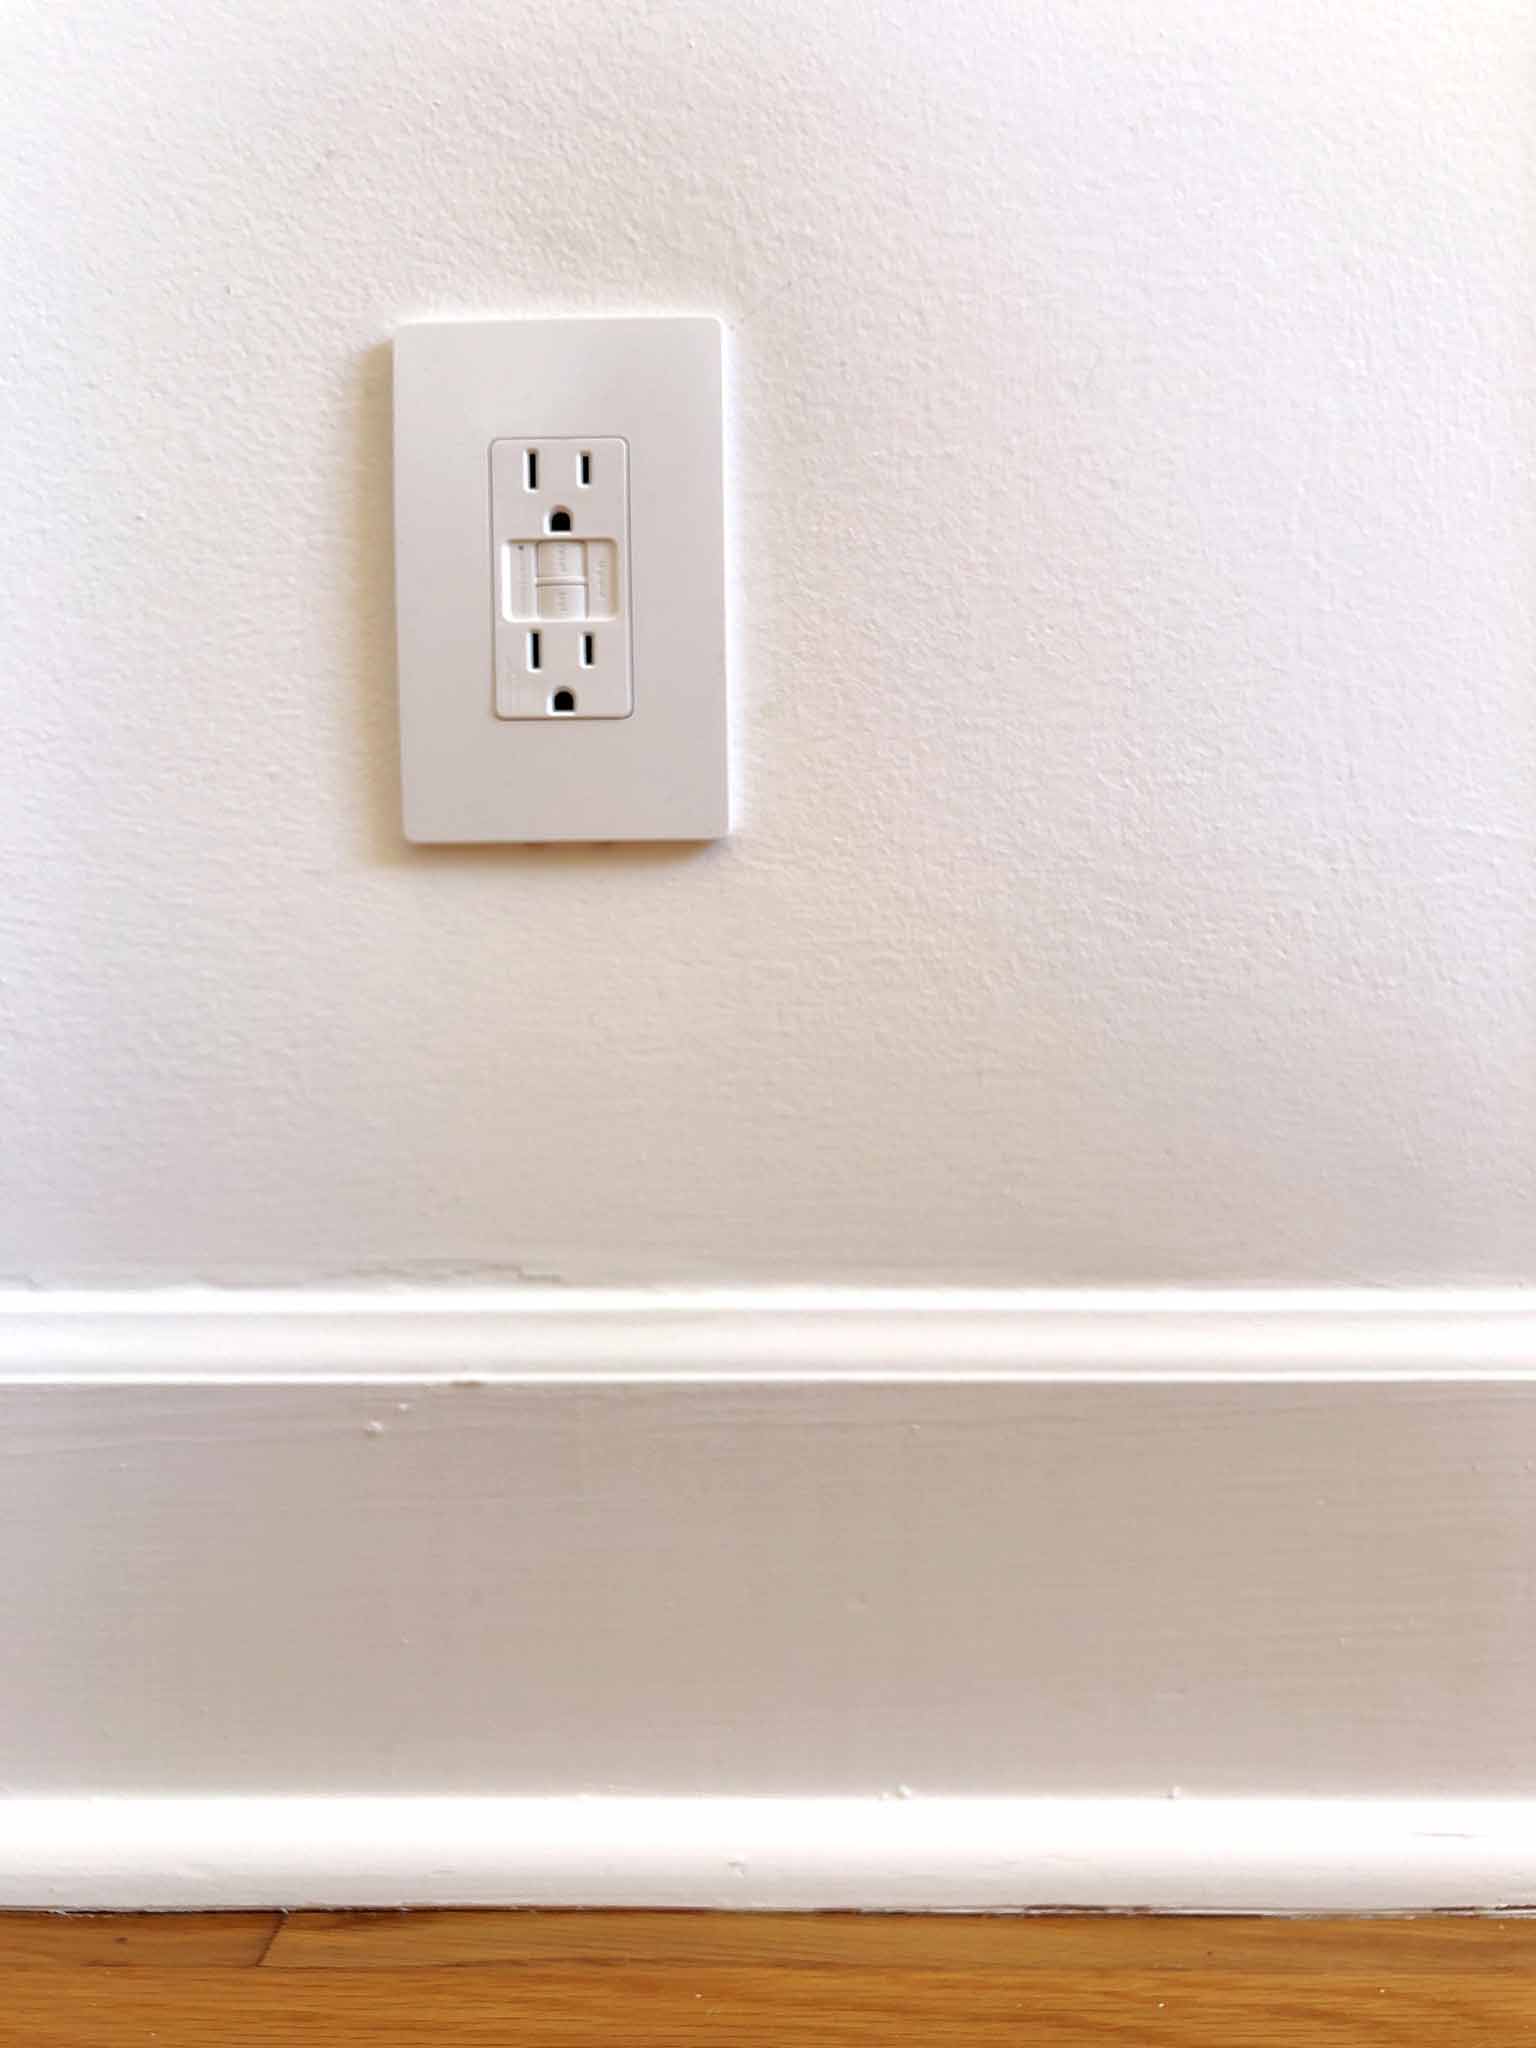
With the walls patched, the floors shining and the bunnies leaping, I turned my attention to something that is often overlooked in a room design, and that is outlets and light switches. Legrand recently reached out to me and asked if I would like to try some products from their new radiant collection. Now, my existing outlets and light switches weren’t in bad shape as we only replaced them a couple of years ago, but when I saw Legrand’s screwless wall plates and the wide range of options available in the radiant collection, I thought that they would be a great upgrade for my girls’ bedroom.
For this particular room, I chose a two-gang screwless wall plate with single pole switches, GFCI tamper-resistent outlets (which, as a mom, helps me relax a little), a nightlight and an outlet with USB chargers (perfect for charging the girls’ white noise machine.) We got a little bit of help with installation because the electrical in our home is so old, but once we saw it done once, we were able to install the rest easily ourselves. My favorite feature has to be the screwless plates—they are such a fantastic idea and they are so sleek!
And here is the result:
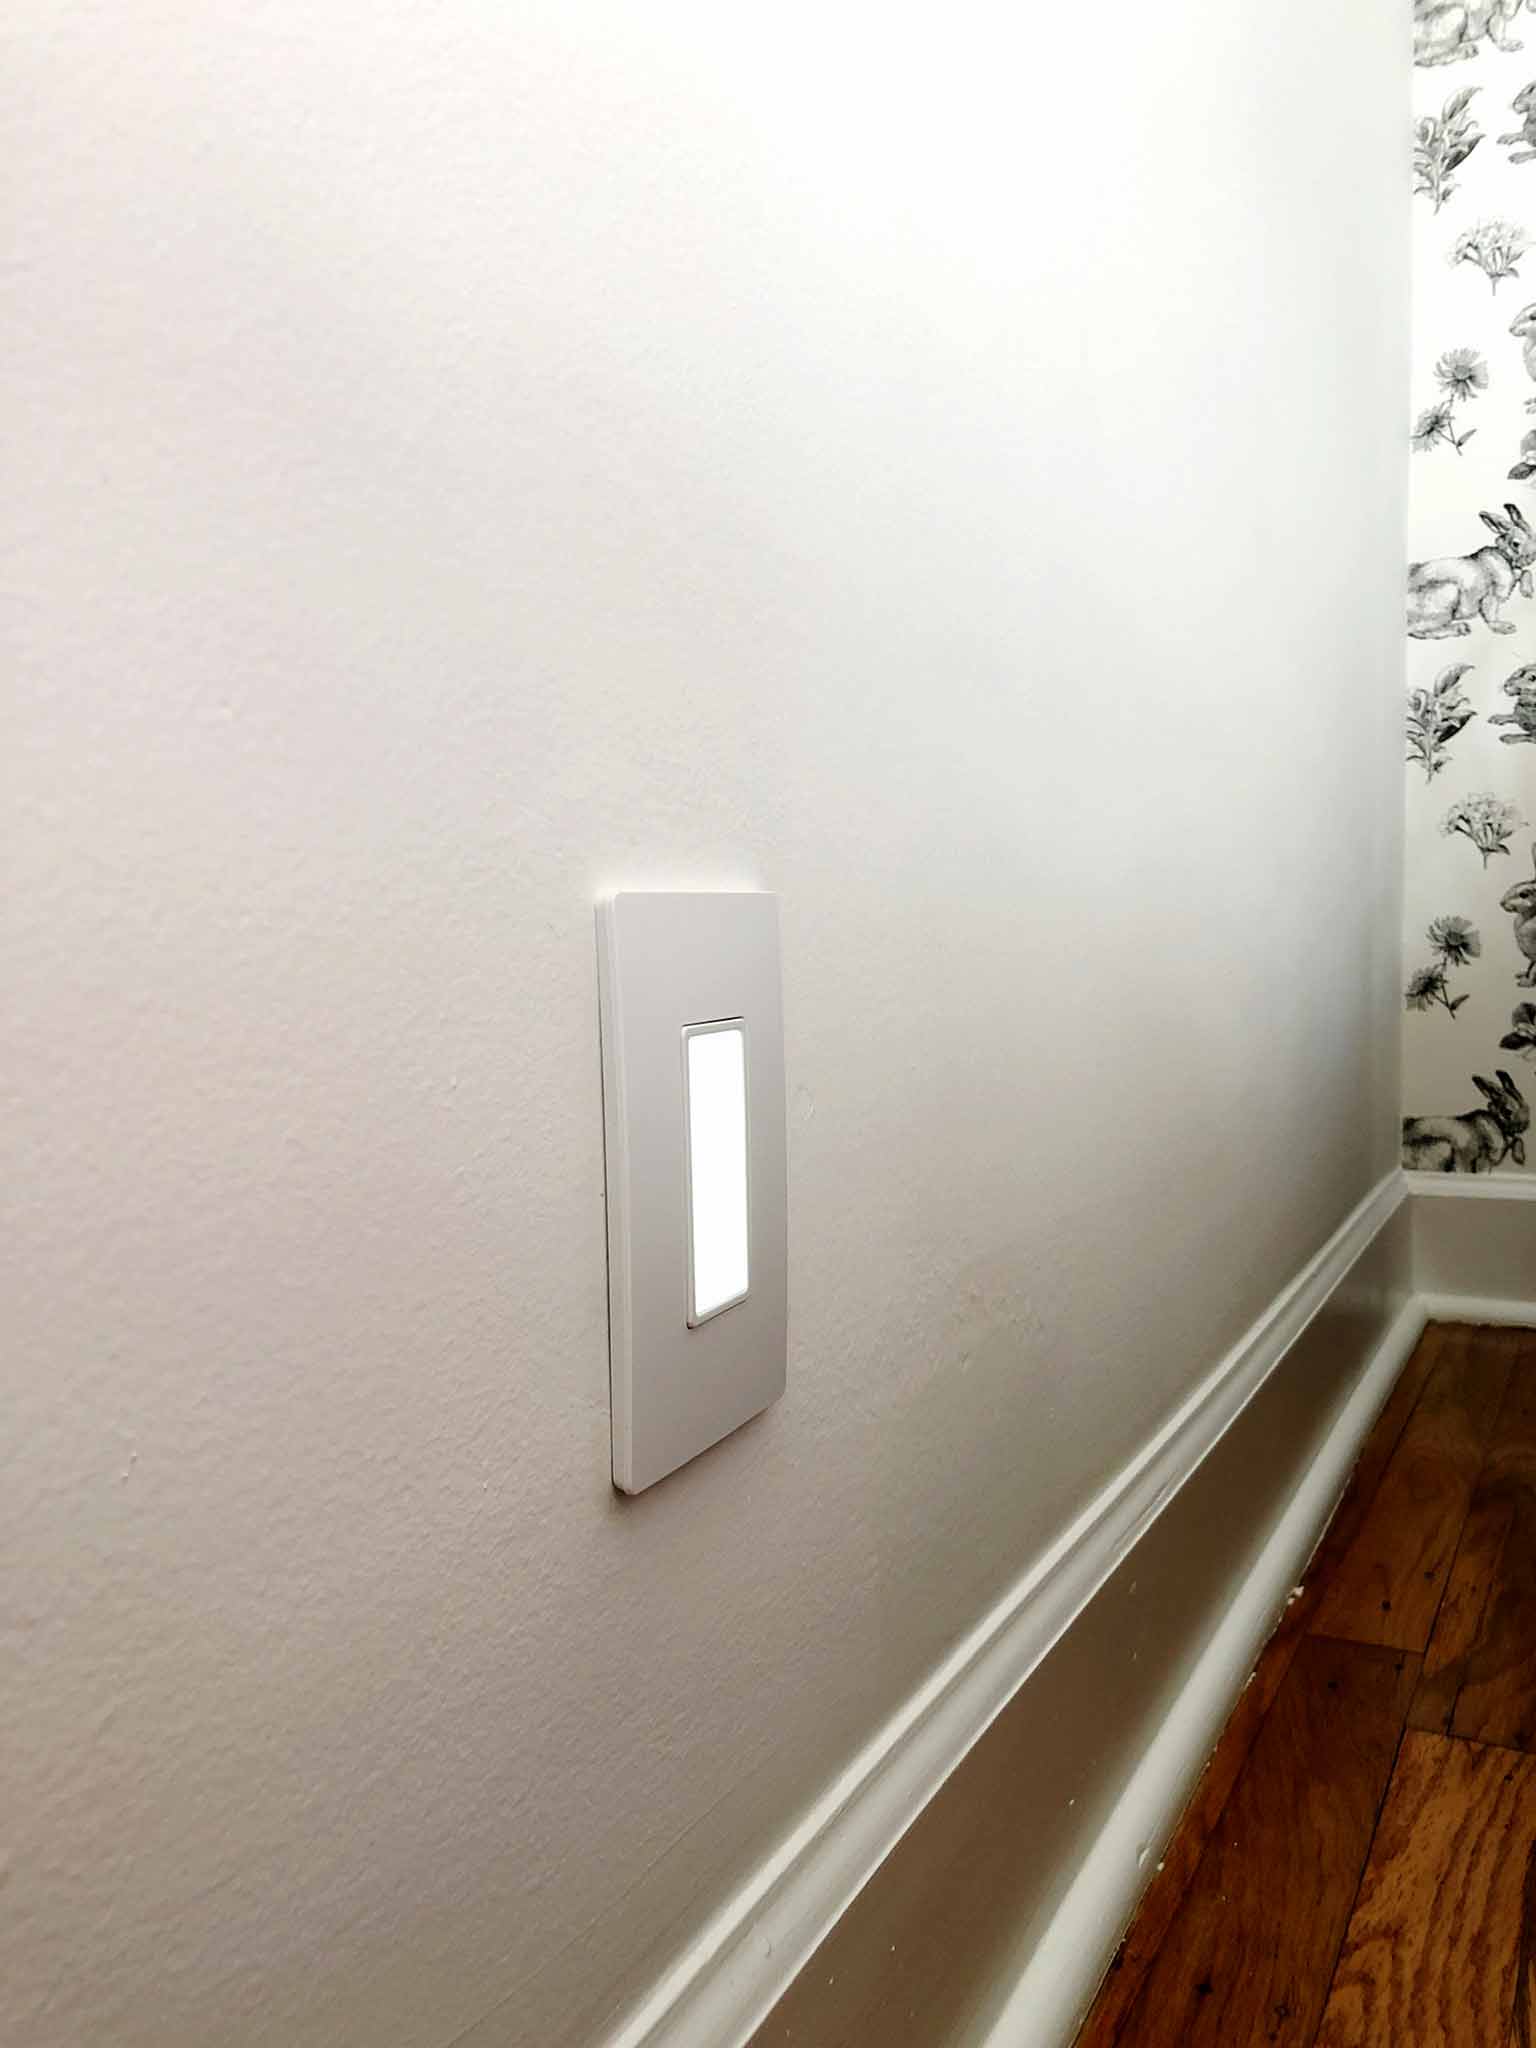
I love that the nightlight comes on automatically, and that I have been able to do away with the bulky plug-in that I was using before. It also has five adjustable light levels which is a great feature.
Clean, streamlined, and stylish.
I never knew that I could be so enthusiastic about outlets, but I really do believe that it’s those little details that elevate a space. Thank you Legrand for giving me the opportunity to try the radiant collection—now I just need to roll it out throughout the rest of the house!
That’s pretty much all for this week! Next week I will be turning my attention to beautifying the cluttered closet and organizing the storage units. Party on!
Are you a fellow ORC Guest Participant? I've written a guide (which you can read here) and designed a printable planner to help get you organized for the challenge! Simply put in your email below to have the PDF planner emailed to you:
Remember, you can view all the other talented guest participants here—head on over and tell them I sent you!

This post is sponsored by Legrand. All opinions expressed are my own, of course!