This week has maybe been my favorite of the challenge so far—the mess and chaos is slowly subsiding and things starting to come together. Seeing my vision turn into reality is giving me the boost of energy that I need to push on through to reveal day—because there's still a LOT more work to do!
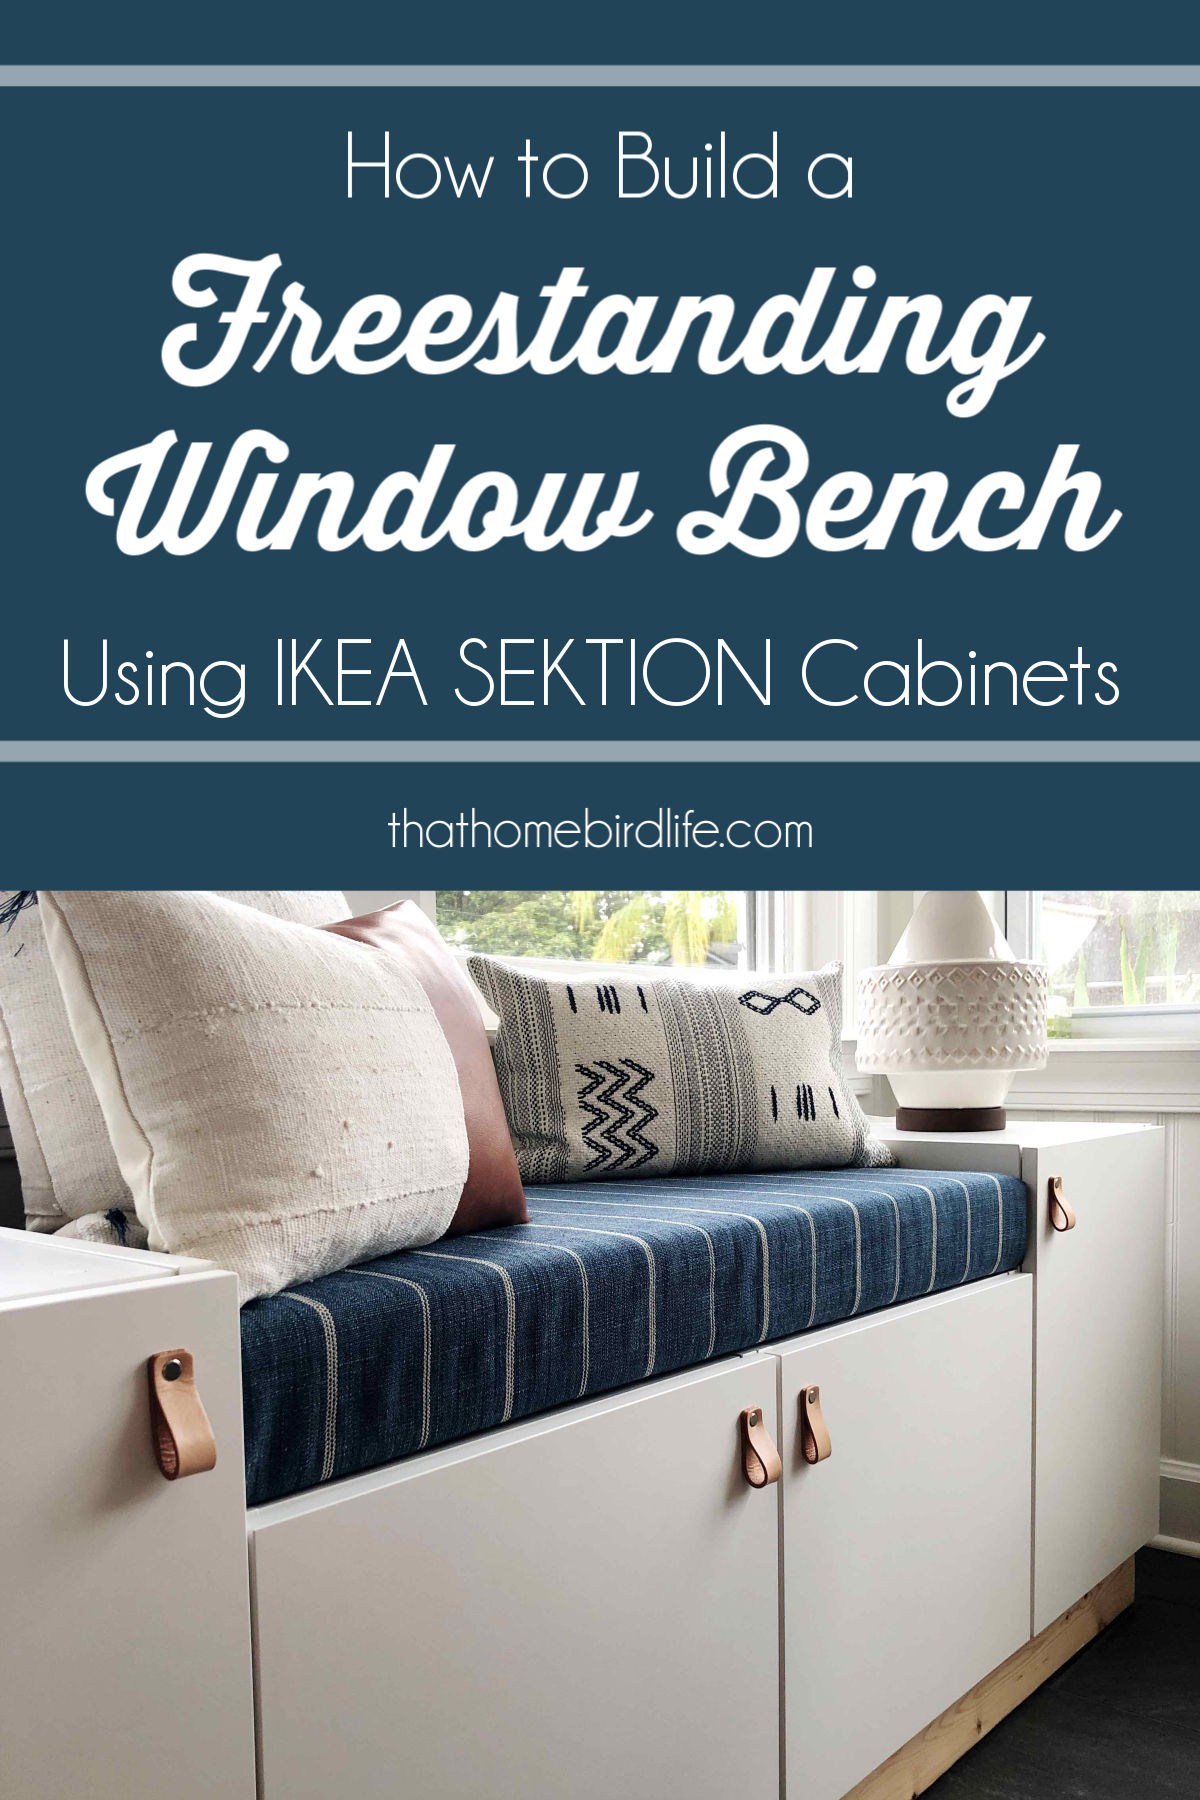
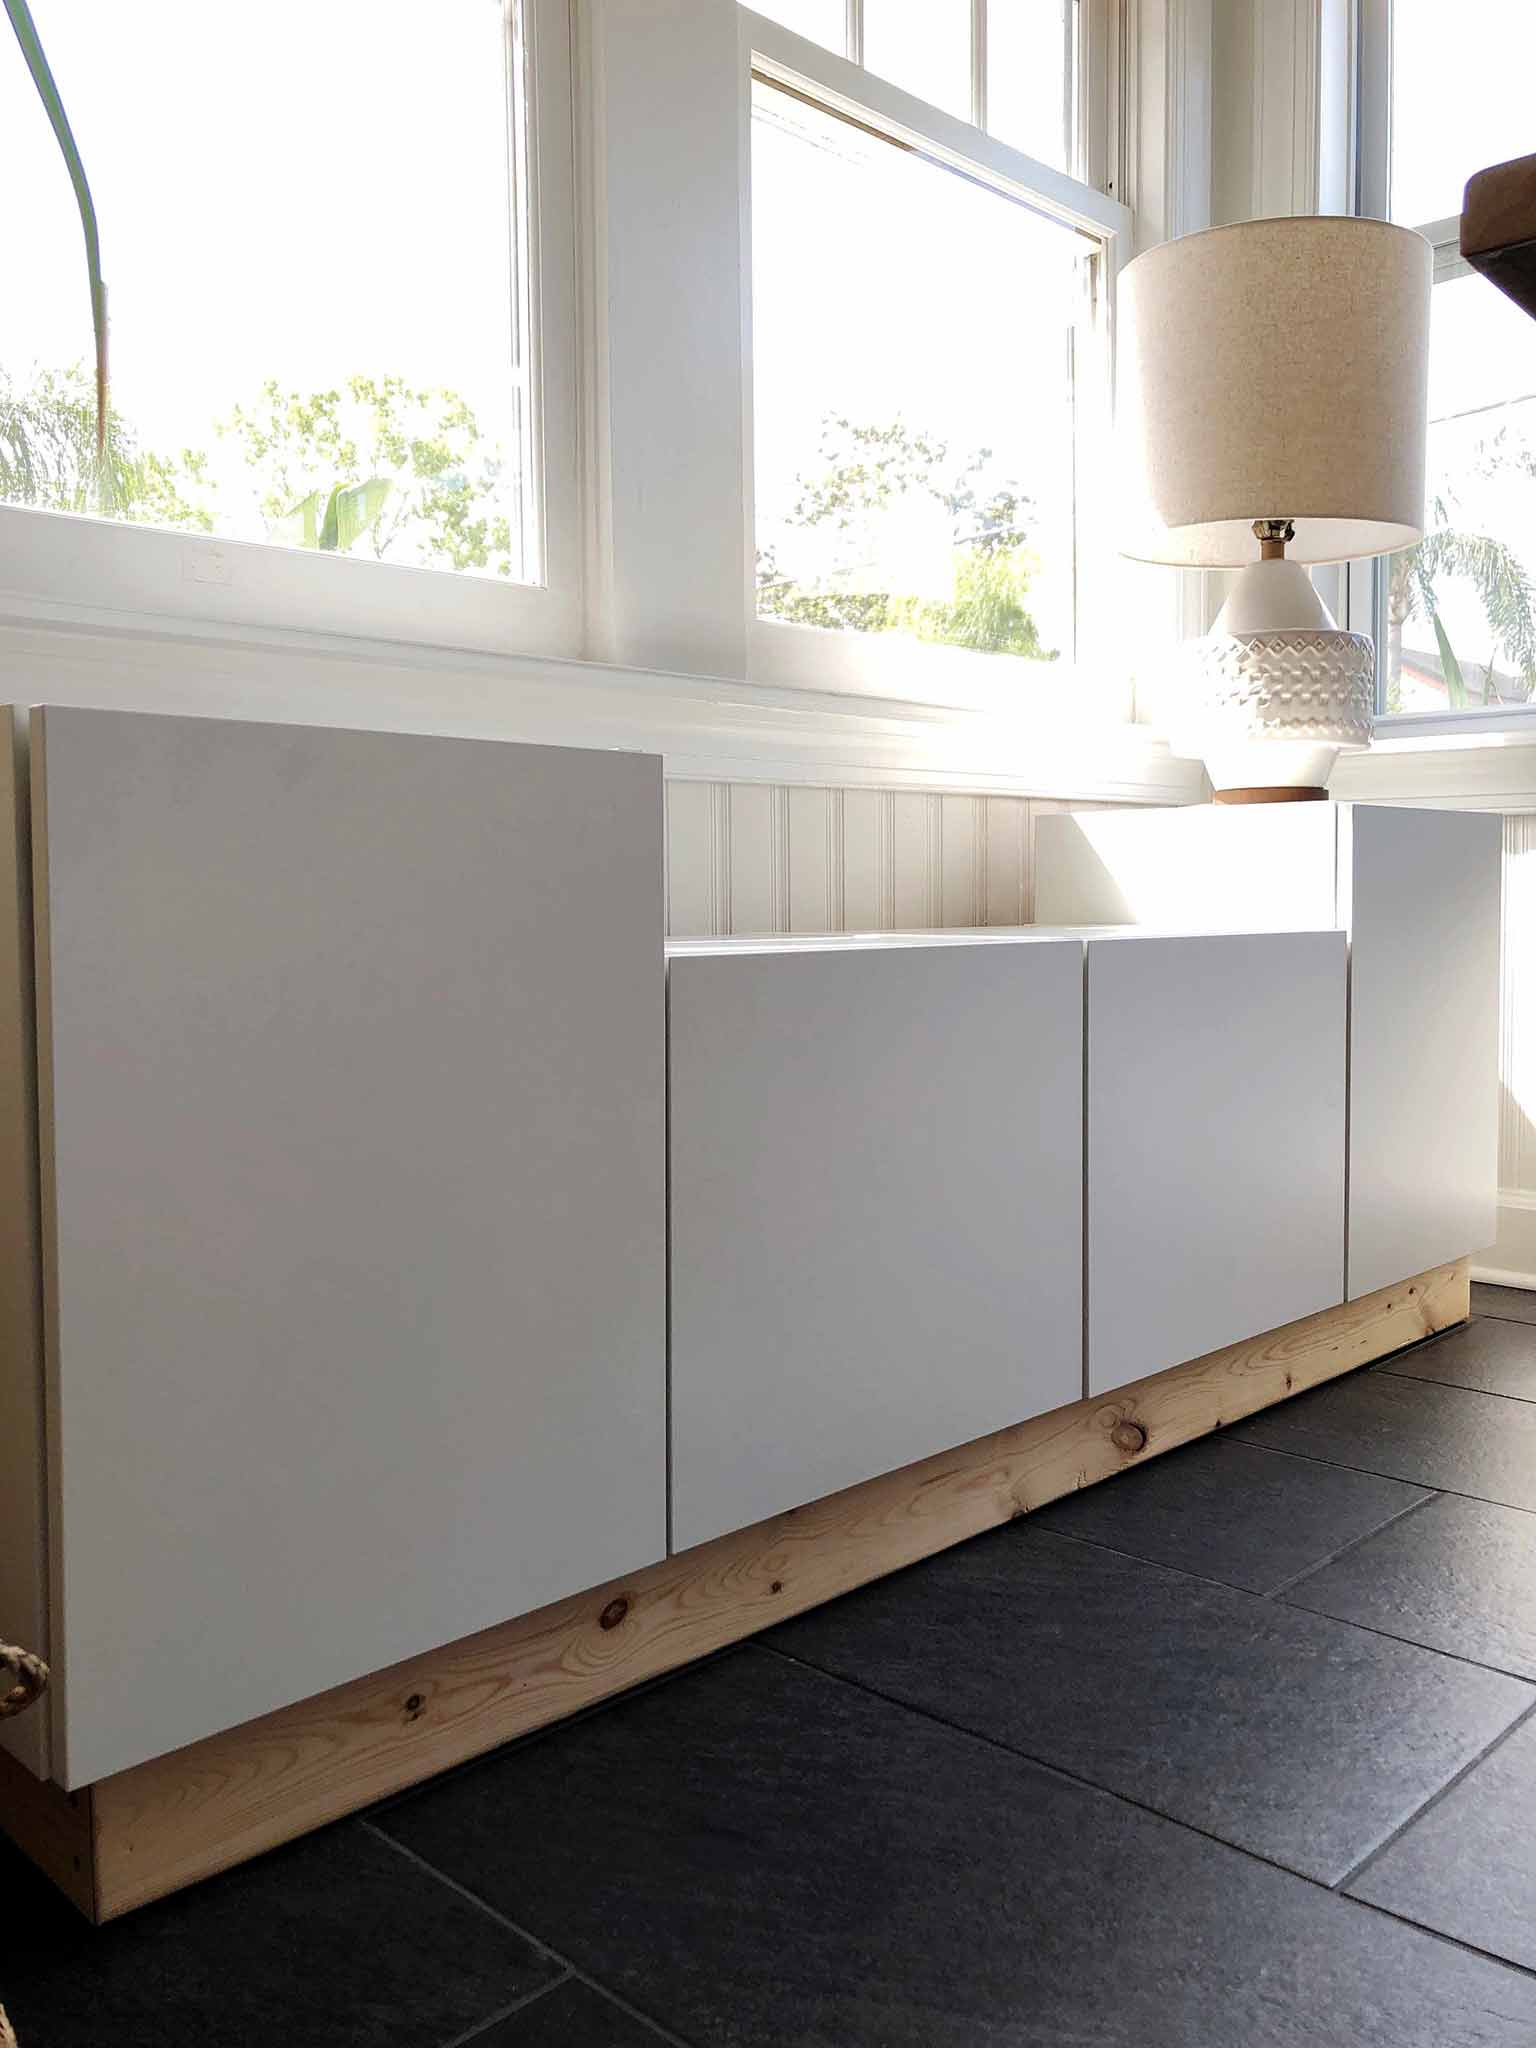
This past week, we focussed on building the freestanding window bench that is replacing the heavy wood buffet. Functionally, it needed plenty of storage space to store all our nice dinnerware and glassware. I also wanted to incorporate a window bench so that we could use it for an extra dining seat when needed, or just as a nice spot to sit and enjoy a cup of coffee on a sunny morning.
The previous buffet partially blocked the windows so I wanted a piece that would fit the space better. However, we still wanted to keep it flexible, so it needed to be freestanding rather than built-in. I searched and searched for the right piece, but couldn't find it, so I decided to read up on building a custom piece using kitchen cabinets. This tutorial was the one we most closely followed, although we made a few changes to suit our space.
Here's a list of the supplies that we used to build our freestanding storage bench:
Bench
(2) 15x15x20" IKEA SEKTION wall cabinets with HÄGGEBY doors, plus hinges and dampers
(2) 18x15x15" IKEA SEKTION wall cabinets with HÄGGEBY doors, plus hinges and dampers
3 packs of IKEA UTRUSTA shelves (6 shelves total)
Screw covers
(2) 2x4x8" whitewood lumber
Miter saw
Drill & long wood screws
Dowels & wood glue
Cushion
MDF cut to size
3 inch foam cut to size
Upholstery batting
Upholstery fabric
Staple gun & scissors
FIRST STEP: IKEA SEKTION CABINETS
As we have an IKEA closeby, we decided to opt for their SEKTION range as it's so affordable and customizable. I wanted plenty of storage space in this piece, so I went with two slightly taller cabinets flanking two low cabinets for the bench. One of the taller cabinets would house four IKEA MAXIMERA drawers to store all our silverware and napkins.
After shopping for our supplies, the first stage of the process was to build the IKEA cabinets. This was a slightly arduous task, but we've definitely built worse things from IKEA, so it wasn't as bad as it could have been. And thankfully, there were only four pieces to build—much easier than an entire kitchen!
BUILDING THE BASE FRAME
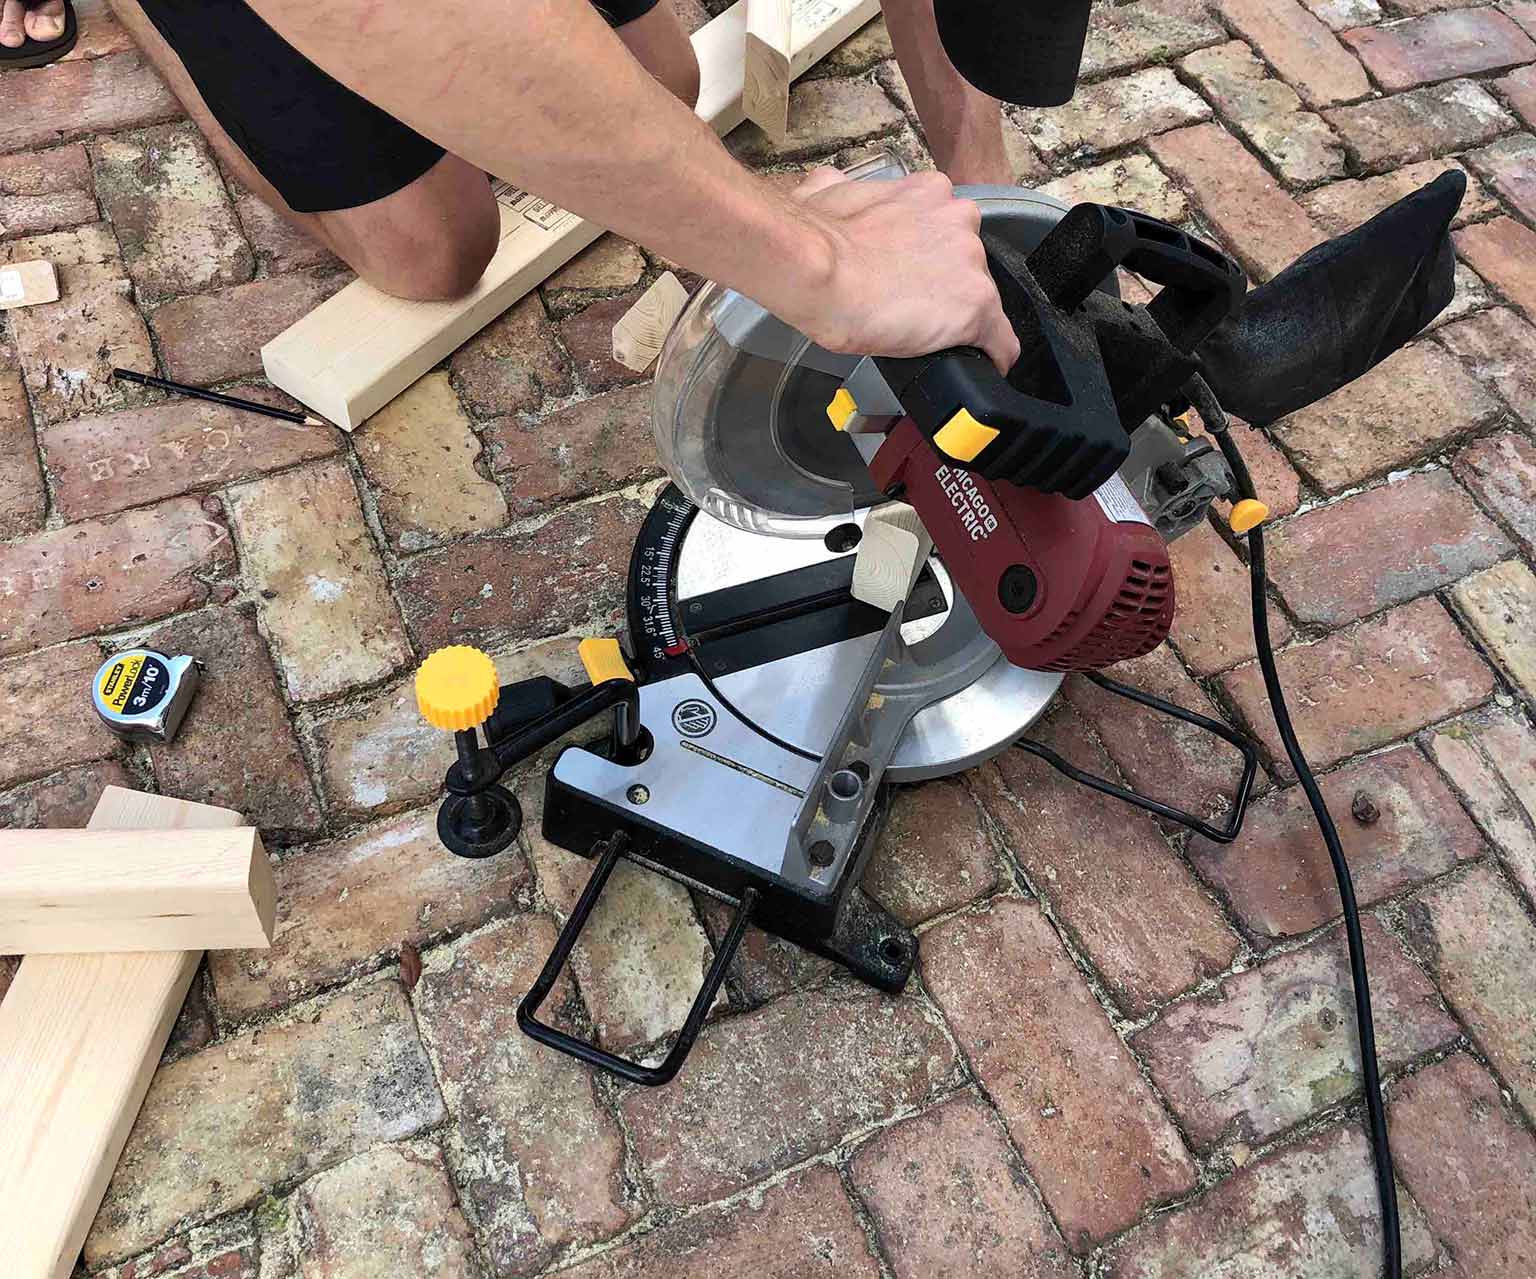
Once the cabinets were done, we moved onto building a frame from 2x4 pieces of whitewood lumber. To tie in with the light wood finish of the table, I decided that I wanted to leave the lumber exposed rather than covering it with trim or painting it. Therefore, we decided to miter the corners to give it a more polished look. (We don't own a miter saw, but one of our neighbors does and he kindly lent it to us!)

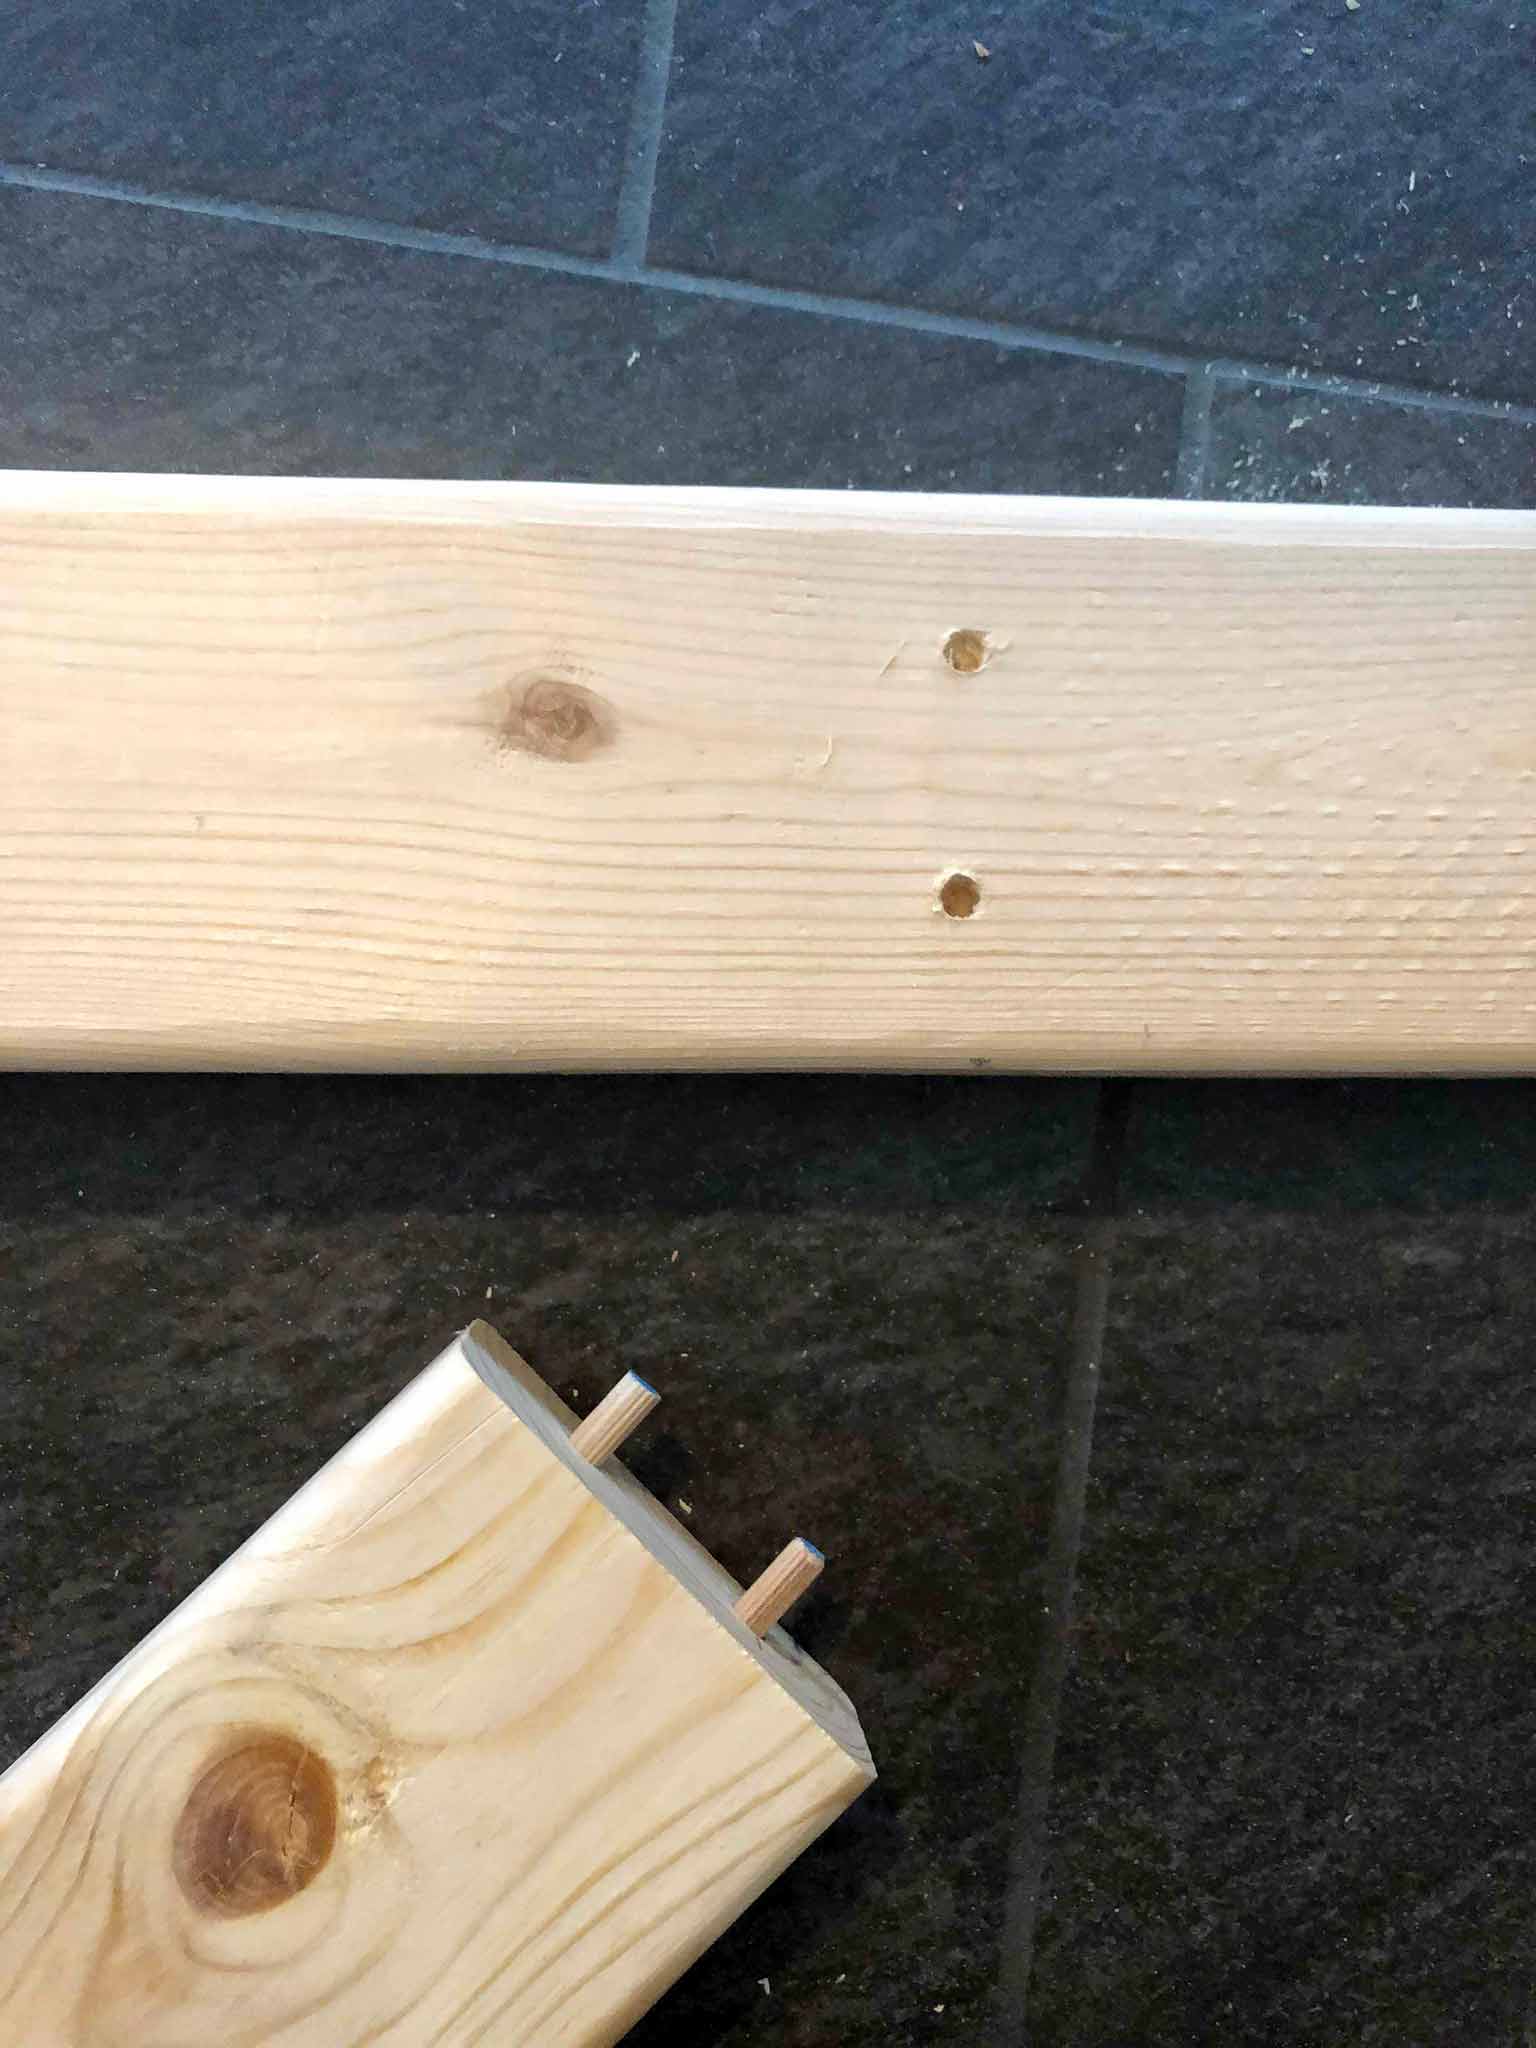
When assembling the frame, we wanted to keep the front piece "screwless" as it would be visible, so we used dowels and wood glue to attach the middle support pieces to the front piece. It was pretty fiddly, but it worked well enough to give us that seamless look, whilst providing a solid base for our cabinets. For the sides and the back, we just used regular wood screws.
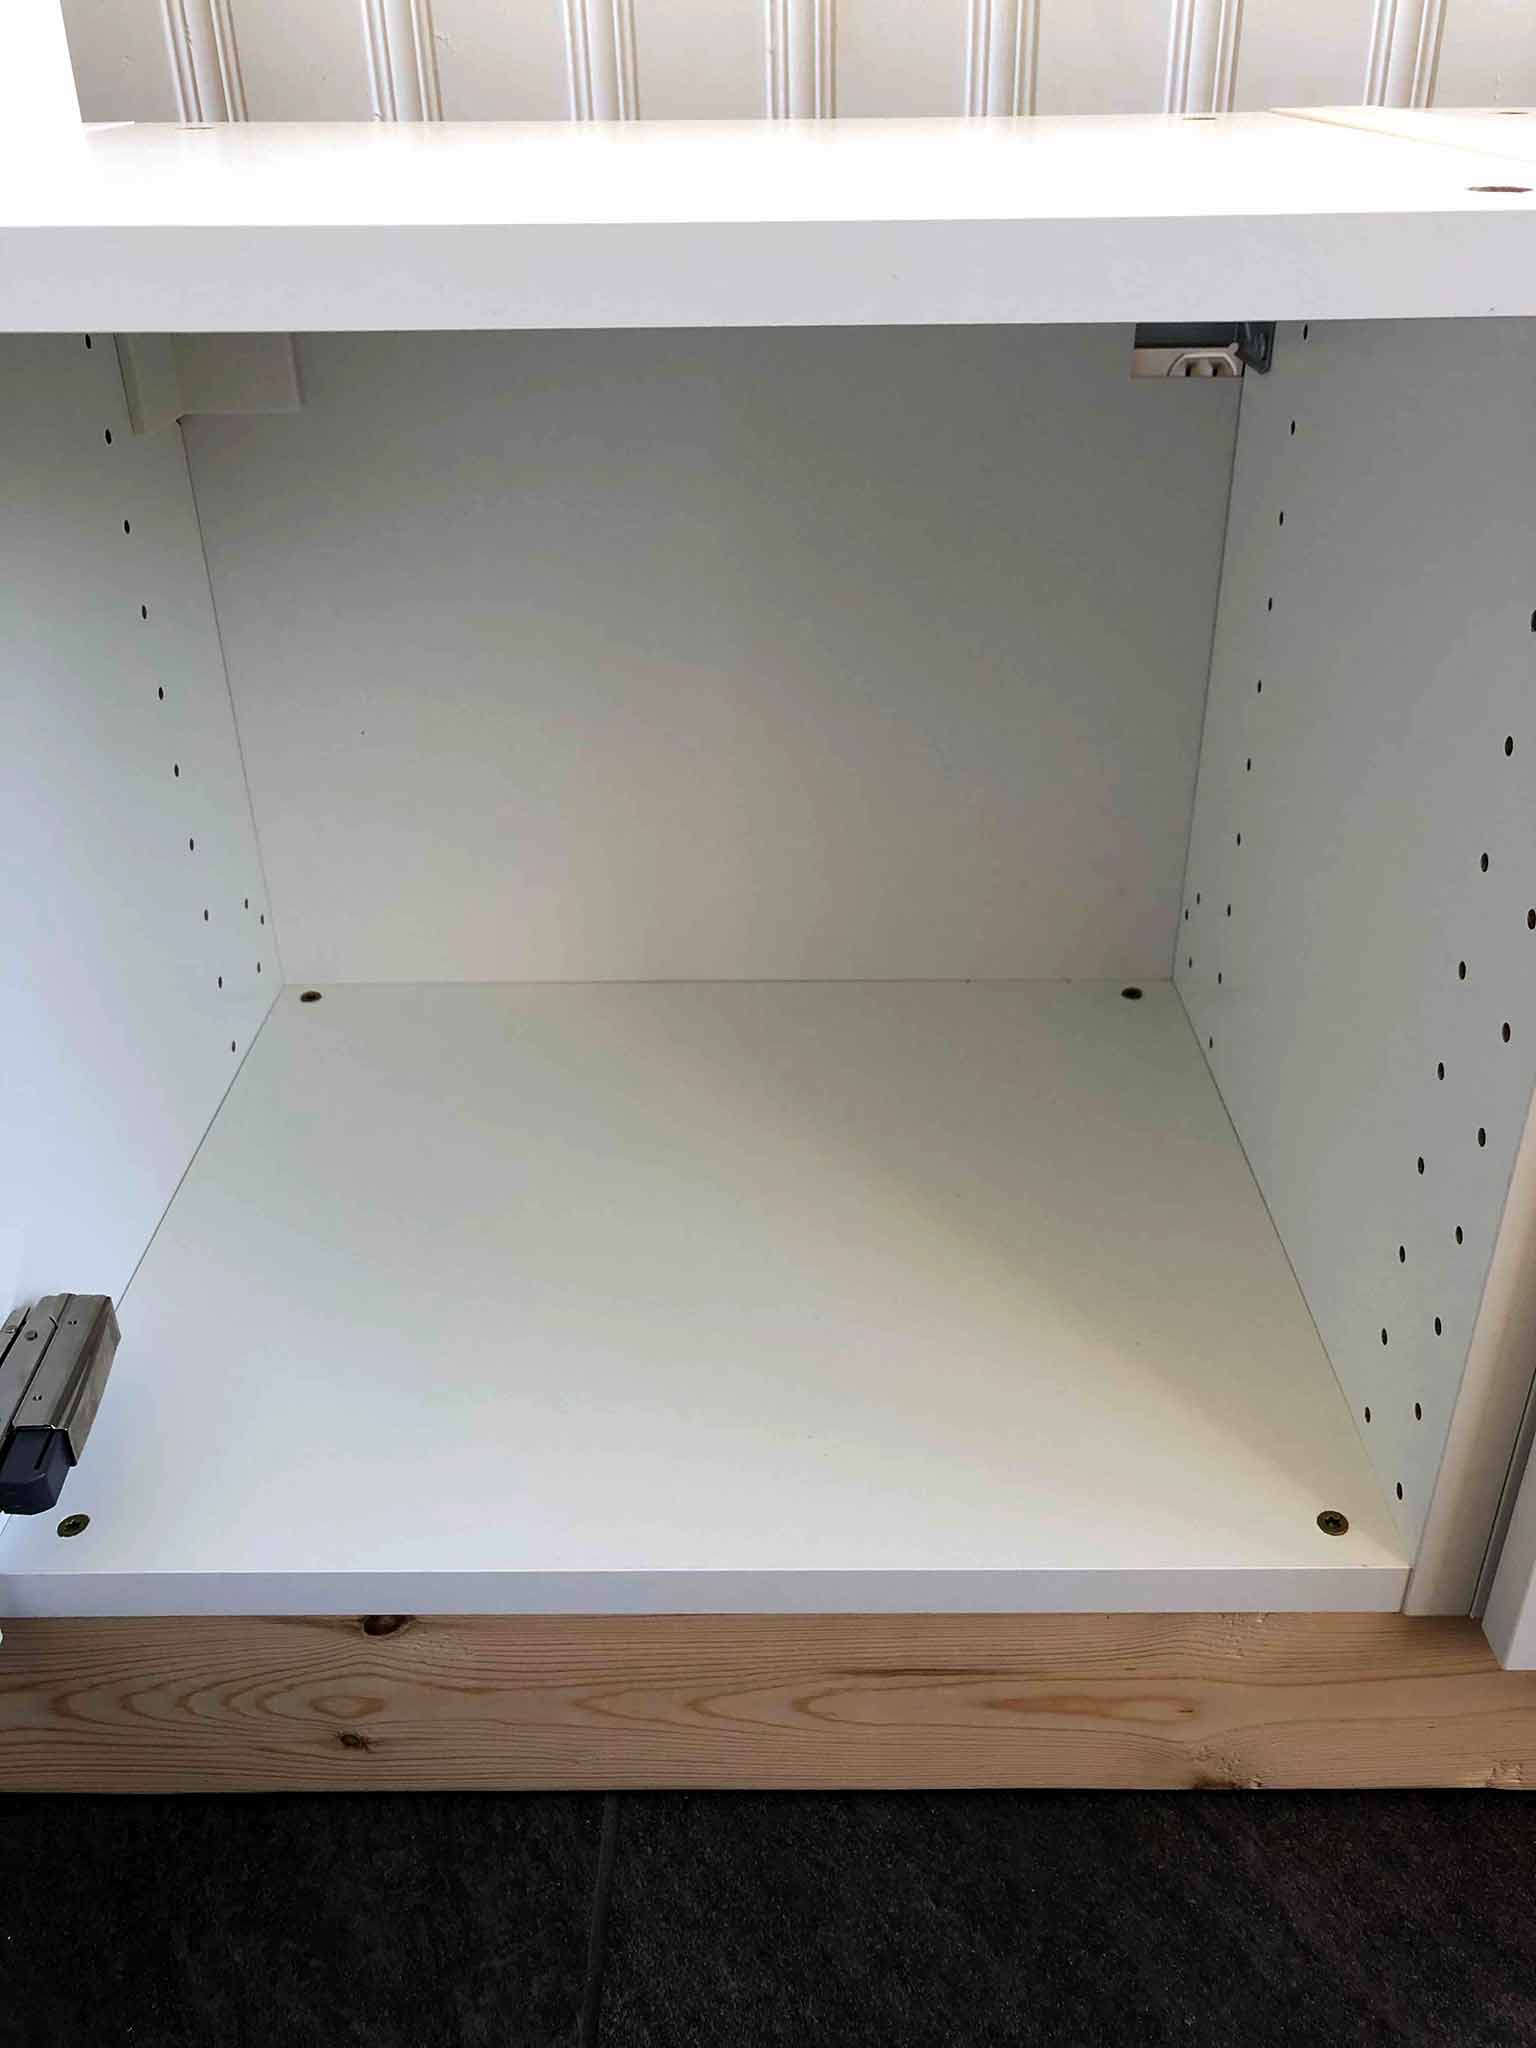
To attach the cabinets to the frame, we screwed in each corner, making sure that each cabinet was in the correct place before securing it:
A SLIGHT CHANGE OF PLAN...
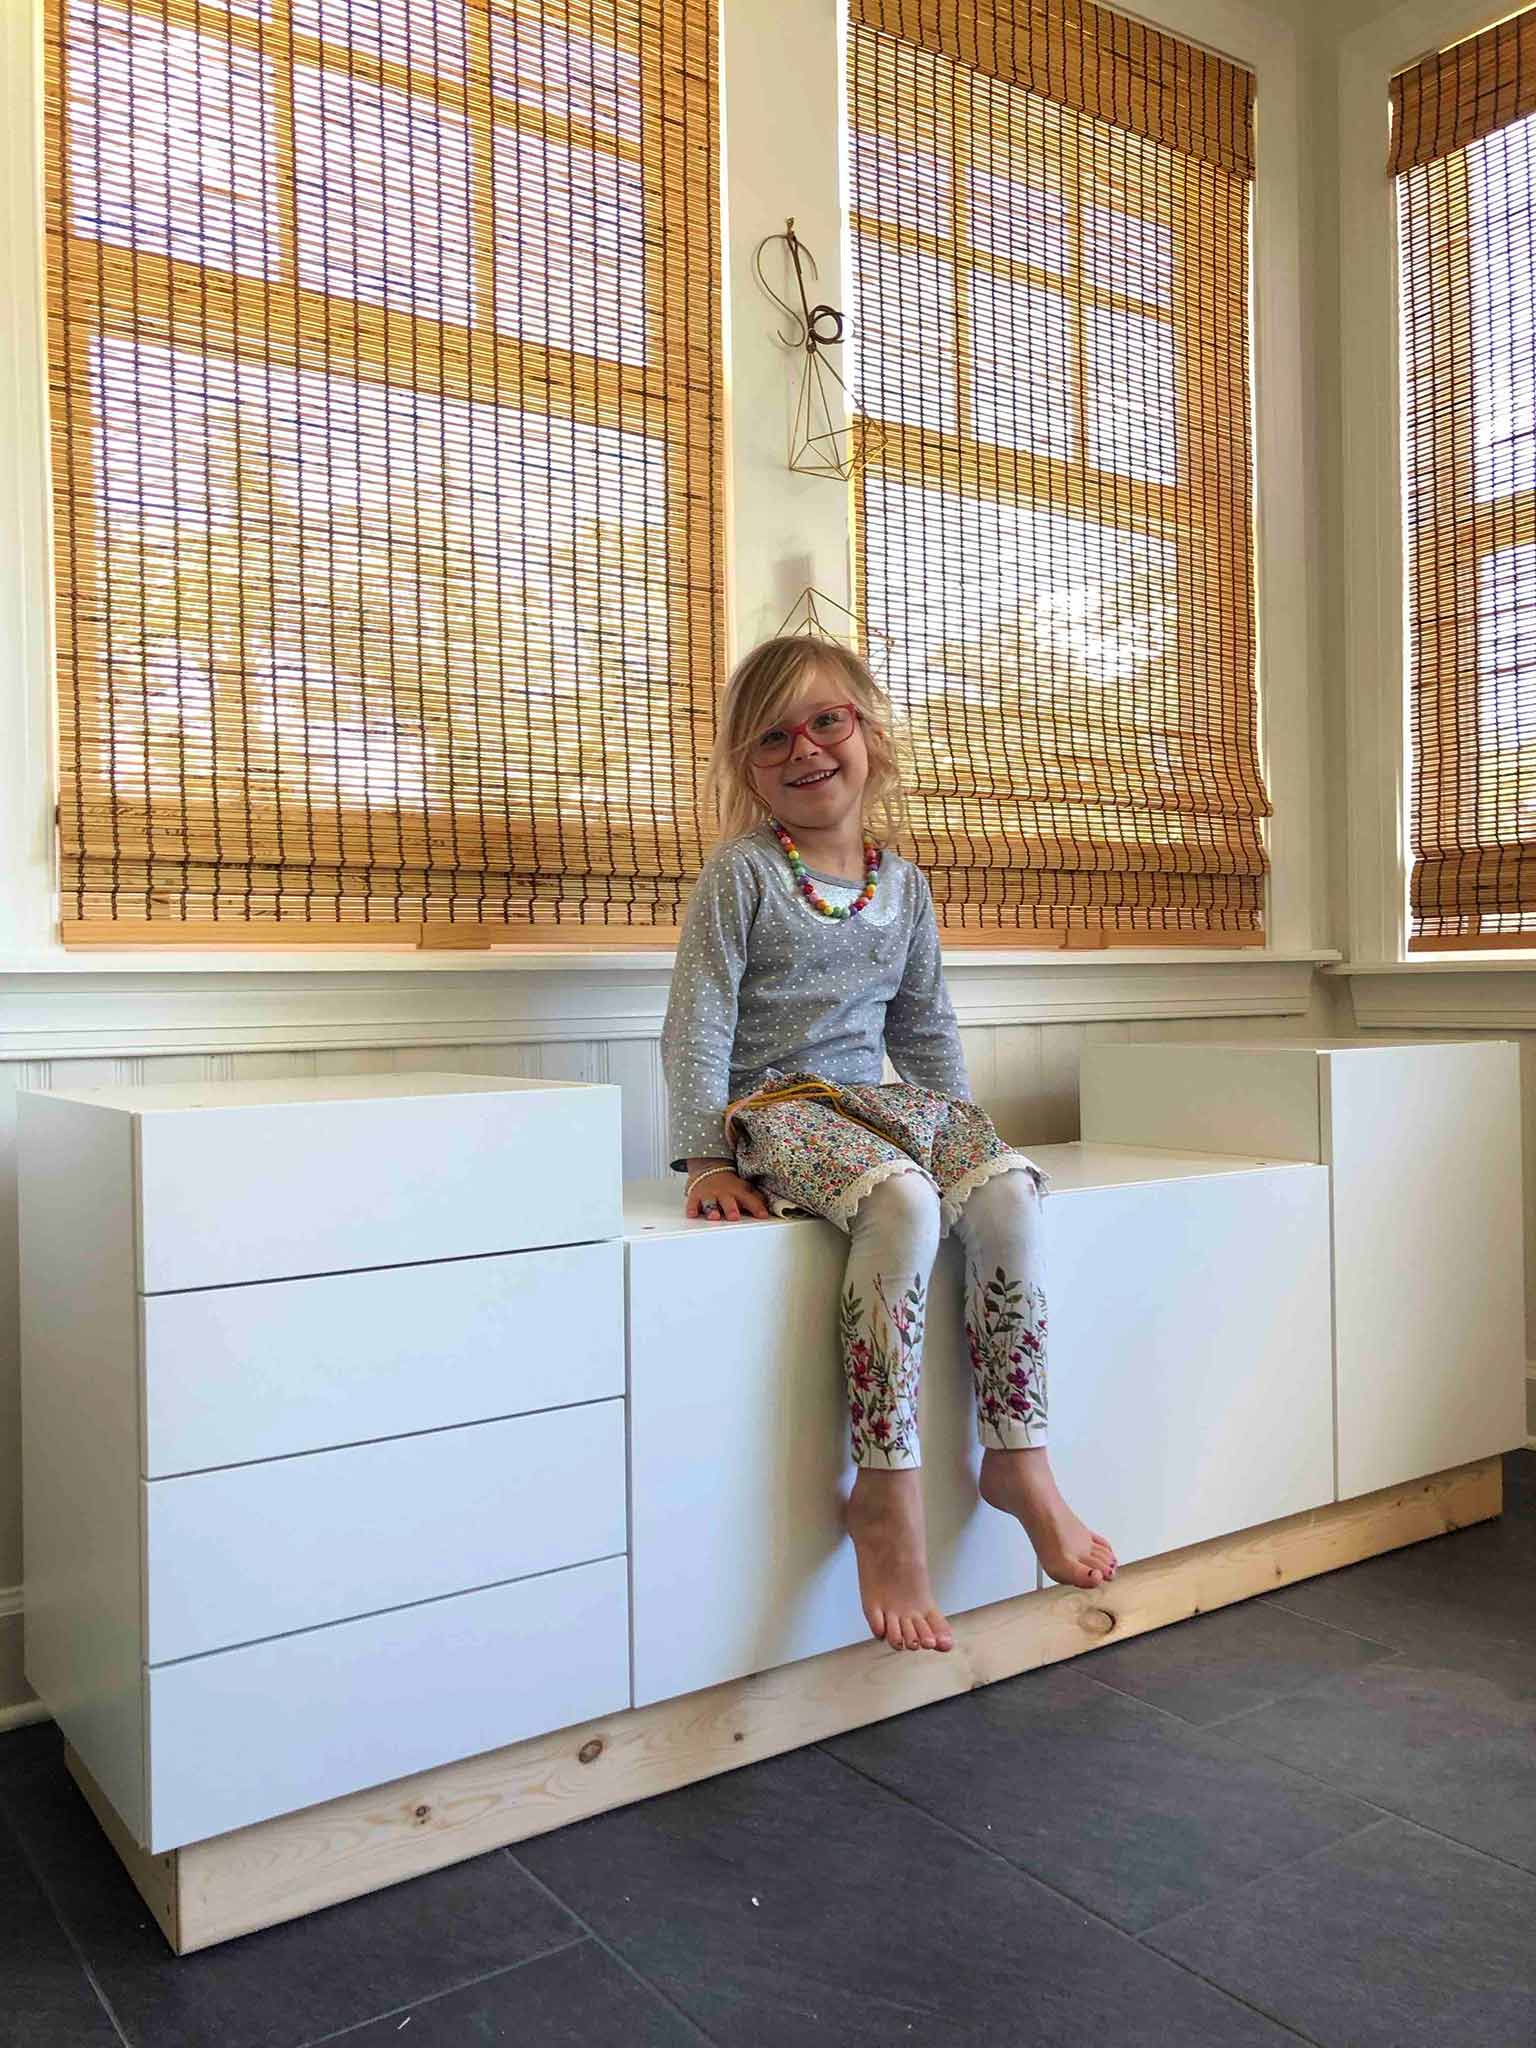
At this point, my poor husband thought that we were all done (aside from making the bench cushion.) Clearly, so did my four year old:
As I started putting dishes and serving bowls in the cabinets, I realized how tiny the inside of the drawers were. Here's a photo with my hand to show the scale:
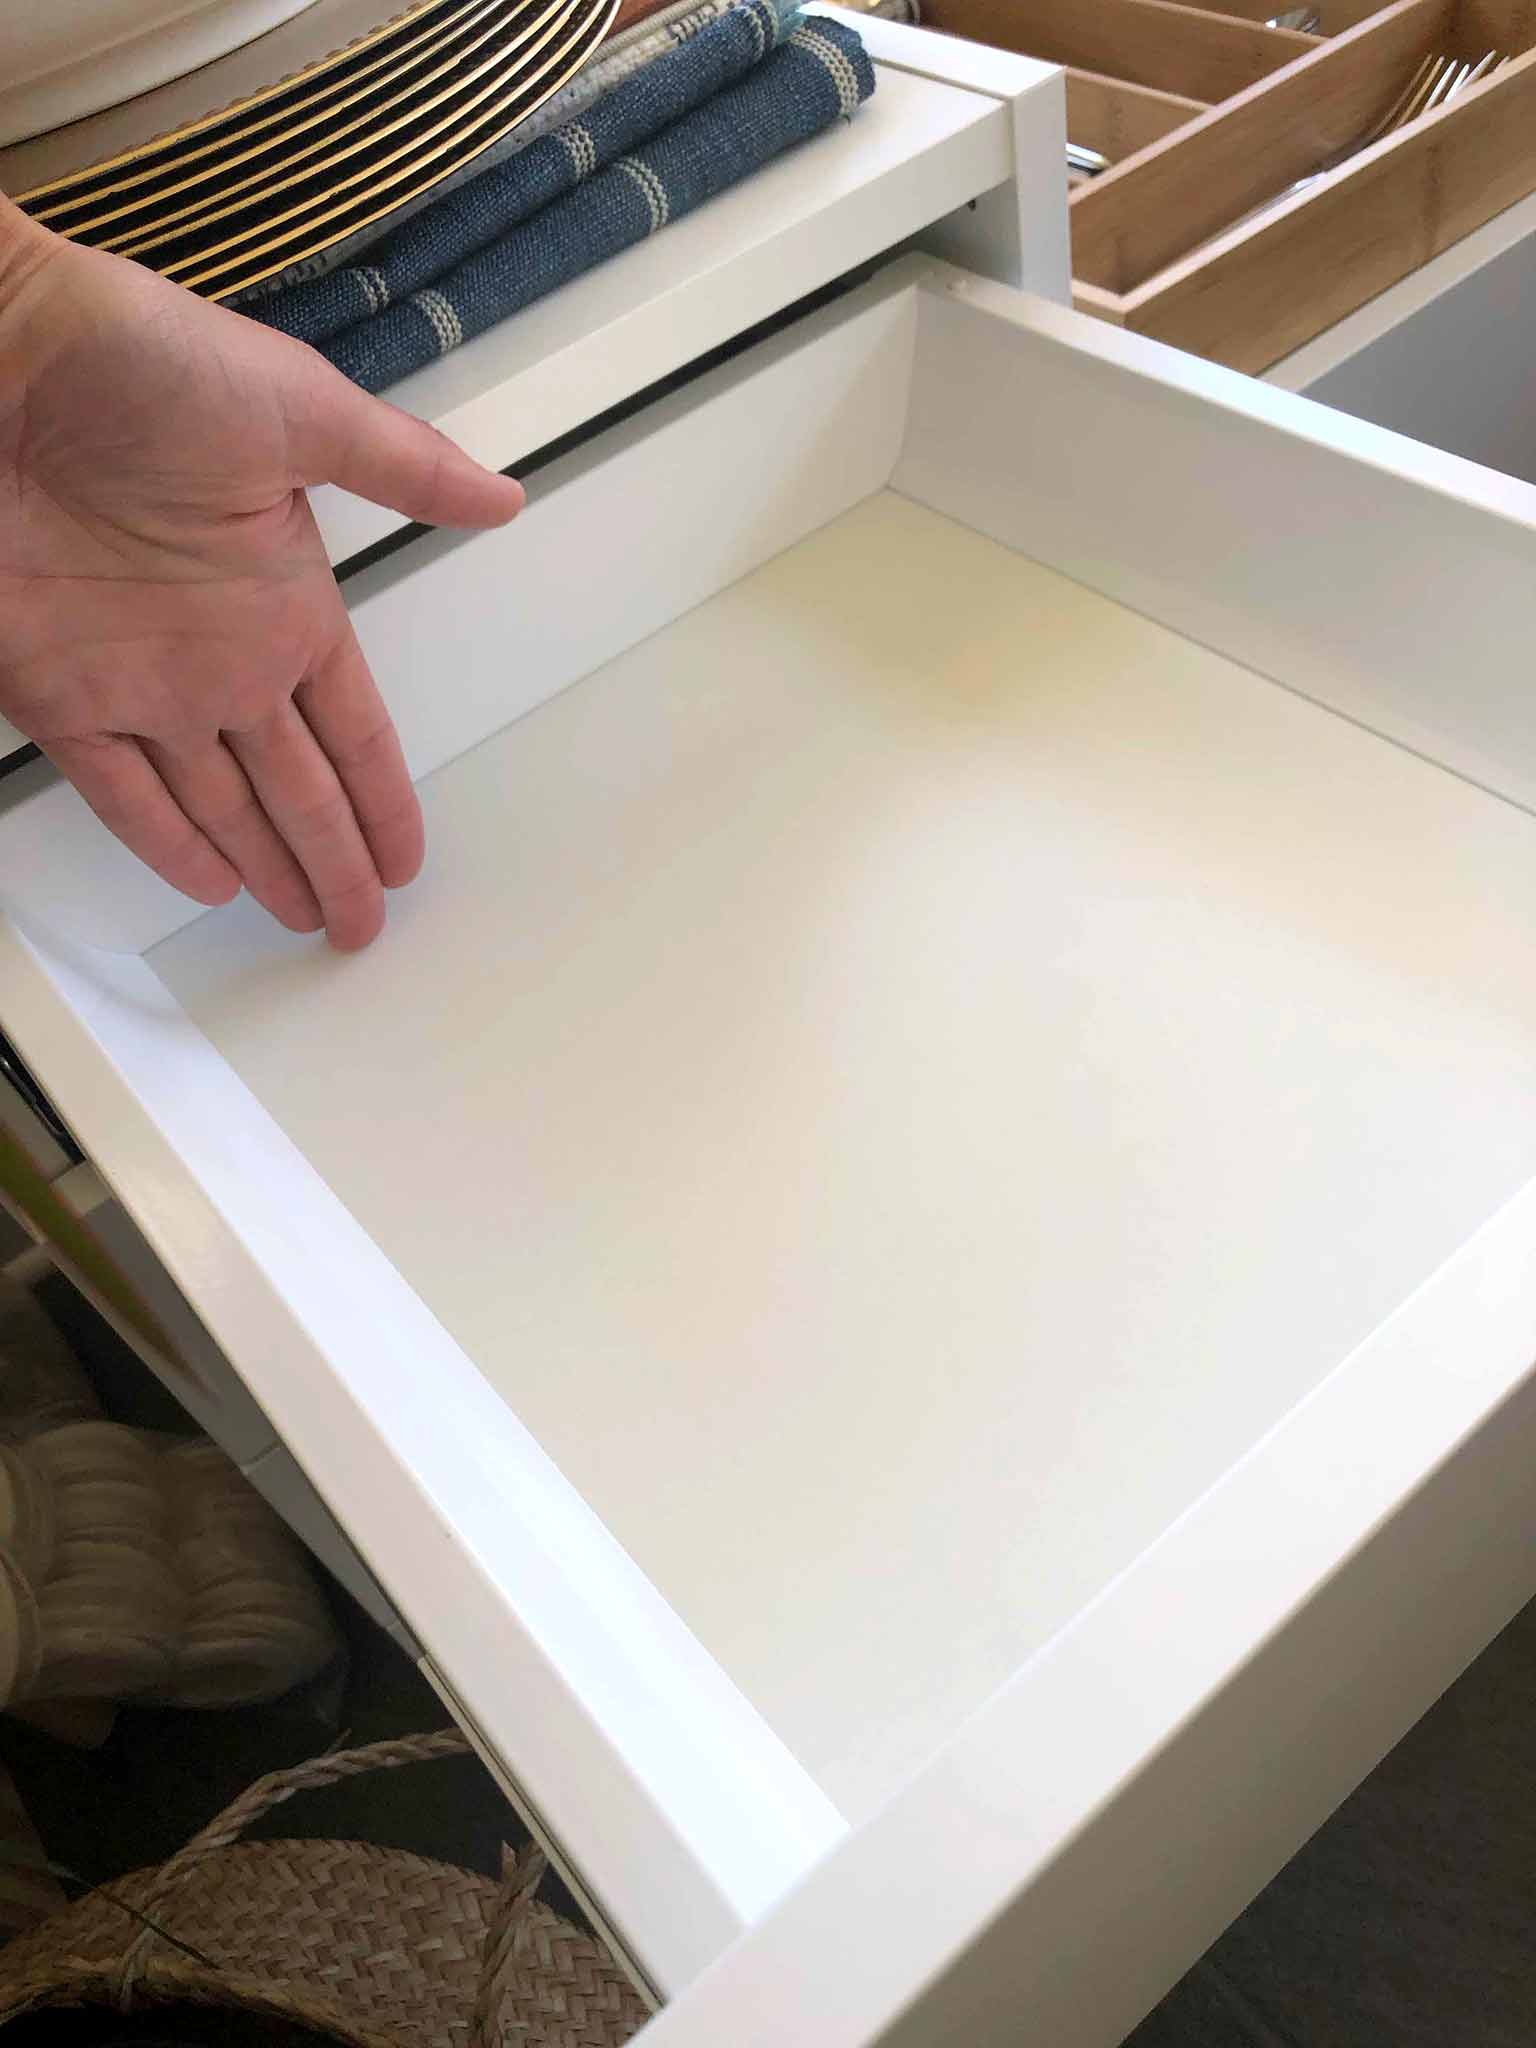
I couldn't fit our silverware tray in there, or anything useful at all for that matter. But I could slide the silverware tray onto a shelf in a regular cabinet, and that was just as practical. Another factor was cost—four tiny MAXIMERA drawers cost $80 more than a cabinet door, hinges, dampers and 2 shelves! Thankfully, IKEA has a pretty awesome returns policy, so I trotted back to the store the following day to return the drawers and pick up the pieces I needed.
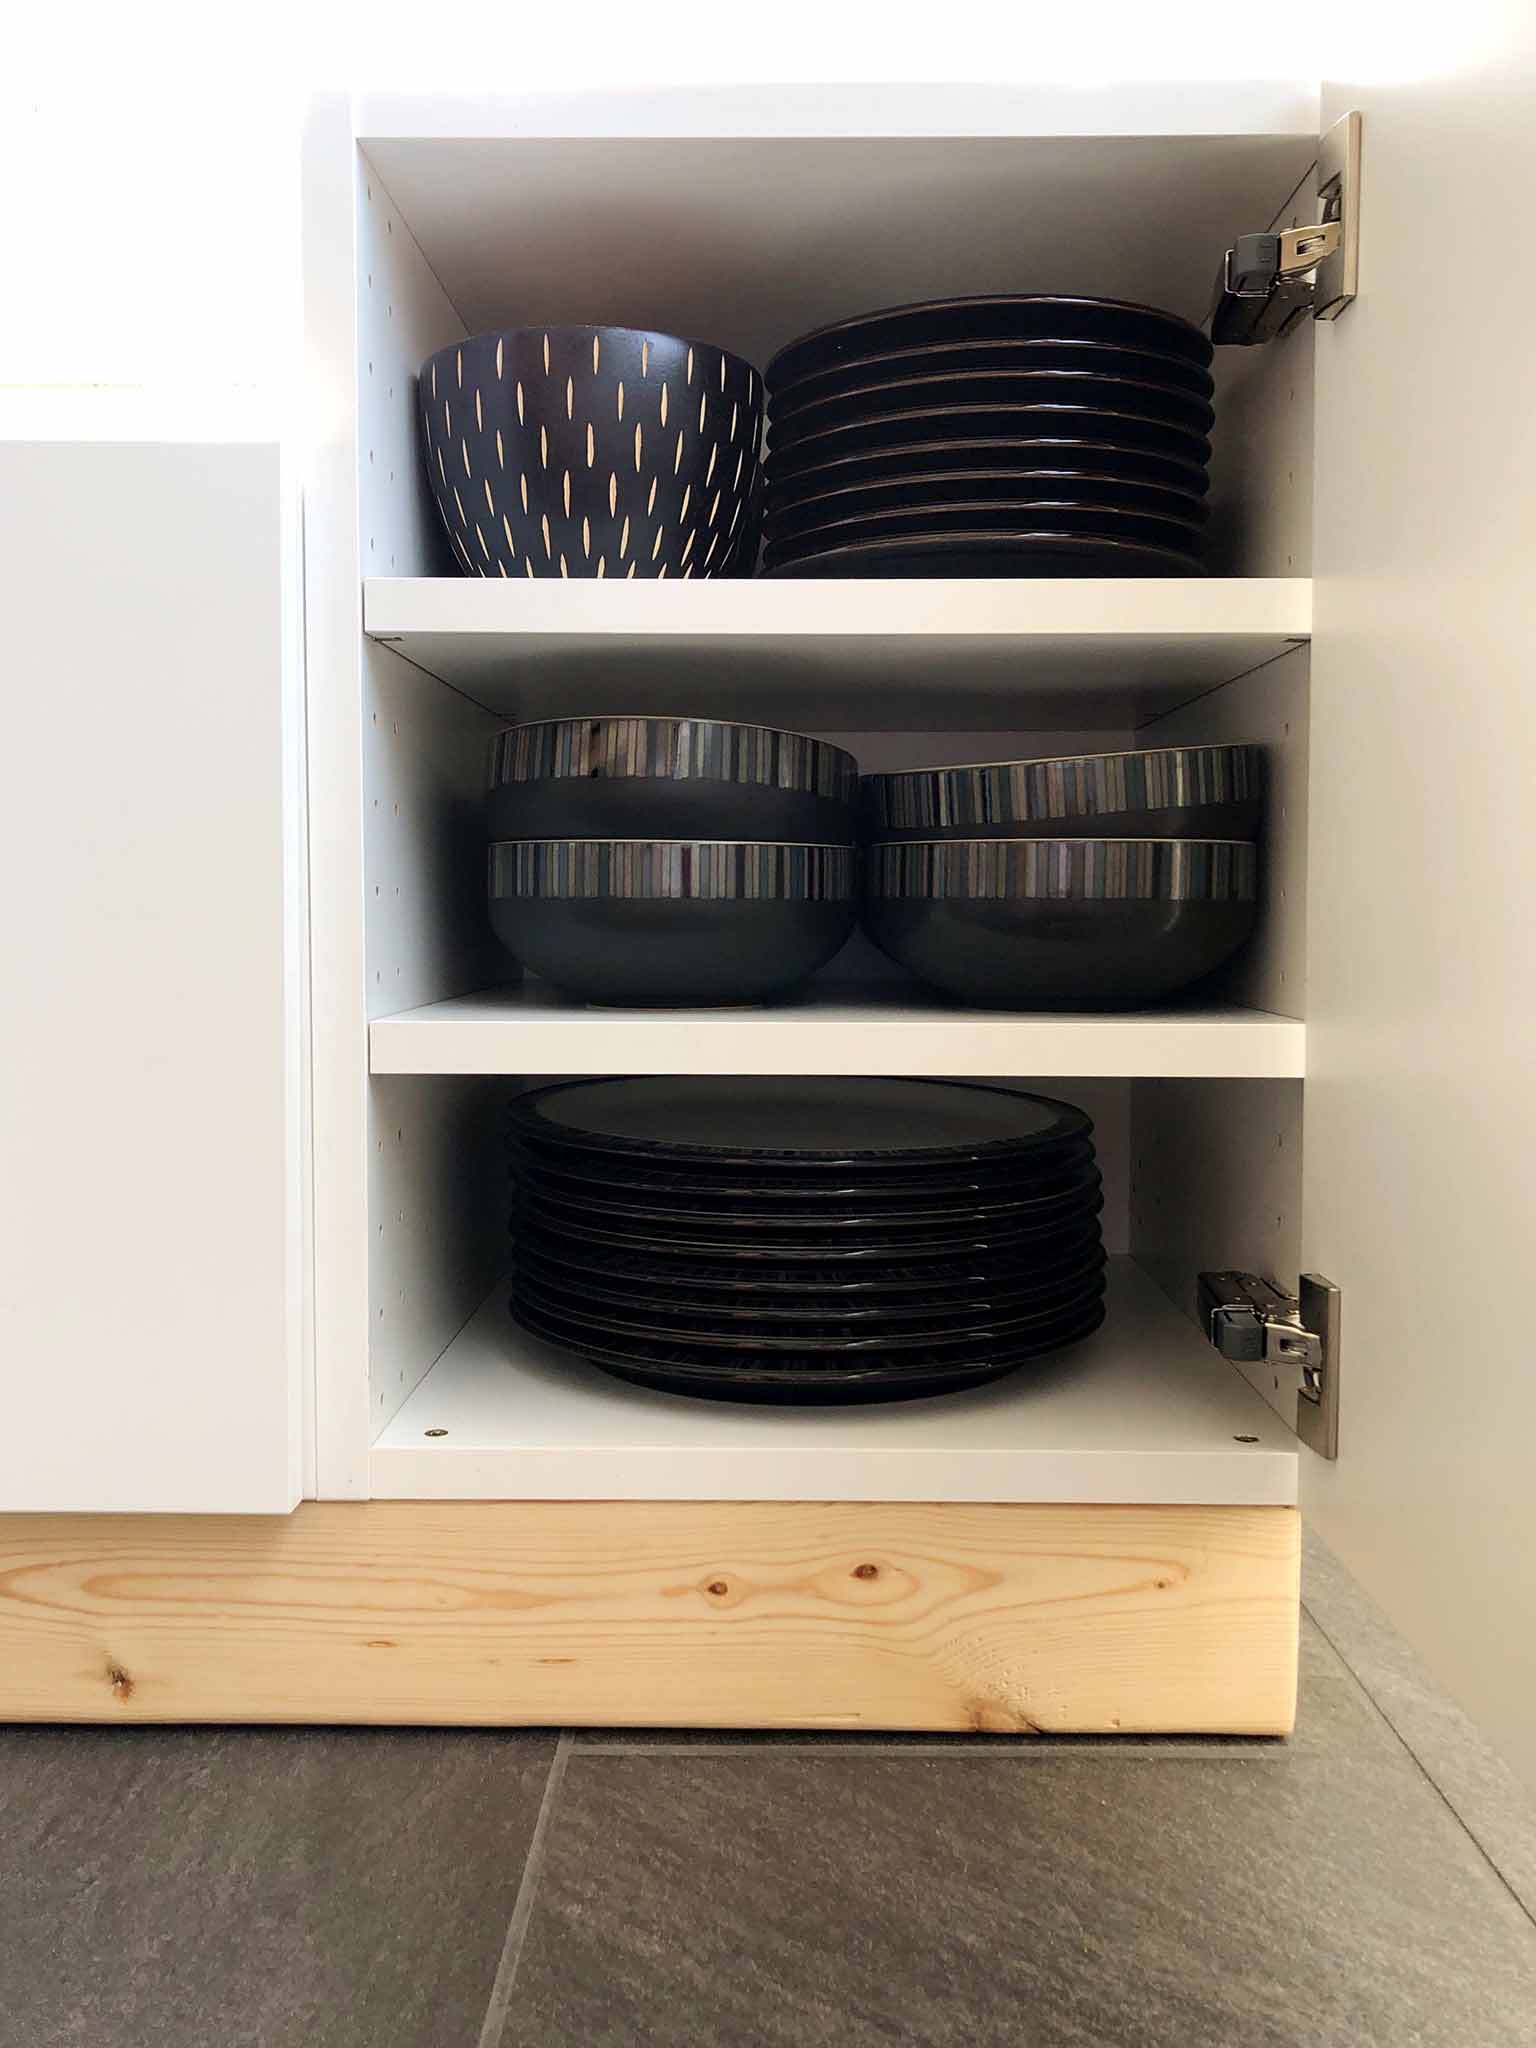
I'm so happy with the change and everything fits in now—which is awesome! Even though they are pretty small cabinets, the adjustable shelves really help maximize the space.
MAKING THE BENCH CUSHION
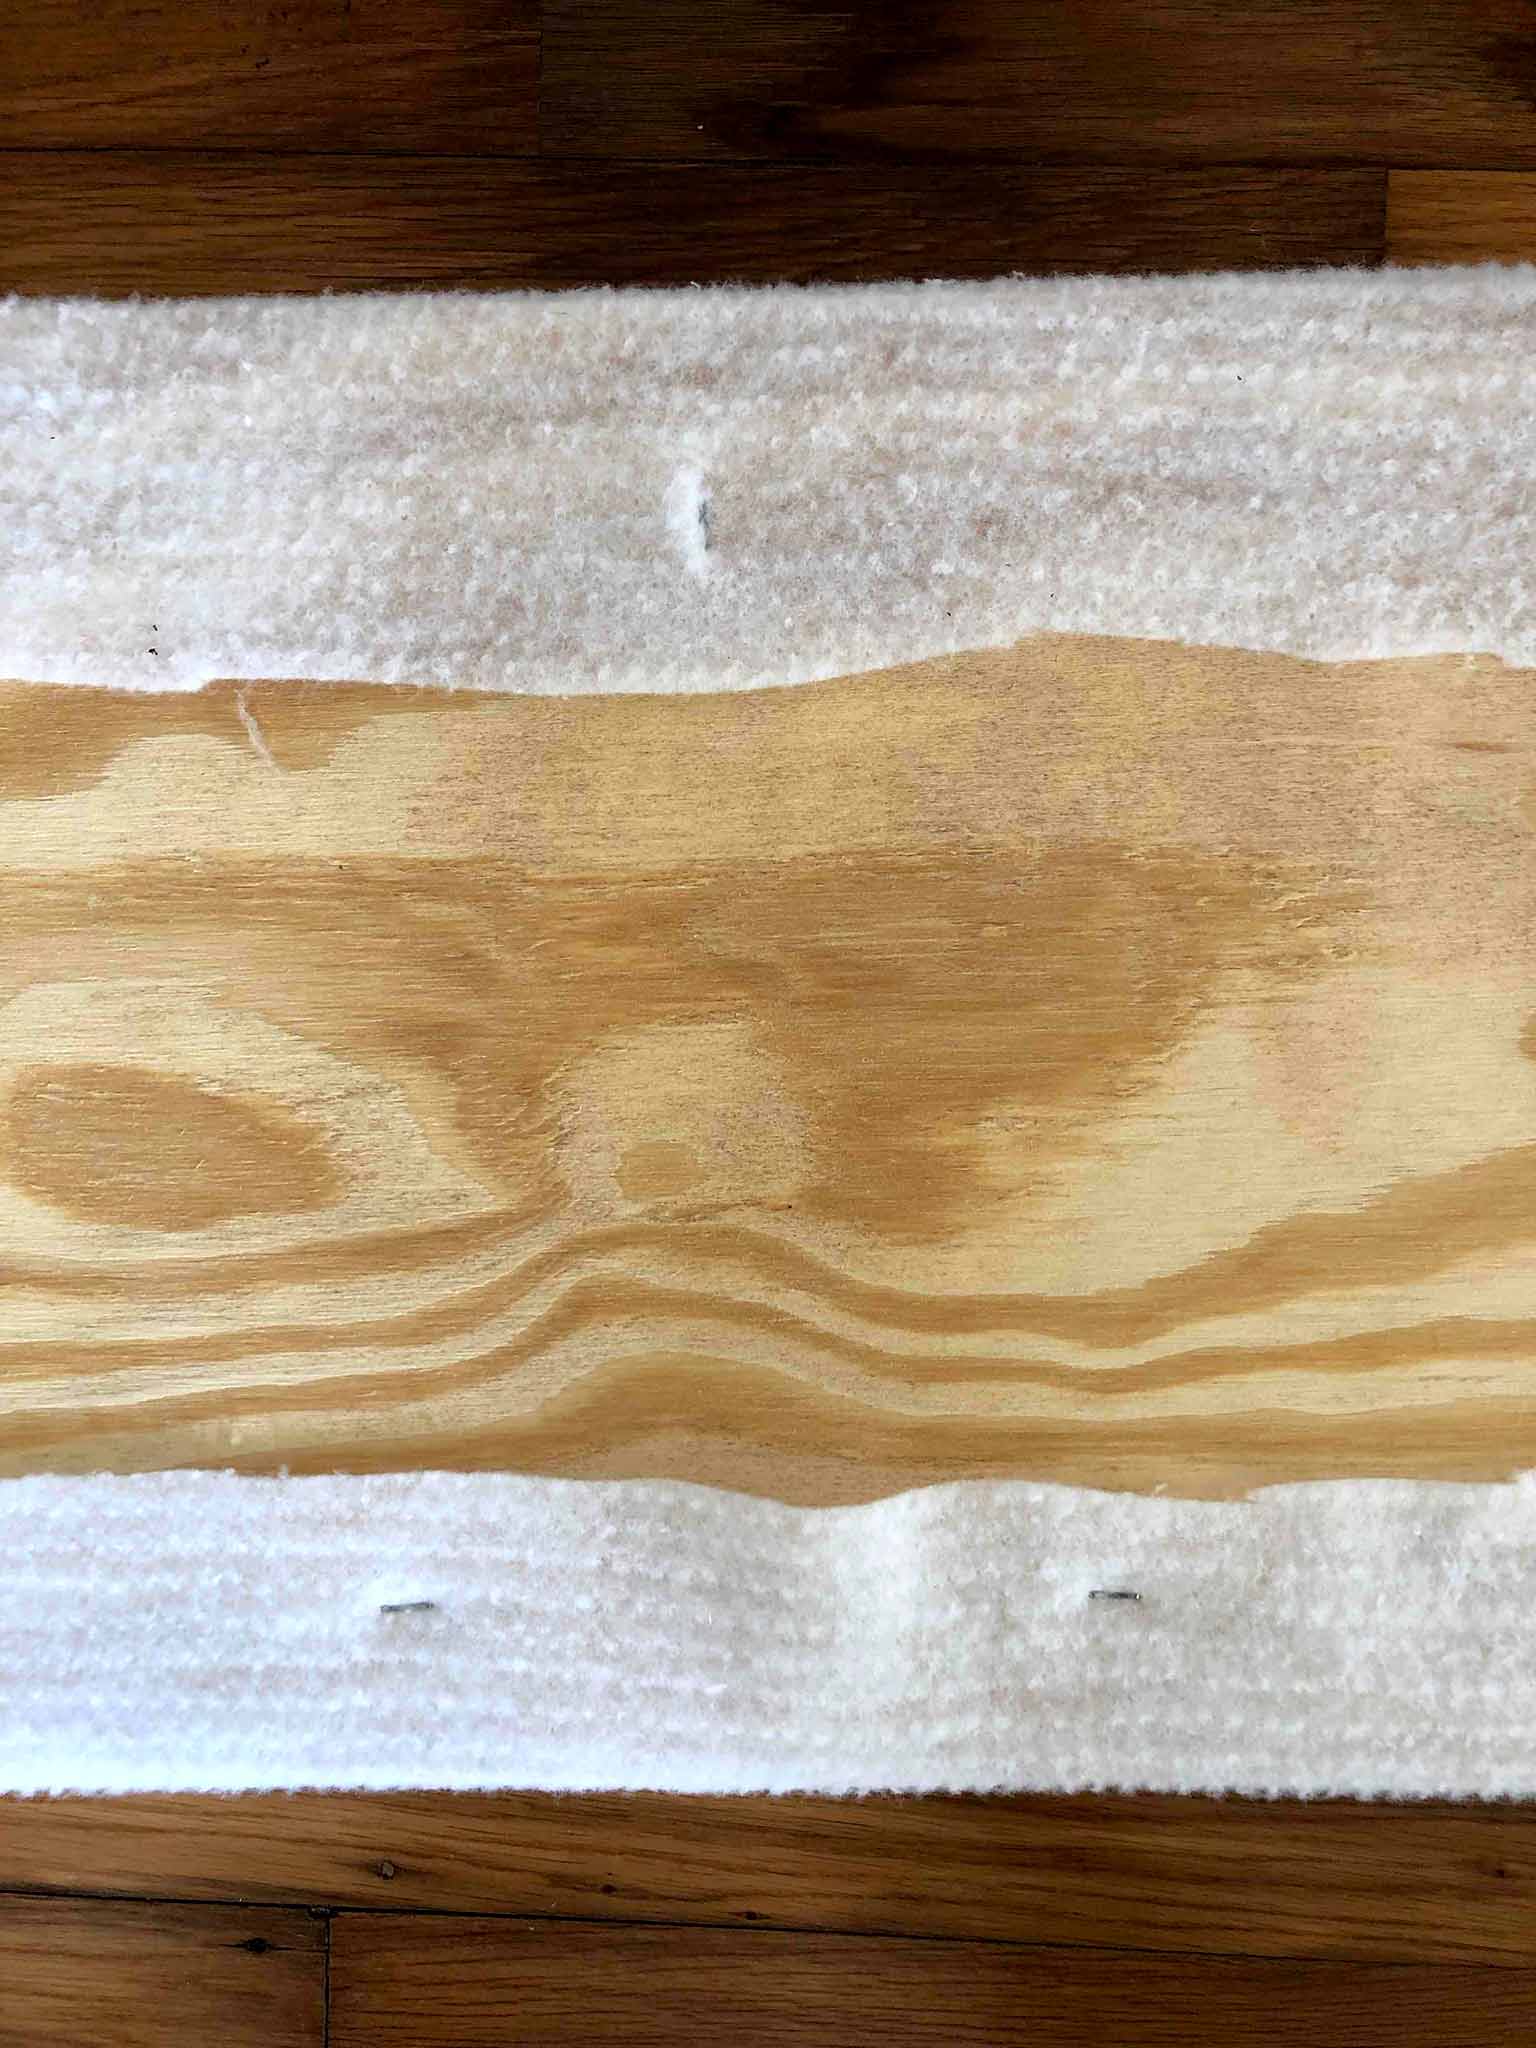
For the bench cushion, I got a piece of MDF cut to size for free at Lowes, and ordered a custom piece of 3 inch foam (which was surprisingly inexpensive, and meant that I didn't have to try and cut the foam myself!) To upholster it, I used some inexpensive polyester batting and attached it to the MDF and foam using a staple gun. I chose to cut the batting to the exact width of the bench cushion so that it wouldn't add too much extra bulk to the ends.
Then I secured the upholstery fabric over the top using the staple gun. For the ends, I wrapped it like I would a gift! I'm pretty sure this isn't the official way to upholster a bench cushion, but it worked for me! I cut some of the excess fabric away before securing it at either end.
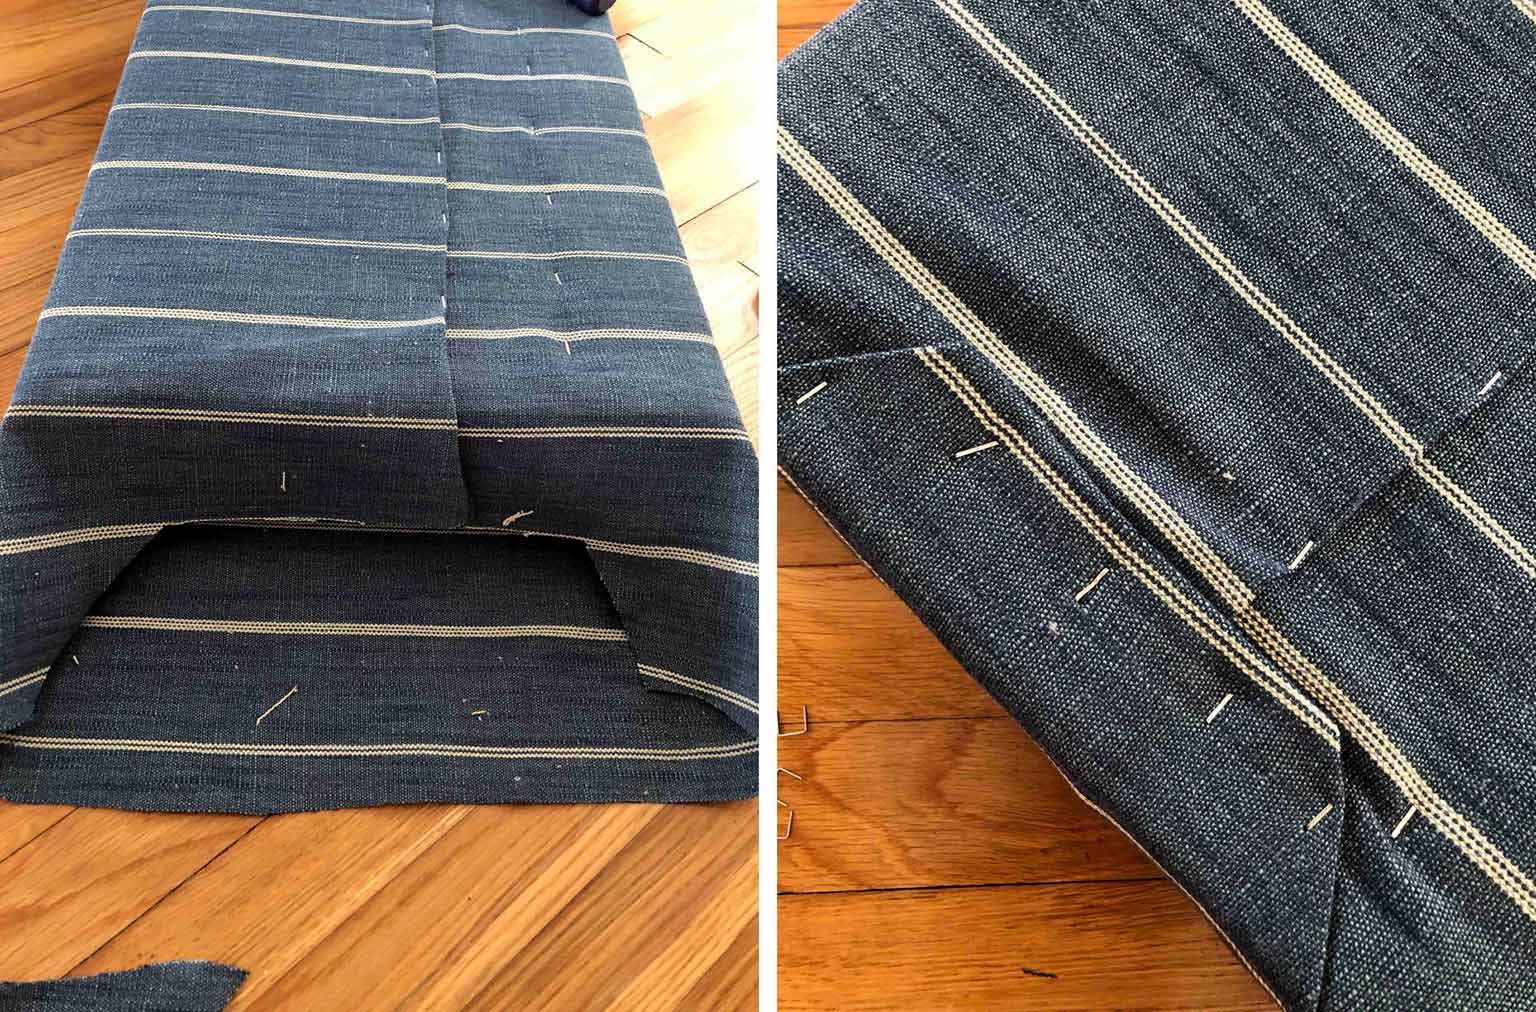
You could add a few screws from the underside of the cabinets going into the base of the cushion to keep it from shifting, but we found that it wasn't necessary as our bench cushion was a snug enough fit.
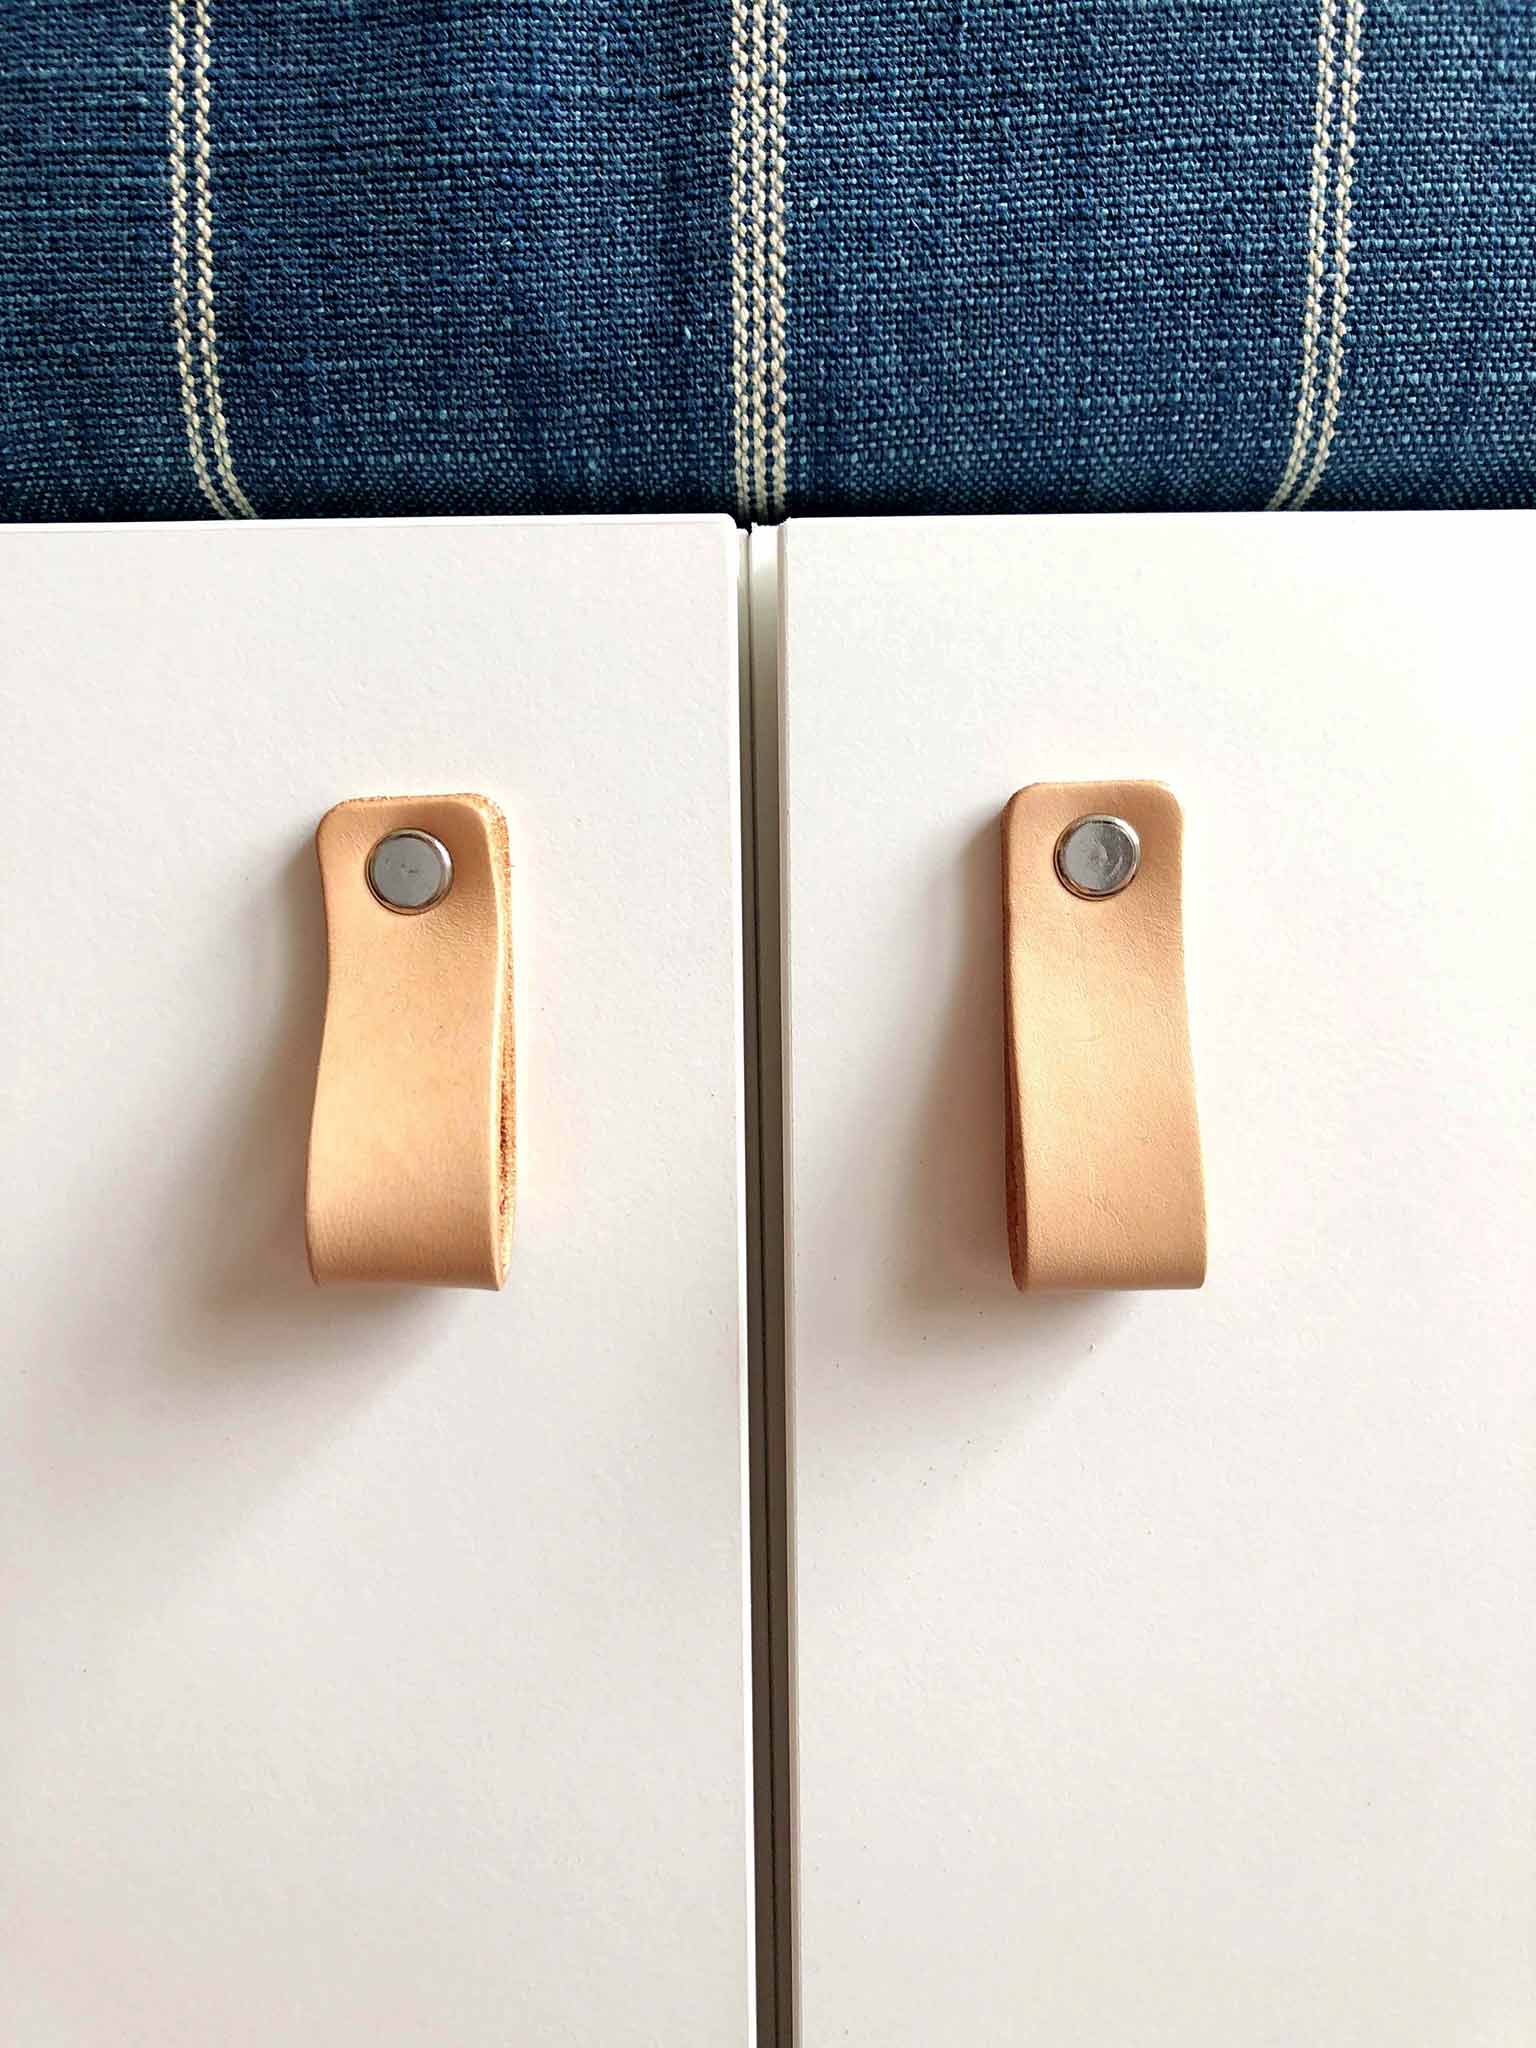
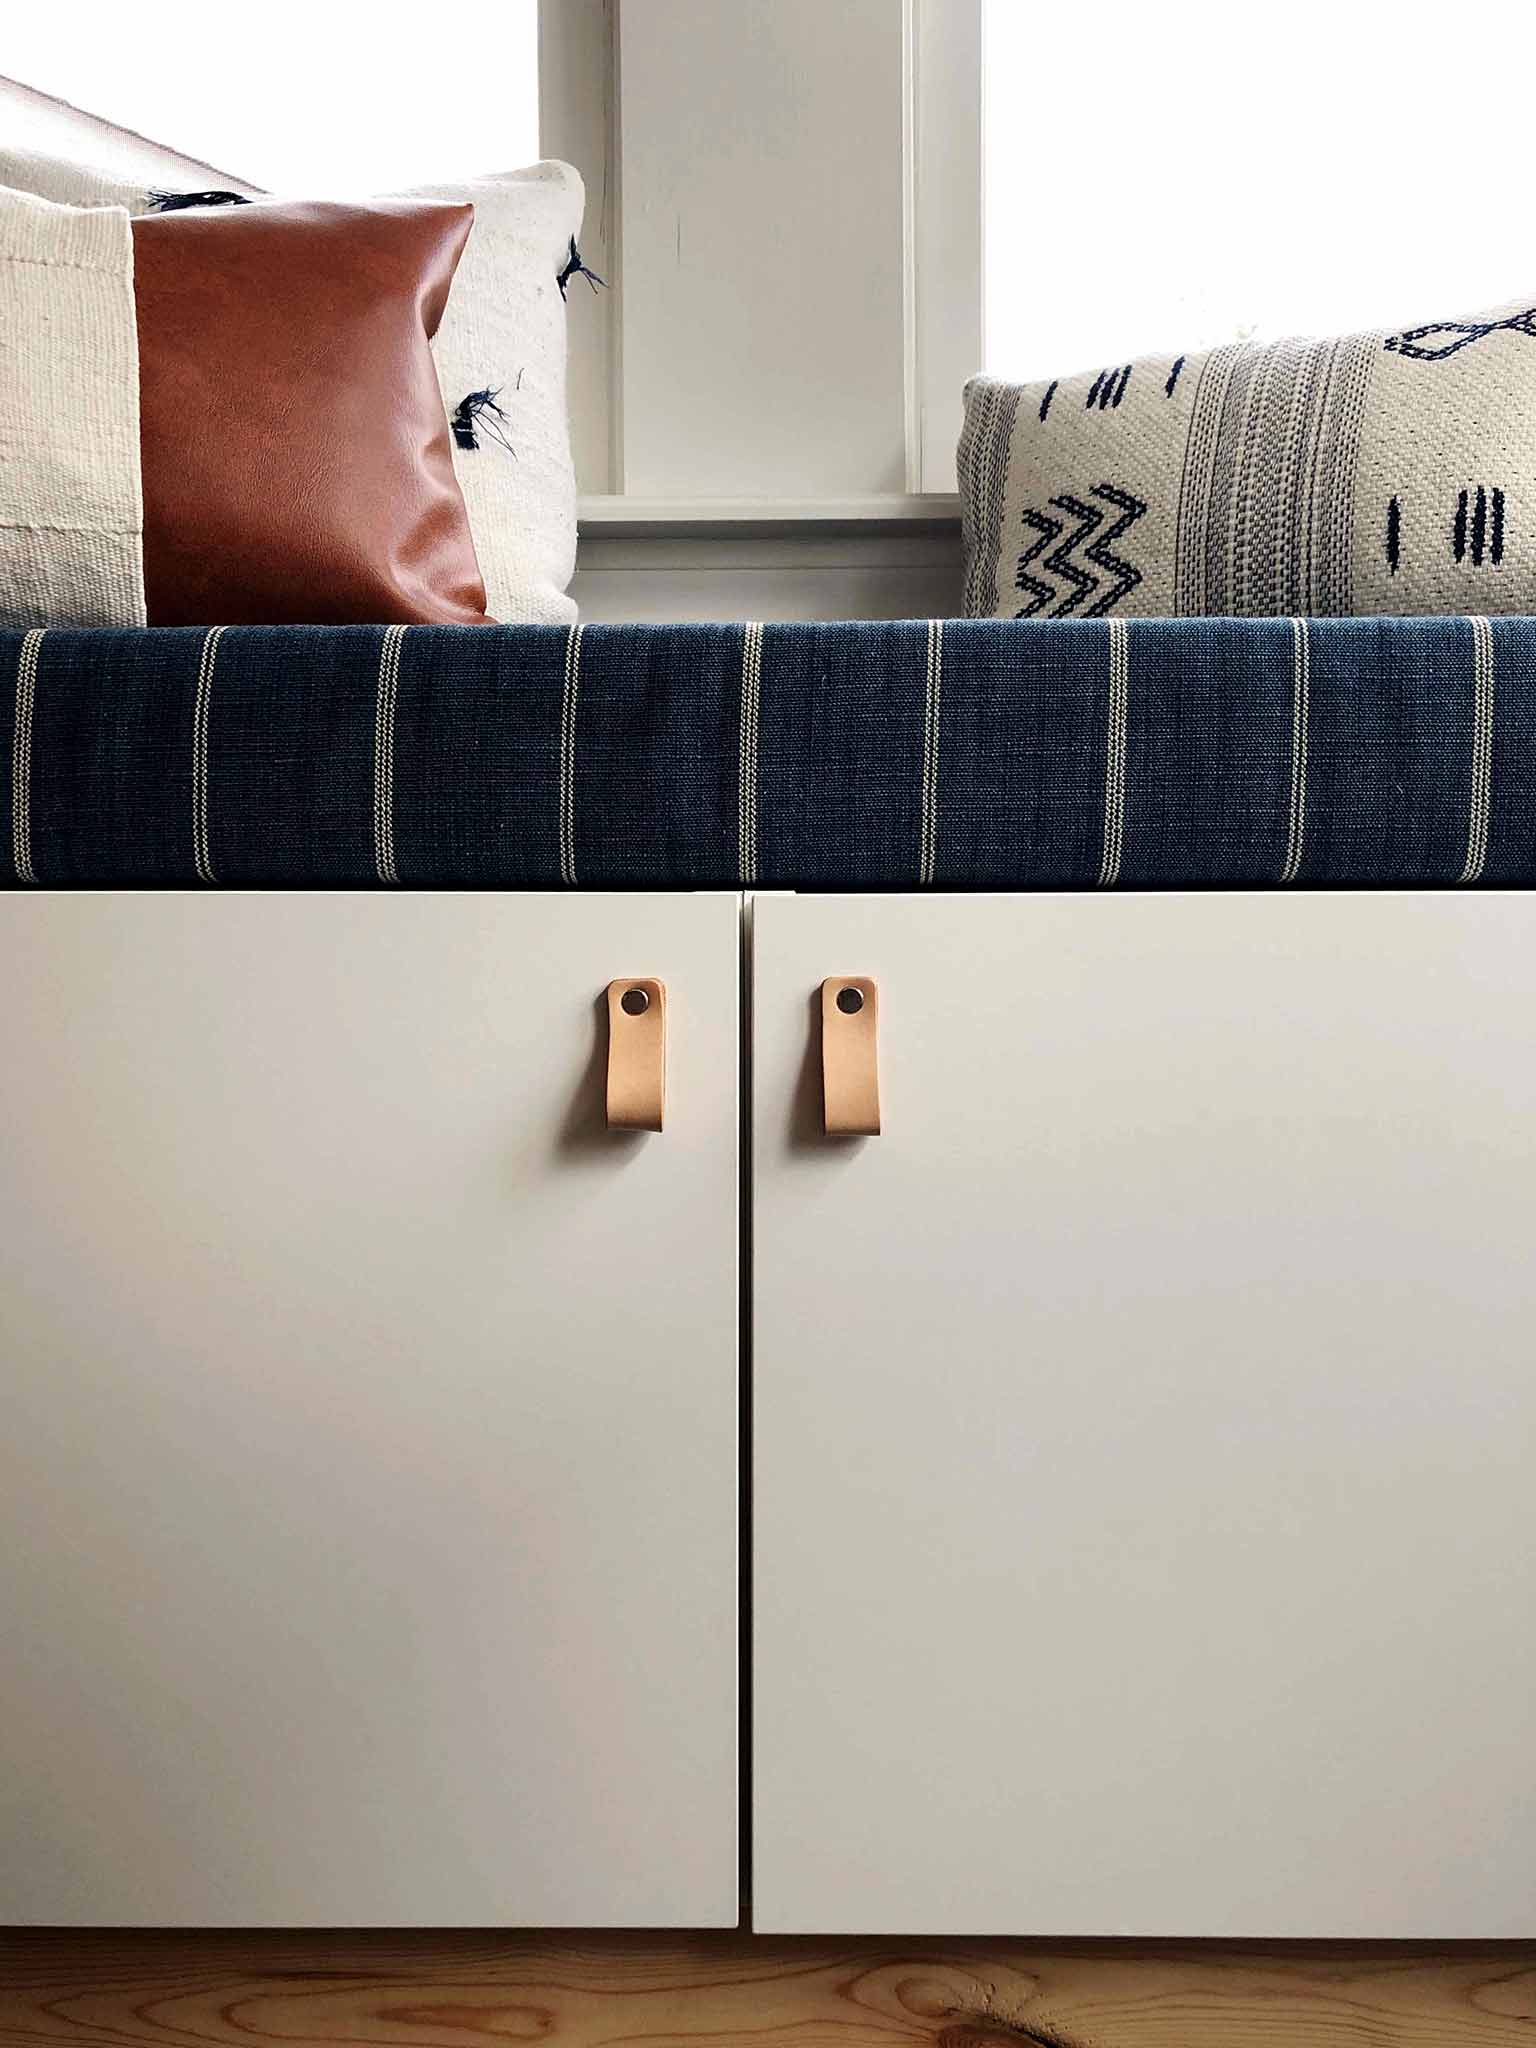
As a finishing touch, we added these leather pulls which I found on Etsy. I love the way it has upgraded the look of our inexpensive IKEA cabinets!

Catch up on previous weeks...
Week One: Inspiration, Mood board, and Plans
Week Two: Refinishing the Dining Table
Week Three: Favorite Finds so Far
Don't forget, you can view all the other talented guest participants here—head on over and show them some love!

Are you a fellow ORC Guest Participant?
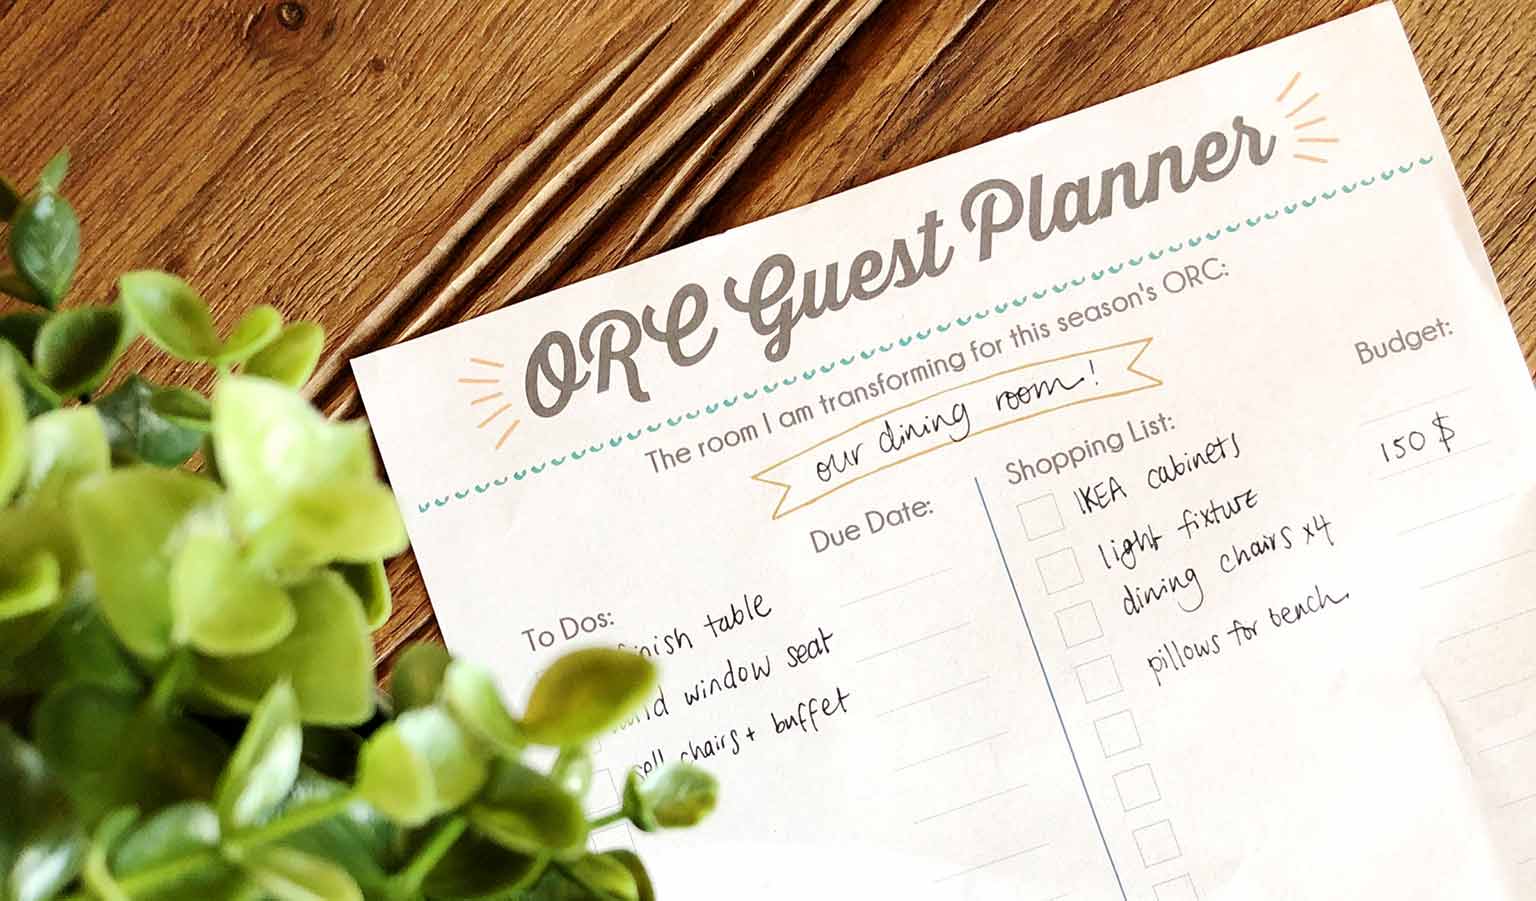
I've written a guide (which you can read here) and designed a printable planner to help get you organized for the challenge! Simply put in your email below to have the PDF planner emailed to you: