Did you know the next season of the One Room Challenge starts in April?? I couldn't be more excited—it's so much fun! If you're a design blogger/influencer and you are on the fence about joining in, then this post is for you! I'm sharing everything I've learned from my first two seasons, and I've even designed a printable planner to help you get organized! (Click here to jump straight to it!)
In case you're not already familiar with it, the One Room Challenge (or ORC) is a six week long room makeover challenge for home design bloggers/instagrammers. There are 20 featured designers involved, and many more guest participants (that's me!) It's a great way to get a room finished in the company of a creative and motivated community, which is why I love it so much!
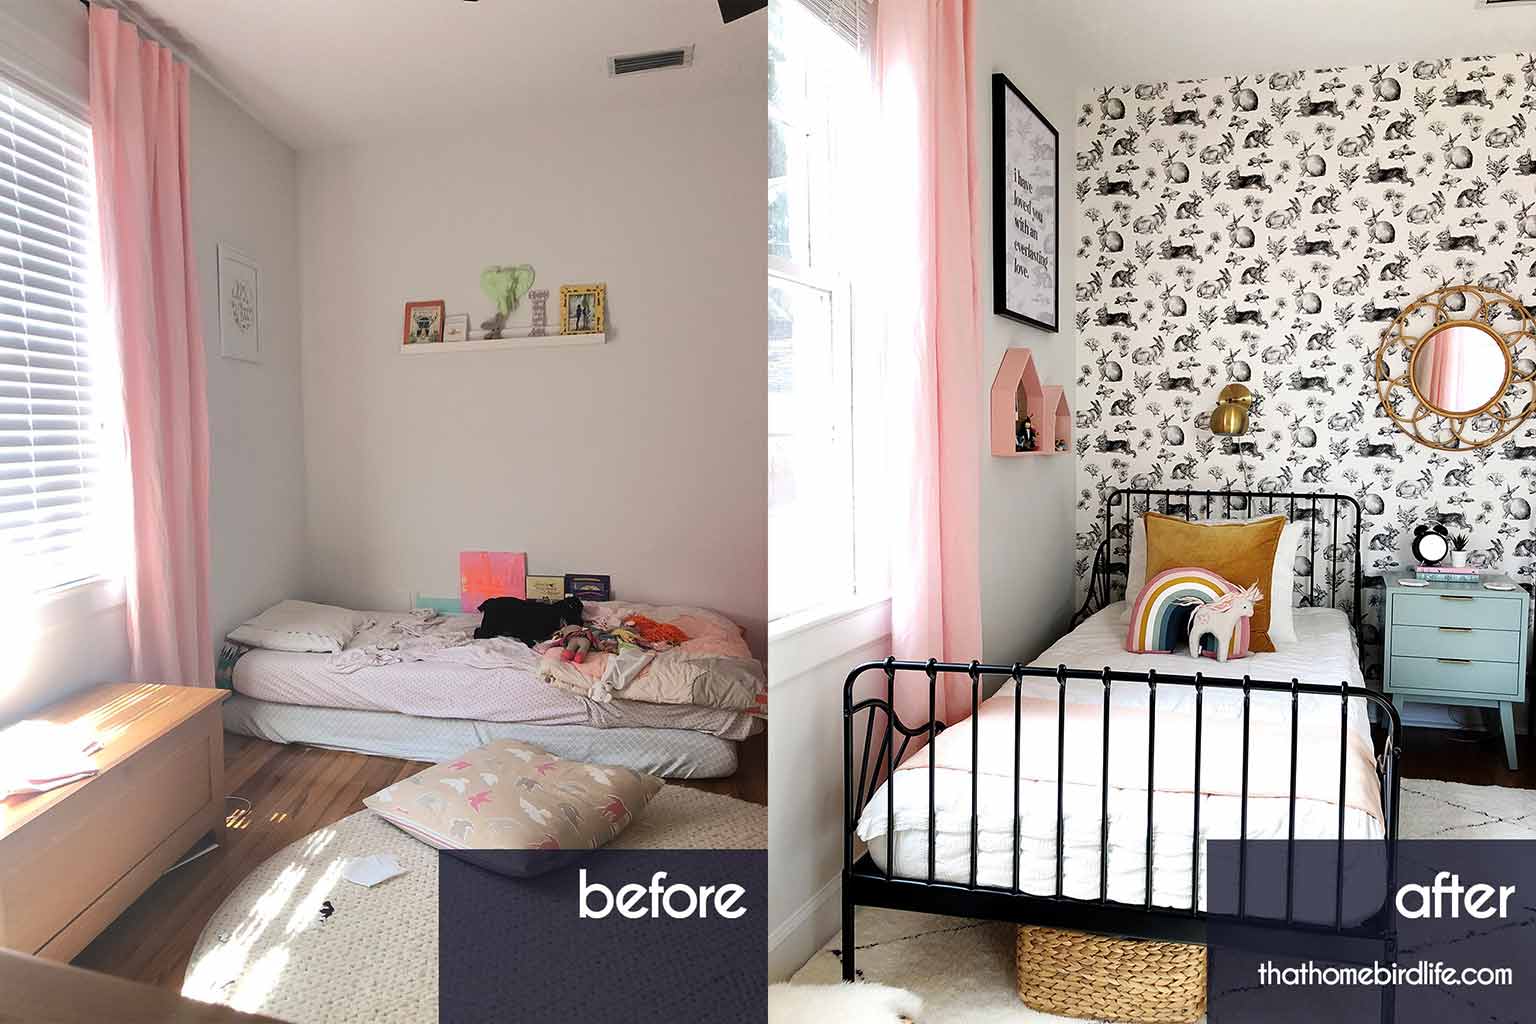
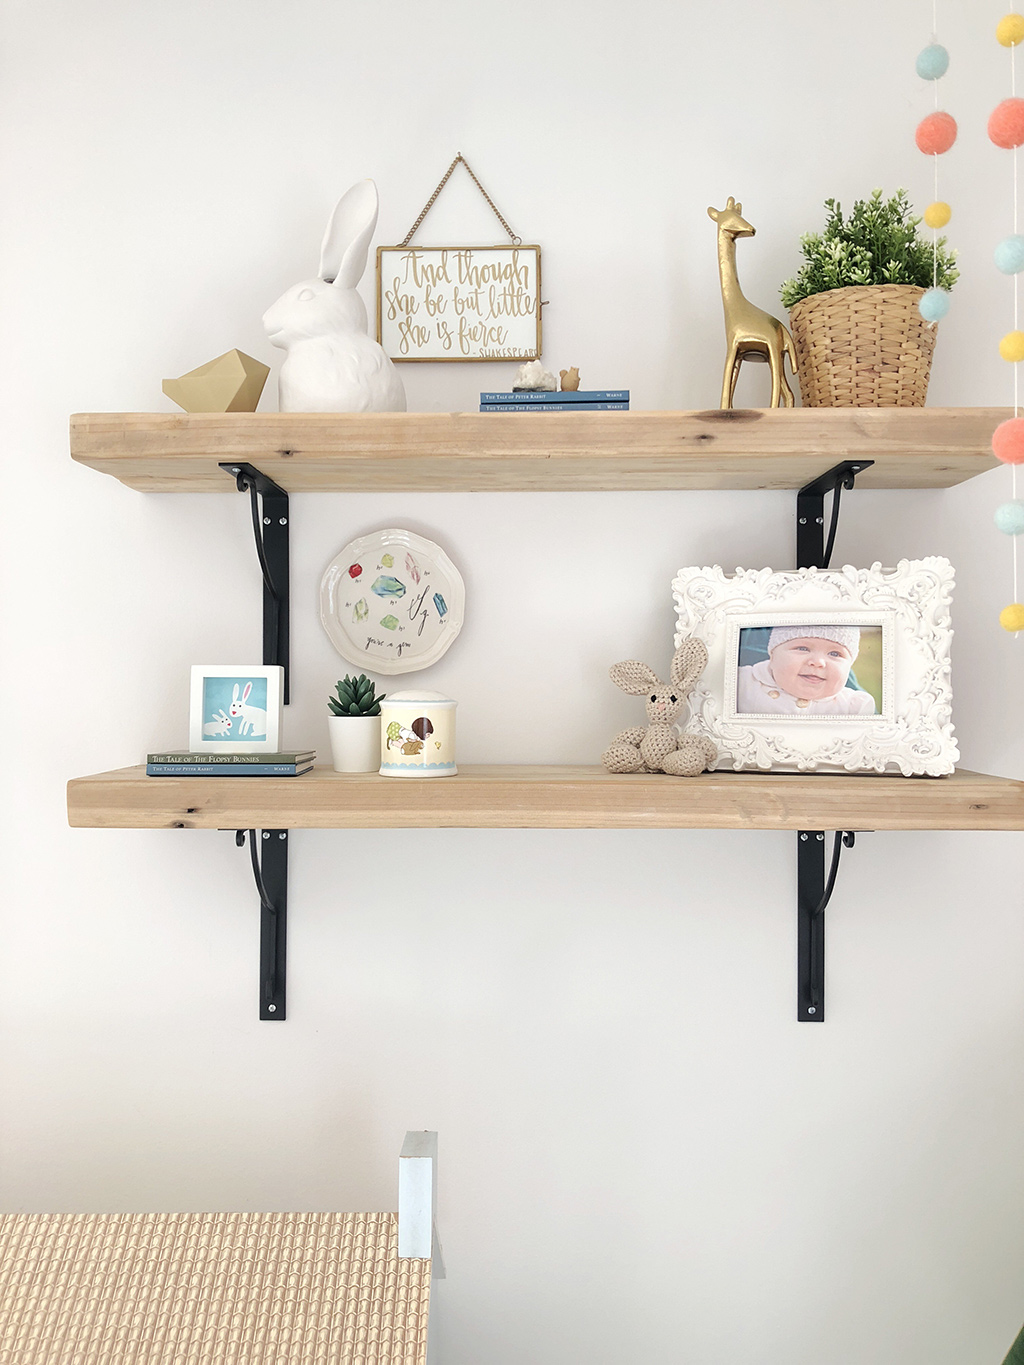
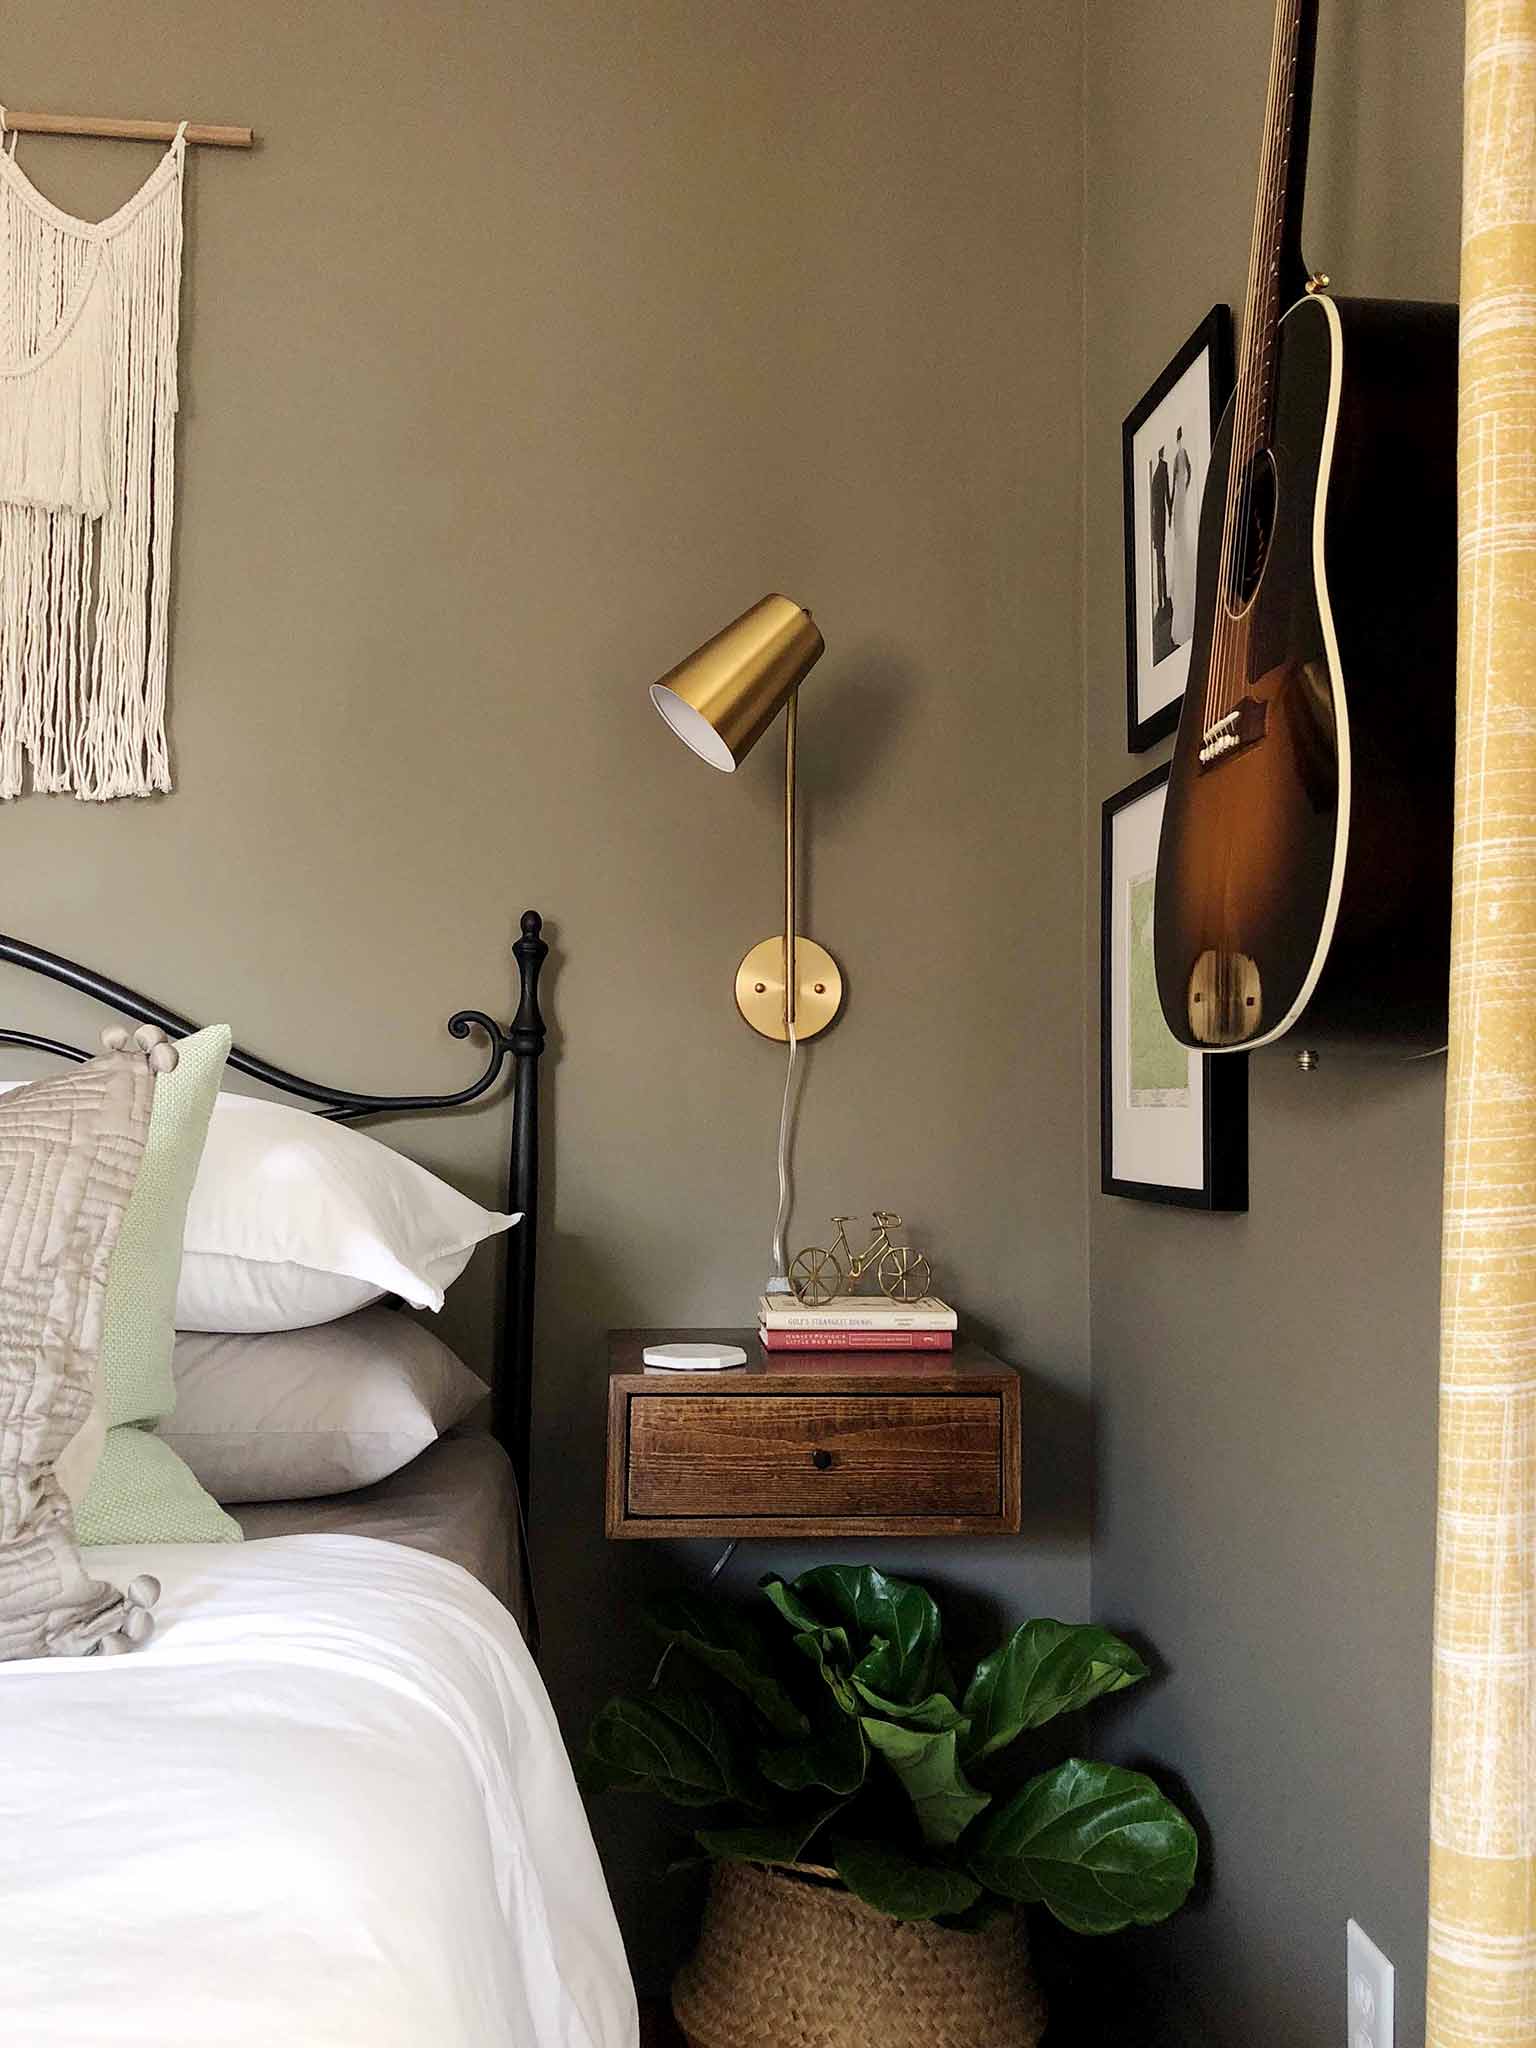
My first ORC project was my master bedroom refresh, and last season I took on the girls' bedroom. Even though both rooms had their challenges, the girls' bedroom went so much more smoothly than our master bedroom, and this was mostly because I knew what to expect going into it for the second time. I think my first project would have been a lot easier if I'd been more prepared and had a little bit of insider knowledge.
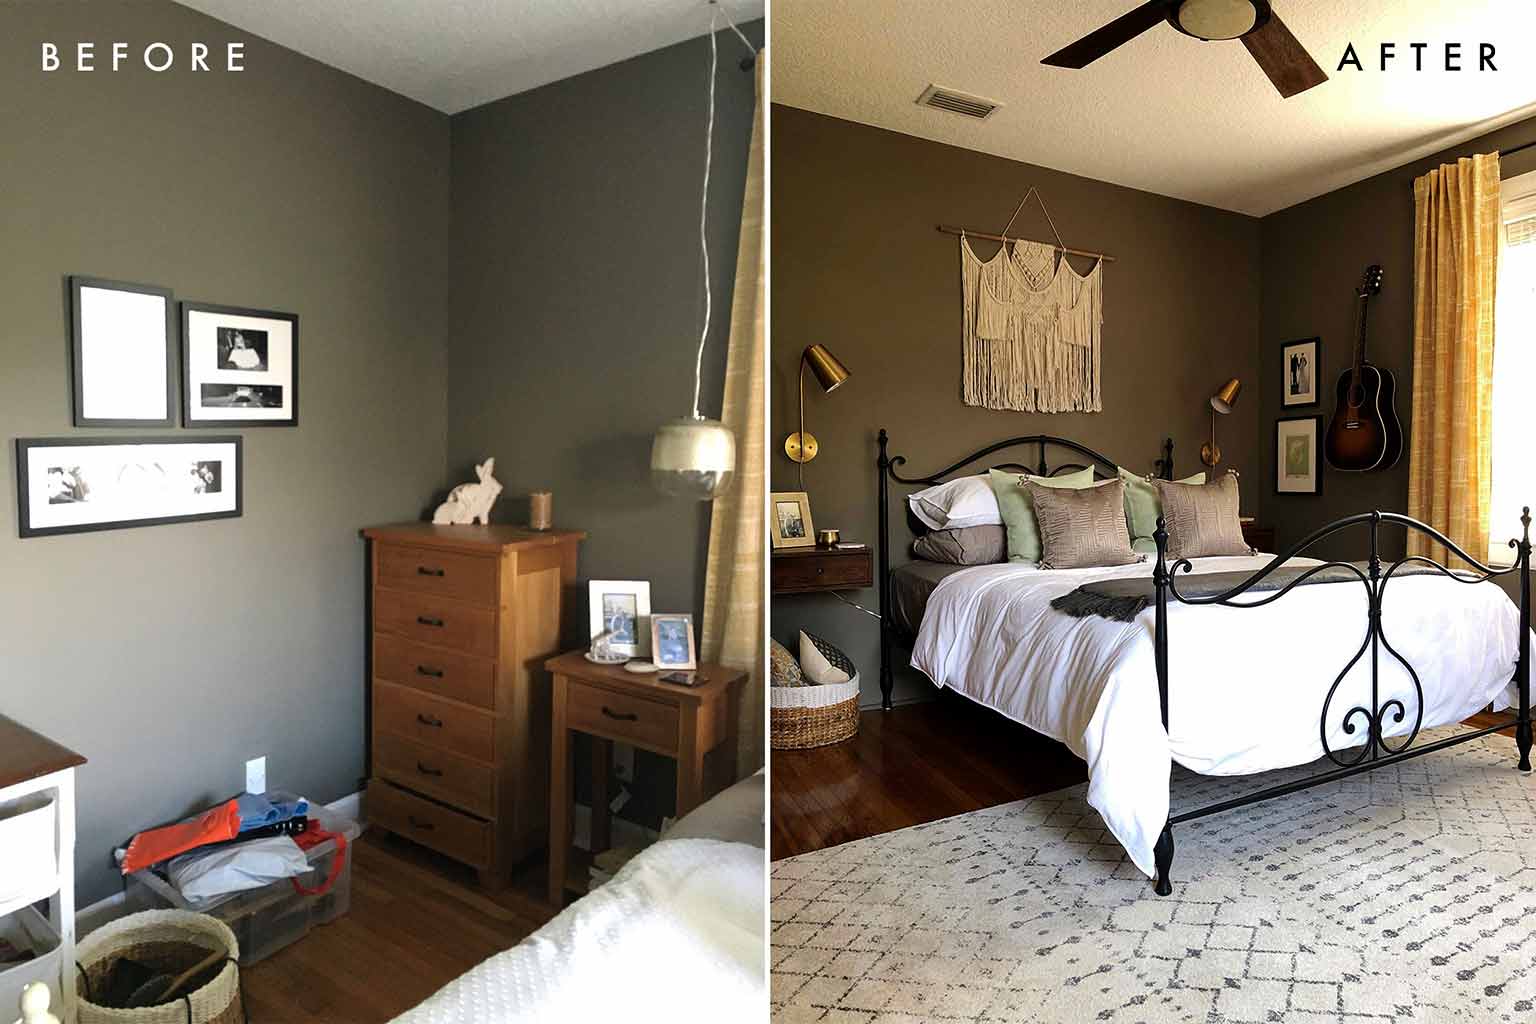
So, before launching into this next season of the One Room Challenge (which begins on April 4th for guest participants), I wanted to share MY insider tips that might help anyone joining in for the first time!
1) MAKE IT OFFICIAL
To be a guest participant of the One Room Challenge, the first thing you need to do is sign up! This way, you will be on the email list to receive important updates and information, plus they can also connect you with sponsors if that's something you want to pursue. You should also take some time to familiarize yourself with the rules. (Don't worry—there's only 4 of them.)
2) GET INSPIRED
This is where the fun begins. First off, you need to choose the room you are going to transform. As a first-timer, I would strongly advise taking on a smaller project like a bedroom, rather than a kitchen or bathroom—but that's totally up to you! Just be aware that six weeks doesn't feel like a long time once you are in the swing of things! Once you've nailed down the room, you can gather inspiration. Obviously, Pinterest and Instagram are great platforms for this, and the ORC also has their own library of inspiration from past participants.
Related: ORC Girls' Bedroom Reveal
3) TAKE YOUR "BEFORE" SHOTS
I always ALWAYS regret the lack of "before" shots I take. Of course, the "after" shots are better, but the fun of the ORC is the transformation, and so the "before" shots are very important too! Trust me on this one—take LOTS of photos of your existing room NOW before you forget! They don't have to have perfect lighting or framing—just get lots of angles and thank me later ;)
4) PLAN PLAN PLAN
Here's where really we get into it. Planning is a key part of your ORC. Of course, you can wing it, and it will probably turn out just fine, but from my experience, having done it both ways, I much preferred the overall experience when I had a plan a little bit ahead of time.
Here's what you need to figure out:
- your to do list
- your shopping list & budget
- your timeline (Note: remember to schedule plenty of time to take photos of the finished room! This is an important part of the process.)
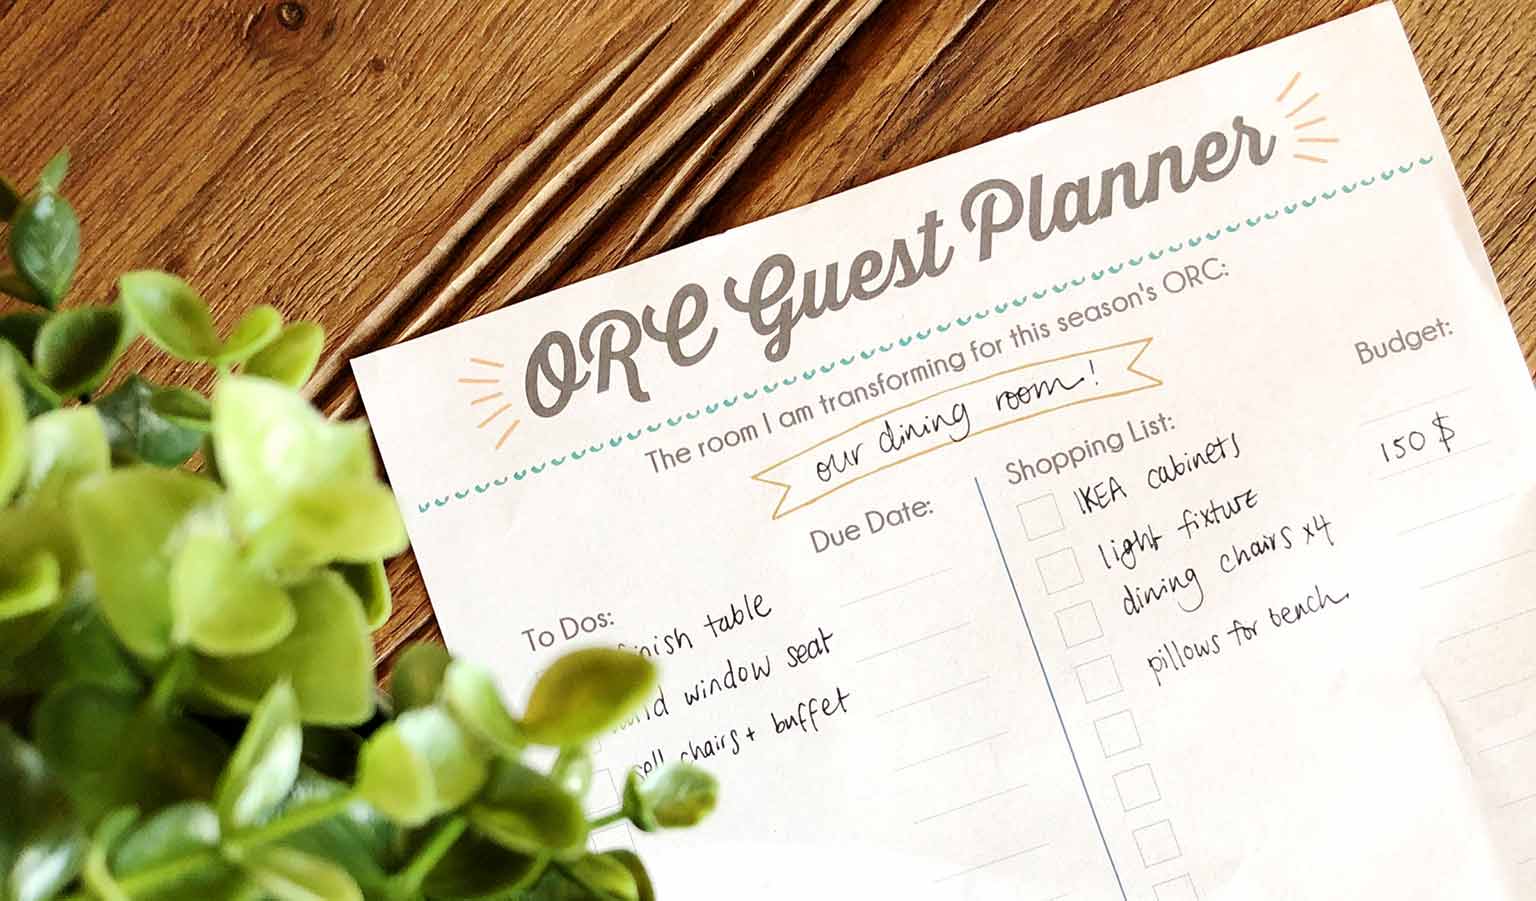
To help with this, I designed a printable planner which will hopefully help you get started with your project! Simply put in your email below to have it emailed to you:
5) PLAN YOUR BLOG/INSTAGRAM CONTENT IN ADVANCE, TOO
It's easy to get so caught up in the project itself that you forget that communicating your journey to others is an important part of the challenge, as well. I suggest planning out the broad topics of your six blog posts or IG posts before you get started: even if you don't stick to it, having that framework set up in advance is so helpful, especially if you feel overwhelmed during the process (which may happen once or twice!)
Usually, your initial post will be announcing which room you are tackling and sharing a mood board and maybe some inspiration photos (make sure you give proper credit and link back to the owner of the photos). The final post will be your room reveal! Posts two through five can be progress updates which will depend on what your particular project is. Feel free to browse through my previous ORCs for ideas!
6) MAKE SOME FRIENDS
The weekly link share (you'll find out all the details of this from the ORC) is a great place to find friends to share the journey with! I have connected with so many great people just by browsing through the different projects and commenting on their posts or finding them on IG. It really is a friendly community, so don't be shy!
7) BE FLEXIBLE
Things may go wrong. Your original plan will most likely go a little wonky, and that's ok. This is where your ORC buddies come in—they will be the people who understand exactly what you are going through! But going into the challenge with an expectation that there may be a few hiccups along the way will also give you a good perspective from the start.
During my first ORC, I got fixated over a rug that didn't arrive in time. I wasted so much time hitting refresh on that tracking link! Now I look back and realize that it really wasn't that big of a deal! No one would have even noticed if I hadn't drawn attention to it. So: be flexible, roll with it, and trust that all will be well in the end!
8) CELEBRATE!
It's an intense few weeks and you deserve to celebrate at the end of it! If you are anything like me, then your newly finished room will be the reward in itself, but there's no harm in booking in a dinner date or a fun night out (especially if you have a long-suffering spouse involved in the process.)
I hope this has been helpful to anyone deciding whether to join in as a guest participant for the One Room Challenge. It's not easy, (it is a "challenge" after all!), but it's honestly one of my favorite things about being a blogger. Feel free to email me or get in touch via Instagram if you have any more questions about the process—I'd be happy to help!
