If you've been following along for a while, you'll probably know that I can't resist a good project. I find the process of making pieces for my home so therapeutic and satisfying—it's actually a form of self-care for me! So when Eclectic Products reached out to ask if I would like to partner with them and use their Glaze Coat Craft for a project, I jumped at the opportunity for some "me" time!
This post is sponsored by Eclectic Products. All opinions are my own.
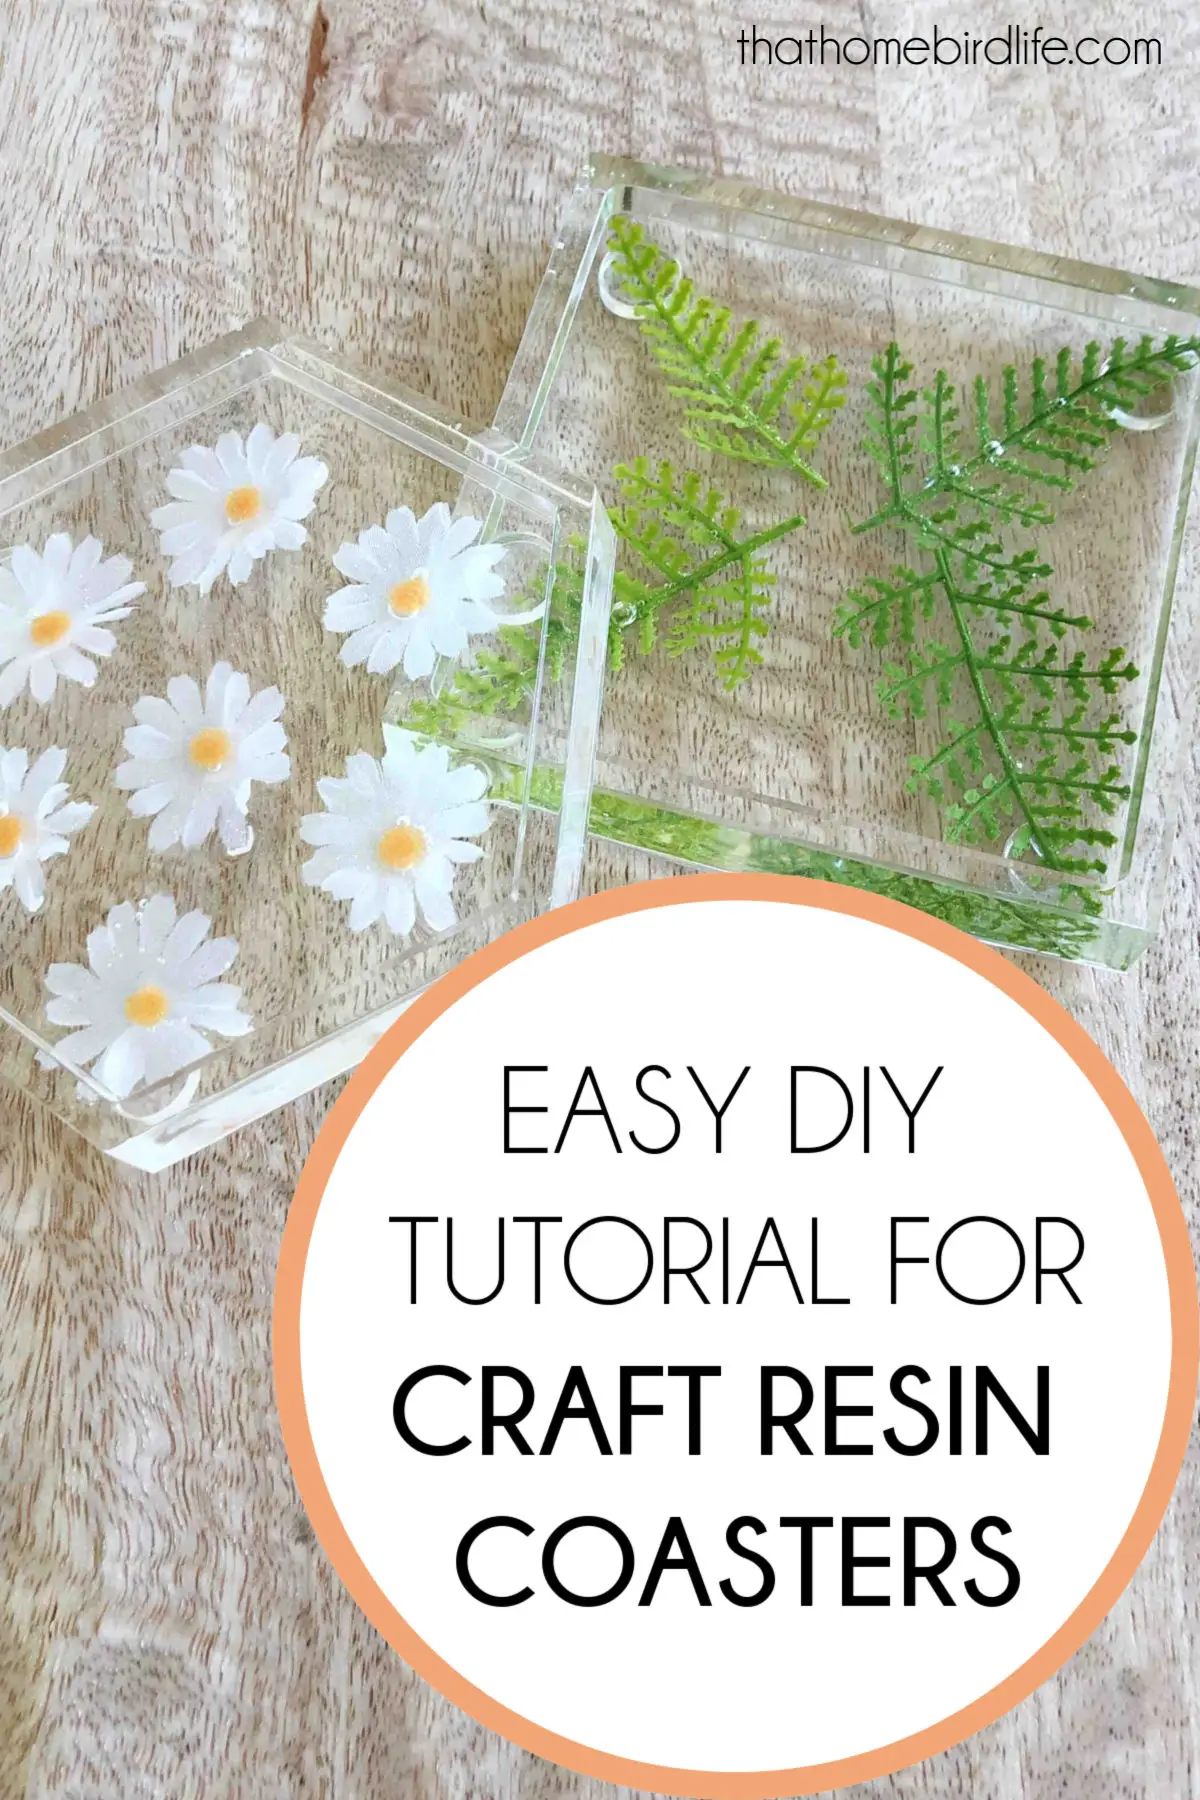
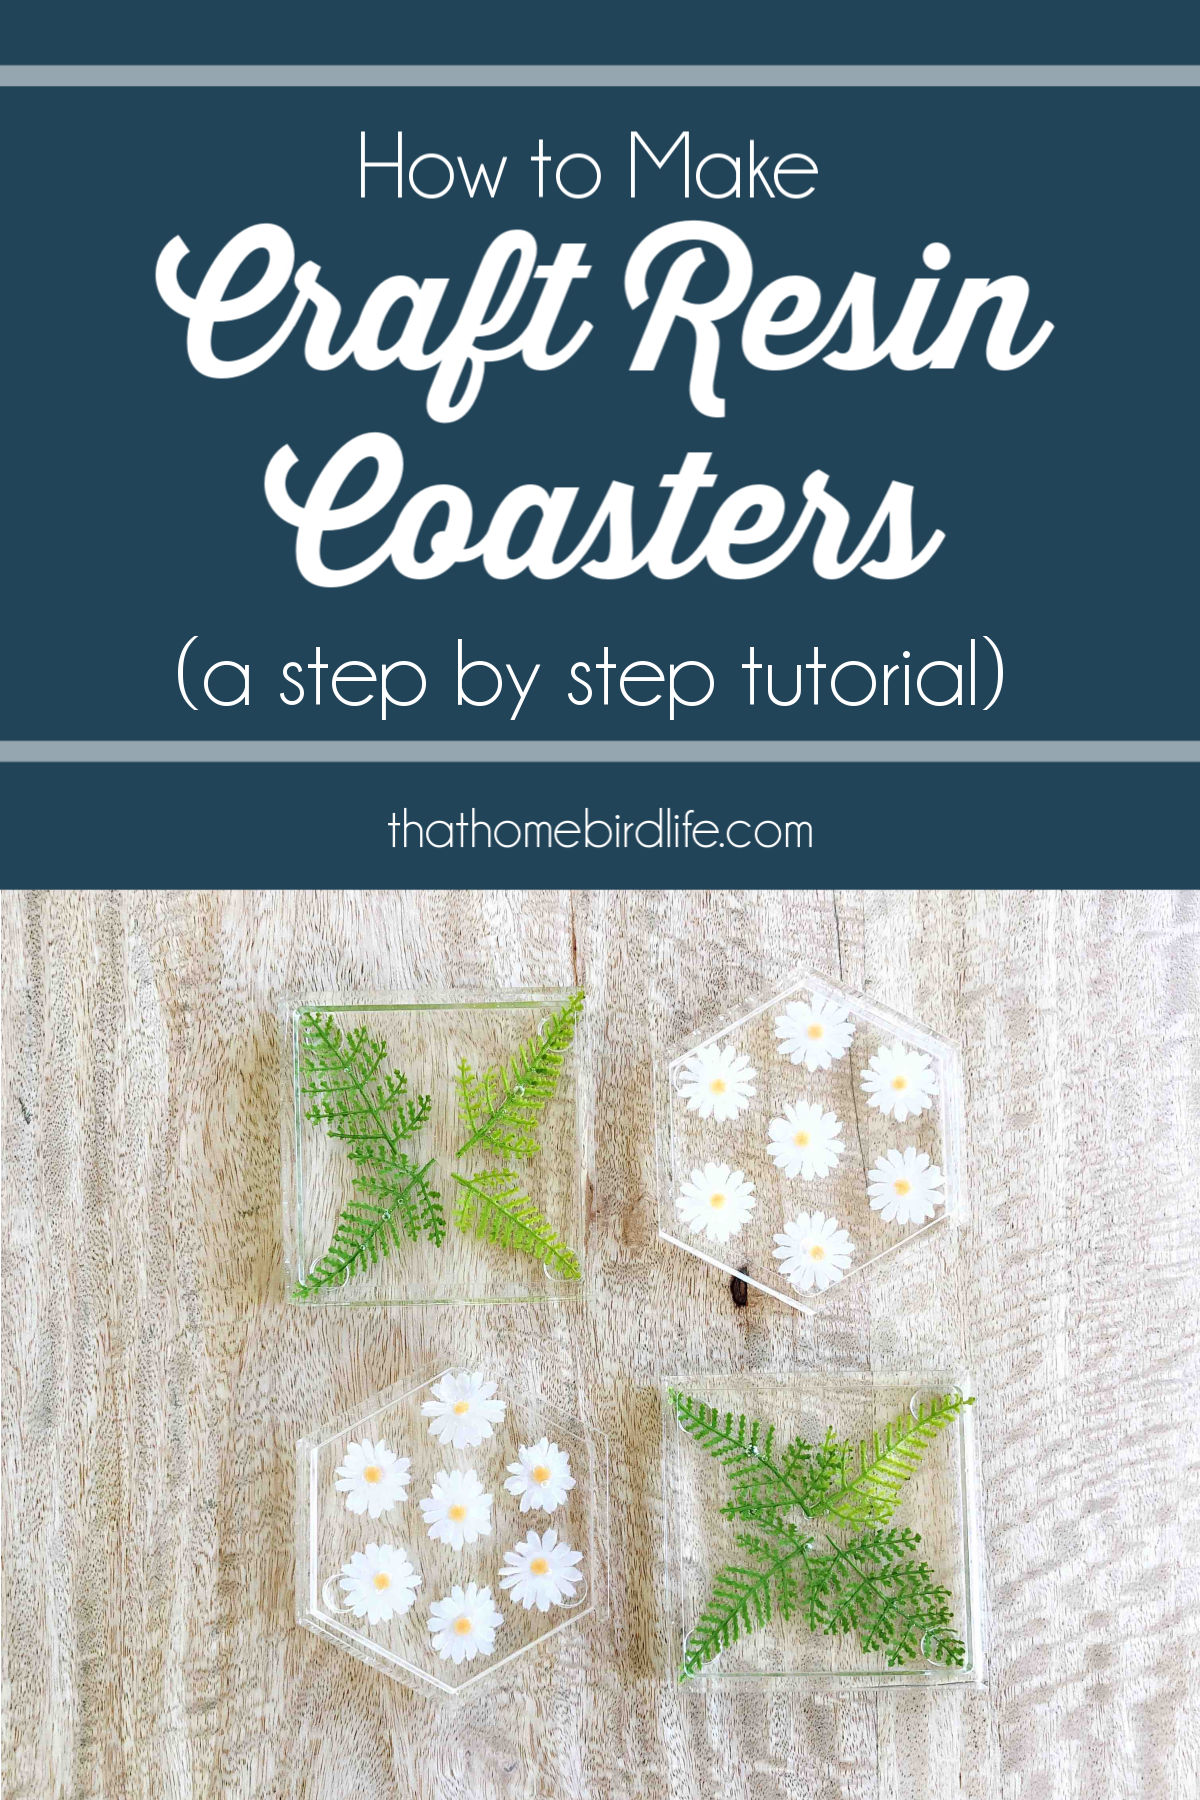
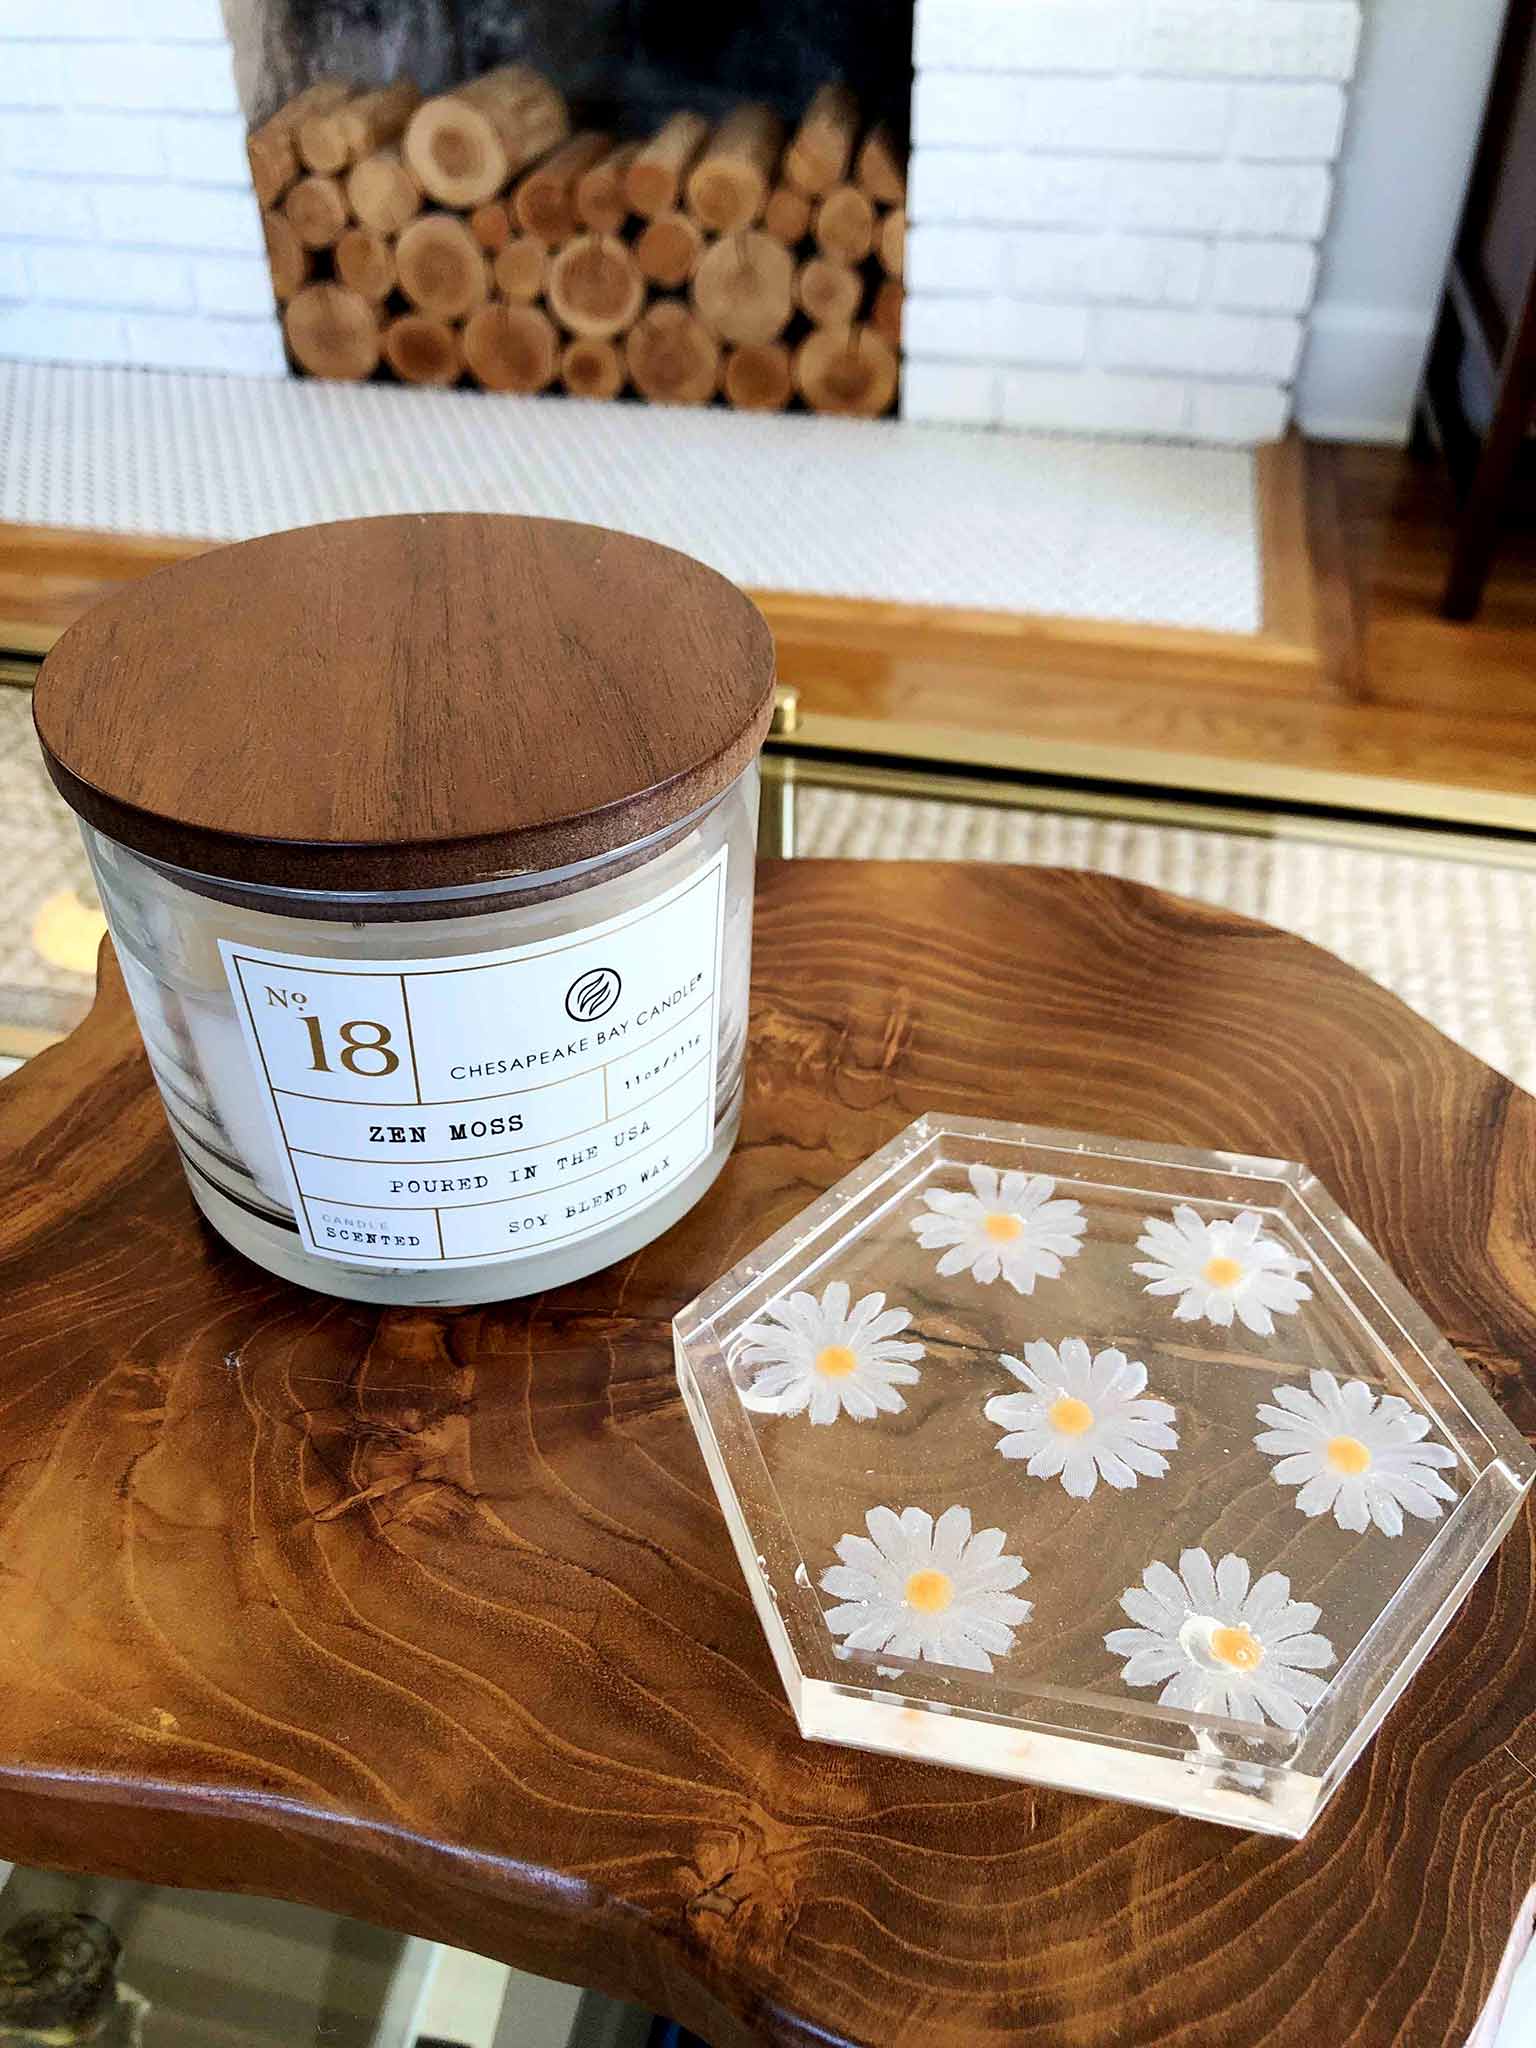
I chose to make coasters, as we have a lot of wood furniture pieces in our home that need protecting from water bottles/cups of tea/cans of la croix...you get the picture! Glaze Coat Craft resists temperatures up to 120°F, so it's a great material for this kind of project. I was so happy with how they turned out, and I'm going to tell you the exact steps you can take to make your own set of resin coasters. This tutorial is totally manageable even if you are an absolute beginner (like I was!) so if you feel intimidated by the thought of using epoxy resin, then don't worry—you can totally do this!
This post contains affiliate links, which means that I may earn a small commission if you purchase something that I have recommended, at no cost to you. More information can be found on my disclosures page.
QUICK LINKS
- Materials needed to make craft resin coasters
- Amazon shopping list with all of the items you will need for this project
- Steps to make craft resin coasters
How to Make Craft Resin Coasters
(Be sure to pin this tutorial so you can refer back to it later!)
STEP ONE: GATHER YOUR SUPPLIES
Before you start, make sure you have all your supplies at the ready. Here's what you will need:
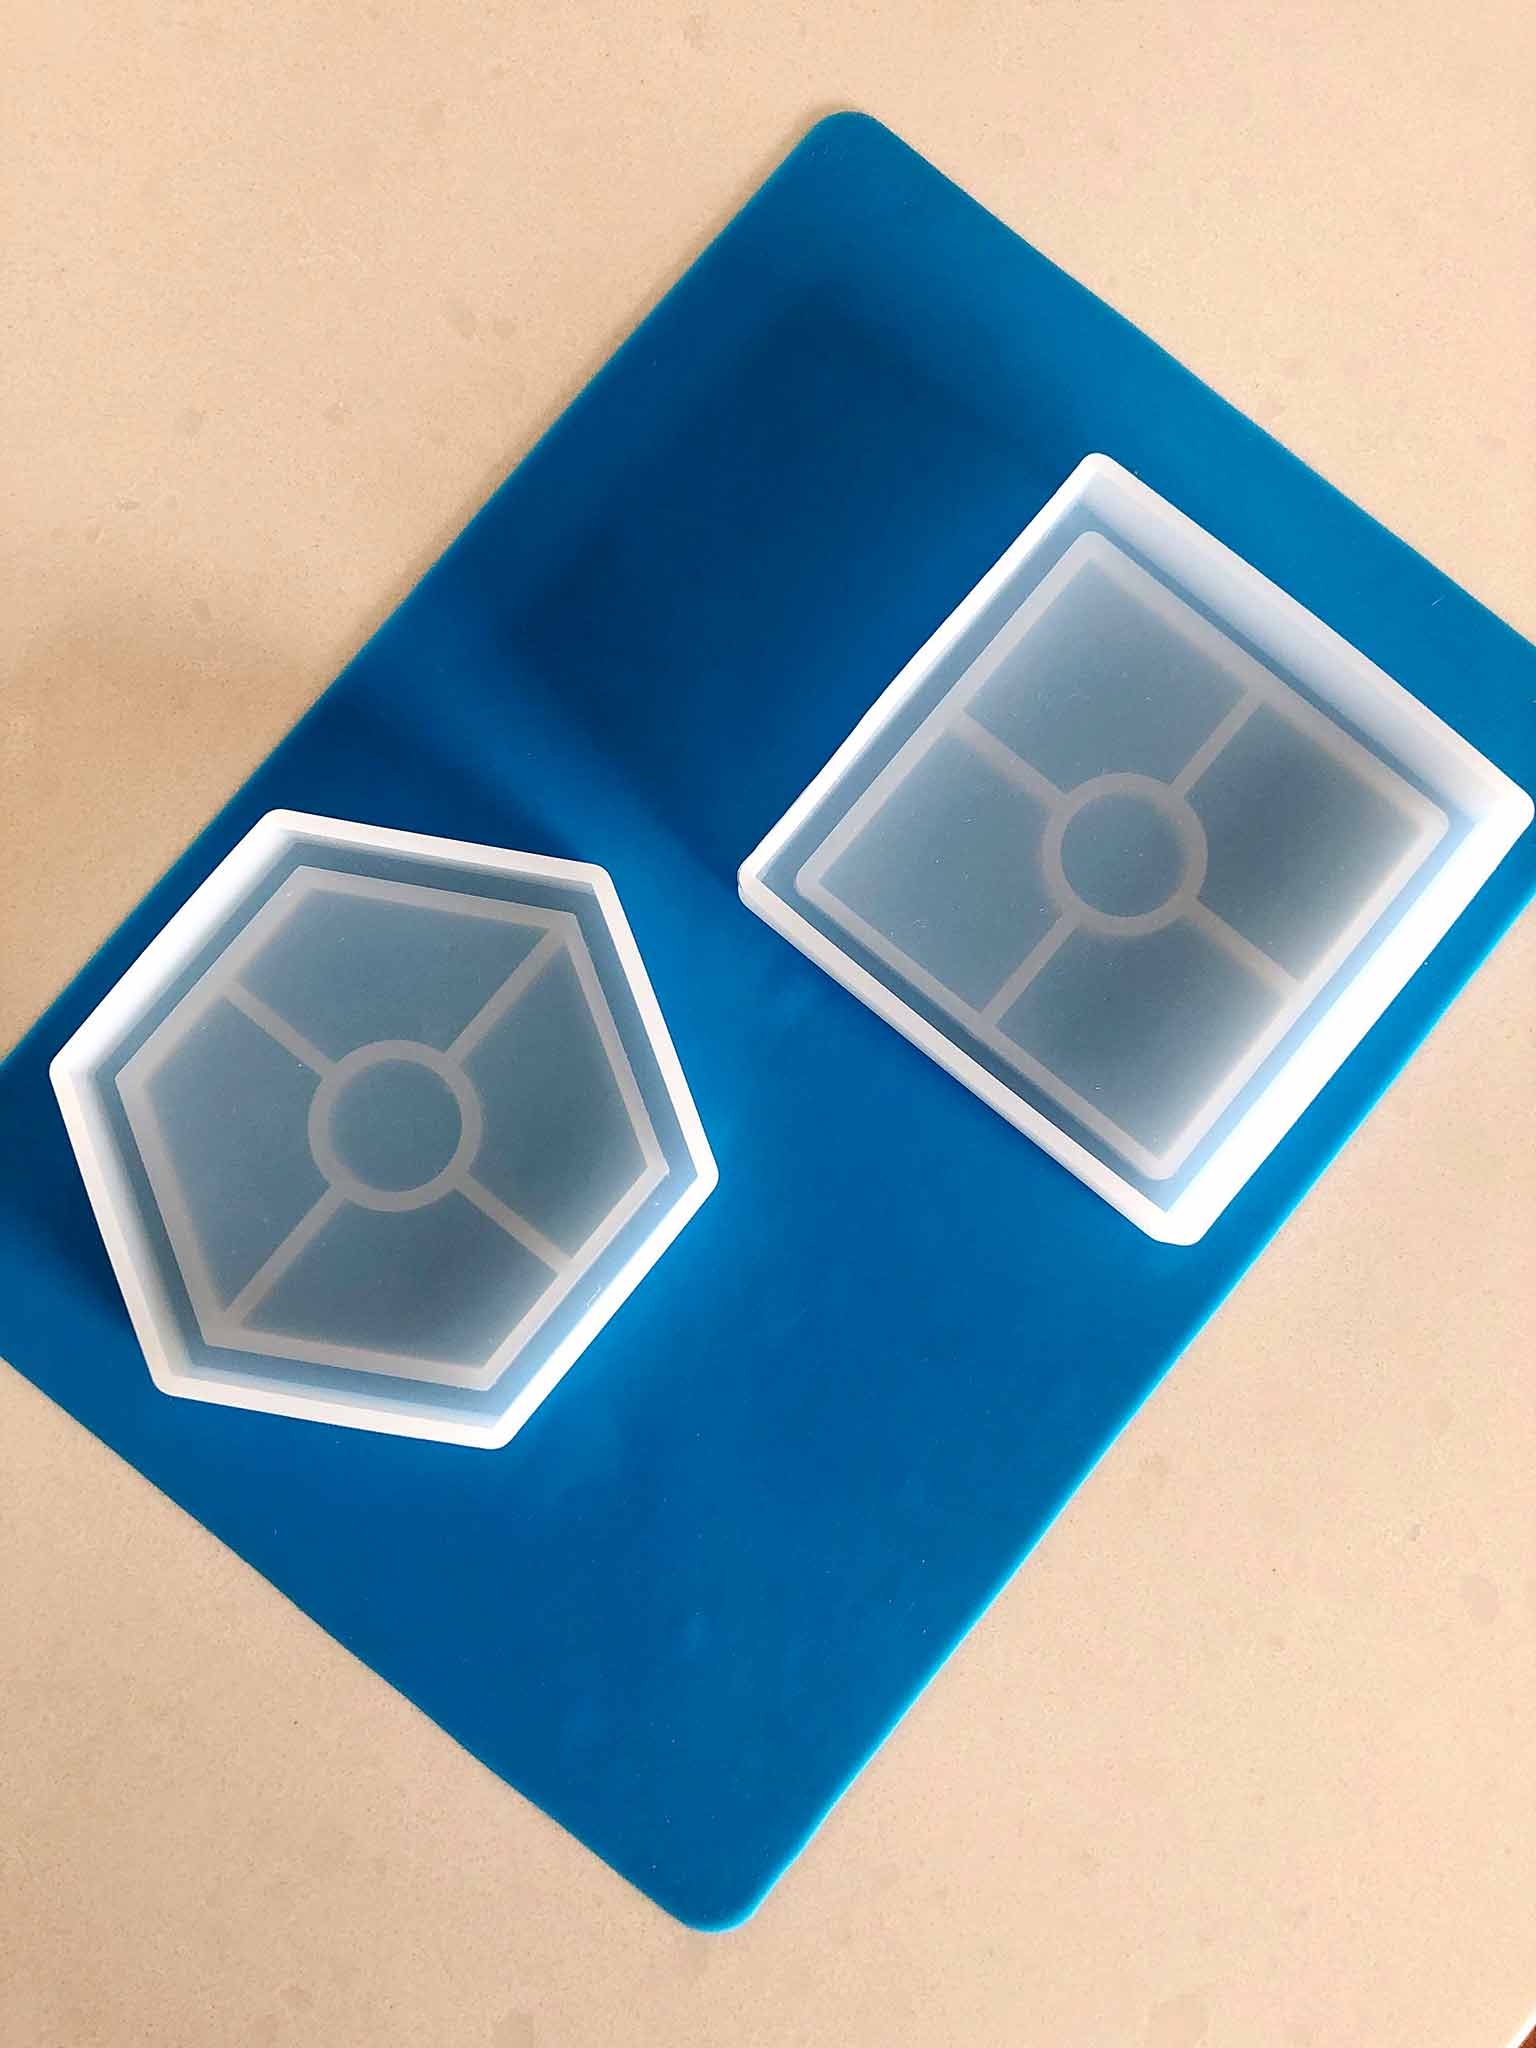
- Silicone coaster molds
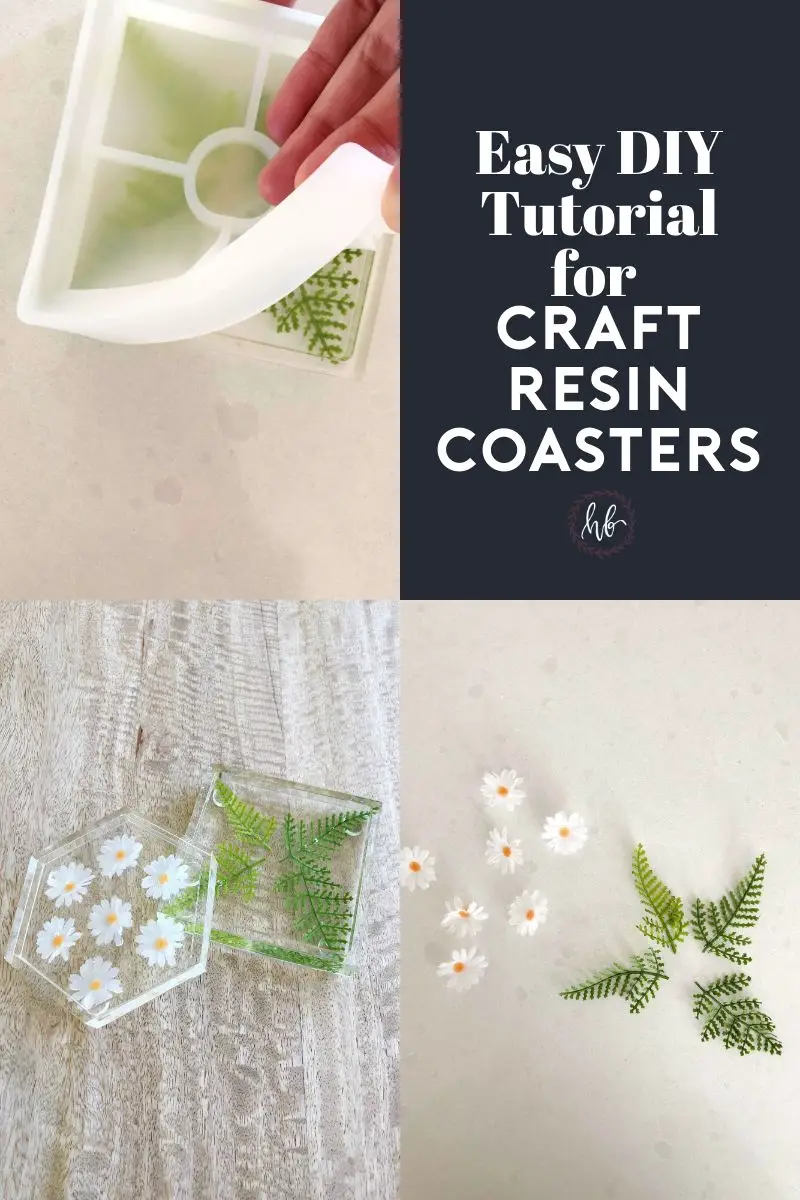
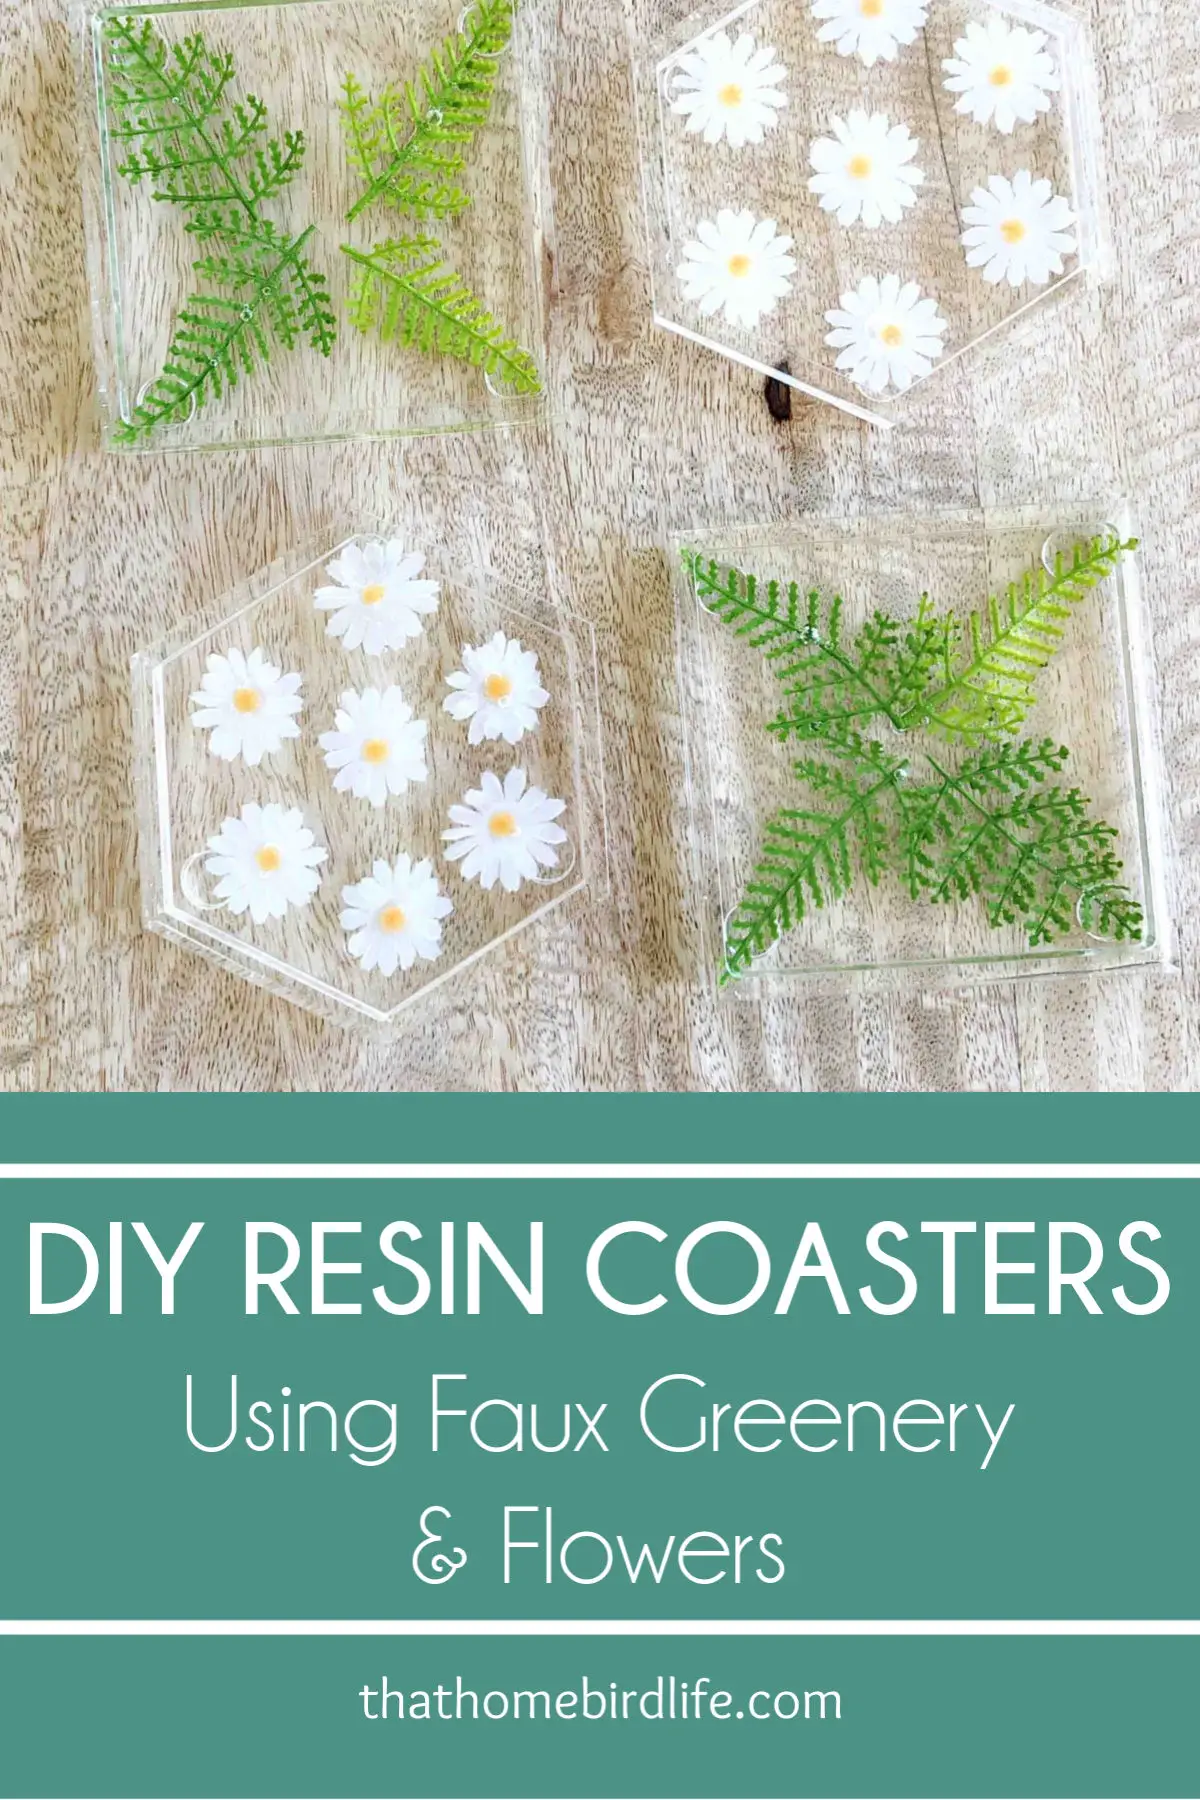
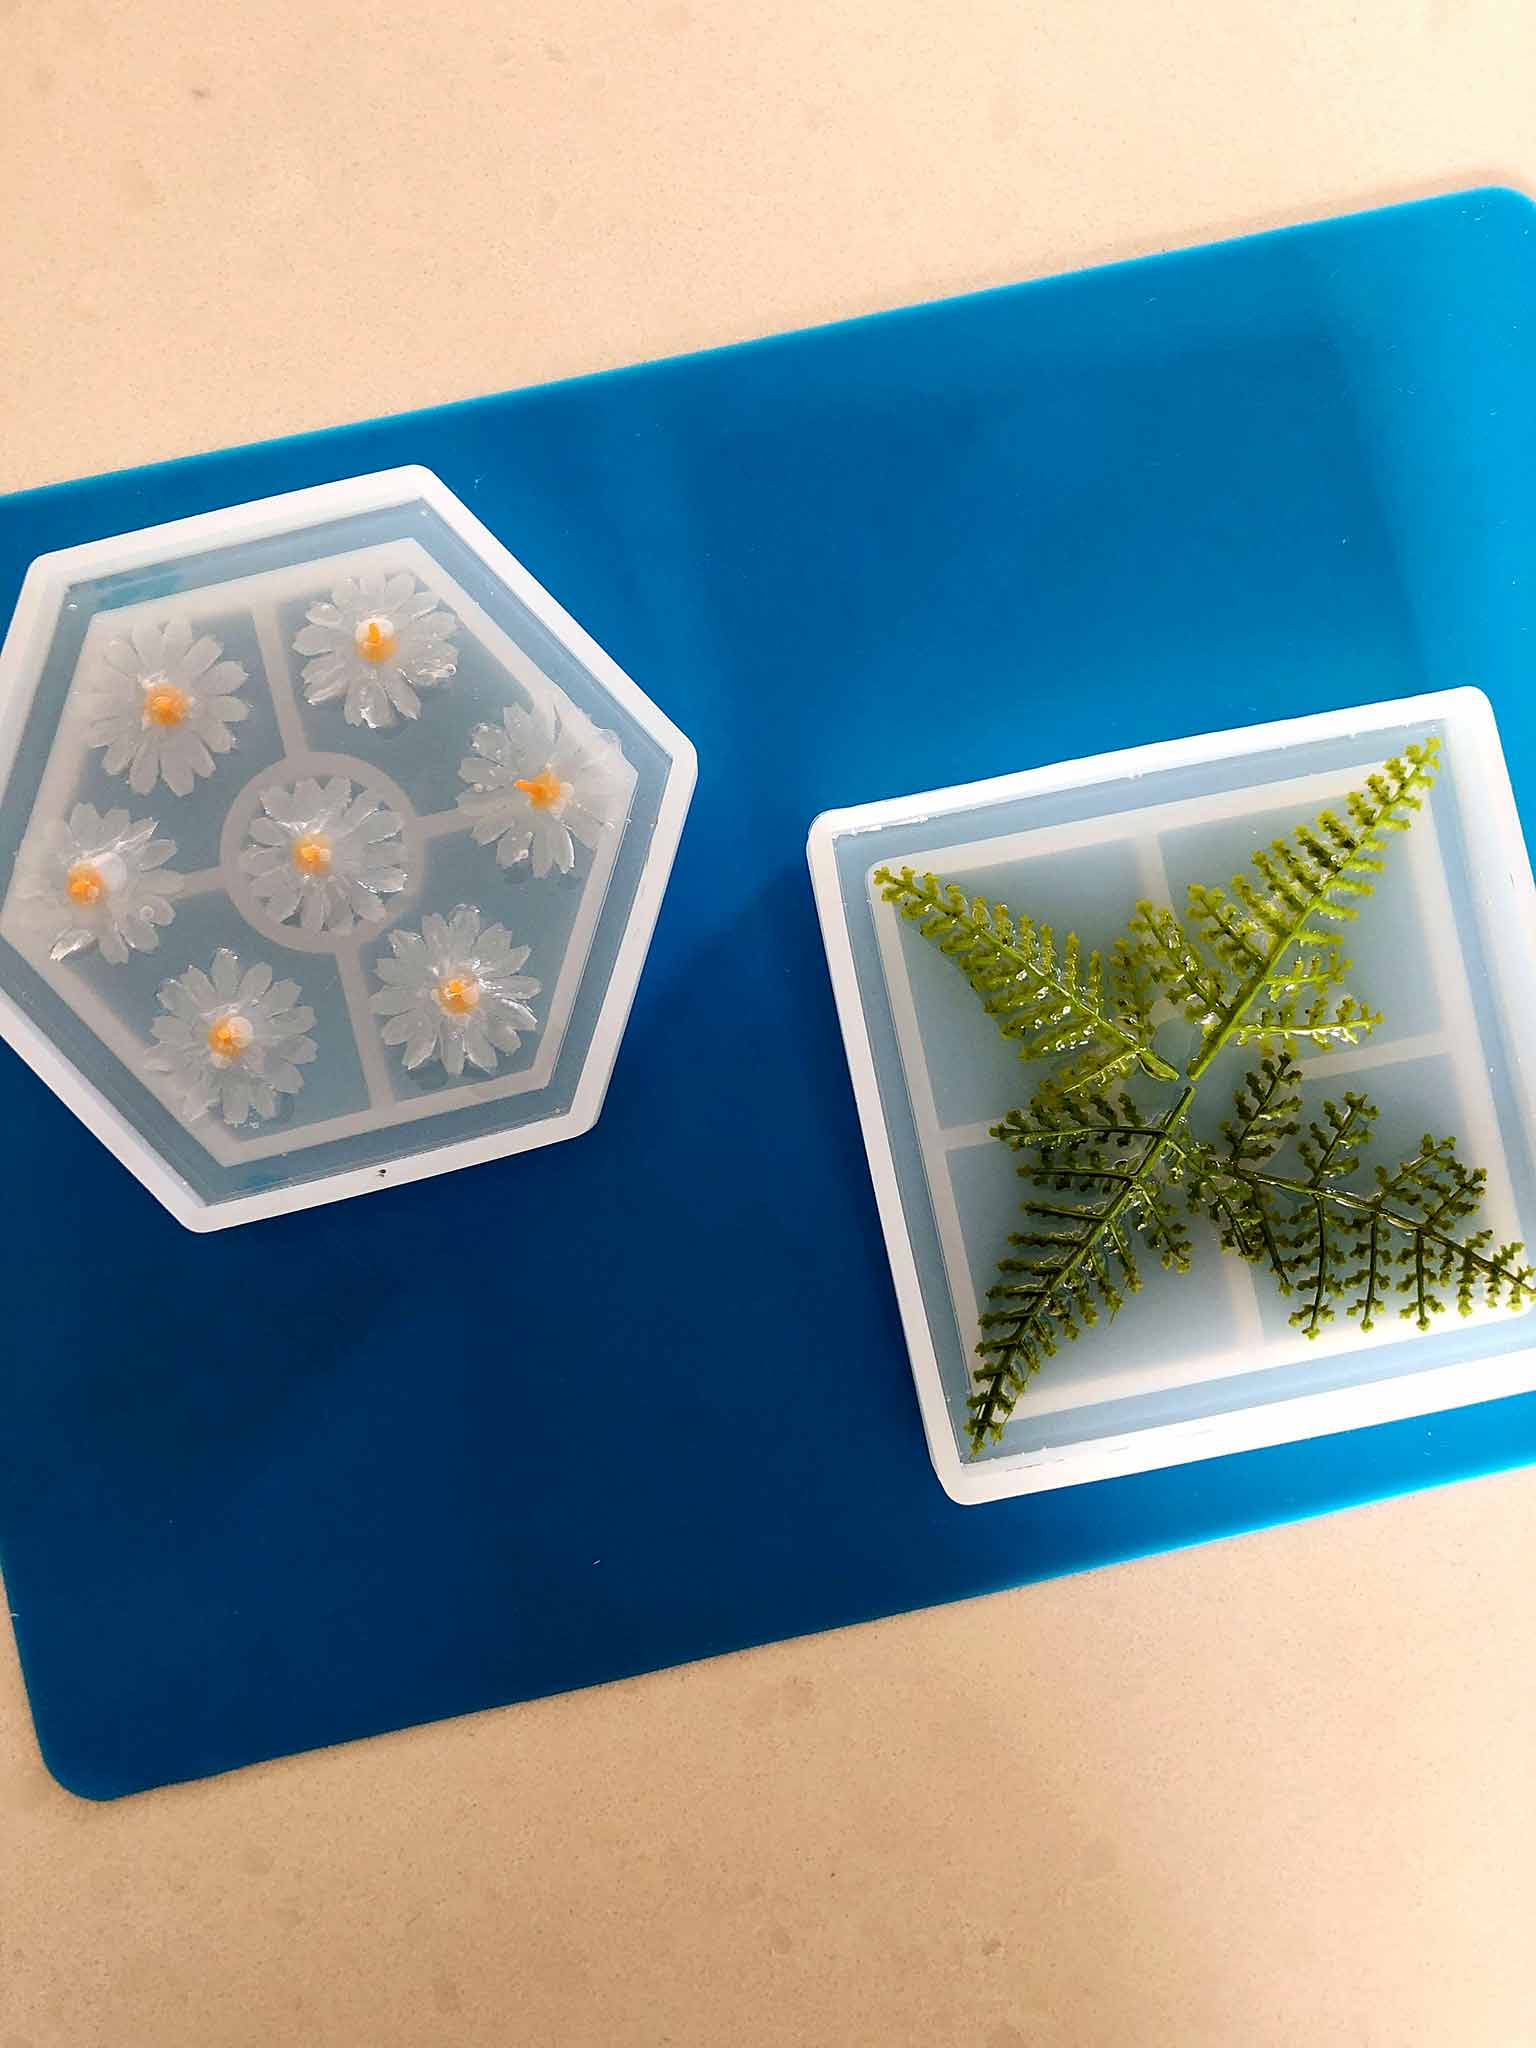
- Items of your choice to embed (I worked with faux fern stems
and fabric daisies
, but some other ideas could include photos, coins, buttons, real dried flowers/greenery, beads, shells—anything that is shallower than your coaster mold will most likely work!)
- Disposable measuring cups and larger plastic cups to mix the resin in
- Wooden stir sticks
- Latex gloves
- Drop cloth (in case of spills)
- Butane lighter (for popping bubbles!)
- Dust covers (I used parchment paper)
- Clear bumpers
NOTE: I actually purchased a resin kit which included cups, stirrers and gloves amongst other things. As I'm brand new to using resin, it was a great all-in-one kit to get me started. The only thing that I felt it was missing was larger cups, as the ones they provided were too small for this project. In the end I just used disposable plastic cups that I had at home already, and decanted into those from the smaller cups provided in the kit.
For your convenience, I've created an Amazon shopping list with all of the items that you will need for this project. You can access it here.
STEP TWO: SAFETY & PREP
Please be sure to carefully read the craft resin instructions yourself and take appropriate safety measures before you get started with this project.
Choose a well-ventilated area to work in, and cover the surface you are using with a drop cloth or mat. Next, put on your protective gloves. This doesn't have to be a messy process if you are careful, but it's important to have everything covered up just in case of a spill.
Take all your supplies out of the packaging, and grab a container to put trash in. Also, make sure you read through the Glaze Coat Craft instructions at this point, and have them accessible so you can refer back to them throughout the process.
STEP THREE: MIX FIRST COAT OF RESIN
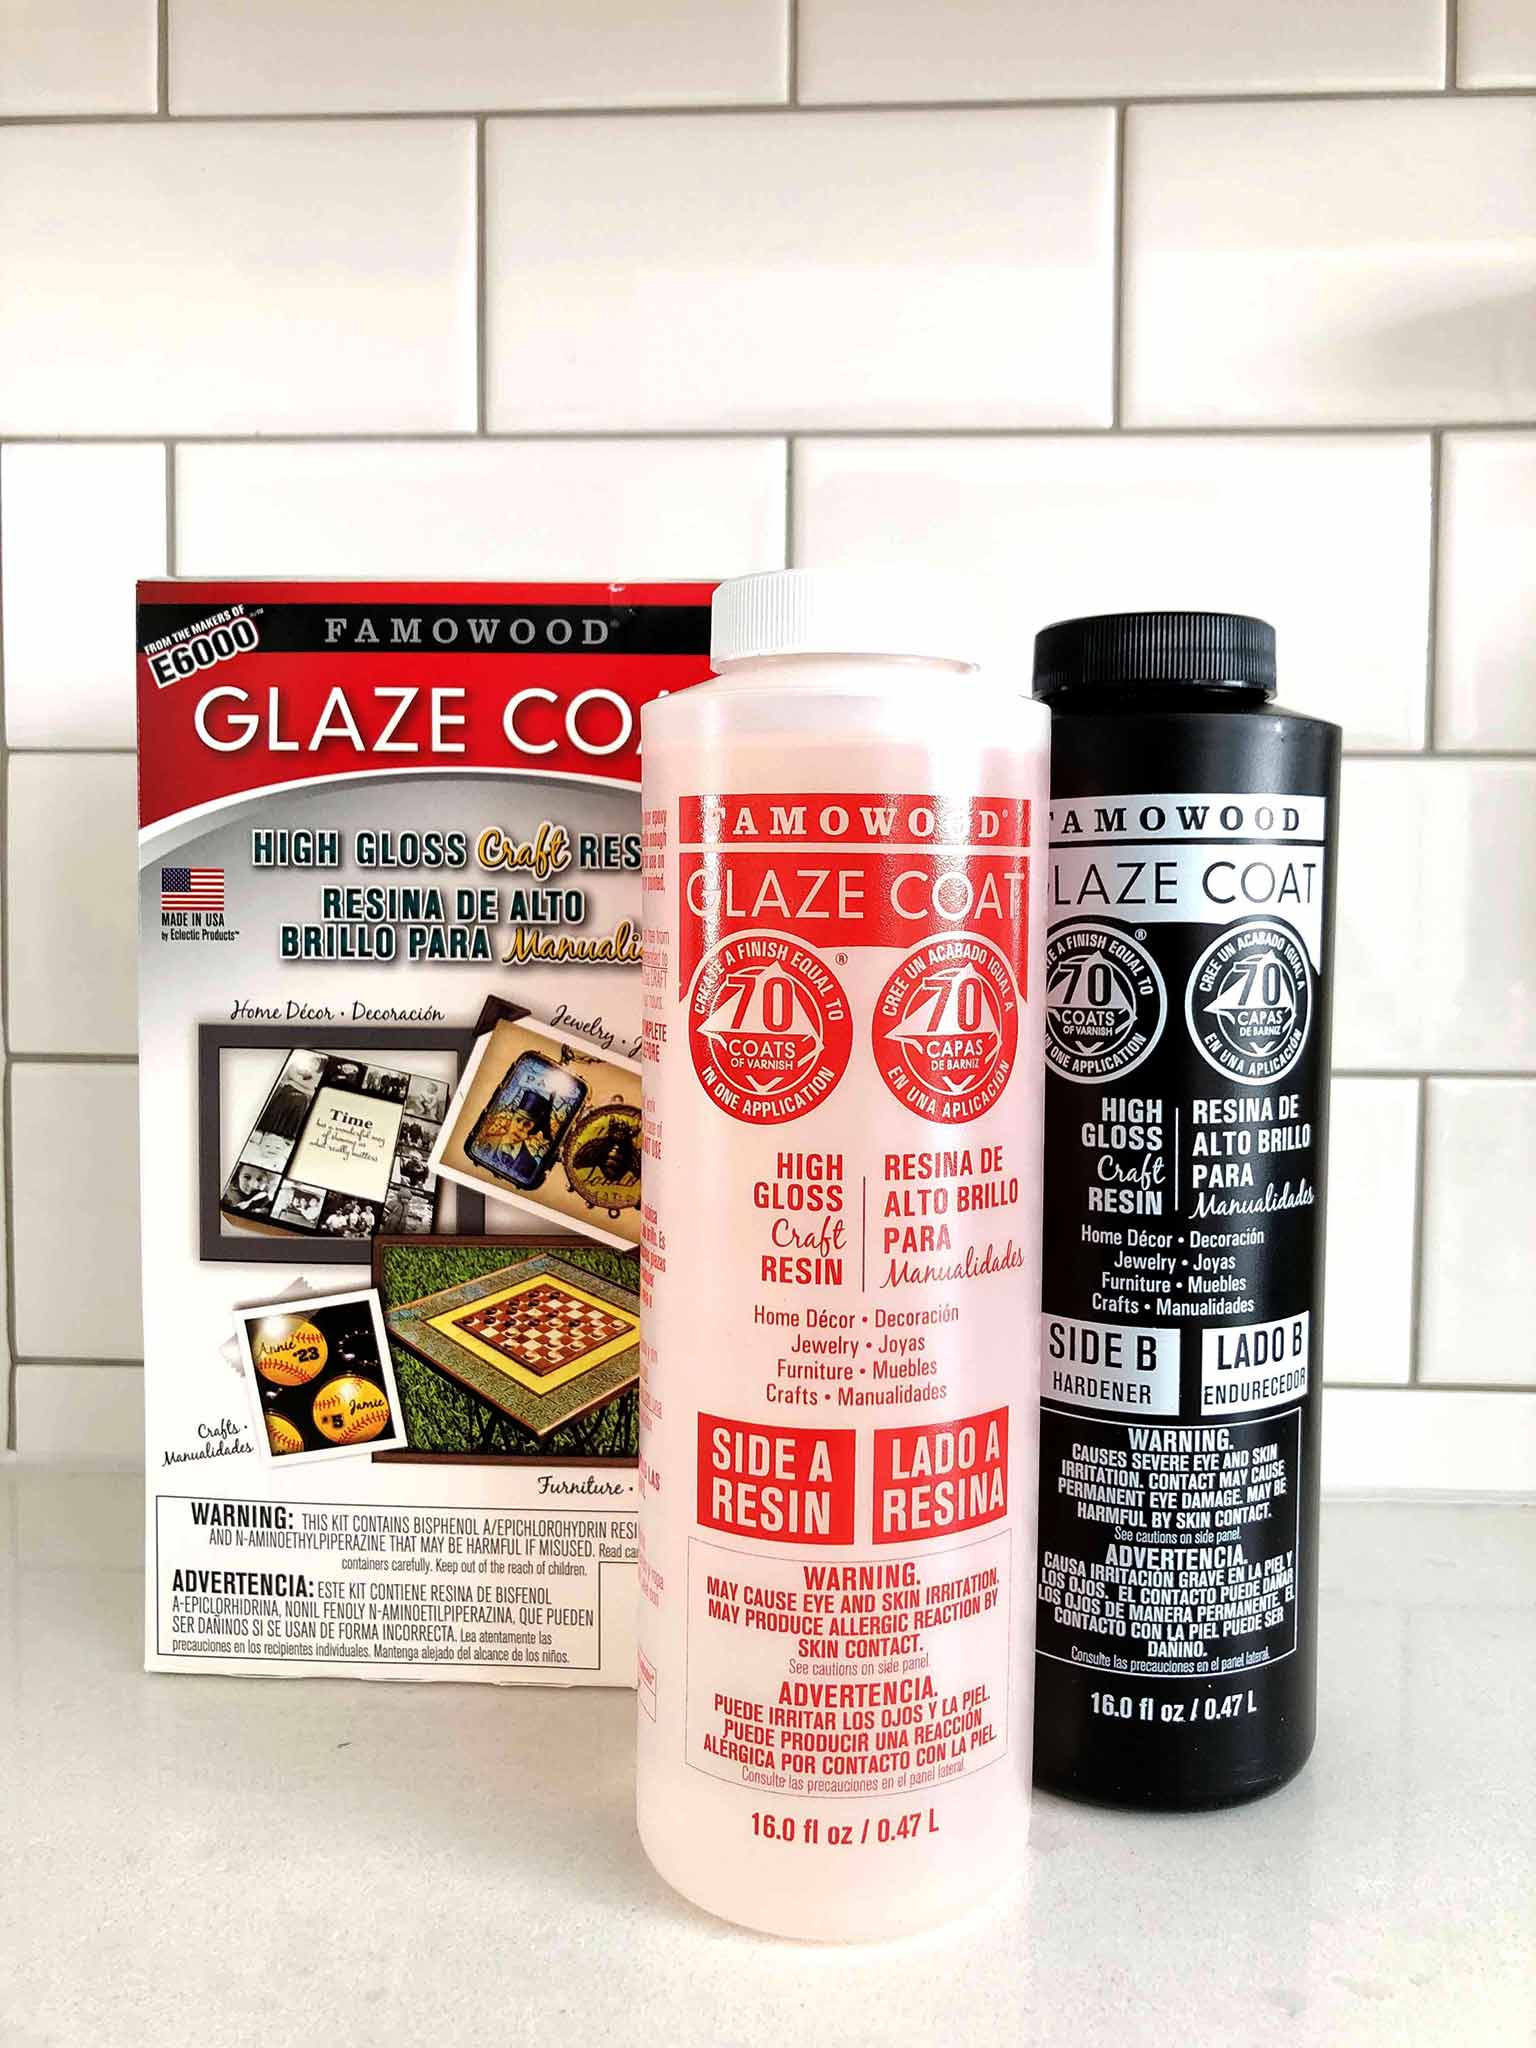
For this first coat of resin, you only need a small amount. It's just enough to act as a glue for the items you are embedding. I think I used around 60ml of each bottle, and that was plenty for 4 coasters.
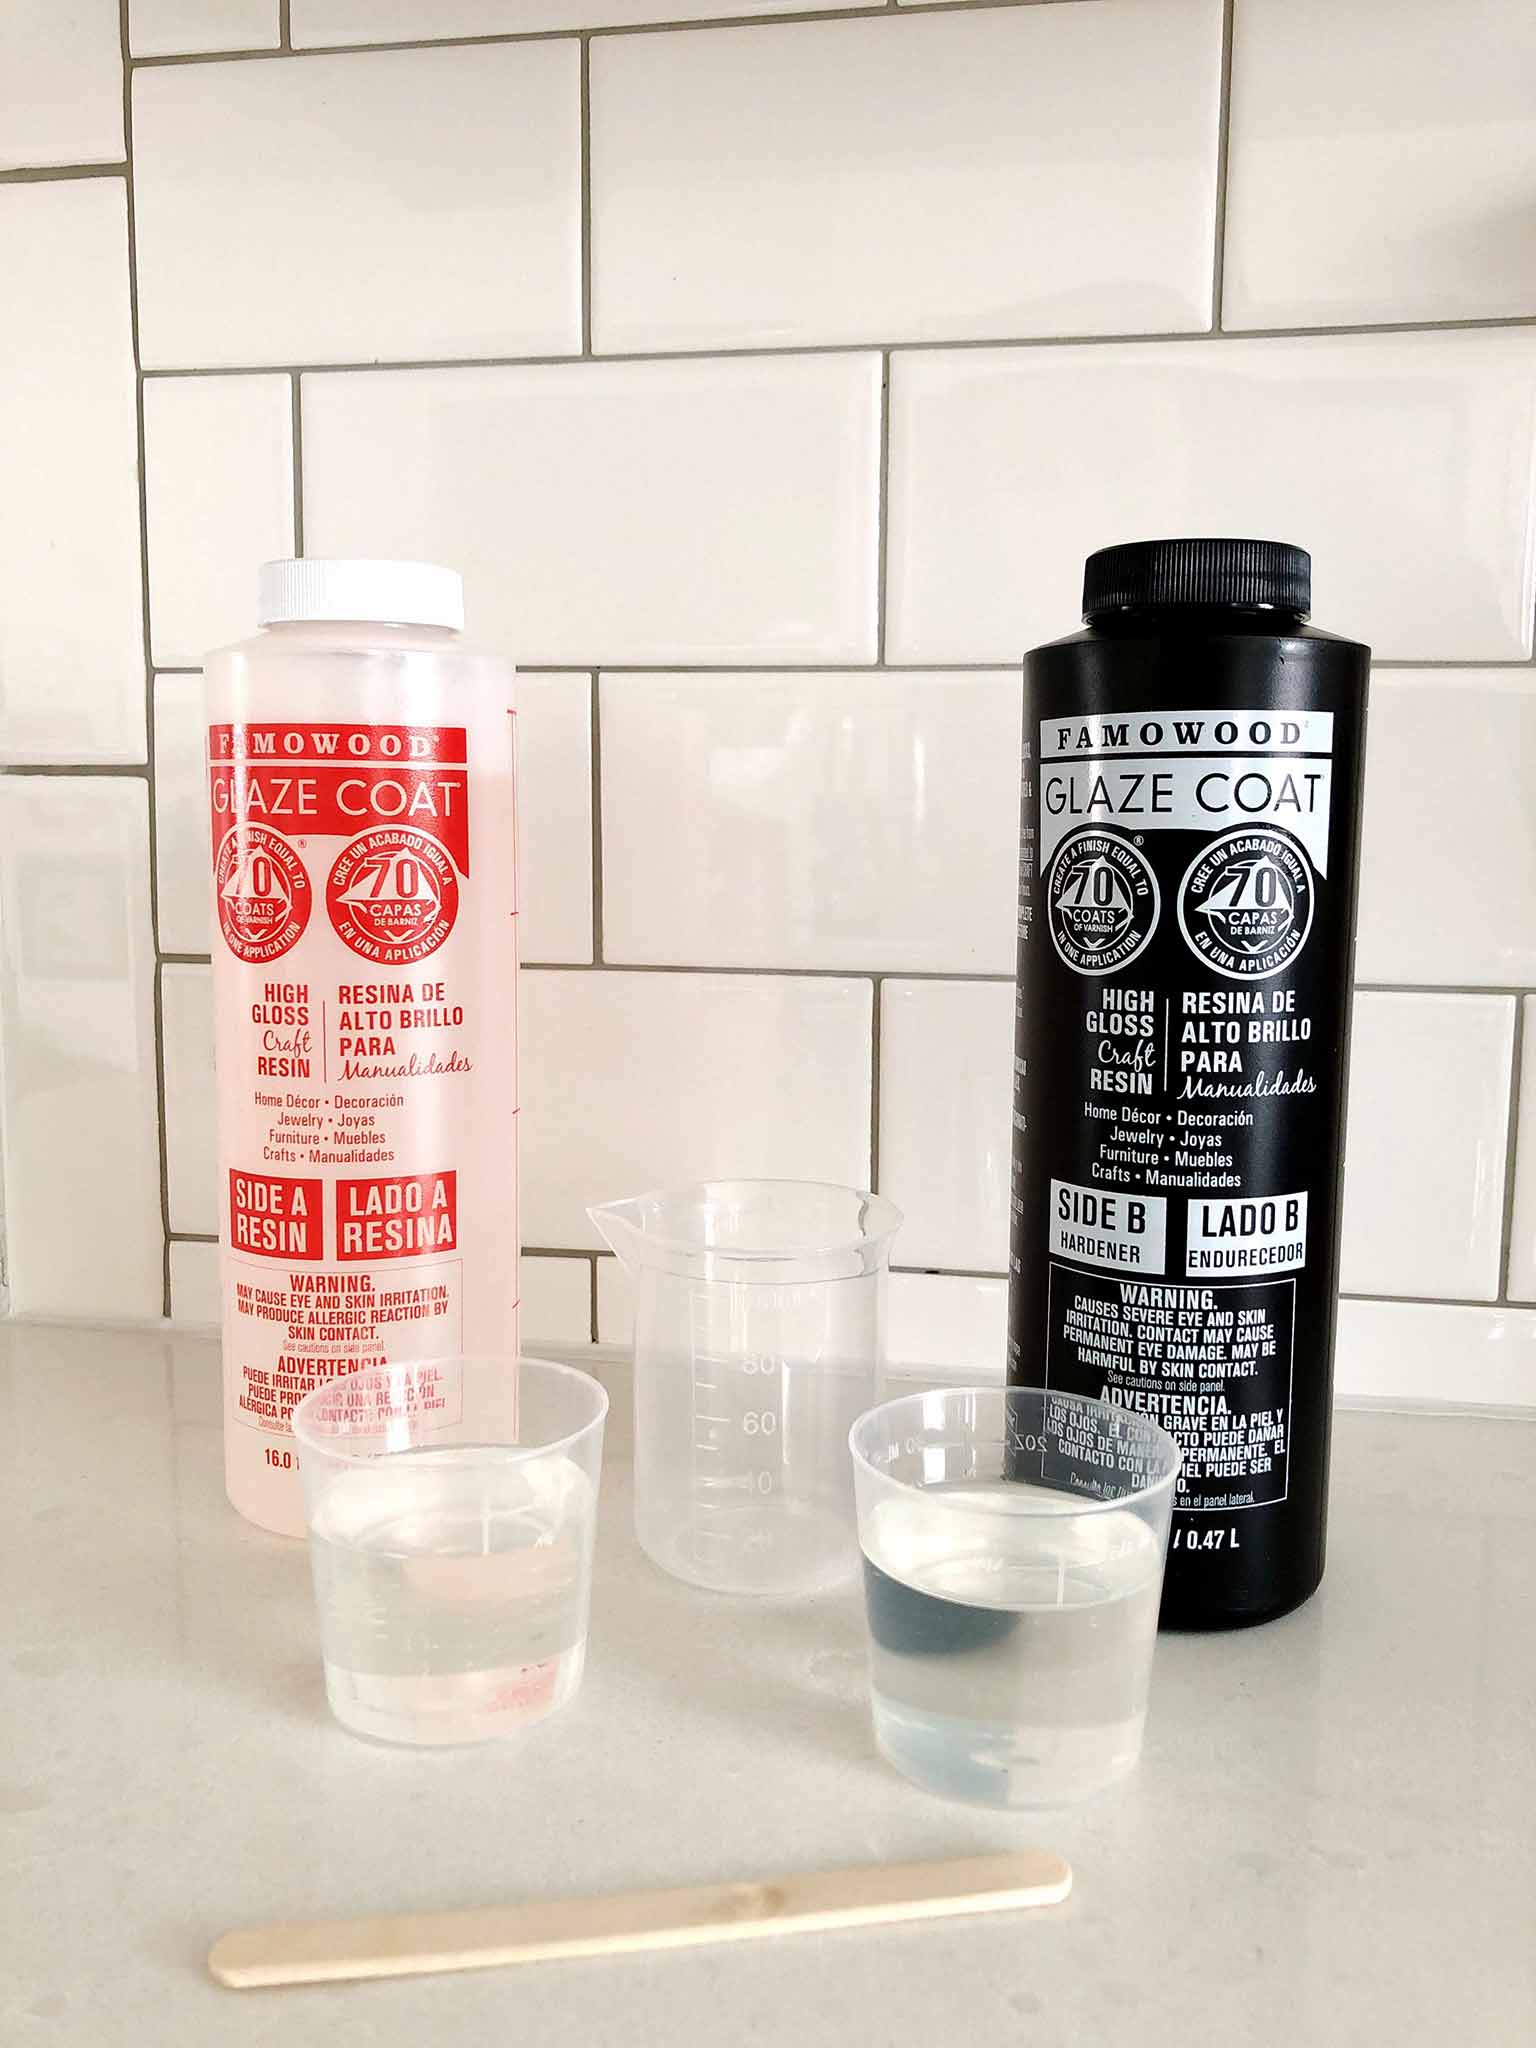
The great thing about Glaze Coat Craft is that it's a simple 1:1 mixing ratio. There are 2 mixing stages of 6 minutes each, so it takes a little time, but it was very straightforward, and the instructions explained everything clearly. To keep track of the timing, you can set a timer on your phone.
STEP FOUR: EMBED ITEMS
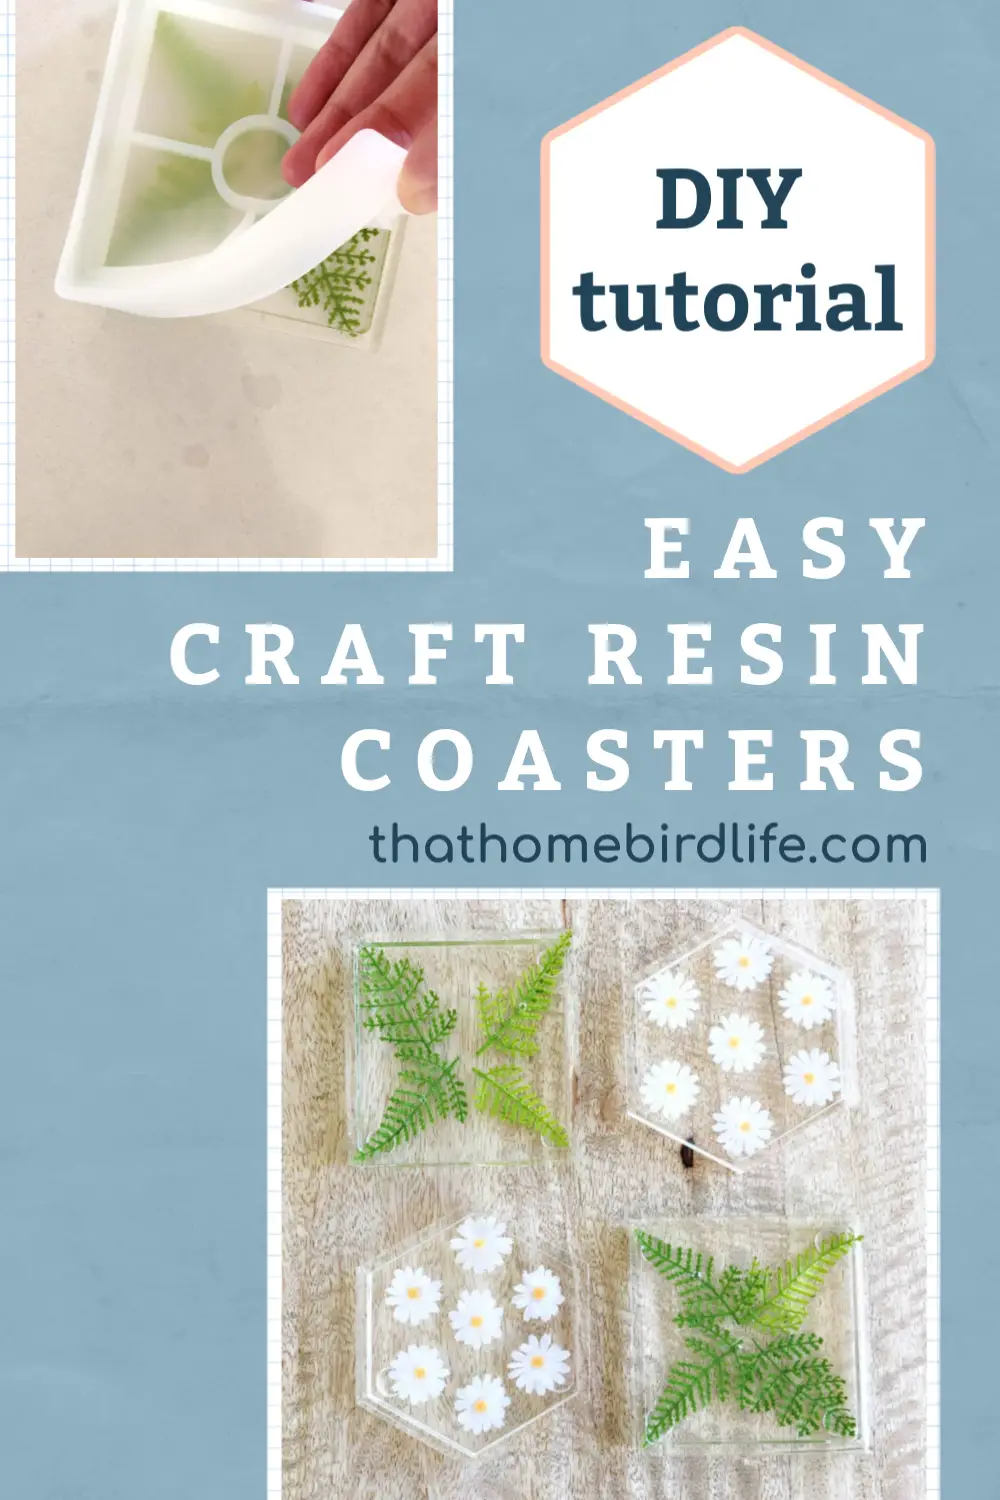
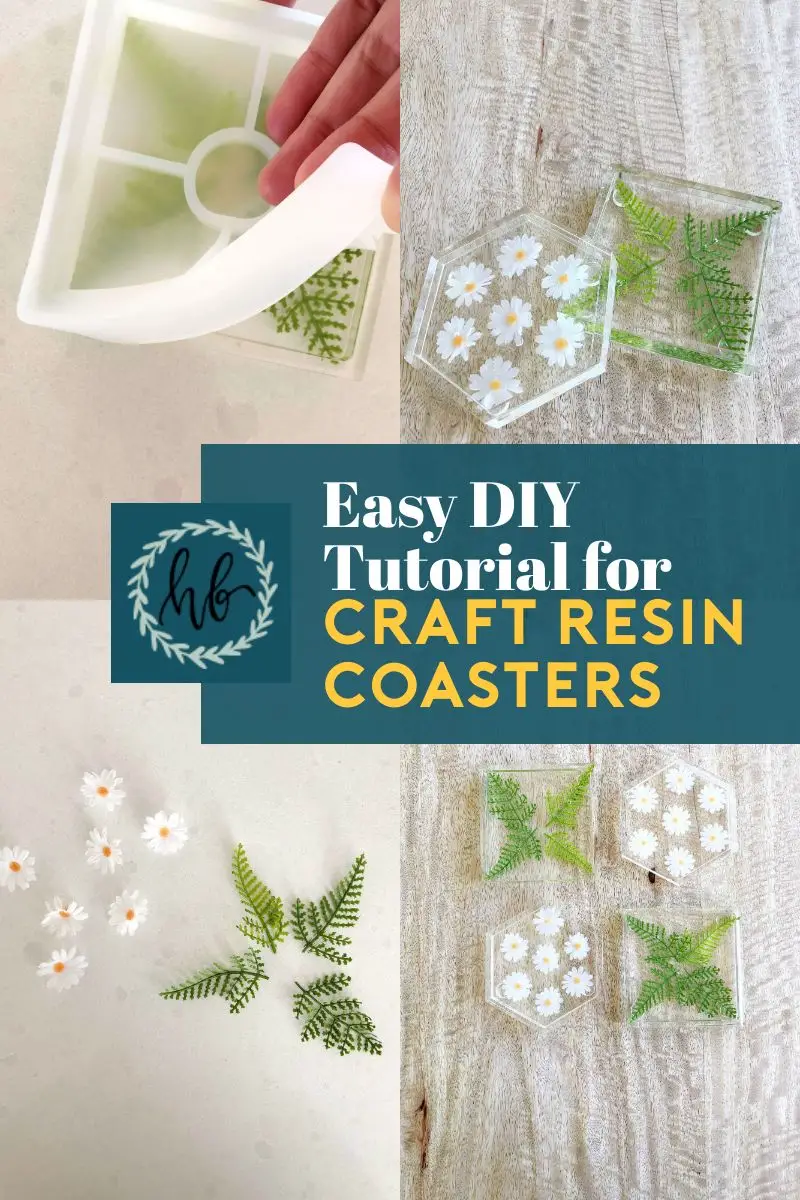
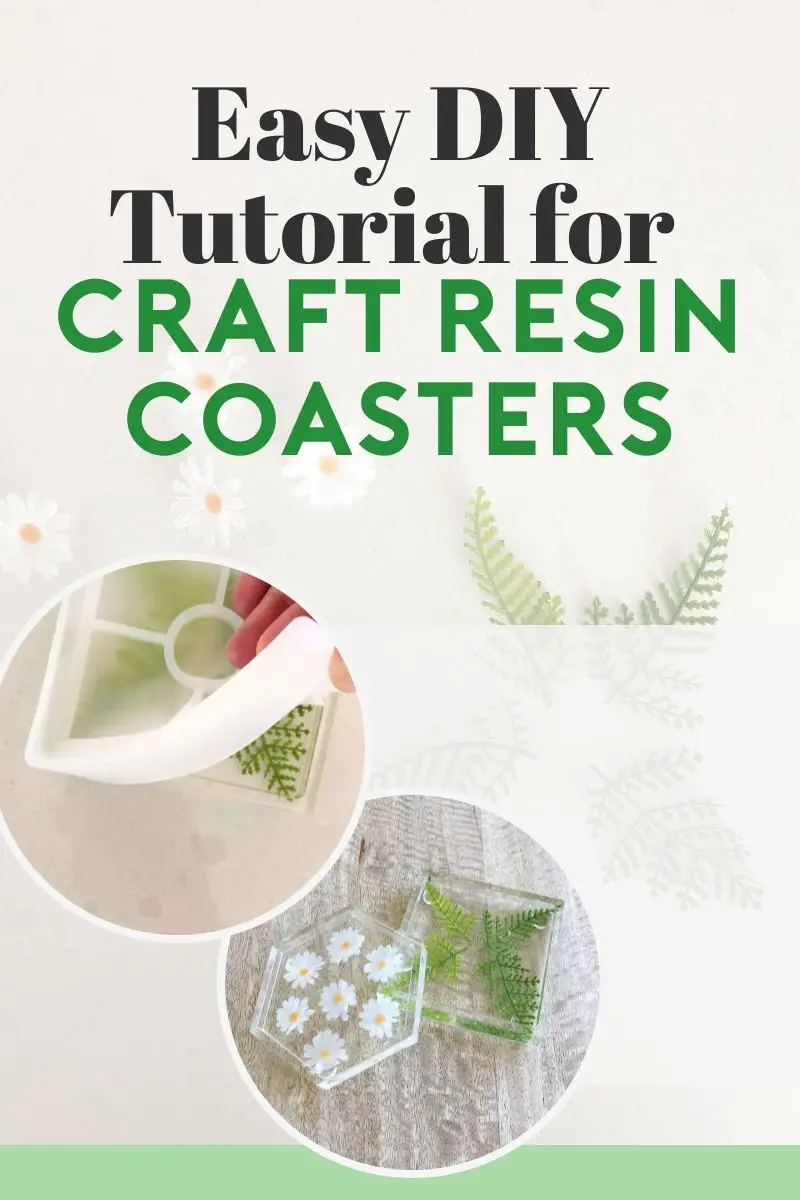
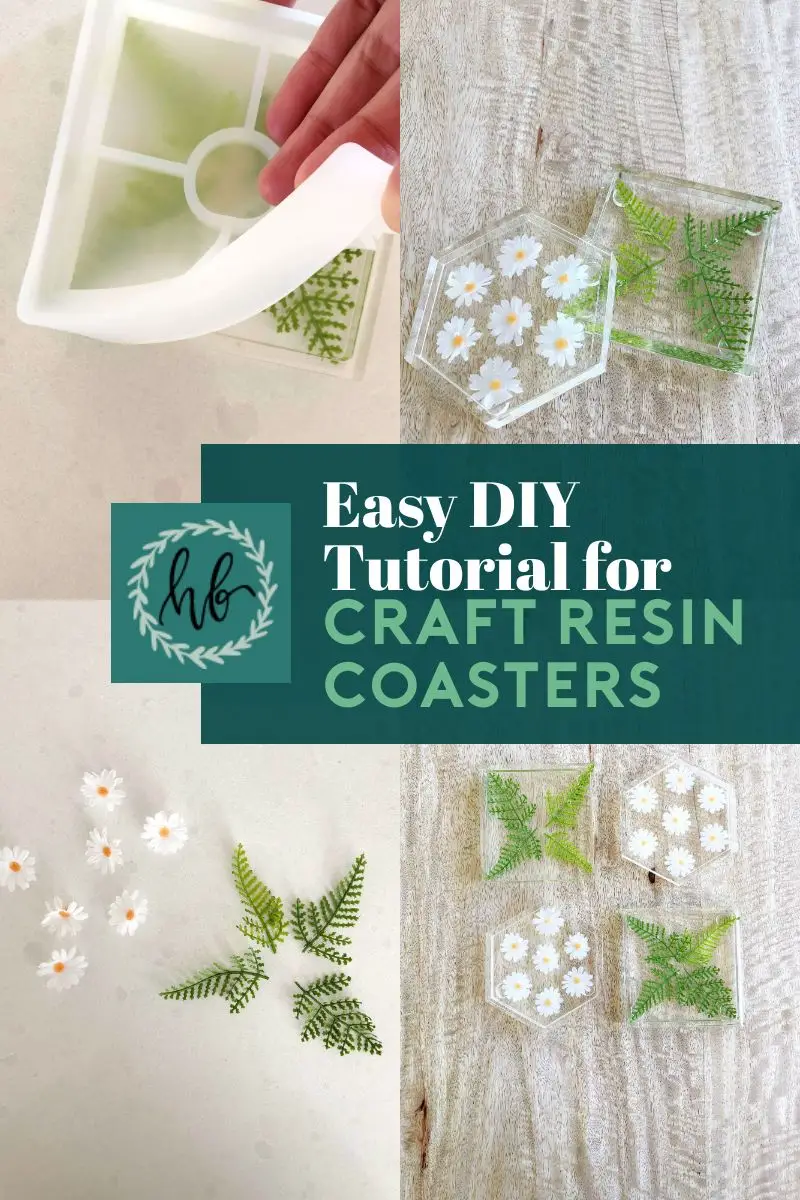
Once your mixing time is up, pour a little of the resin into each mold. Then, gently press the items you are embedding into each mold. The molds I used had a rim build into them, so I embedded all my items upside down, to ensure that they would be right side up when turned over.
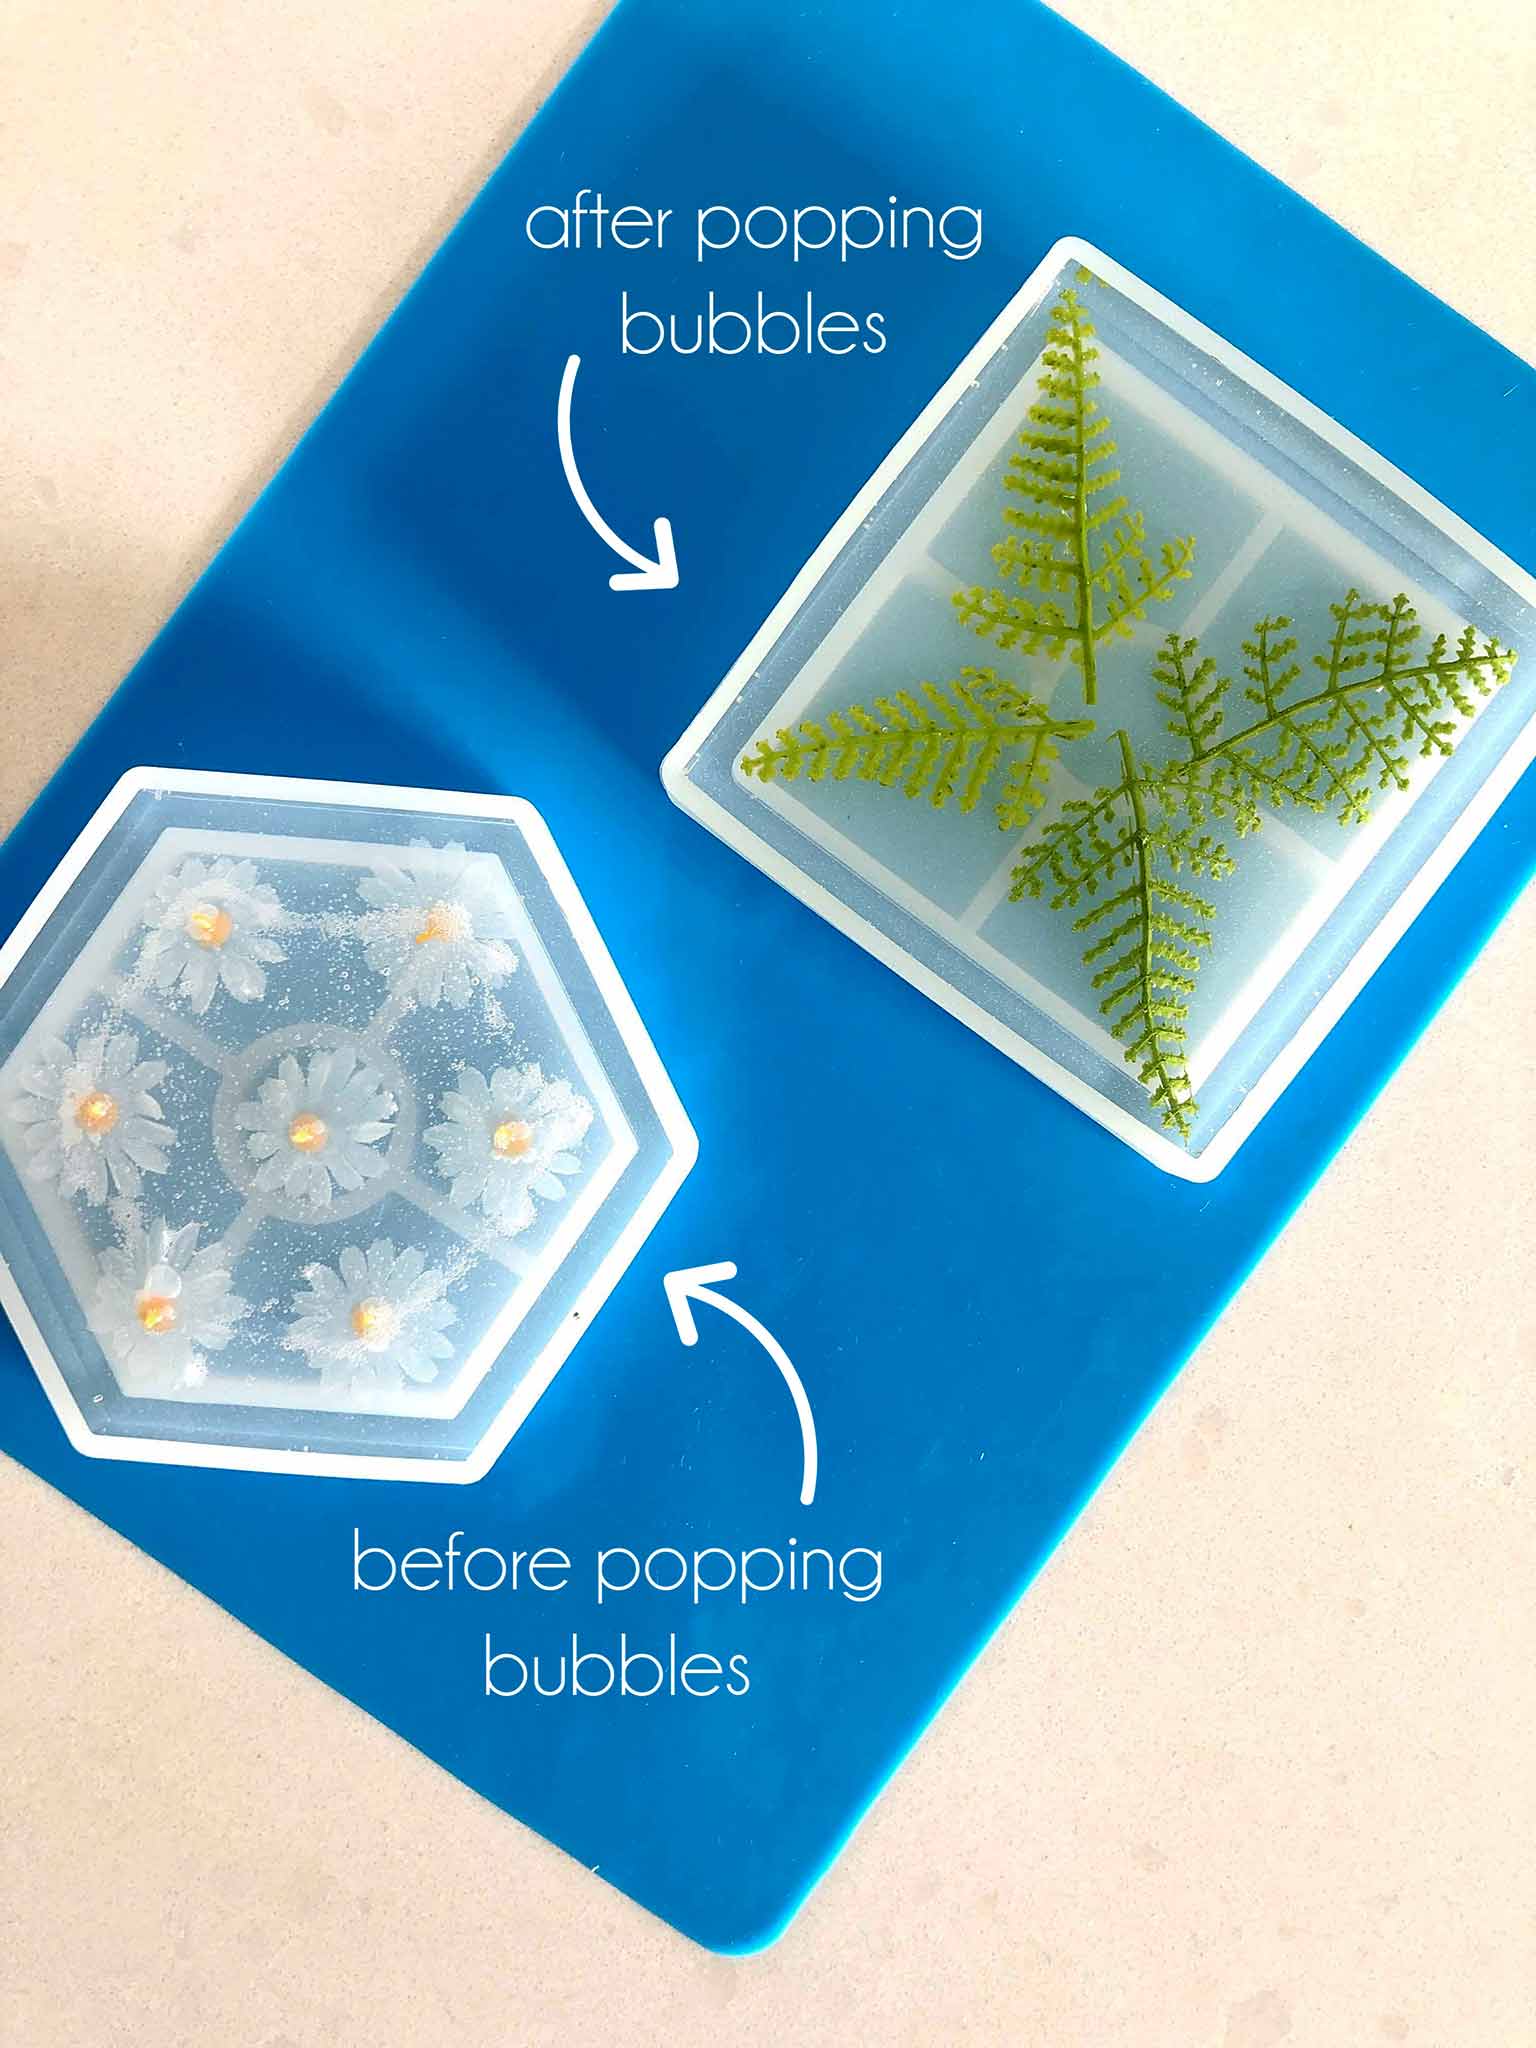
At this stage, you probably won't have many bubbles, but you can use a butane lighter to pop them—just make sure you don't get too close (at least 6 inches above the surface) and keep it moving over the whole area.
Now, cover up the molds with your dust cover and forget about them for around 4 hours so that the first layer has time to cure.
STEP FIVE: TOP COAT OF RESIN
For the fill coat, you'll need to mix a lot more of the Glaze Coat Craft, but the process is exactly the same as before. Because my measuring cups weren't big enough for mixing, I decanted the resin followed by the hardener into a bigger disposable cup. I used around 180ml of each bottle for this stage.
Once I'd completed both mixing stages, I carefully poured the mixture into each mold. Glaze Coat Craft is self-leveling, but I shook the molds very gently to make sure it was even all the way across.
STEP SIX: BUBBLE POPPING
At this stage, you will likely have a lot more bubbles to pop. It seemed to work best leaving them for 5 minutes to let the bubbles rise to the surface, but make sure you don't leave it longer than 15 as the glaze will start to set. This actually might have been the most fun part of the process for me—it's surprisingly satisfying popping all those bubbles!
STEP SEVEN: COVER AND CURE
Once you are satisfied with how your coasters are looking, cover them up again with your dust cover and leave them alone for at least 24 hours. If you're anything like me then you'll be tempted to interfere, but it's best not to do so at this stage so you don't end up with any unwanted fingerprints on the underside of your coaster!
STEP EIGHT: PEEL AWAY SILICONE MOLD AND ADD BUMPERS
The full curing process may take up to 72 hours, but mine were cured enough to remove from the silicone mold after about 36 hours. Because the mold is flexible, it just peels right off leaving a beautiful smooth and shiny finish underneath.

To complete this project, simply add bumpers to the bottom of each coaster, and then sit back and admire your work!
All in all, this was a surprisingly straightforward and therapeutic process (which I was not expecting!) For a first attempt, I’m thrilled with the results, and I’m looking forward to experimenting with embedding different items. Thanks again to Famowood Glaze Coat Craft for the opportunity to try it out!
If you try out this simple DIY then please do send me a picture, or tag me on Instagram! I'd love to see your work!
Looking for more easy DIY and craft projects? I've got you covered! Here are some you might like to try:
Simple DIY Yarn Wall Hanging for $10 (or Less!)