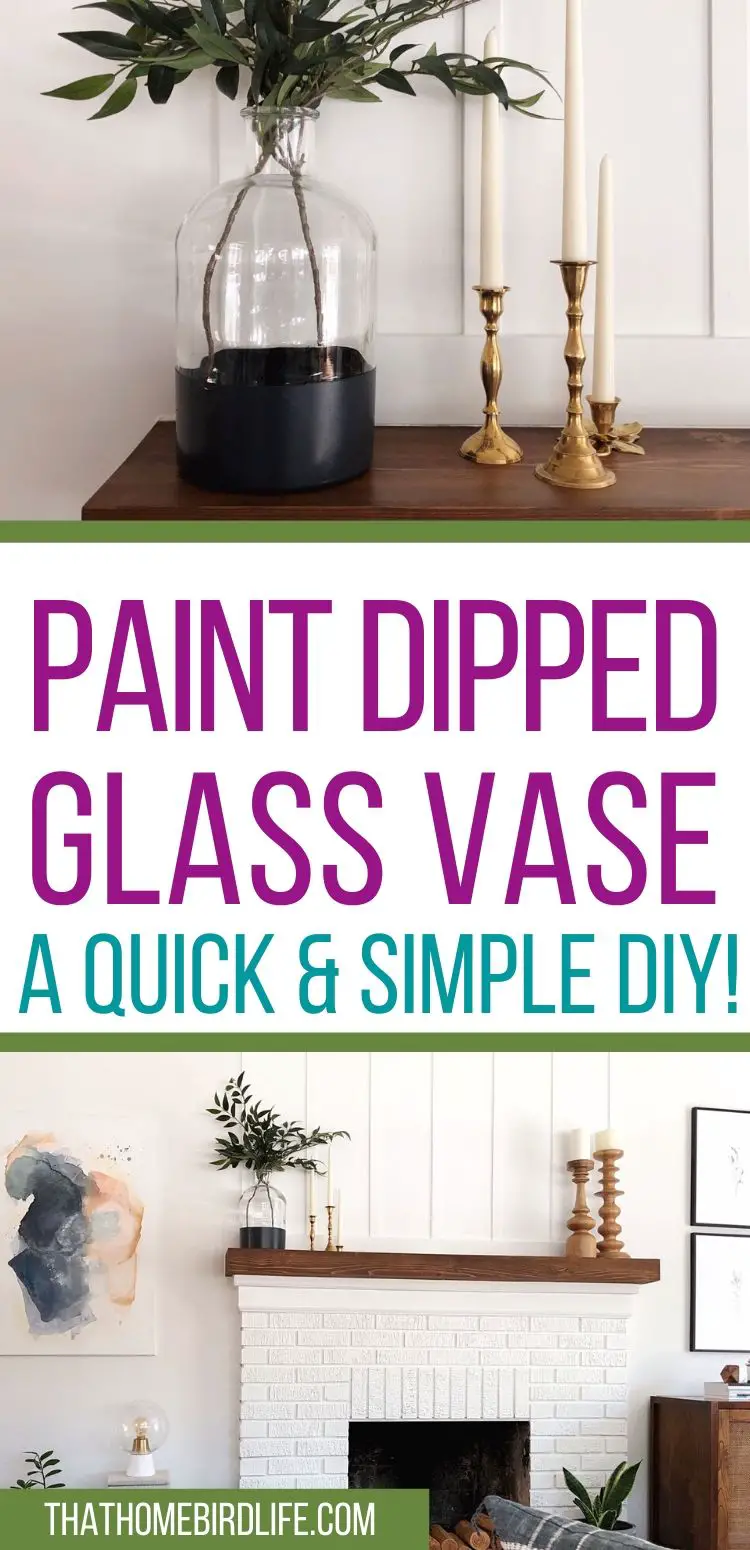
This past weekend I did a quick makeover on a glass vase to give it a dipped look. I'd seen some gorgeous vases on some high-end decor websites, but didn't really like the $100+ price tag. So I decided to try making one myself using a chunky, recycled glass vase that I already had at home.
This post contains affiliate links, which means that I may earn a small commission if you purchase something that I have recommended, at no cost to you. More information can be found on my disclosures page.
QUICK LINKS
- Materials needed for a paint dipped glass vase
- Amazon shopping list with the items you will need for this project
- Steps to make a paint dipped glass vase
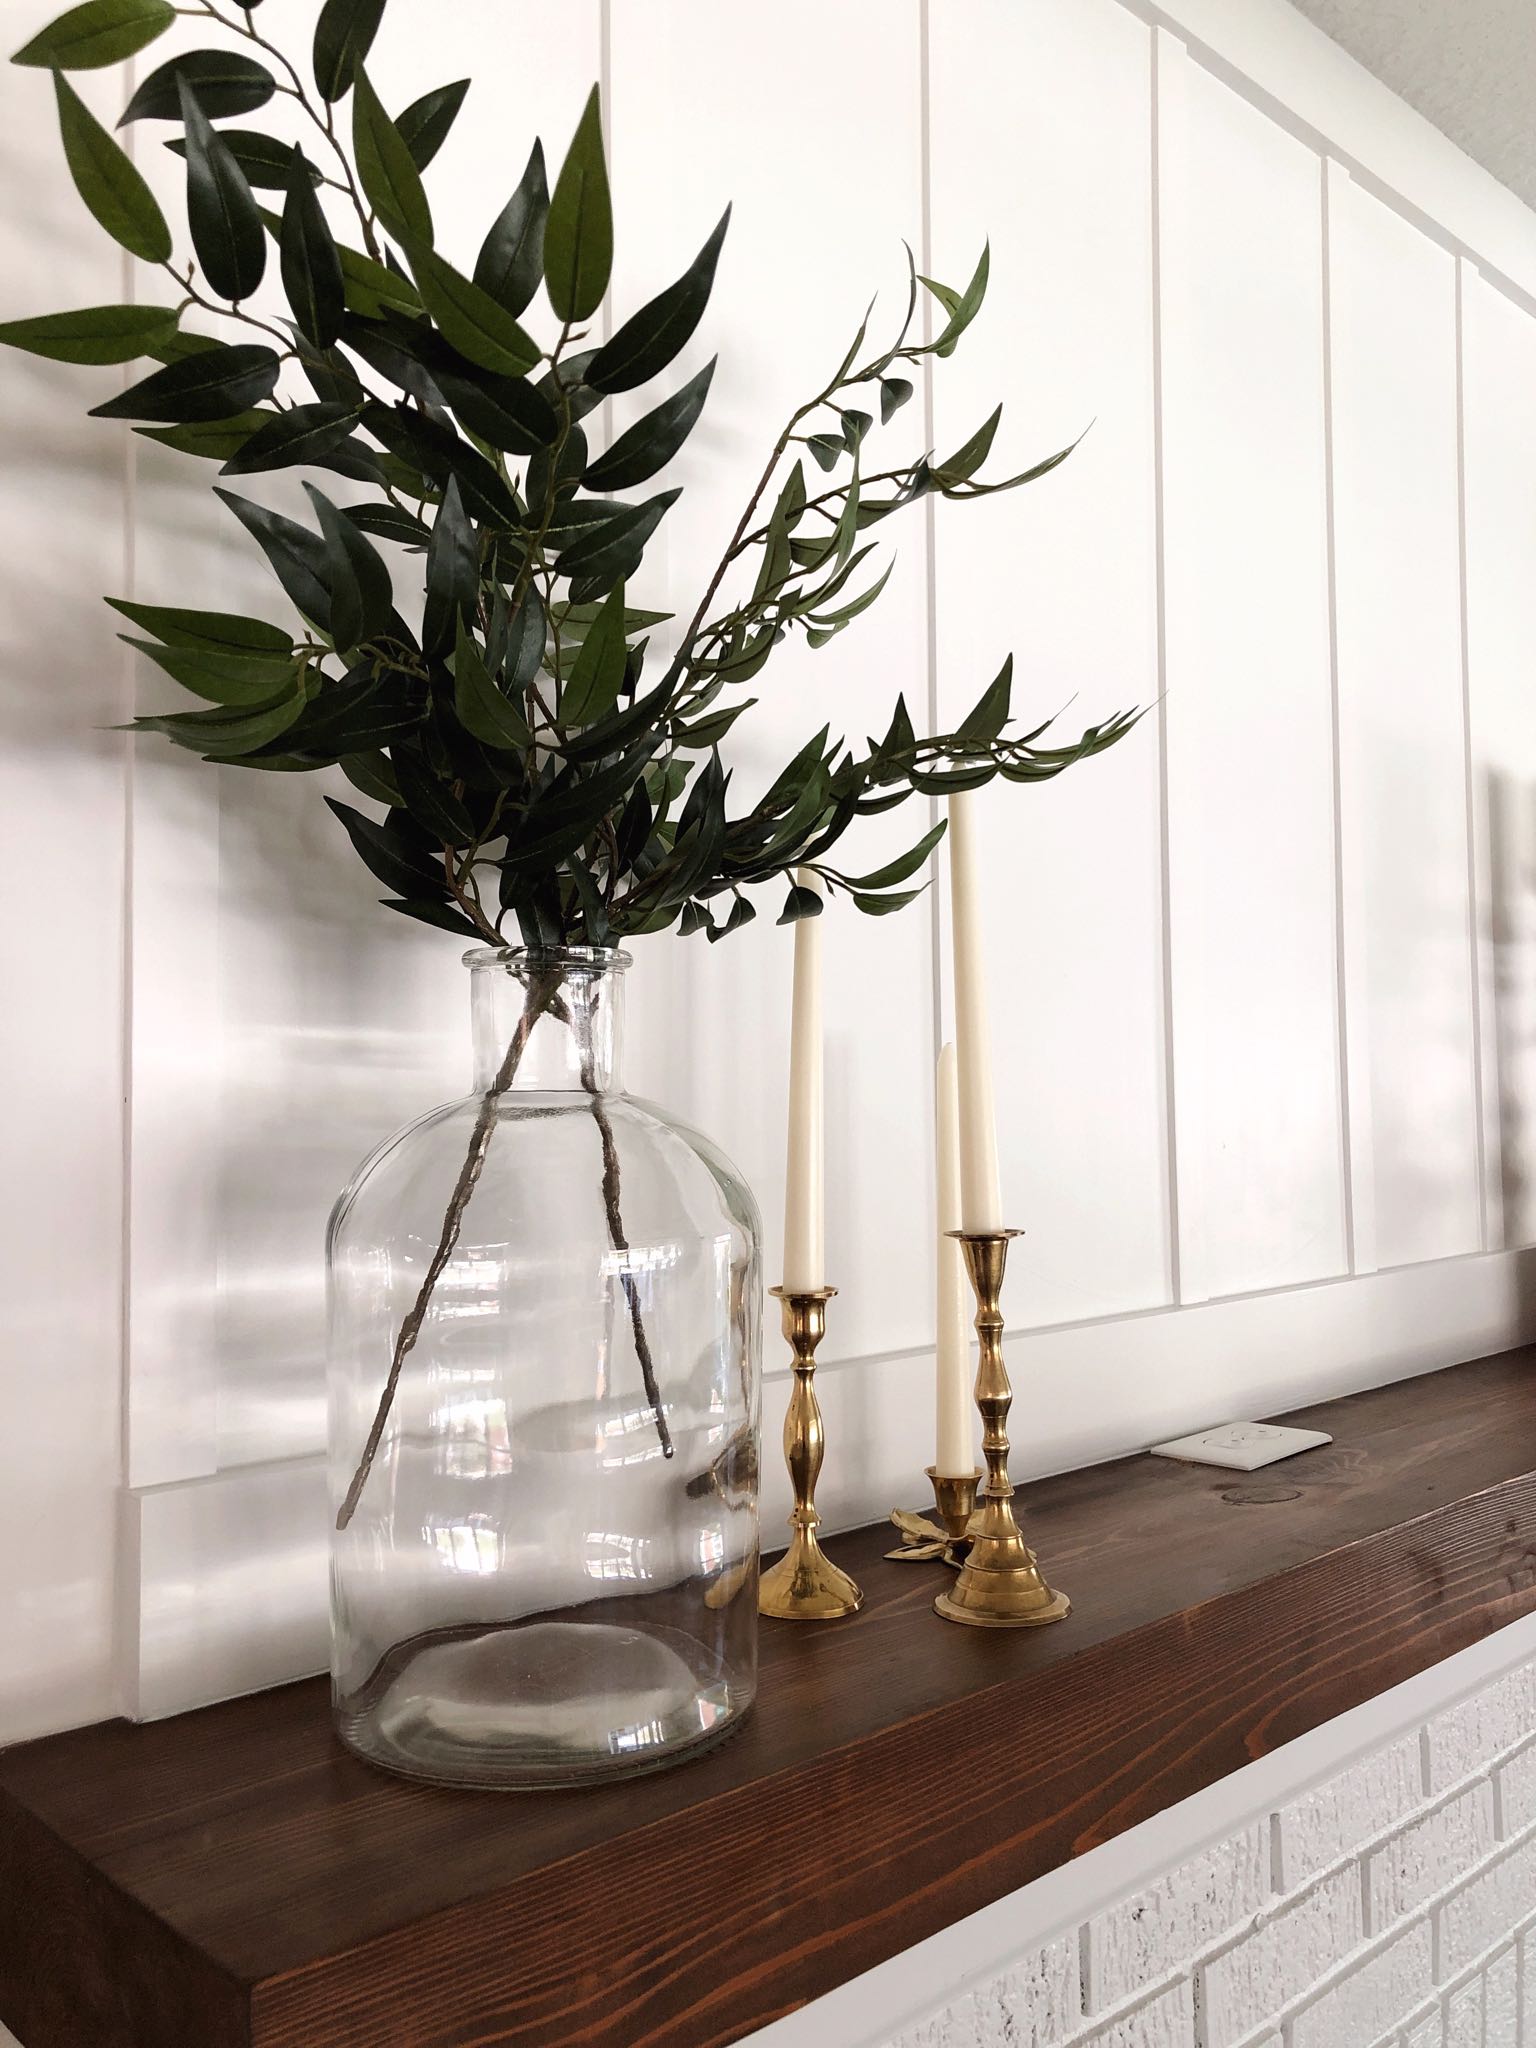
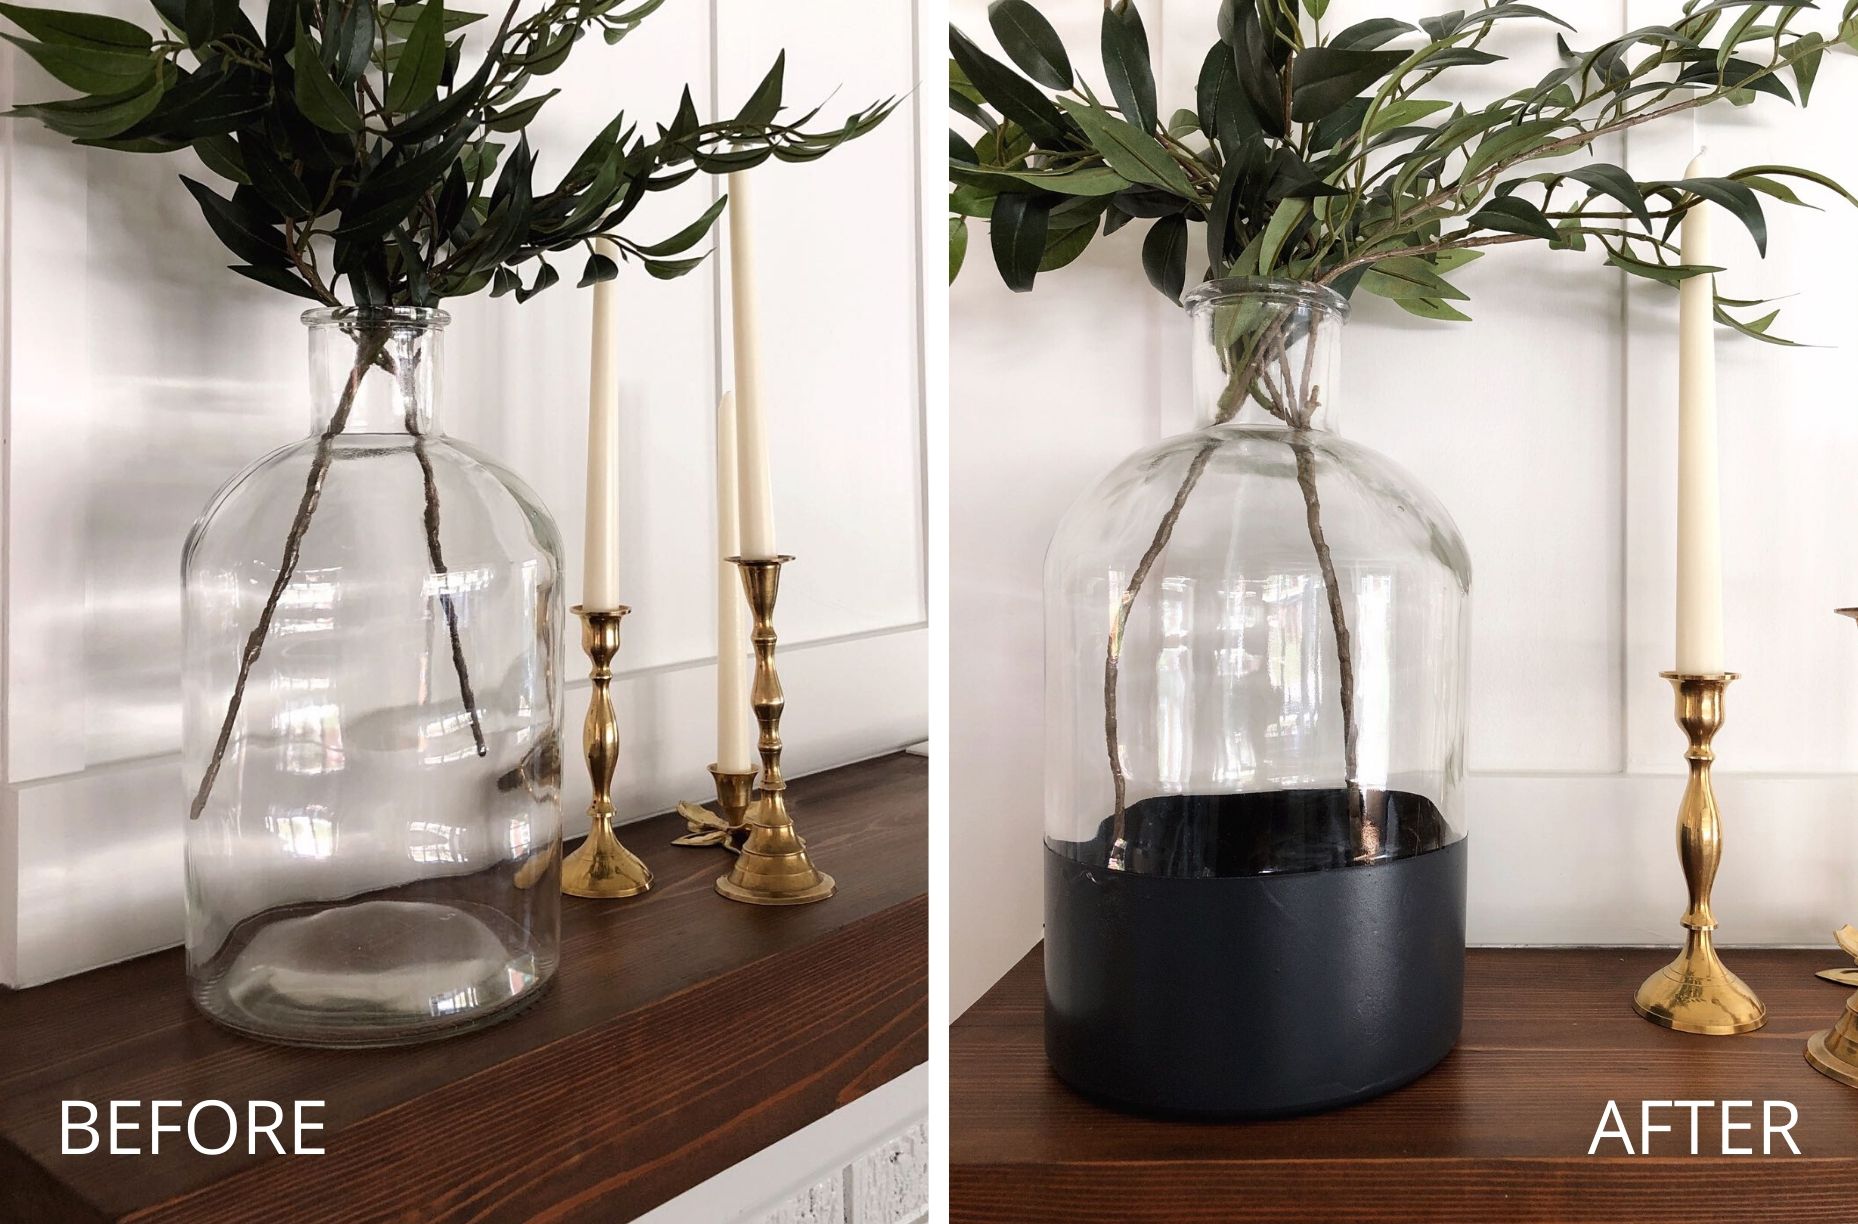
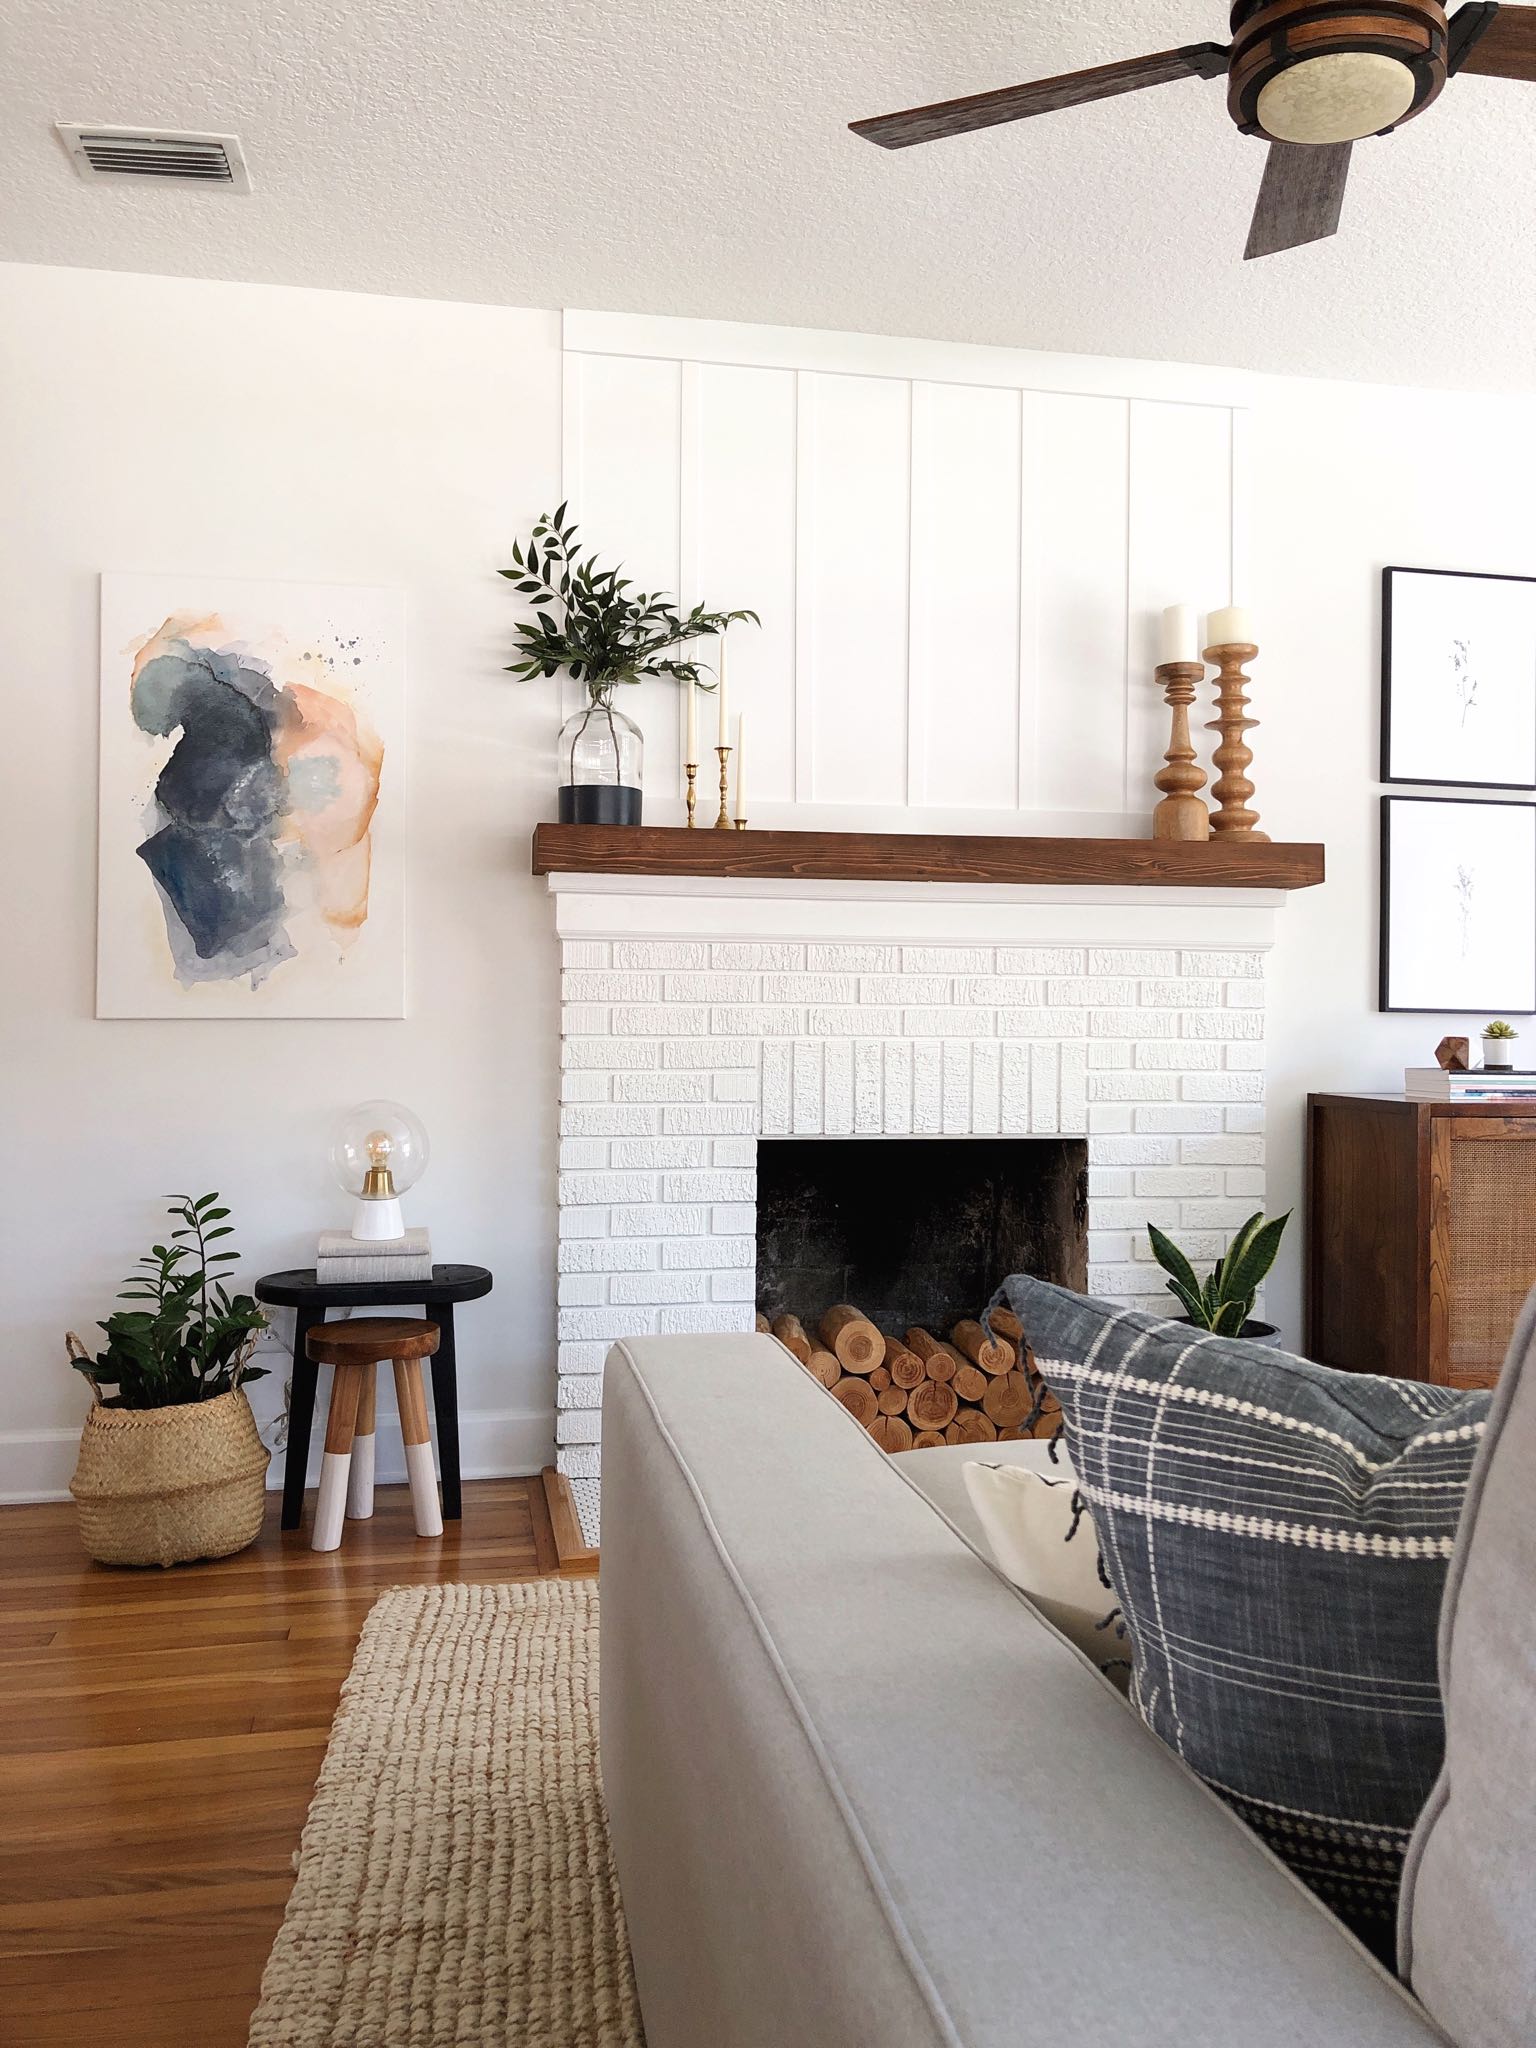
But why paint a perfectly good vase? This vase was great as-is and didn't really need a makeover, but it wasn't looking quite right for a couple reasons. Firstly, I purchased some amazingly lifelike greenery stems which were perfect for the shape of the vase, but turned out to be a little too short for it. I didn't like that you could see the bottoms of the stems floating in the middle of the vase as it kind of killed the illusion. And secondly, after our board and batten fireplace makeover, this vase was kind of fading into the background. It needed a little touch to give it some "ooomph", if you know what I mean.
Related: DIY Board and Batten Tutorial: Creating a Focal Point Above the Fireplace
I was slightly nervous to do this project as I love the shape of the vase and I didn't want to ruin it, but I'm so happy that I took the risk as I love it even more with the contrasting painted accent. And it feels good to have achieved that "high-end" look for a fraction of the cost! I'll share the exact steps I took to create this paint dipped glass vase so that you can try out this budget-friendly DIY for yourself.
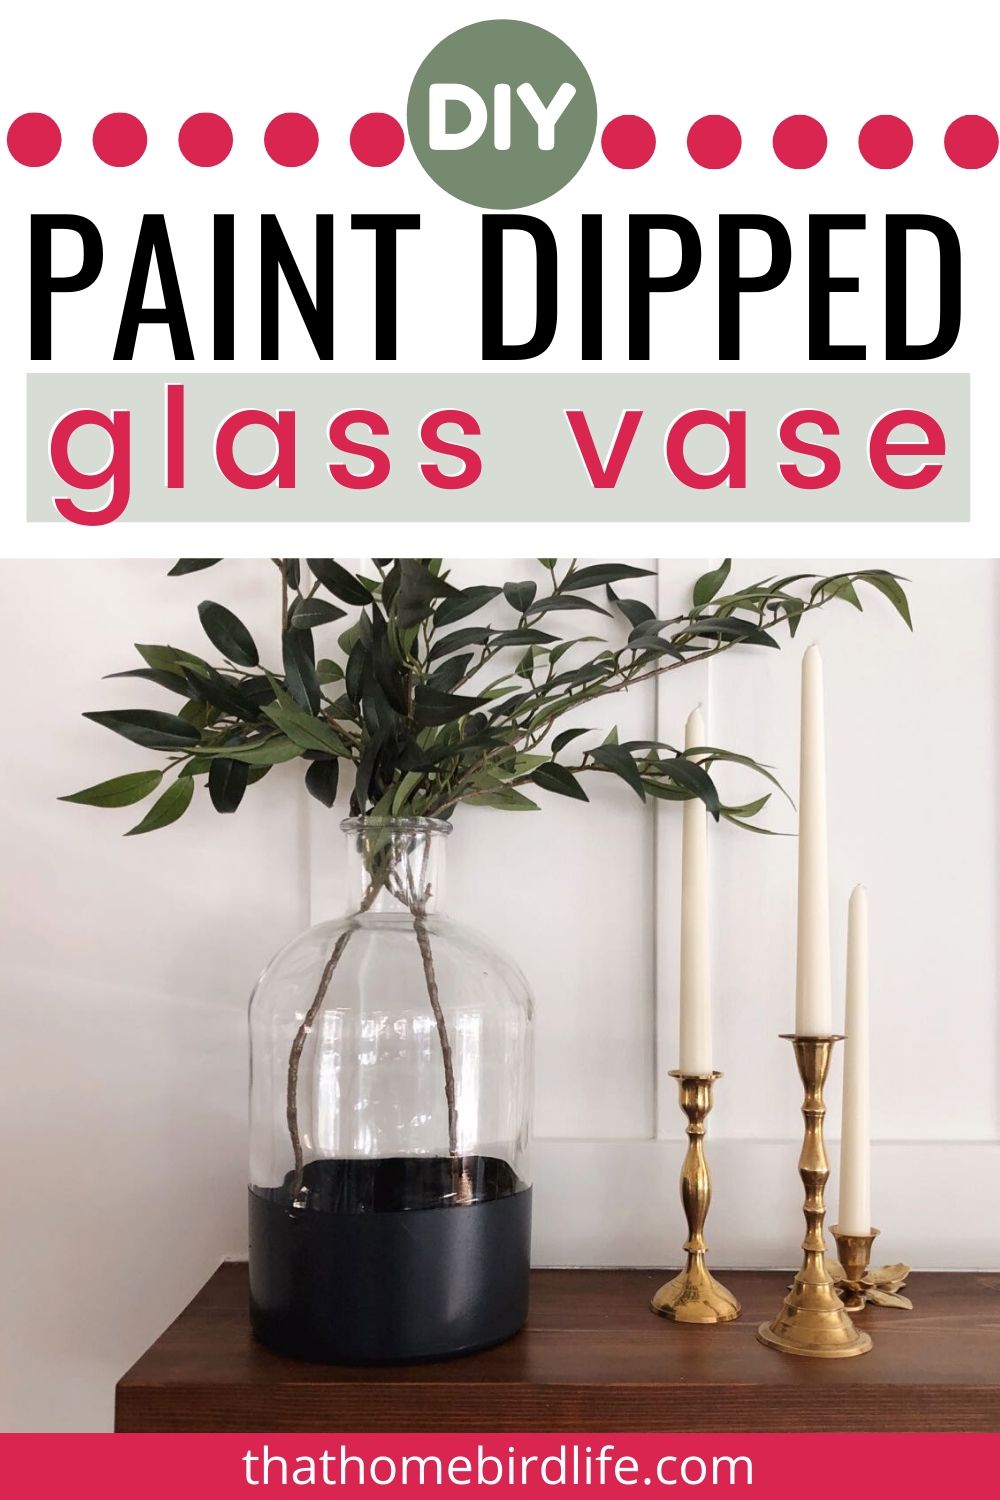
How to Make a DIY Paint Dipped Glass Vase
(Be sure to pin this tutorial so you can refer back to it later!)

STEP ONE: GATHER YOUR SUPPLIES
- a glass vase (if you don't have one at home, you could check the thrift stores!)
- painter's tape
- plastic bag
- drop cloth or large piece of cardboard
- spray paint/primer of your choice—I used Rust-Oleum ultra matte in Slate. You could use a separate spray primer for extra durability. I didn't bother with this step, but it can't hurt.
- matte clear coat spray
For your convenience, I've created an Amazon shopping list with all of items you will need for this project. You can access it here.
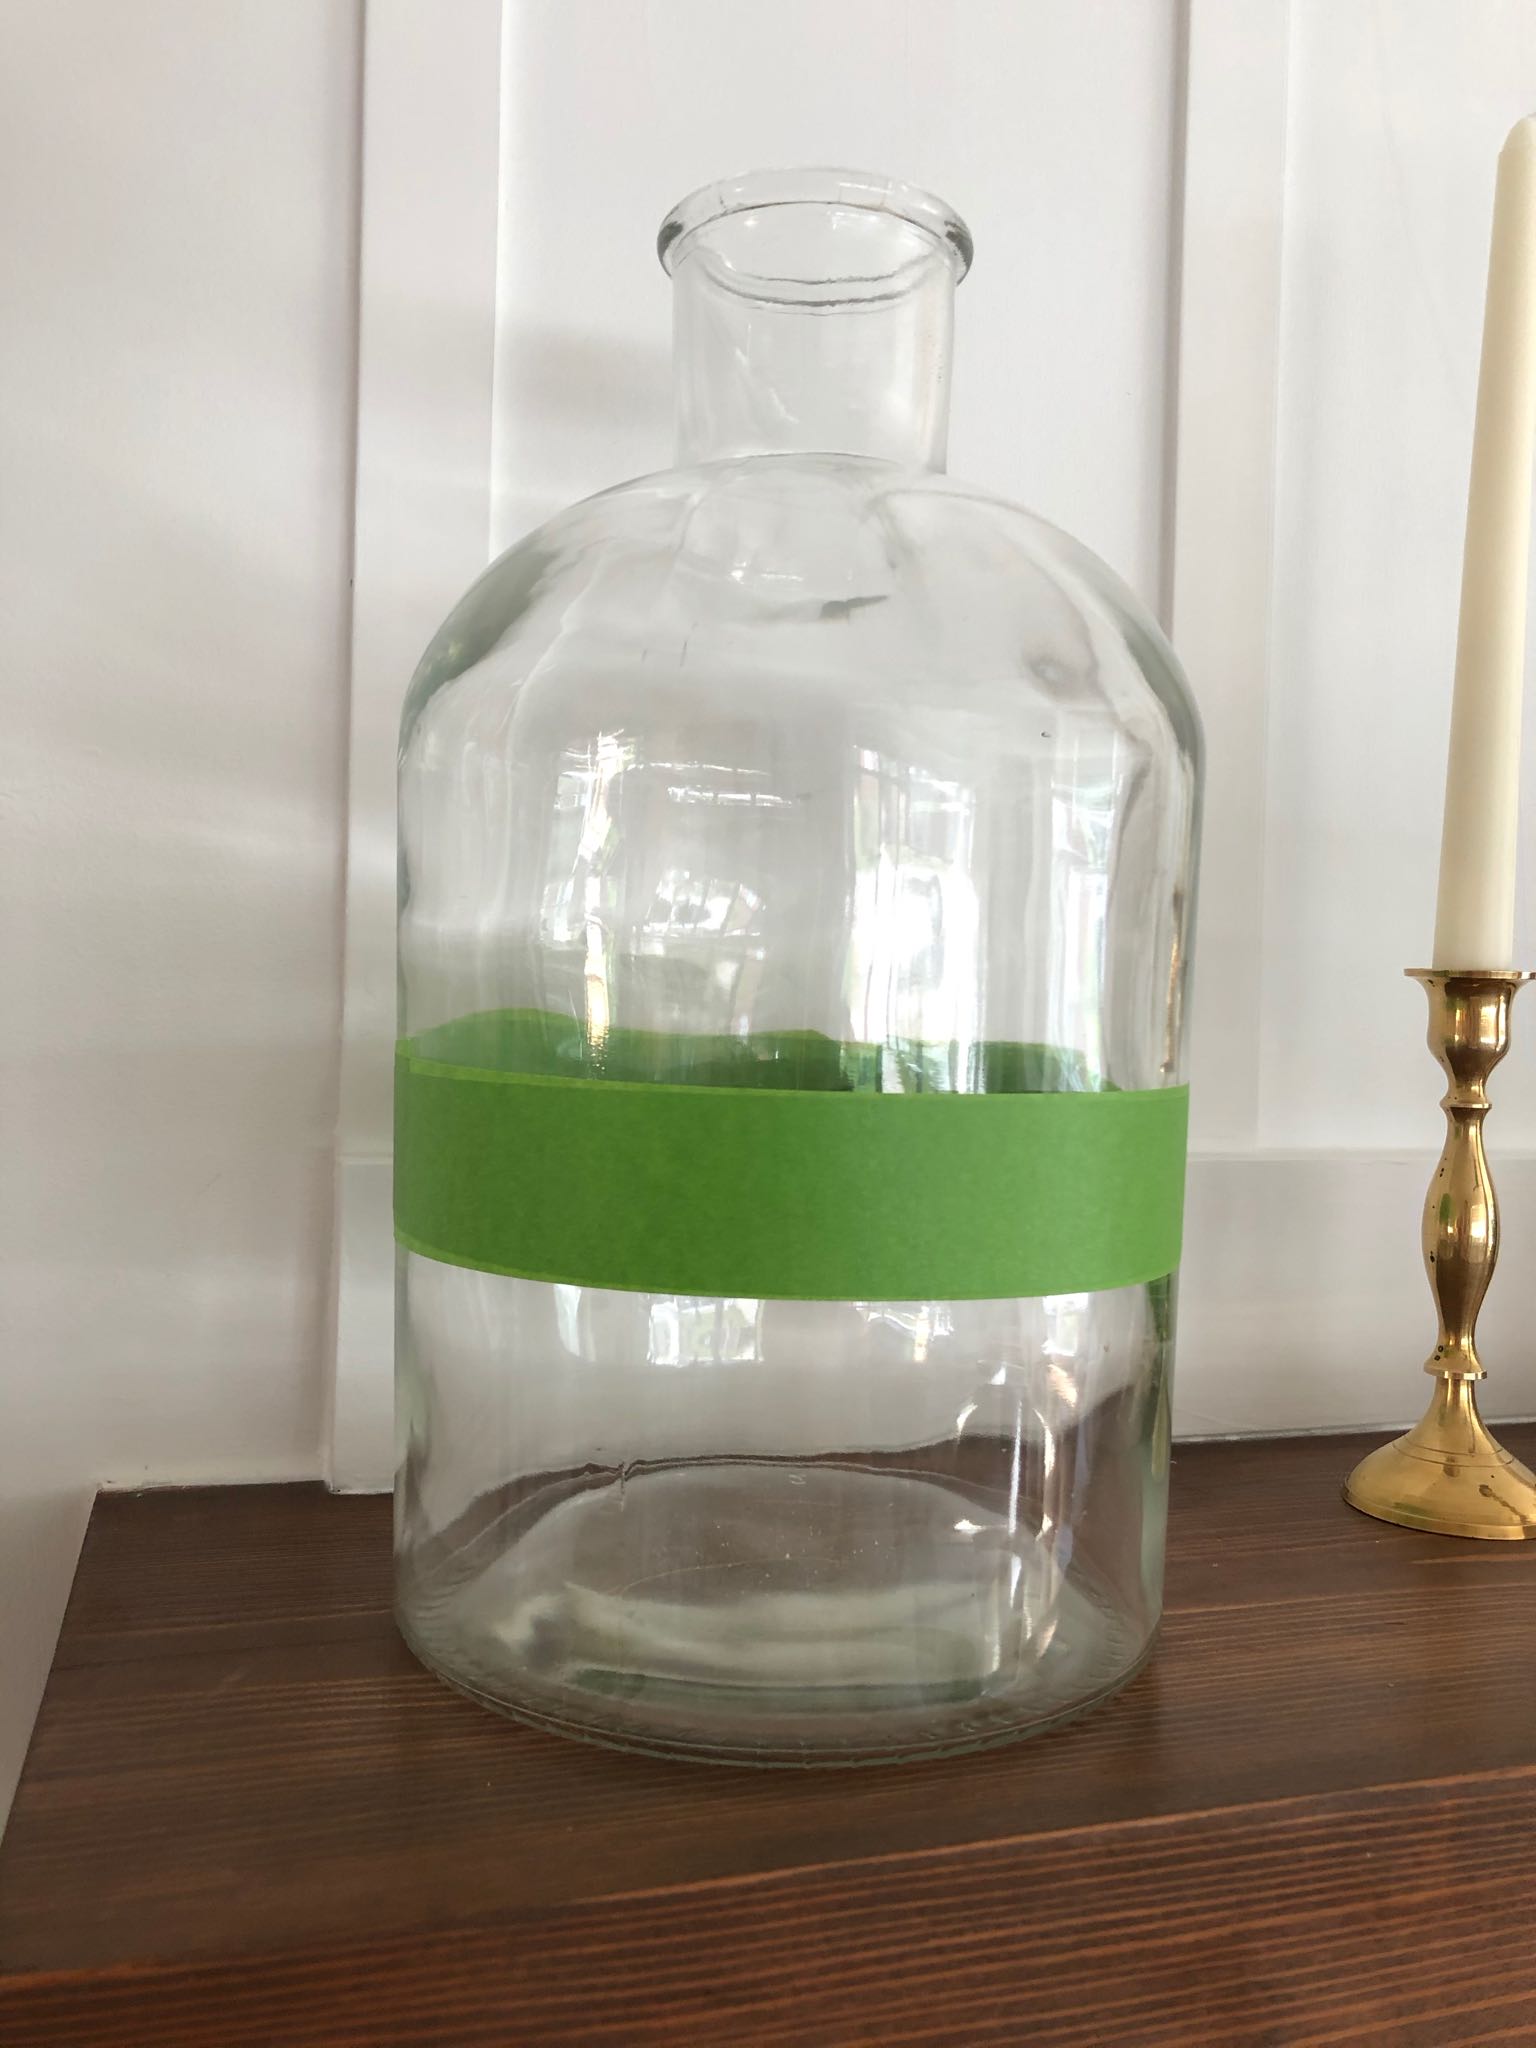
STEP TWO: TAPE OFF YOUR VASE
First off, you need to decide how much of the vase you want to paint. I looked at the vases I was trying to emulate the look of (this one in particular) and chose to paint roughly the bottom third of my vase. Tape off the vase using the painter's tape in as straight a line as you can manage. You could measure as you tape if you want it to be exact, but I found that by laying the vase on its side and rolling it slowly as I taped, I was able to get a more-or-less straight line all the way around. Be sure that your tape ends meet together neatly, and that the tape is firmly adhered to the vase.
Once you have your tape in place, tie a plastic bag over the top of the vase and tape it in place to protect the rest of the vase from the spray paint. (I used pieces of paper for this step, but I later realized a plastic bag would have worked much more effectively. I ended up with a few unwanted paint droplets but I was able to get them off with nail polish remover so it wasn't too much of a problem.)
The final piece of prep is to clean the area of the vase you will be painting and dry it thoroughly. I used vinegar and water as it's a good degreaser.
STEP THREE: SPRAY PAINT
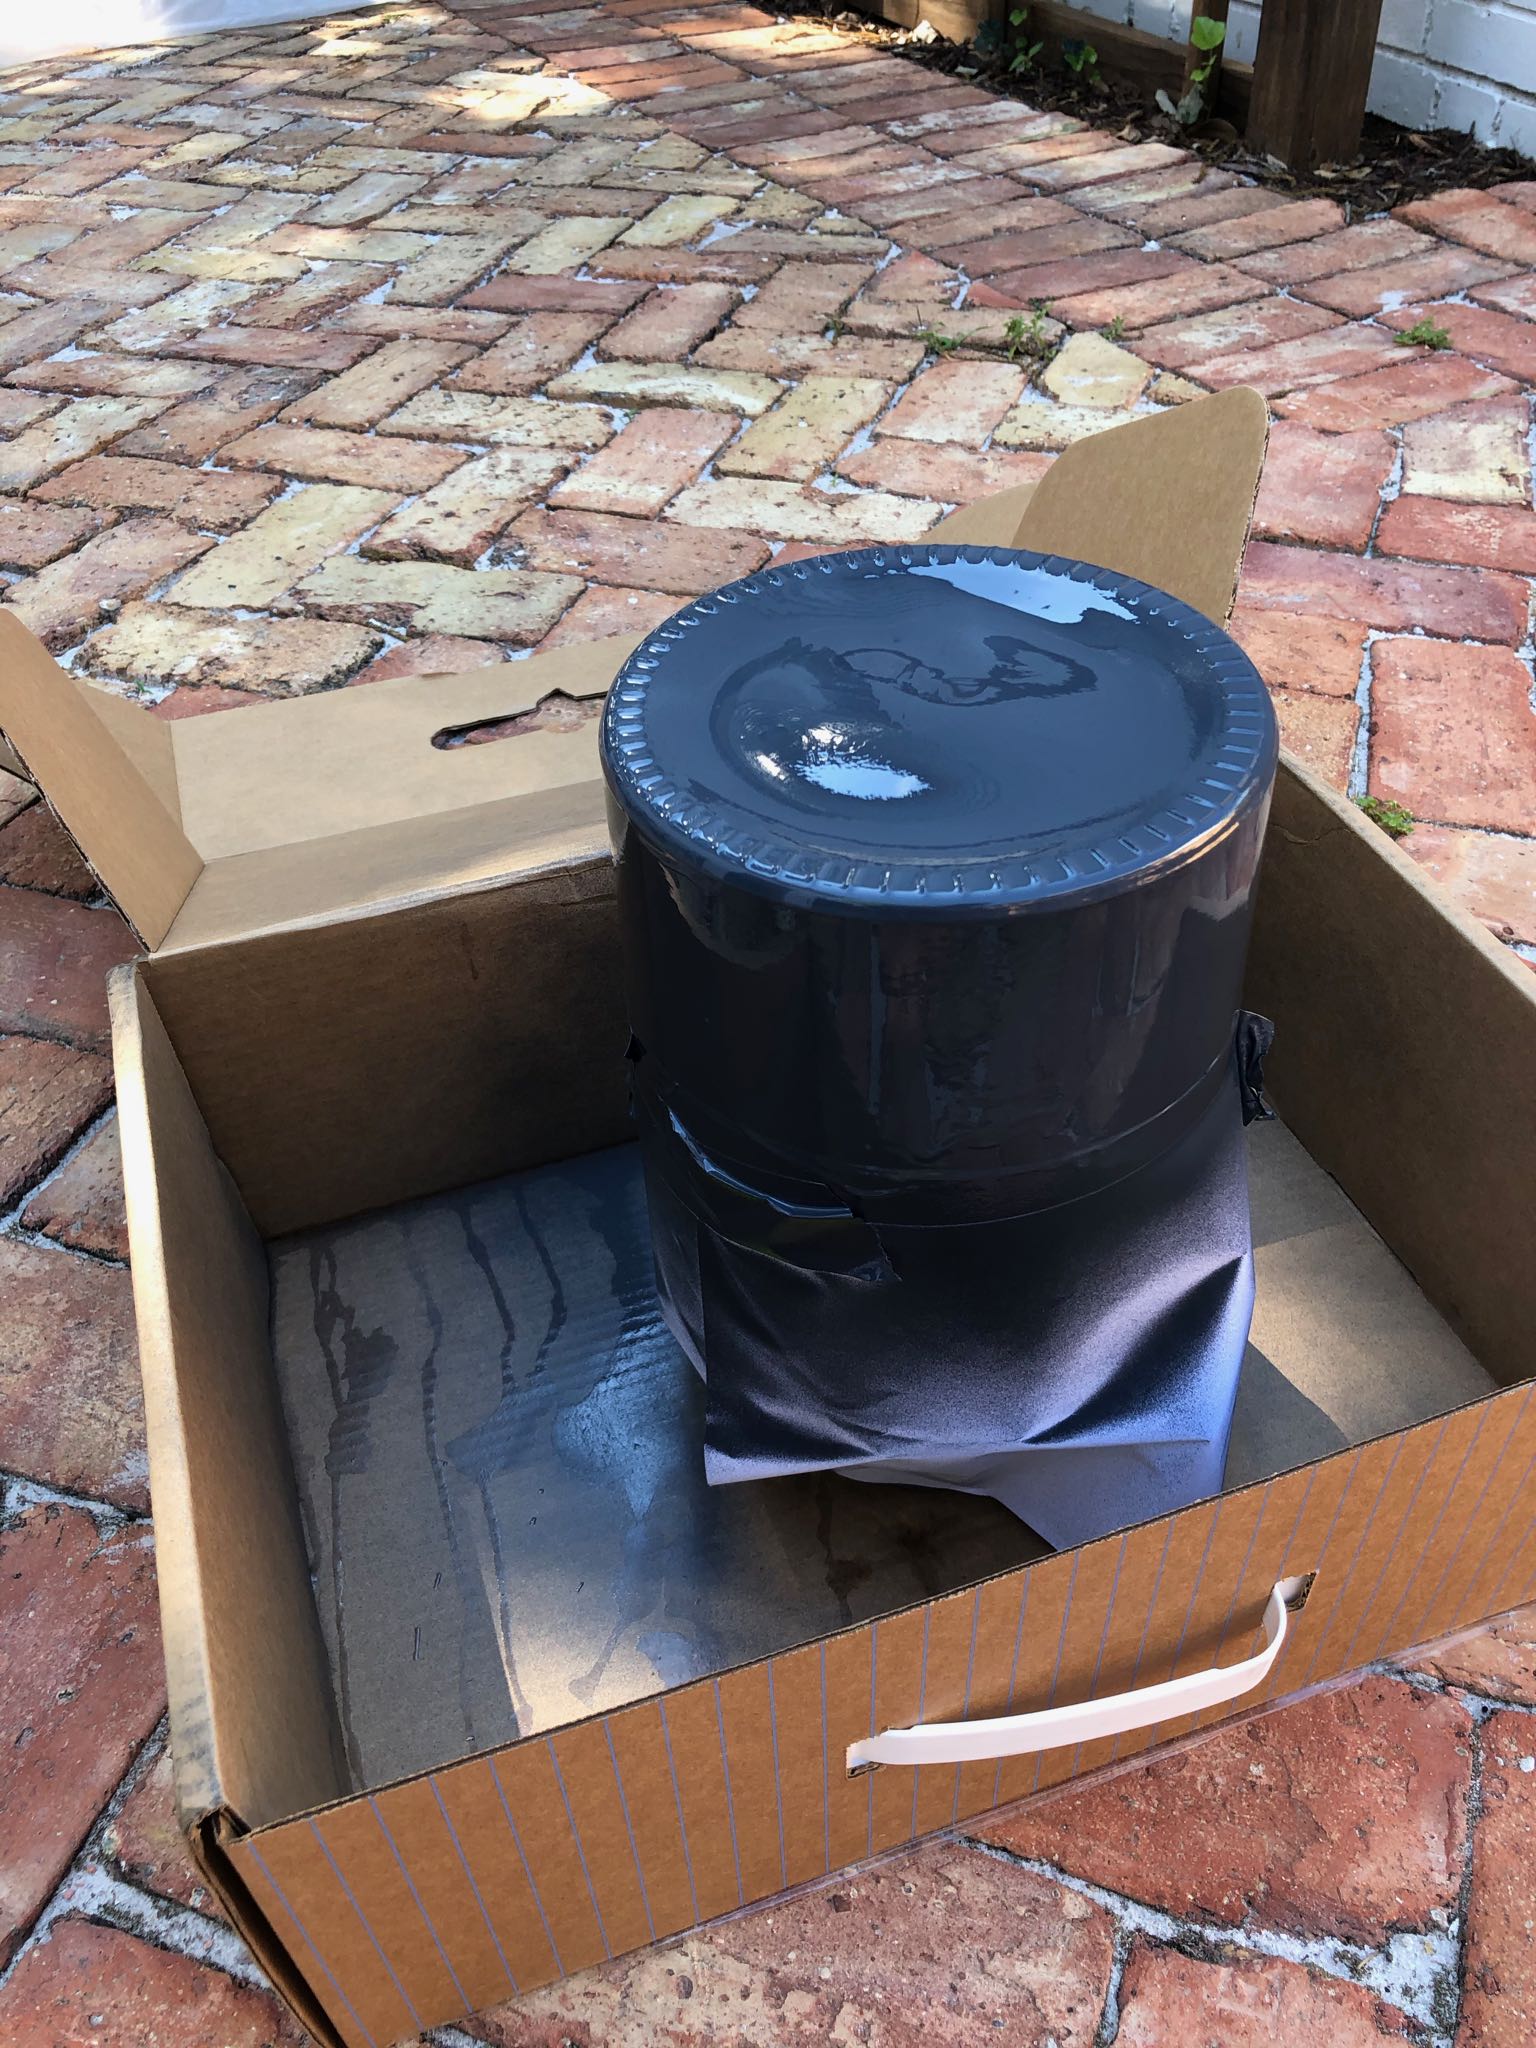
Turn the vase upside down put it on some cardboard or a dropcloth. Shake up your spray paint (check the instructions!) and apply 2-3 light coats of paint a few minutes apart.
STEP FOUR: PROTECTIVE COAT
Add 2-3 coats of clear polyurethane before the paint dries fully (my can said to do it within one hour of painting.)

Once the clear coat is dry to the touch you can remove the plastic bag and painter's tape. Almost done!
As tempting as it is to set it in place, leave the vase upside down for at least 24 hours to give the underside a chance to dry thoroughly. After this you can style it up and admire your work!
I highly recommend these stems I bought if you're looking for a realistic faux option for your newly upgraded vase. Just be sure to manhandle them a bit to make them look more natural ;)
If you try out this simple DIY then please do send me a picture, or tag me on Instagram! I'd love to see your work!
Looking for more easy DIY and craft projects? I've got you covered! Here are some you might like to try:
Simple DIY Yarn Wall Hanging for $10 (or Less!)
Craft Resin Coasters for Beginners