Maintaining our outside space has been an ongoing battle for us since we bought this home. There's never been a big "reveal" of our backyard, because truly—we've never really been able to get it finished! As soon as one thing is completed, another task pops up. We're whacking moles left, right and center over here...can anyone relate?
Since moving here, I've always dreamed of having a welcoming, fun backyard that we can enjoy and use for hosting, and it's frustrating to feel so defeated by something that I've wanted so badly. But the surprising benefit of our challenging outside space is that it's teaching me to let go a little, and celebrate progress over perfection.
Related: How to Beat Project Fatigue, and (Lack Of) Progress on Our Outside Space
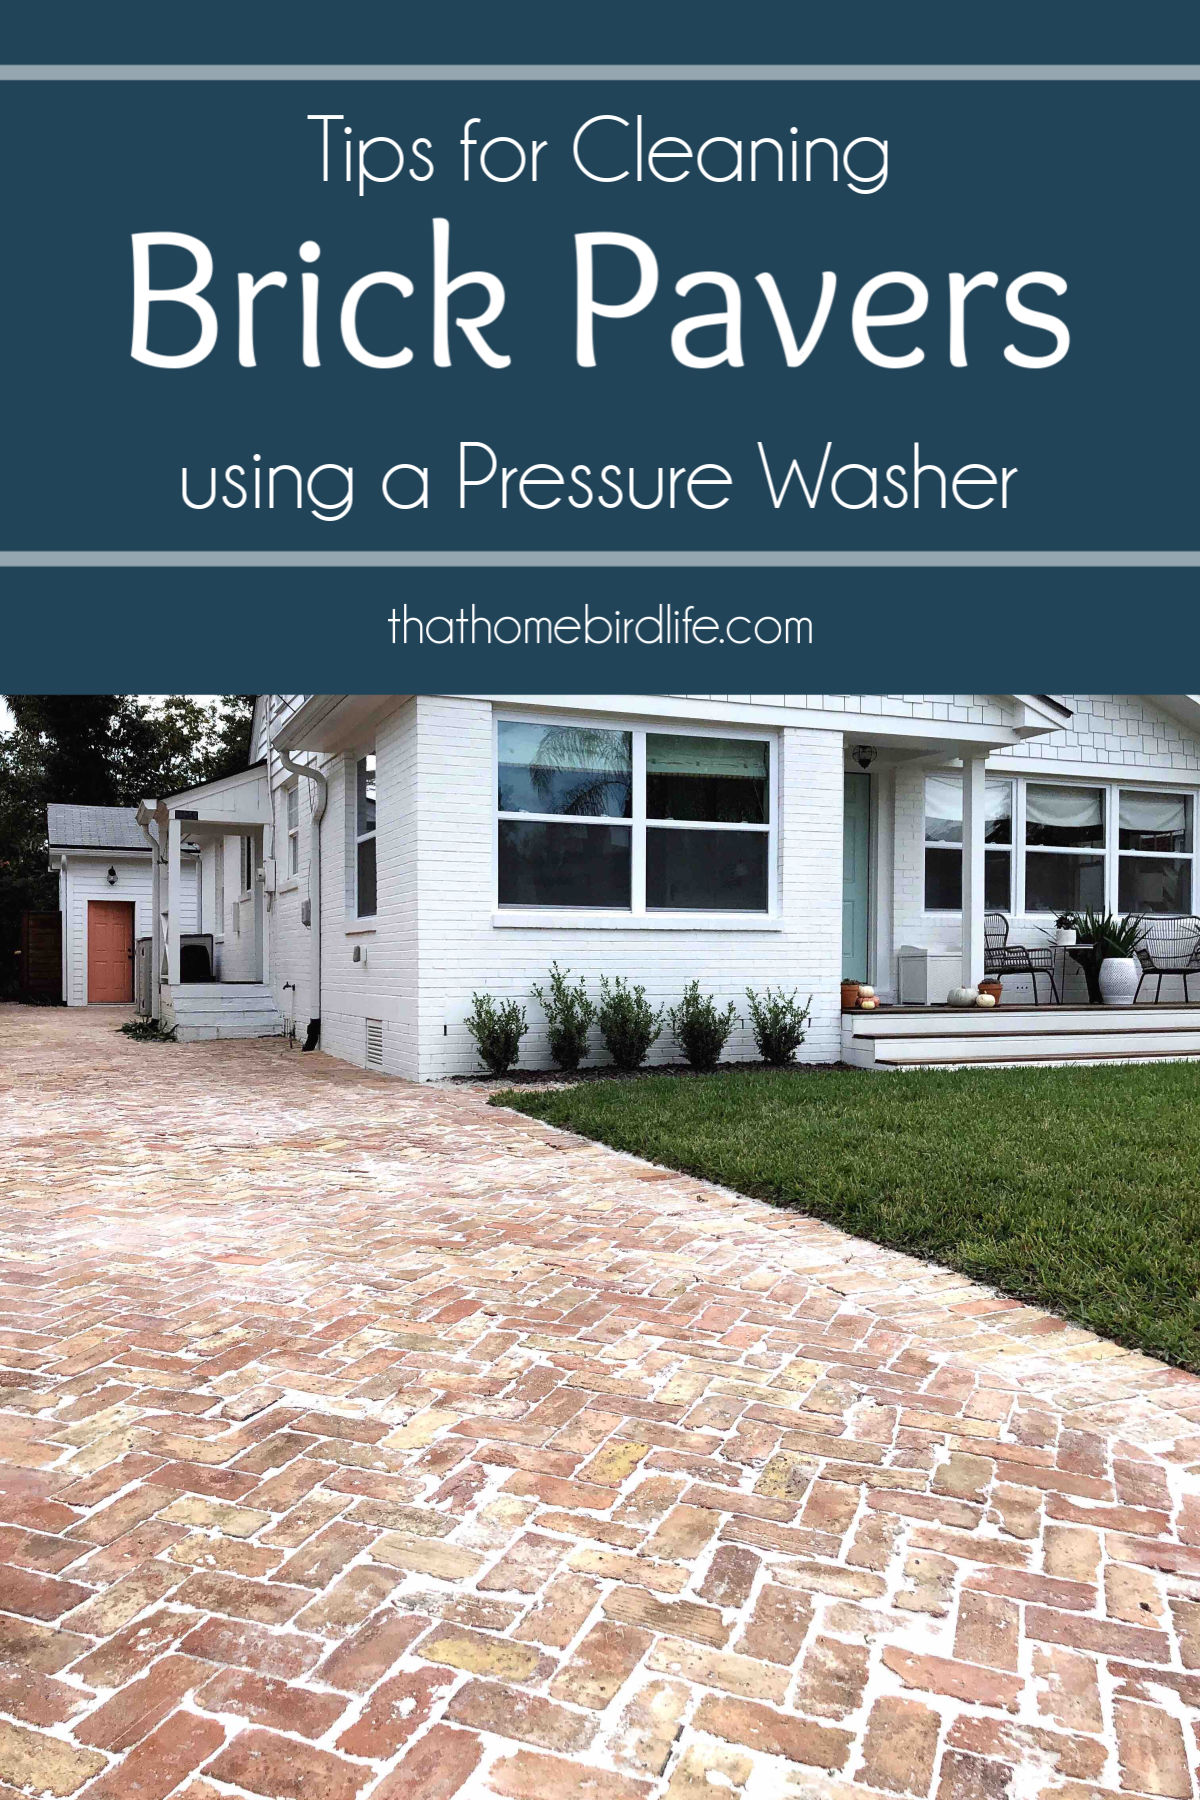
A task we HAVE managed to check off the list (for this year, at least) is cleaning up our moldy, mildewy brick pavers. These are actually pretty special—reclaimed old chicago bricks—and I FOUGHT for them when we were choosing our driveway and patio. Even though they are "old bricks" as my husband not-so-affectionately calls them, they are more sought after and so the cost is higher than brand new pavers. My husband wanted regular pavers, but I had seen these bricks on Pinterest and NOTHING else would do. I eventually wore him down and convinced him they would be worth the extra money because they were SO BEAUTIFUL and I couldn't live with any other decision. Yeah...I was pretty dramatic about it.
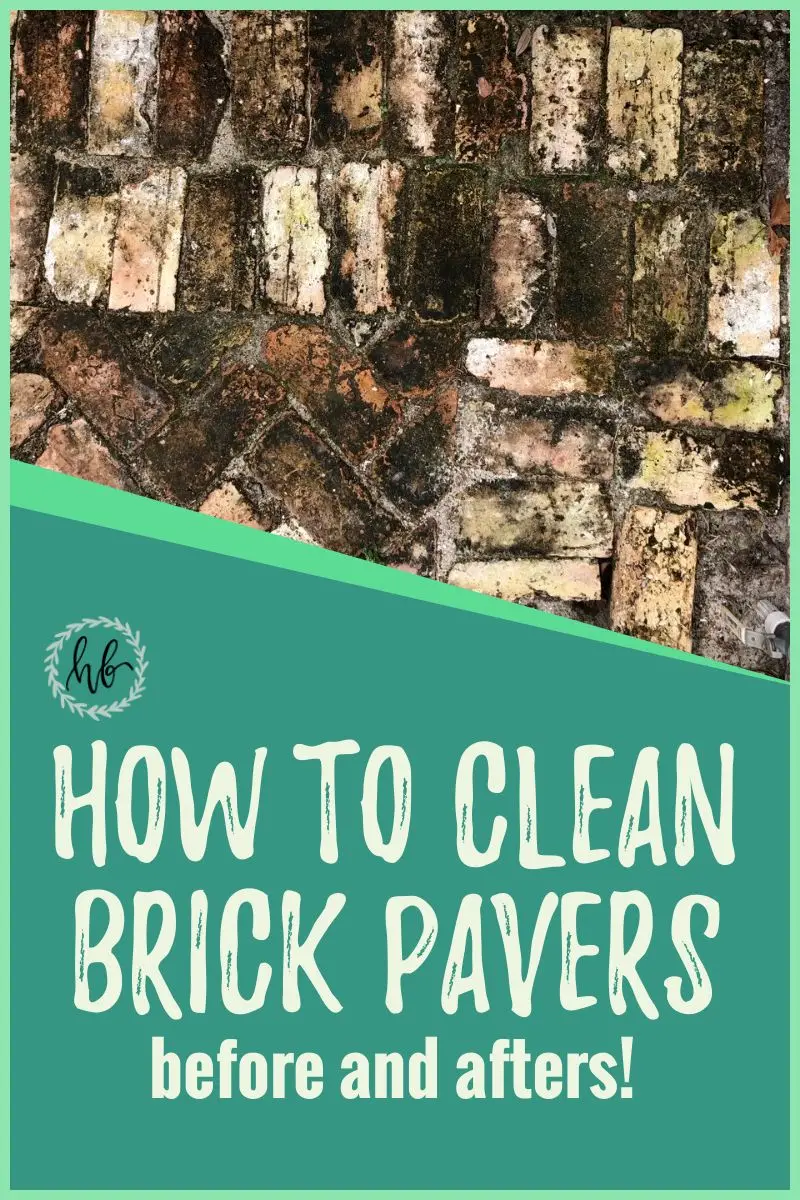
I later learned through bitter experience that these pavers are probably the hardest kind to maintain. Facepalm. The beautiful, aged texture of the bricks seems to attract all that lovely mold and mildew, so combined with our Floridian humidity, they take lot of work to keep up with. And guess what? Since I championed those bricks, the pleasure of cleaning them is all mine!
What's the easiest way to clean up brick pavers? Pressure washing wins, hands down.
Last year, I borrowed a beast of a pressure washer from a friend, which certainly did the job, but I wanted to find a more inexpensive and less heavy option to purchase for ourselves. A few weeks ago I tried out a neighbor's electric pressure washer, and I was so impressed by it that I hopped on Amazon to purchase this similar one! Over the last week I have truly put it to the test, and I have to say that it passed every single one with flying colors.
If you've been following along on Instagram, then you'll know that I do love a bit of pressure washing. (I have some story highlights saved if you want to catch up!) There is something so gratifying about blasting gunk away with very little effort. But my goodness it's so very TEDIOUS. Do you ever walk past driveways and see where people have given up on the job halfway through? I can totally understand why. It takes a lot of determination to follow through and finish after that initial novelty wears off.
Having done our driveway & patio twice now, I have picked up a few techniques and hacks that make the job a smidge easier to tackle. So, for anyone who feels a little bit daunted or intimidated by the task (like I was at first) I thought I'd share a few tips to help get you started, AKA, Things I Wish Someone Had Told Me Before I Found Out the Hard Way.
1) WEAR EYE PROTECTION
I can't stress this one enough. It's just not nice trying to get grit out of your eye. Sunglasses will do, but you could go fancy and wear safety glasses, especially if it's a cloudy day and you want to be able to see what you're doing.
2) STAND UP STRAIGHT
This one is all thanks to my neighbor. He walked past me hunched over when I had just started the job and yelled that I needed to stand up straighter or I would hurt my back. Such wisdom! Maintain a good posture and you'll feel a lot better the day after.
3) USE A CLEANER FIRST
I used a bleach-free pressure washer concentrate and sprayed it over each section to help loosen the grime before going at it with a higher pressure nozzle. It didn't take long to apply and helps get those stubborn mildew stains out.
4) FIND YOUR RHYTHM
I found that the task was much easier when I got into a repetitive rhythm. I used an "S" pattern to clean each brick, and went row by row in sections. It helps to focus in and ignore everything (and everyone) else around you. Get in the zone and you'll be surprised how much more efficient you are.
5) LISTEN TO SOMETHING
Put in your earbuds and listen to some ubpeat music or binge a podcast series. Trust me, you'll have a lot of time to kill. It makes the task a lot more fun and takes your mind off how much left there is to do!
I broke down our job down into three sections and tackled it on three separate days to break it up a little. After pressure washing, my husband hosed down each section and added new sand to the joints to replace what I had blasted out with pressure washing. Teamwork makes the dream work!
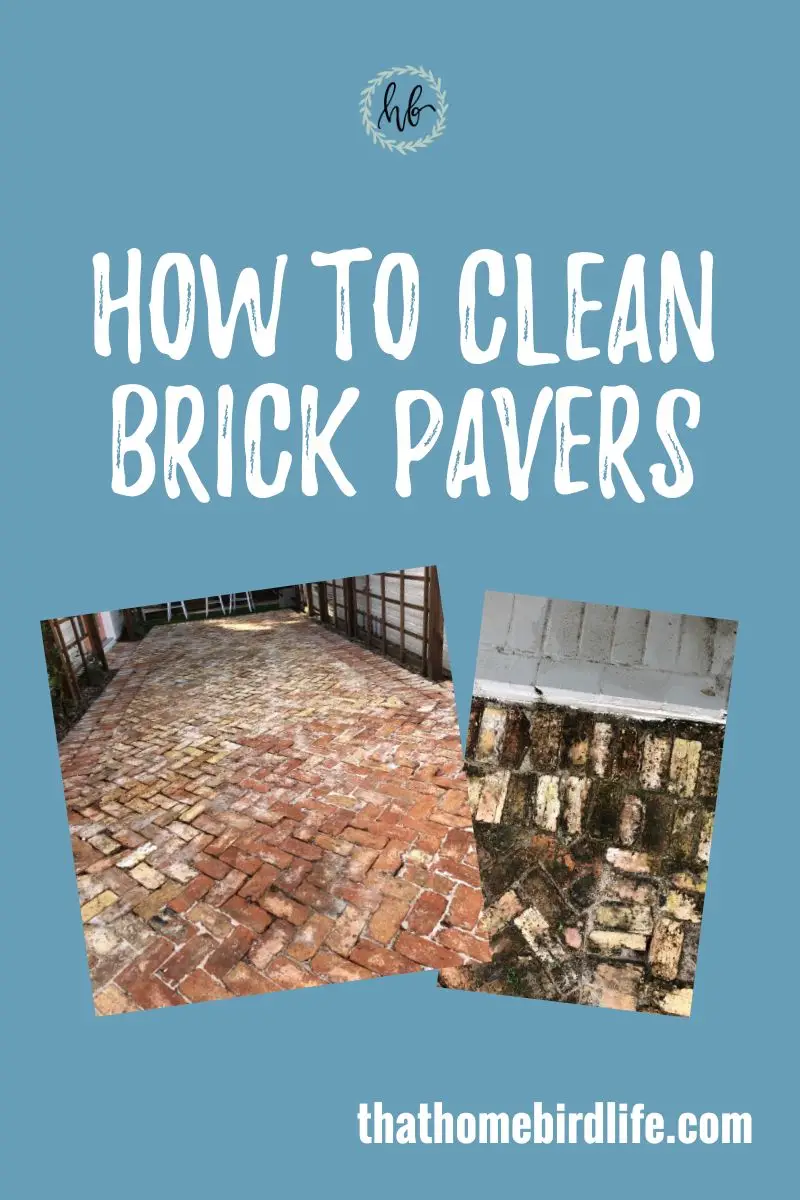
Here's the before and afters that make it all worthwhile:
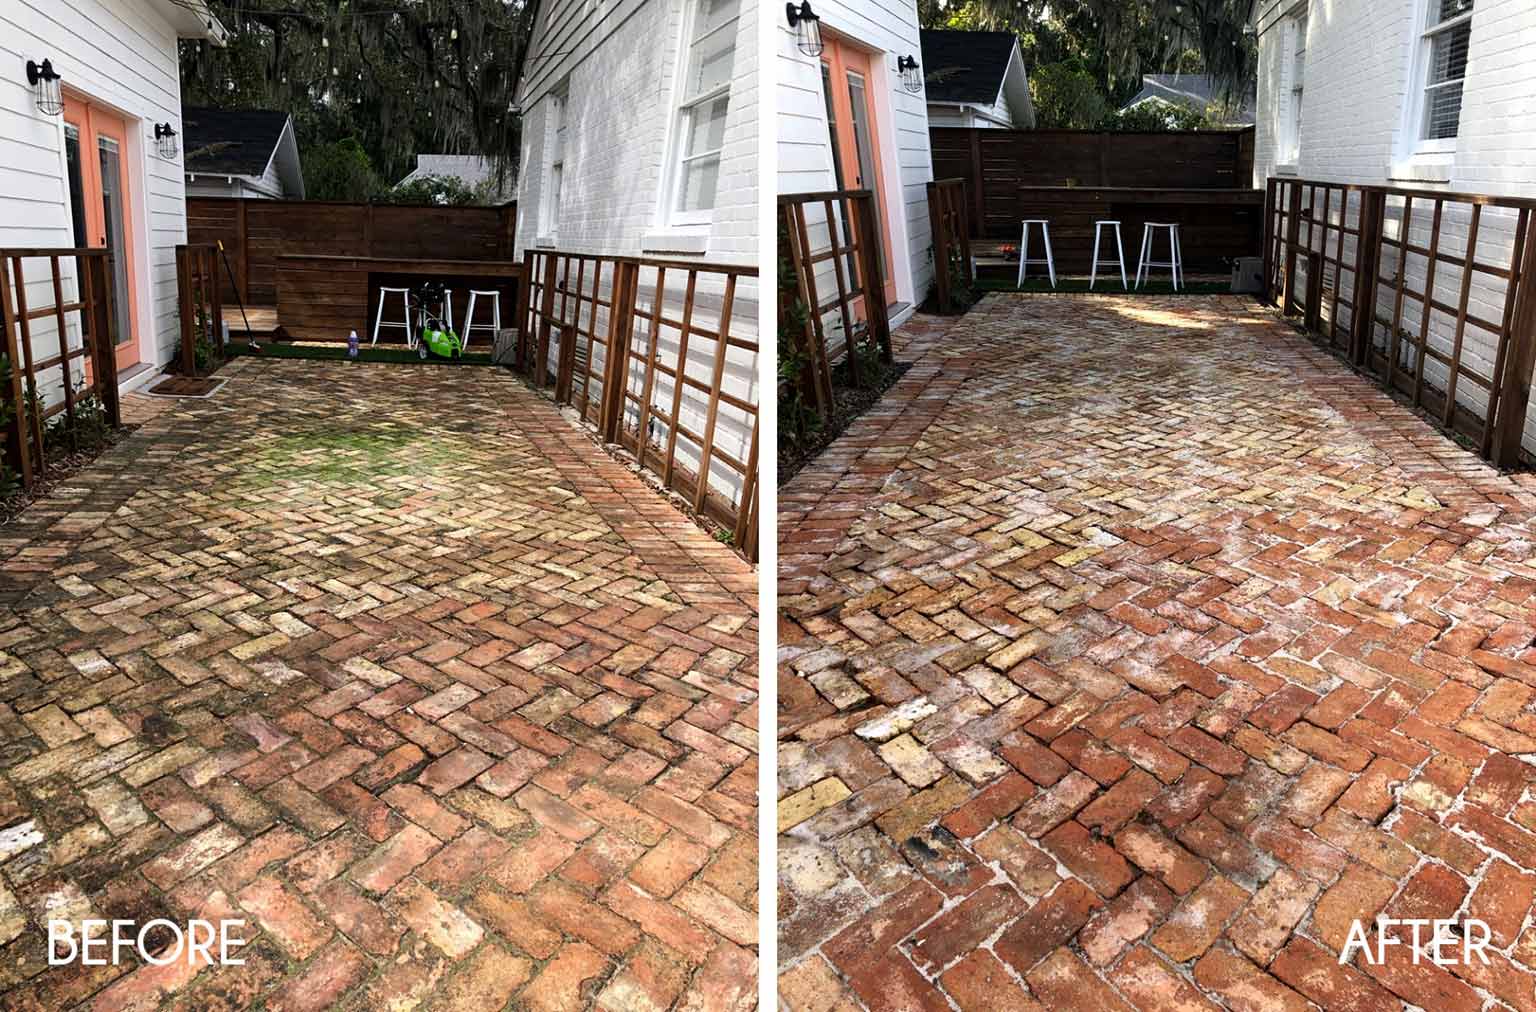
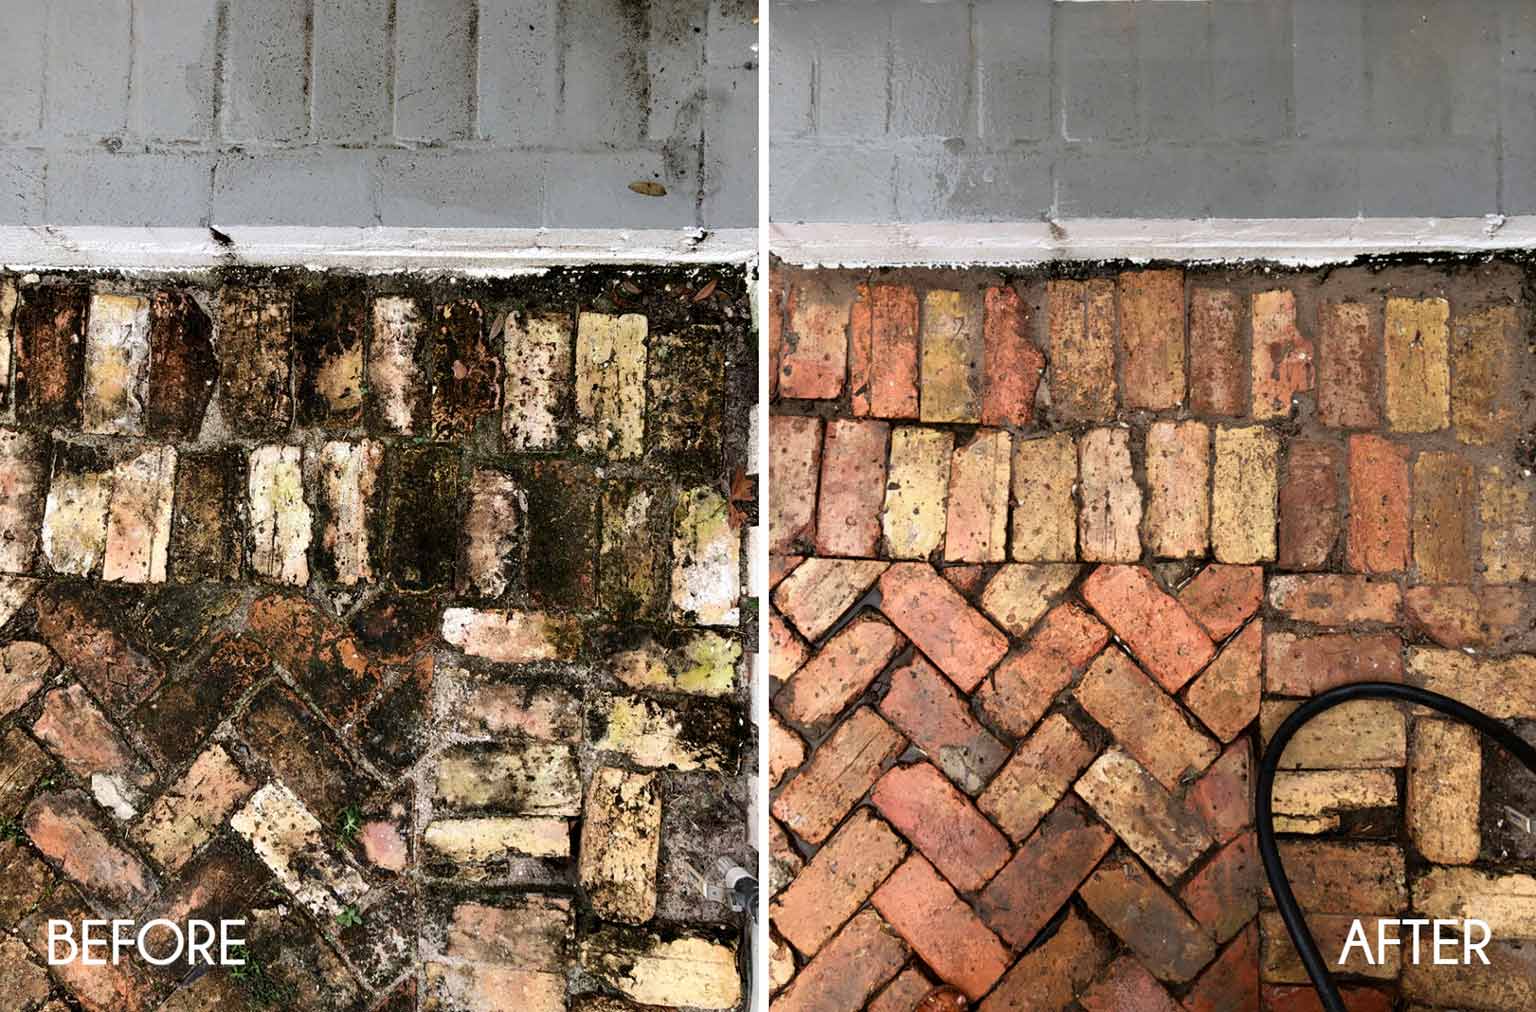
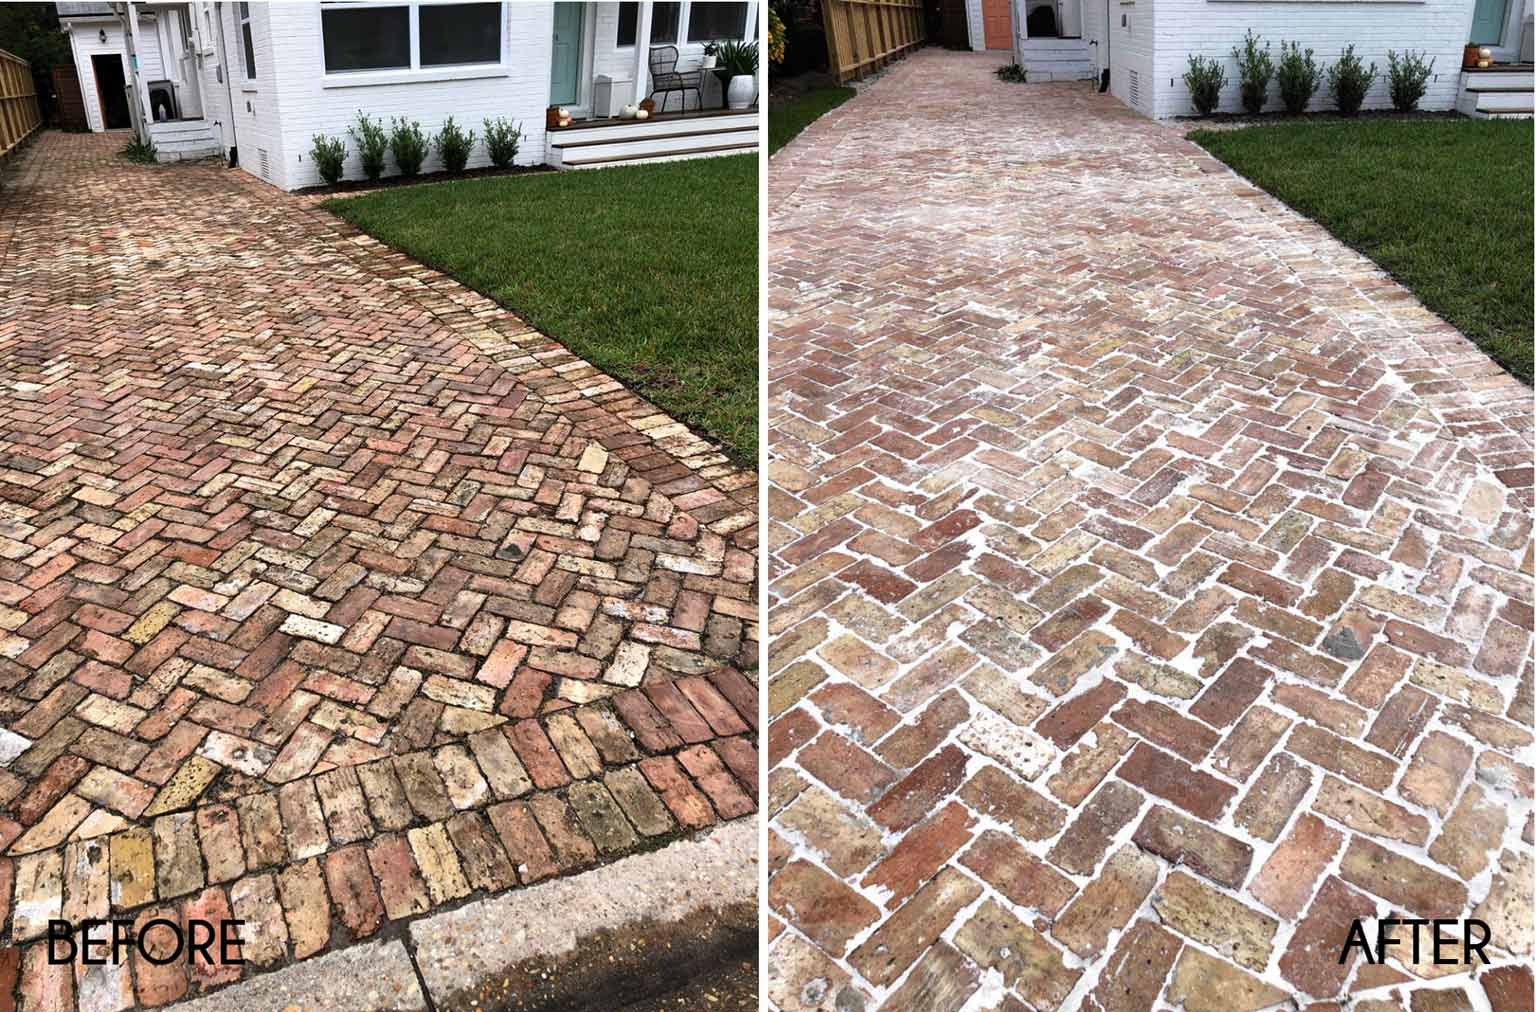
So, one task down, and only 500 to go! Just kidding...kinda. Maybe 2020 will be our year for the big backyard reveal! If you're in the market for a pressure washer then I highly recommend our Greenworks one—it definitely packs a punch for something so compact and inexpensive. And let me know if I missed any tricks—I'll need them for next year! Now what should I pressure wash in the meantime?!
Related: How I Refreshed and Decorated My Front Porch for Fall
Not the season for pressure washing where you live? Pin this article for when you might need it!
