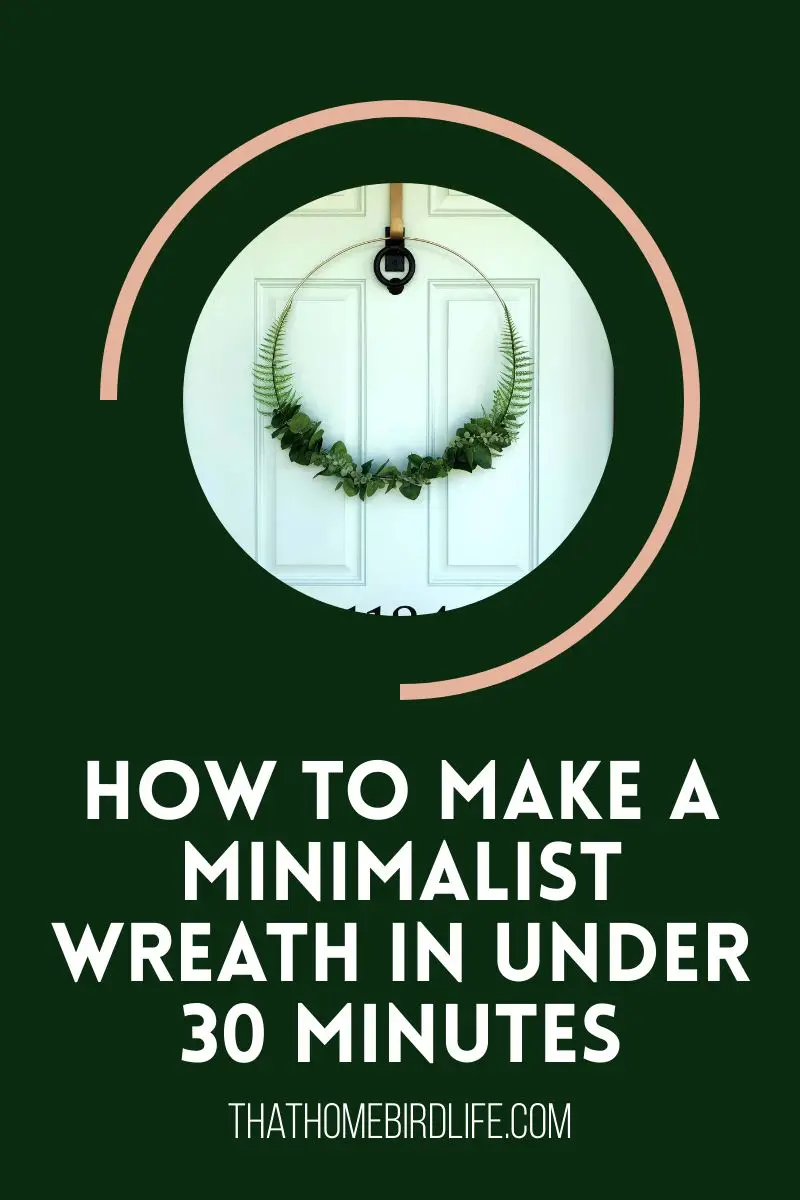
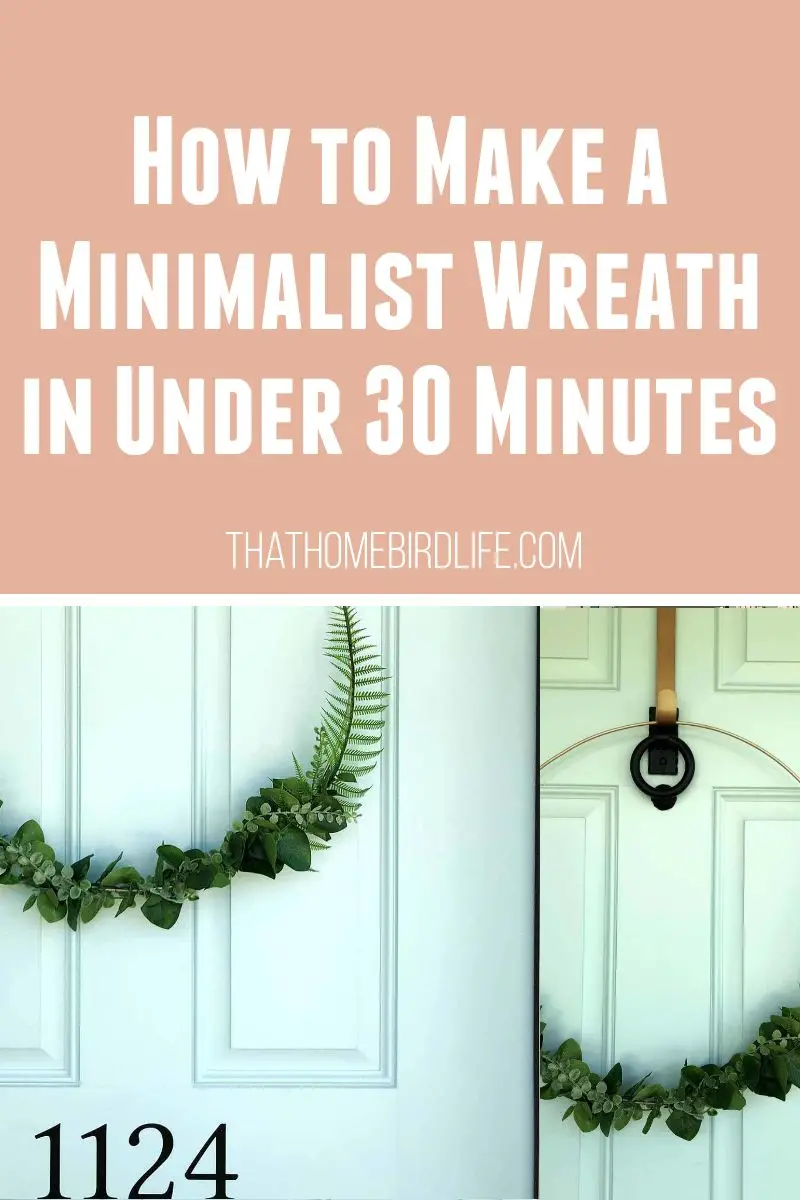
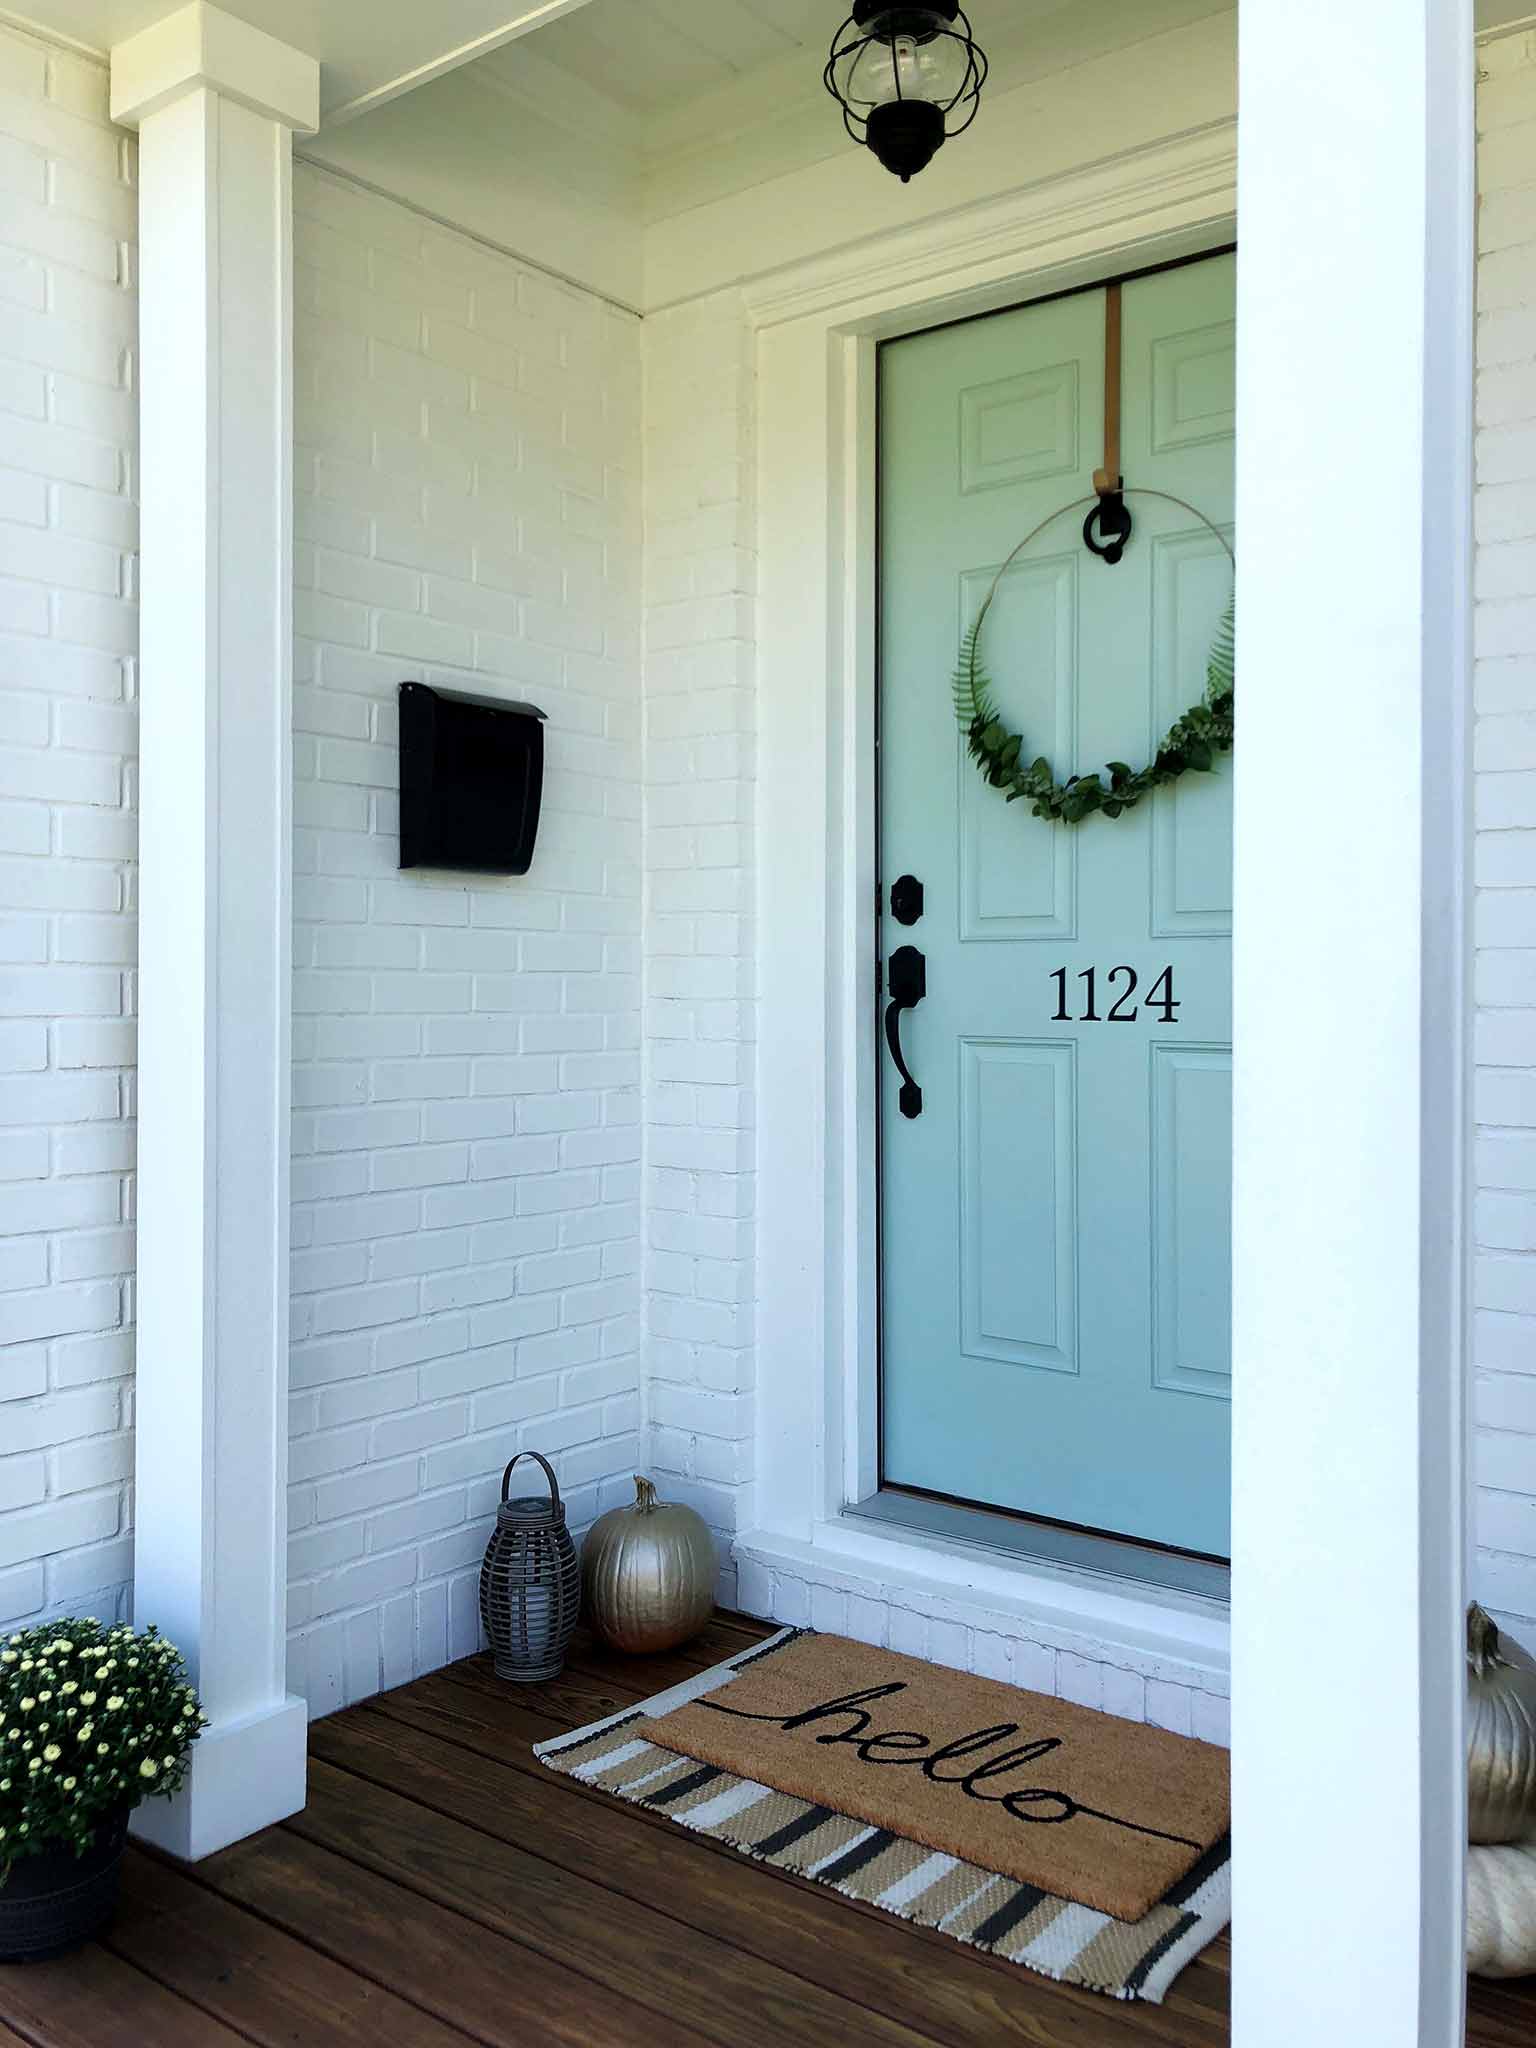
If you saw my fall porch refresh, then you might have noticed the simple faux greenery wreath that I made. This is a super easy, inexpensive DIY that you can put together in under 30 minutes! I've already had lots of comments on it from neighbors, so I thought I'd share a tutorial in case any of you guys want to make one too!
Related: How I Refreshed and Decorated My Front Porch for Fall
Seriously—this is so easy to make that I hesitated writing a tutorial at first. But I figured even if it just enourages someone to try something they thought looked too difficult to attempt, then it's worth it. And also, for what it's worth I'd definitely hang this on my door all year round, but since it's Fall right now I'm calling it a Fall Wreath. Just wanted to clarify :)
This post contains affiliate links, which means that I may earn a small commission if you purchase something that I have recommended, at no cost to you. More information can be found on my disclosures page.
QUICK LINKS
- Materials needed to make a minimalist fall wreath
- Amazon shopping list with all of the items you will need for this project
- Steps to make a minimalist fall wreath
So here goes.
HOW TO MAKE A SIMPLE, MINIMALIST FAUX GREENERY WREATH IN UNDER 30 MINUTES!
(Be sure to pin this tutorial so you can refer back to it later!)
STEP ONE: GATHER YOUR SUPPLIES
- a metal floral hoop
- a wreath hanger
- gold spray paint (optional)
- 3 or 4 faux greenery stems of your choosing (choose varying sizes and different tones of green so that your wreath will have some depth and dimension)
- green floral wire
- wire cutters
- hot glue gun & glue sticks (optional)
For your convenience, I've created an Amazon shopping list with all of the items that you will need for this project. You can access it here.
STEP TWO: SPRAY YOUR HOOP
This step is optional, but I wanted the hoop to blend with the rest of my seasonal decor. I used the prettiest gold spray paint out there and it just happened to match my $1 Walmart wreath hook perfectly!
Related: Simple Fall Decor for the Uncluttered Home
STEP THREE: PREPARE YOUR GREENERY
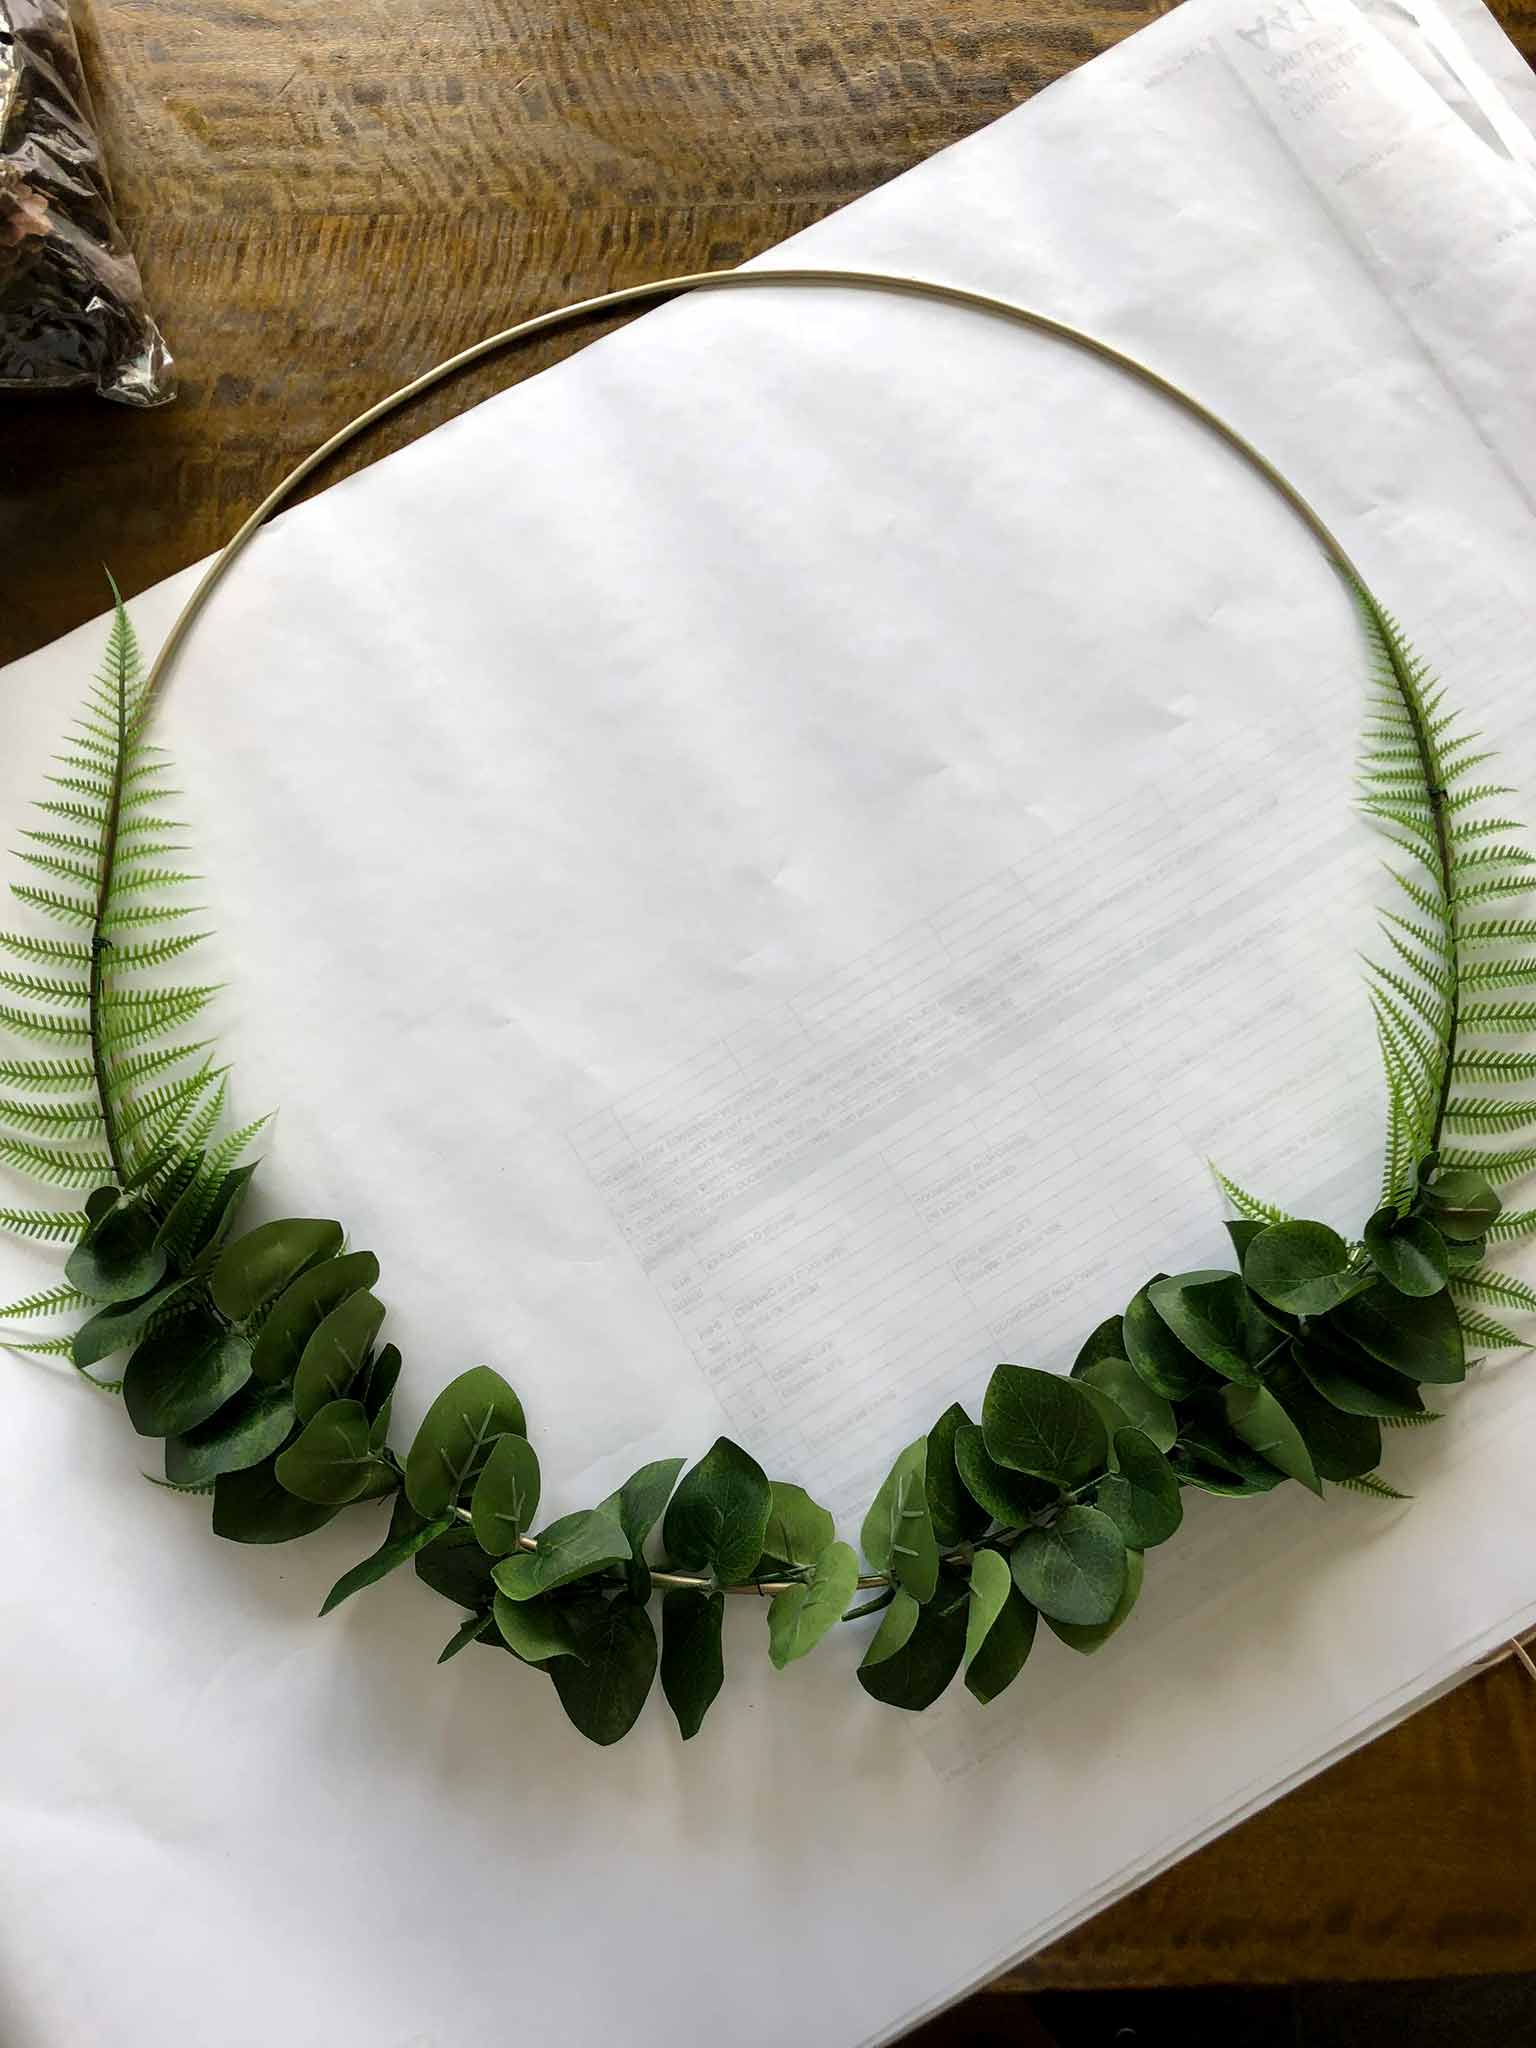
Break the stems up into smaller pieces (about 6 inches works well) and start laying out a design to get an idea of how you will layer the greenery. Usually, starting with bigger stems and layering the smaller ones on top is the way to go.
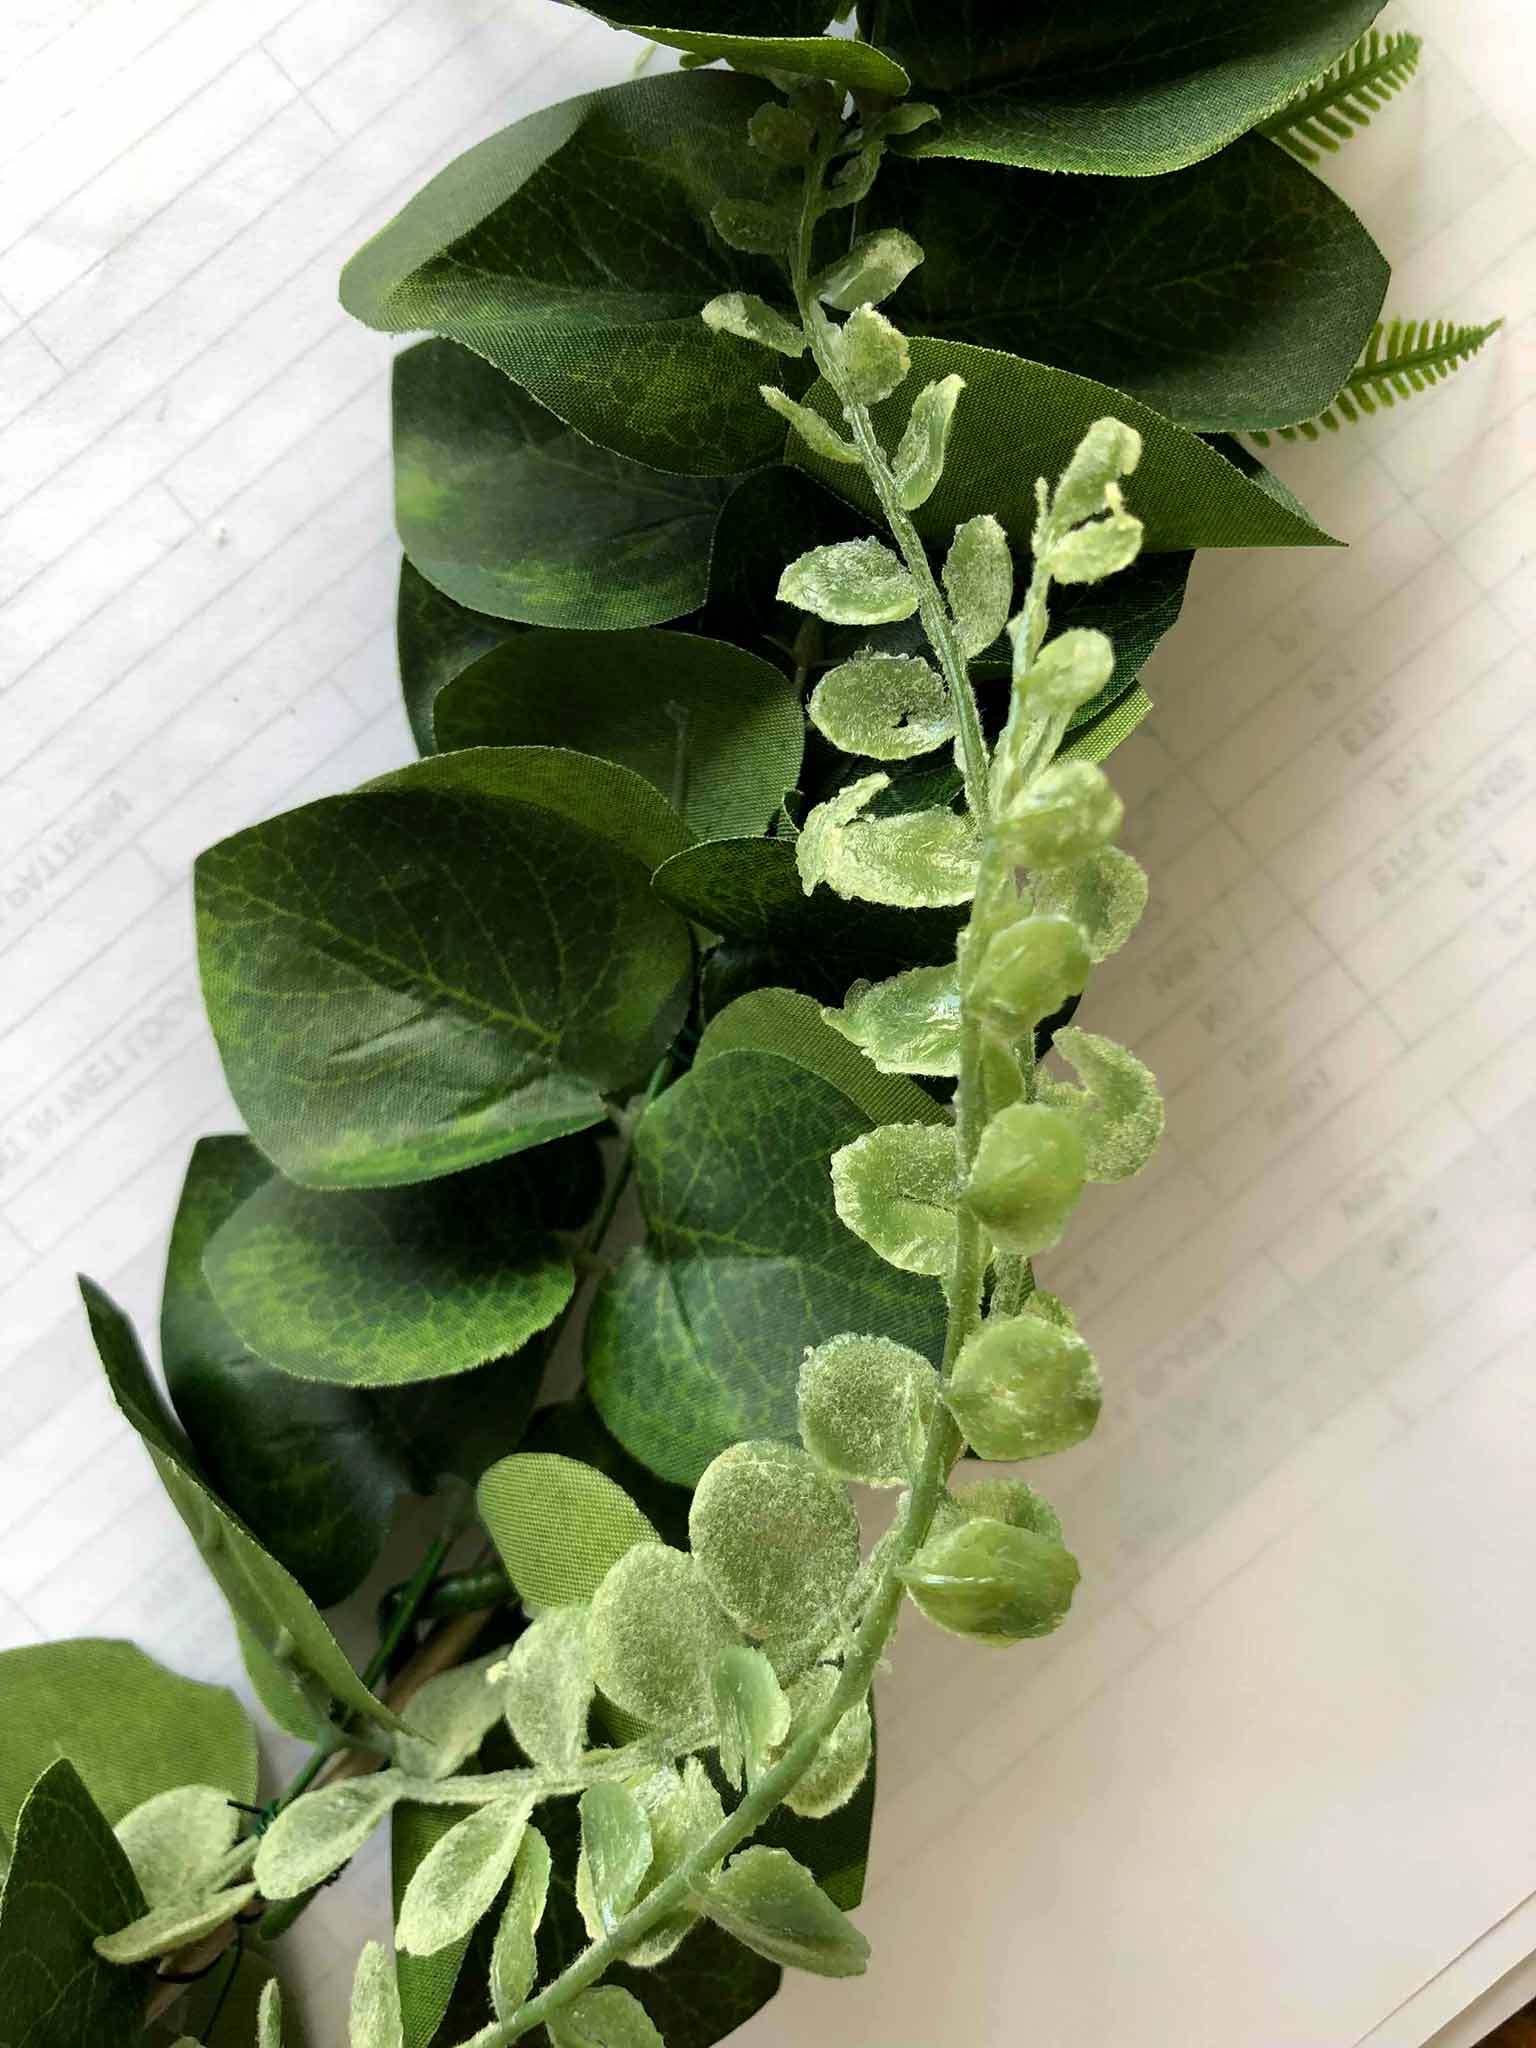
I wanted to showcase the shape of the ferns, so I decided that they would be the main players in my wreath design, with smaller stems to accent them. You could also opt for an asymmetrical wreath—there are lots of options to try out!
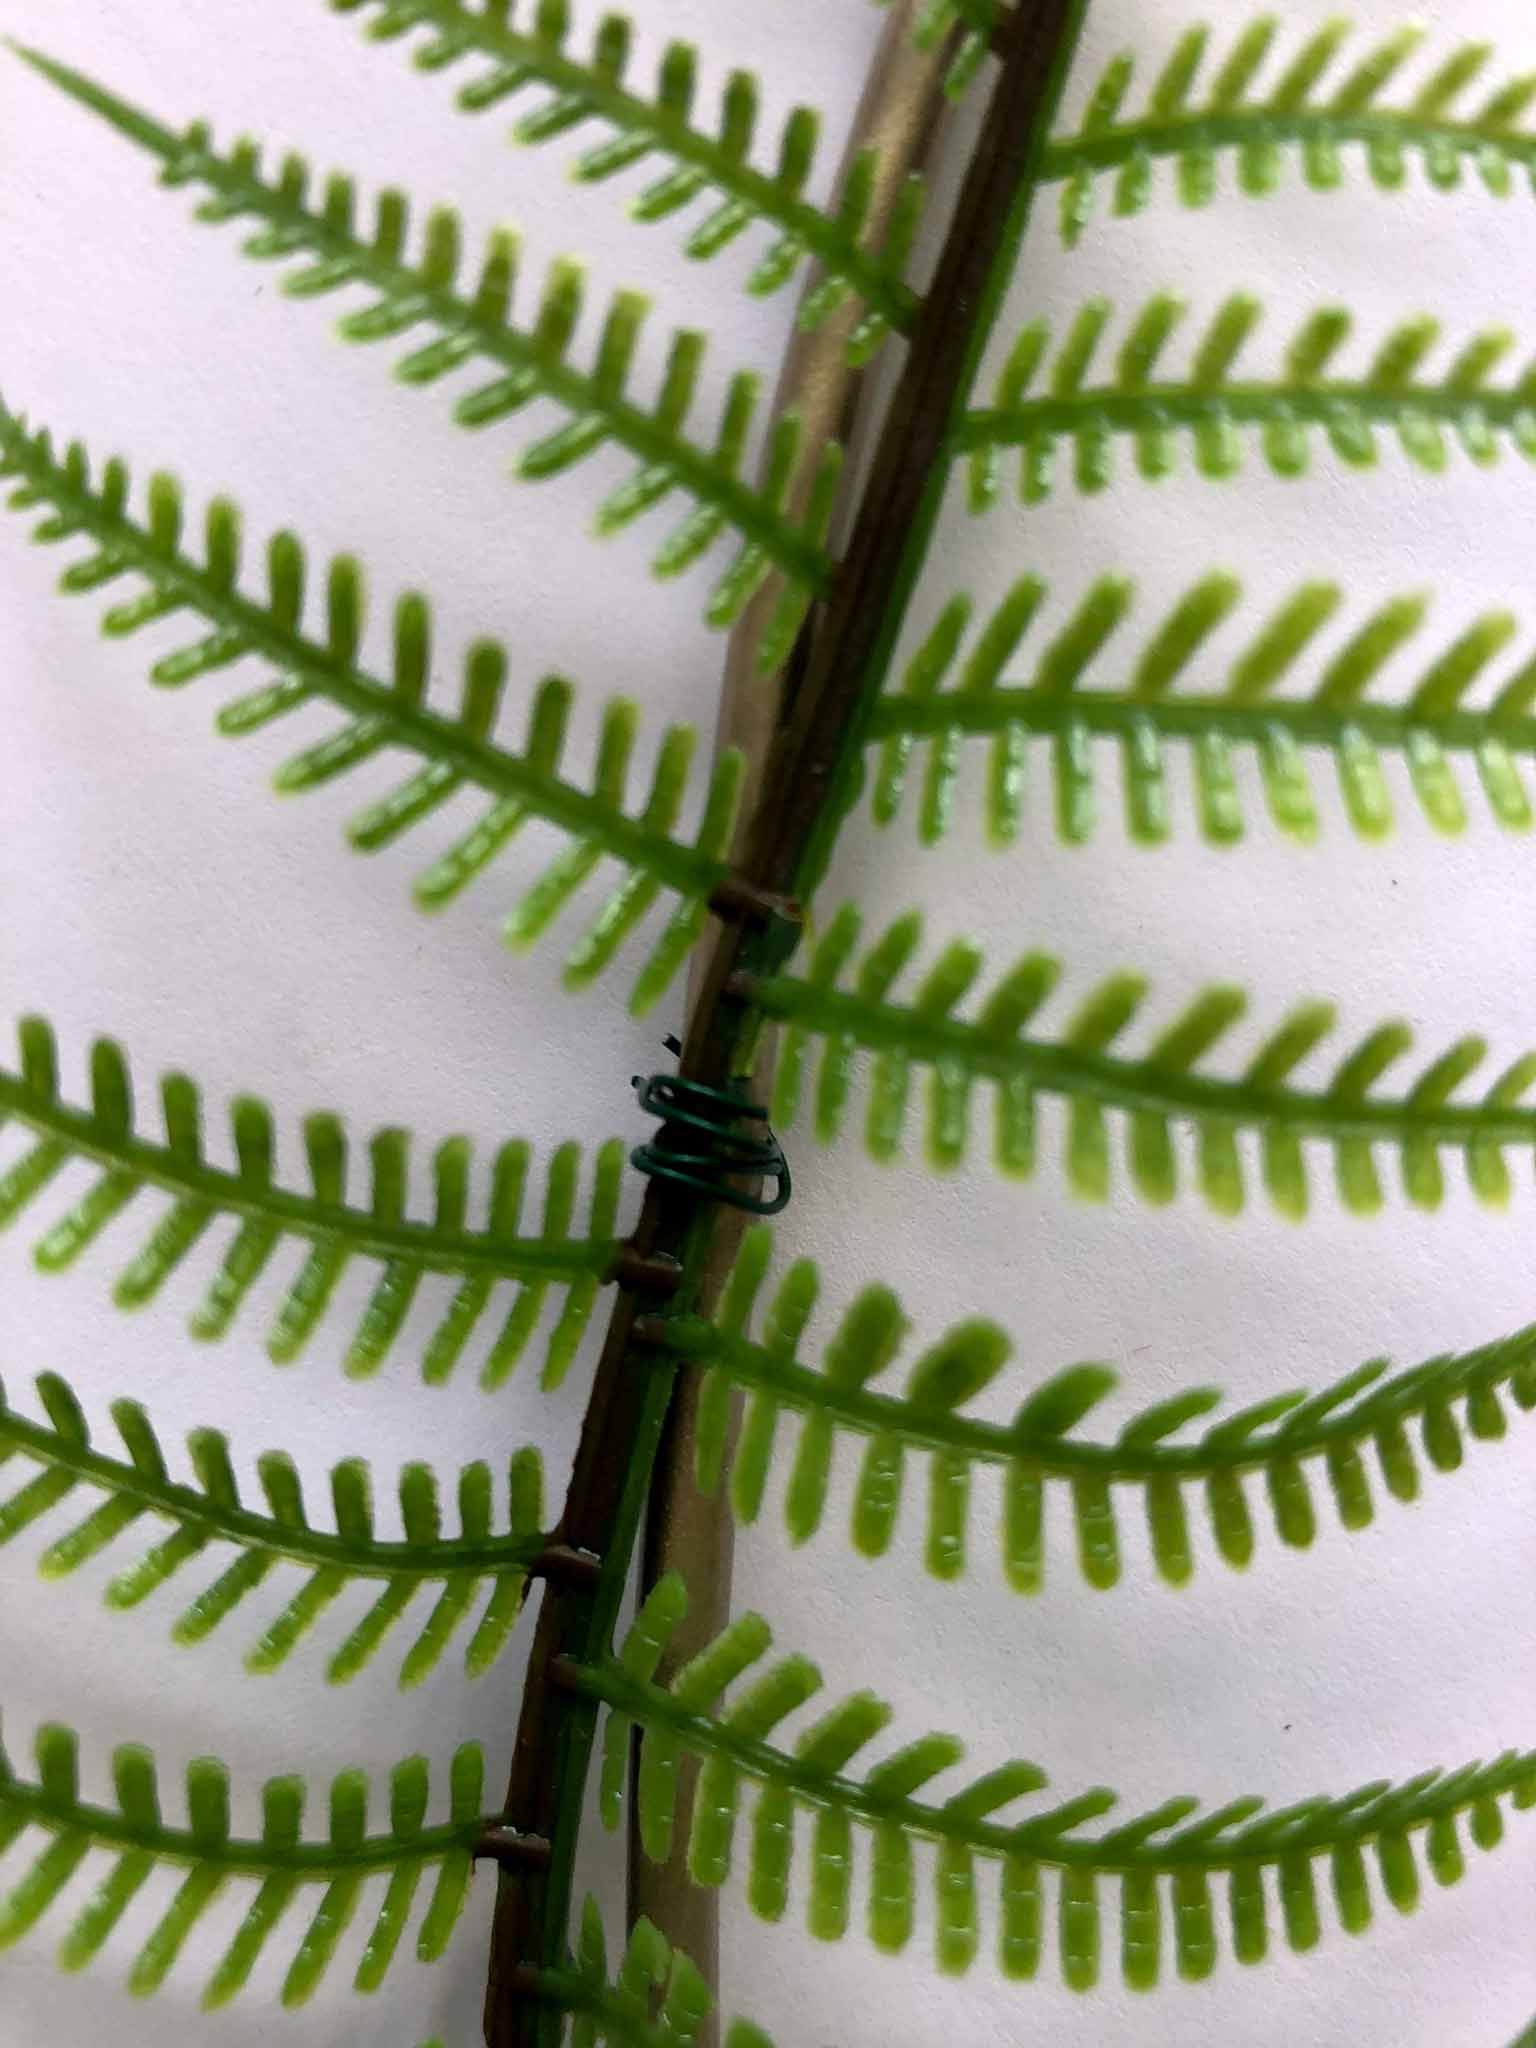
Now cut some short lengths of floral wire (about two inches each) and put them to one side.
STEP FOUR: BUILD YOUR WREATH
Once you have a rough idea of your design, you can start attaching them to the metal hoop. If your greenery has wire in the stems, you can bend that around the hoop and wrap the pieces of floral wire around to secure it more firmly. Don't worry about making it look too neat at this stage—you can always hide the wire with more greenery over the top.

Keep adding and layering pieces until you are happy with the way that it looks. And if you don't like it at any stage, then you can easily unwind the wire and try something else—no big deal!
Once your wreath is finished, you can add hot glue as an optional step to make it all extra secure.
I found that for me, less is more, and I didn't end up using all of the greenery I bought. It will get used in a future project, I'm sure! This is such a personal process, though—do whatever YOU think is beautiful! If it's your jam, you can add in floral elements or pinecones or even mini pumpkins—the possibilities are endless!
In the end, my wreath consisted of two large fern leaves, a few pieces of euculyptus, and some smaller stems woven in—very simple indeed.
STEP FIVE: HANG IT UP, AND ADMIRE YOUR EFFORTS
...and you are DONE! (I told you it was easy!)
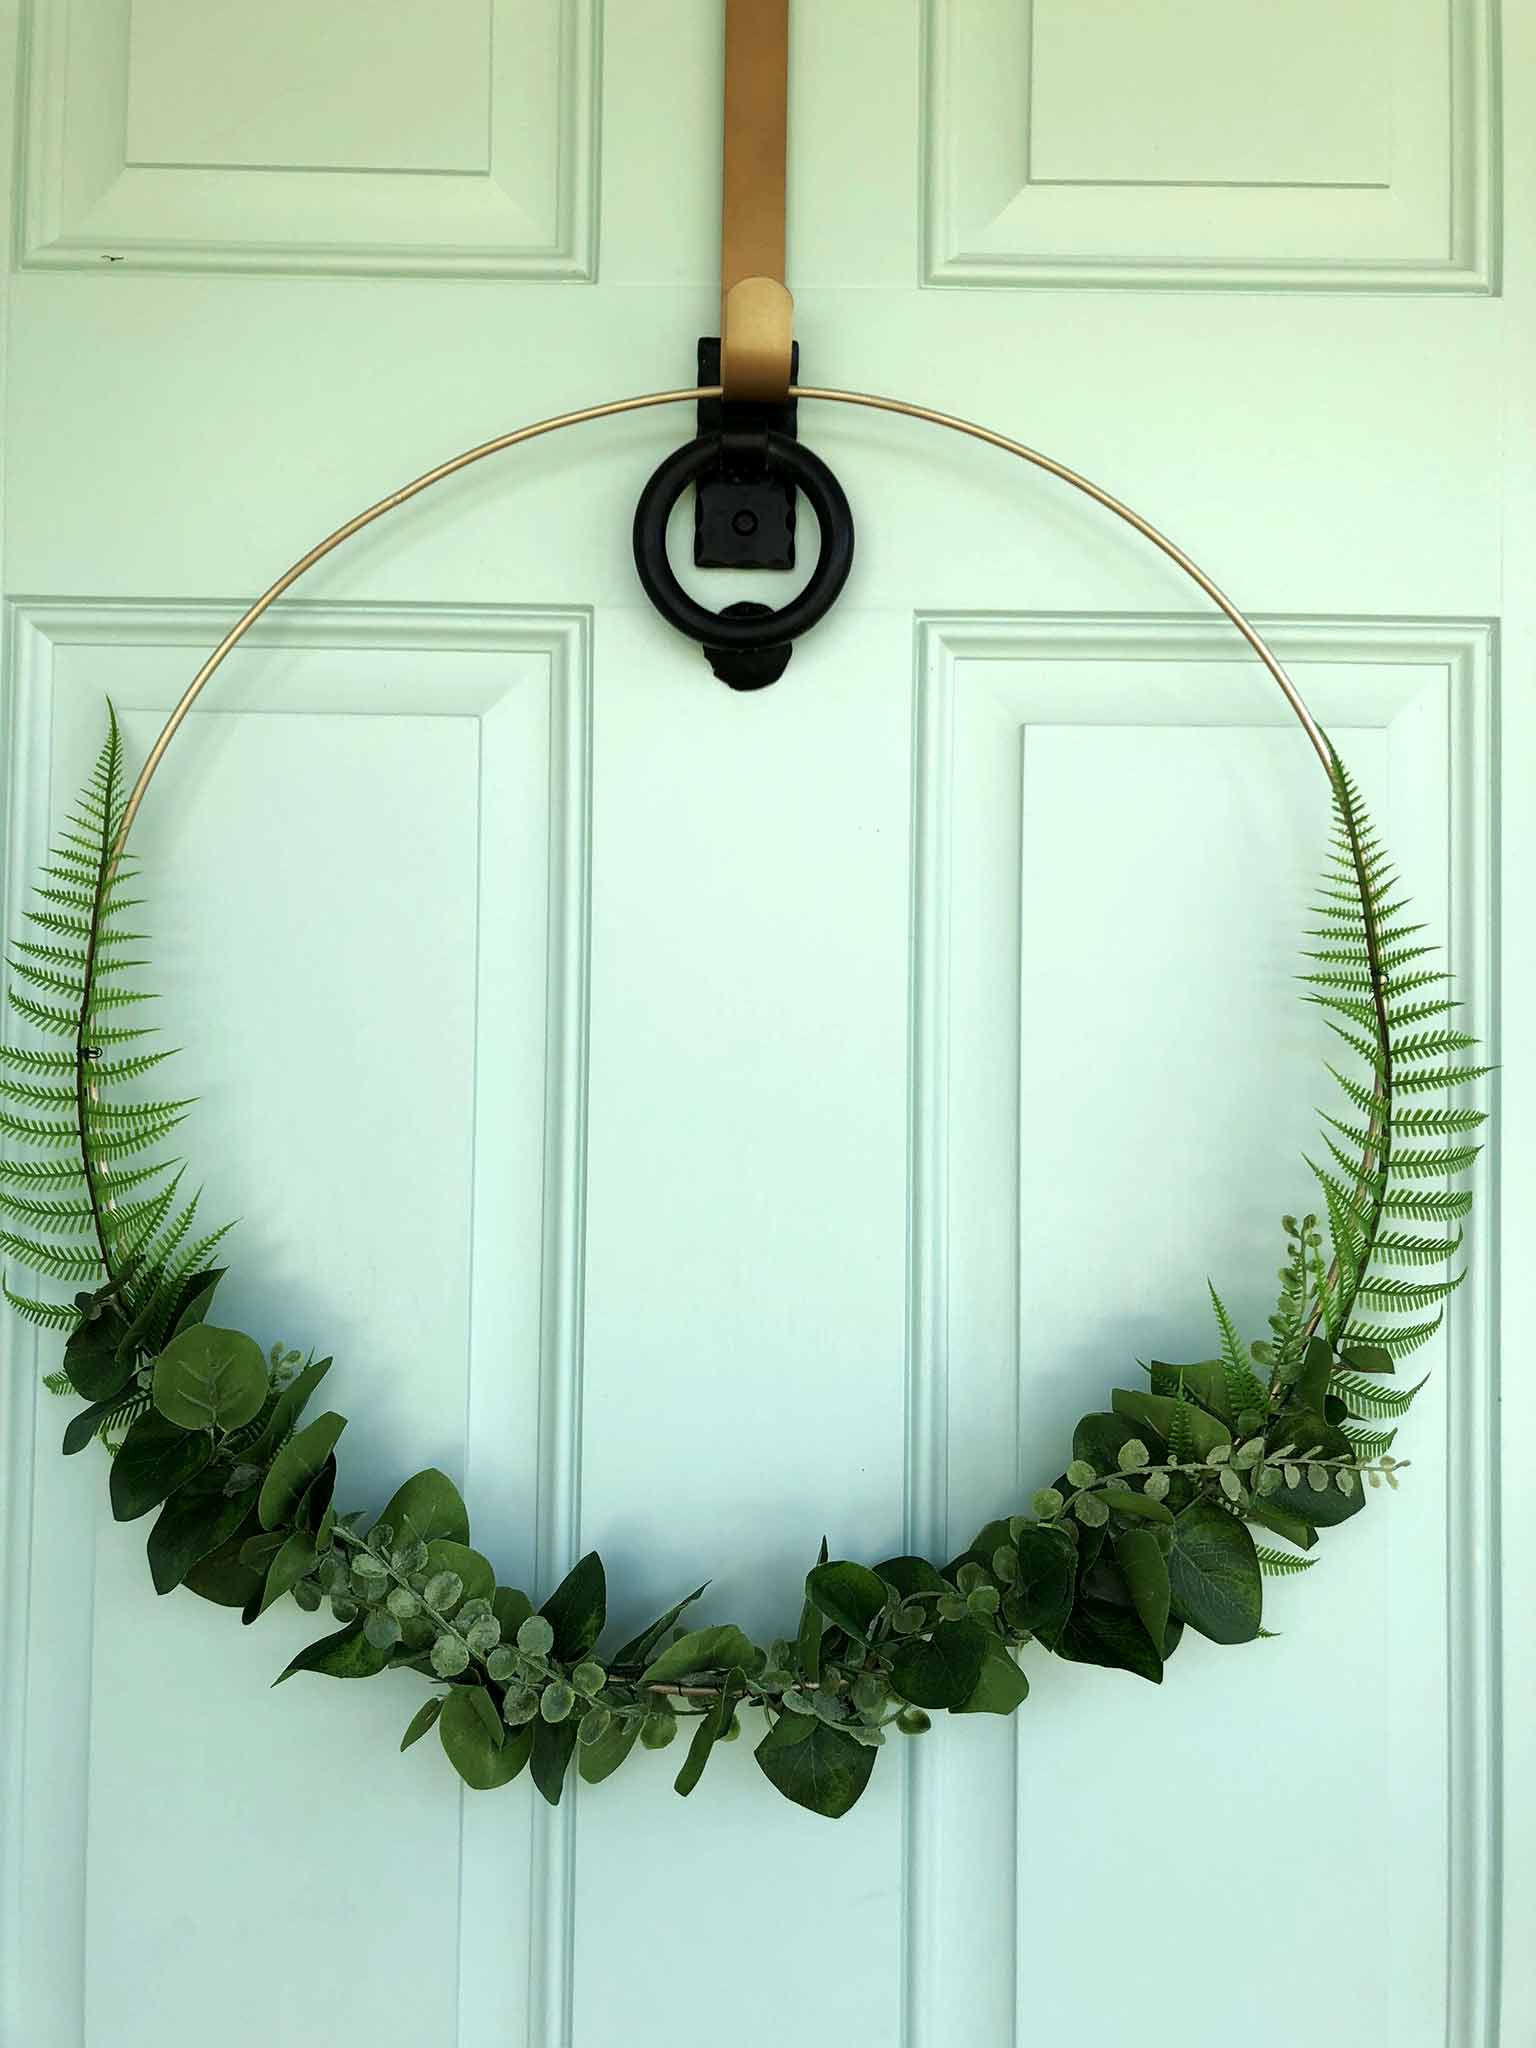
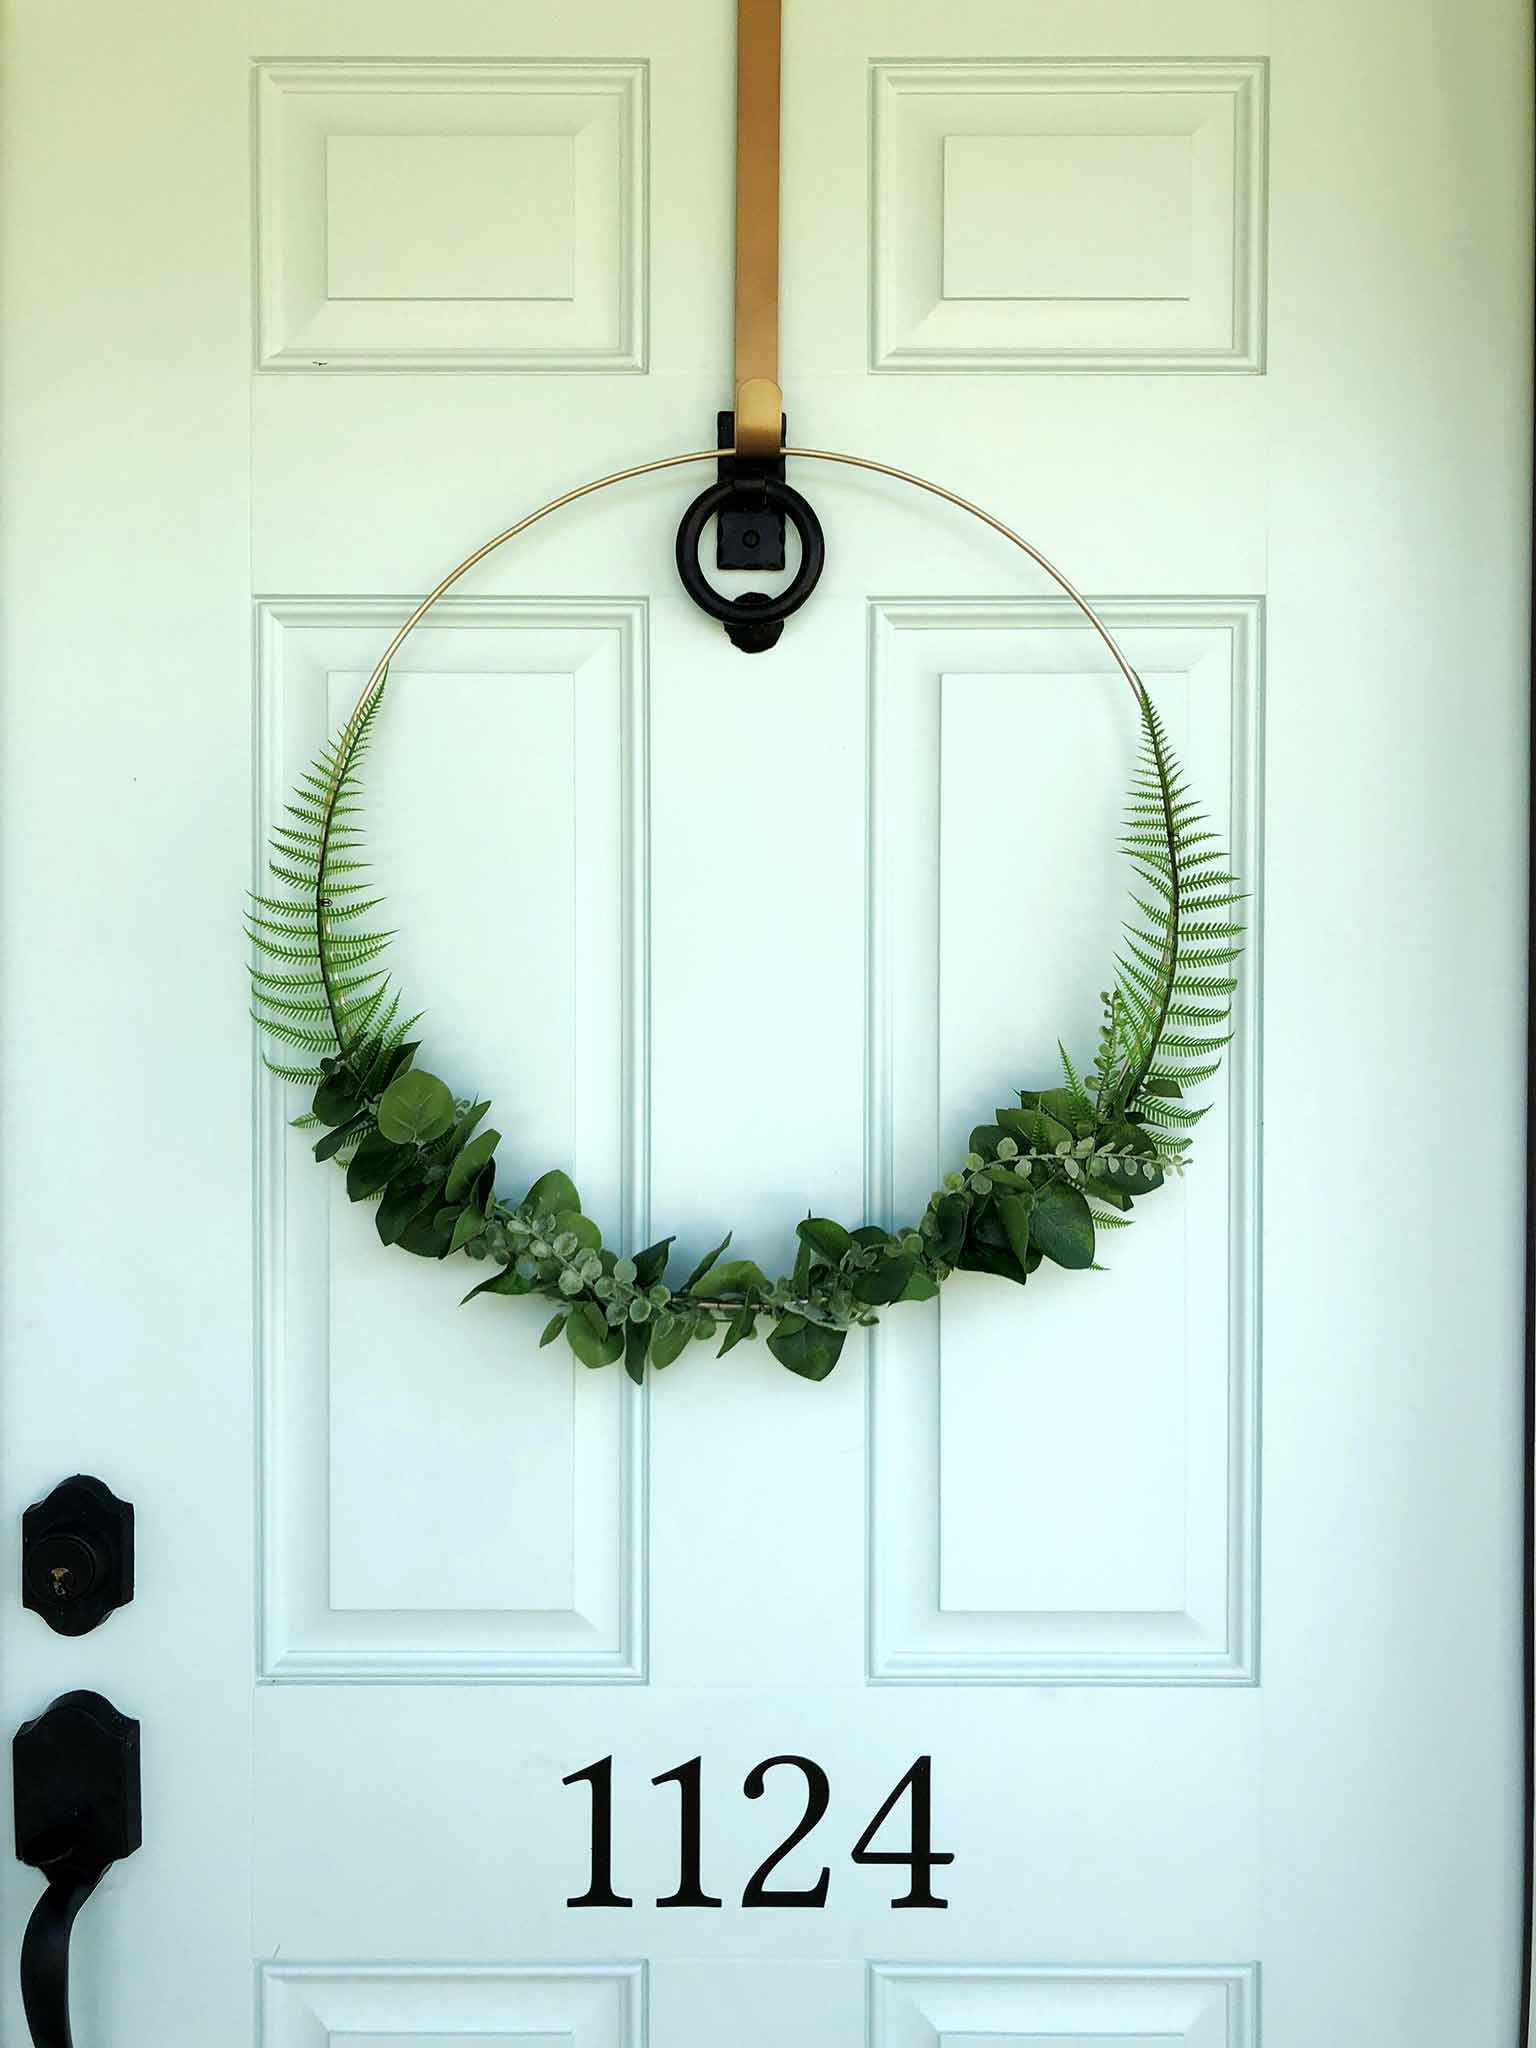
I'm not exagerating when I say that start to finish, this wreath took me about 25 minutes total to make. In fact, the longest part of the whole process was choosing the greenery stems in the store! I think it is such simple yet effective way to add a seasonal touch to your front door, and I love the way it turned out.
If you try out this simple DIY then please do send me a picture, or tag me on Instagram! I'd love to see your work!
Looking for more easy DIY and craft projects? I've got you covered! Here are some you might like to try:
DIY Stenciled Doormat Tutorial
Simple DIY Yarn Wall Hanging for $10 (or Less!)
Craft Resin Coasters for Beginners